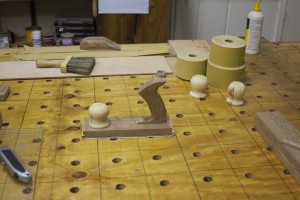
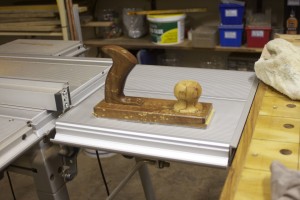
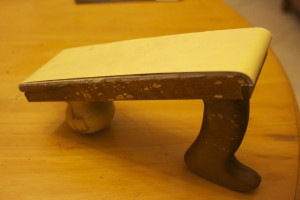
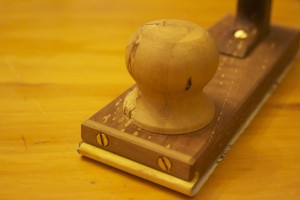
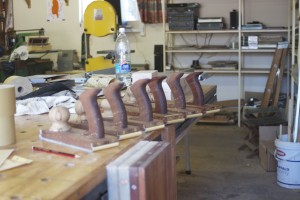
Although I do own a belt sander and two orbital sanders (that were past down from my Dad to me), I still prefer sanding by hand. Unfortunately the cheap and nasty commercial sanding blocks I used to own in New Zealand were all stolen en route to Namibia. I thought making some sanding planes would be a good start towards my next goal of building some wooden hand planes. This way I get some experience in producing the plane tote (handles) and joining it to the rest of the tool. Even with sanding planes the aim is to keep it as flat as possible, so this way I can get a feel for doing just that.
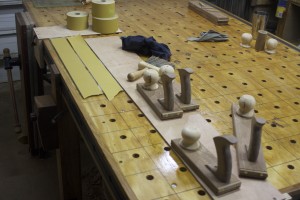
One of the annoying things about using a sanding block is having to change the paper all the time as you move from one grid to the next. Therefore I decided to build 3 short (230 mm) and three long (380 mm) sanding planes, in order to load each with a different grid. It would allow me to simply grab the next plane when moving up a grid.
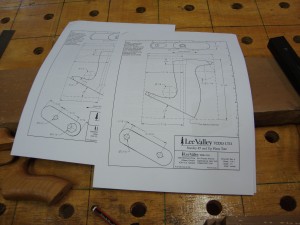
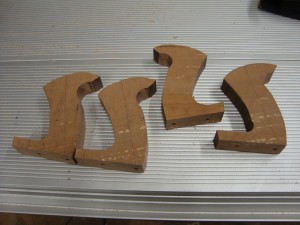
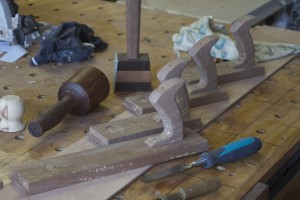
I had some trouble to get the pdf documents on Stanley totes (handles) from the Lee Valley website printed to the correct scale. It necessitated me to take the tote off my Lie-Nielsen Low Angle Jack Plane and use it as a template. The Lee Valley documents were very helpful nonetheless as it explains clearly what the best sequins of steps are to produce the handle. In the picture below, you can see how the Lie-Nielsen tote was used as a template, ensuring that the hole running through the tote is 90 degrees to the sides of the board.
Here you can see the documents, as mentioned. It is downloadable from the Lee Valley website.
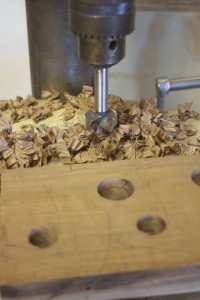
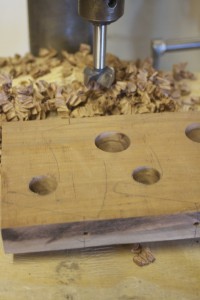
Below you will notice that the hole that runs through the handles were drilled before drilling the large diameter holes which simplifies the actual cutting of the blanks.
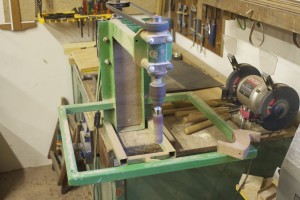
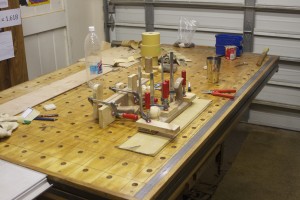
Next step is to shape the blanks to resemble the perfect Lie-Nielsen tote it is based on. For this purpose I used the green monster, which is a machine my father built many years ago. In the pictures below I took it’s work surface off to enable me to maneuver the blank a bit more. Some of the shaping was done with the surface intact.
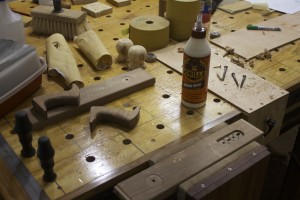
Next I took some scrap Witels, which I thought would be a nice colour match with the pale fungi induced spots on the Assegaai handles and plane bodies. Yes, I know, ‘a certain je ne sais quoi’. After laminating the three pieces I turned the six knobs from it
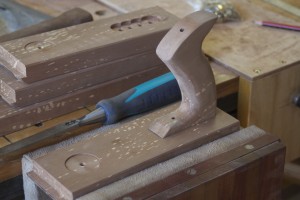
Unfortunately I did not take pictures of how I prepared the plane bodies. It was fairly gnarled bits of Assegaai to start off with. In order to flatten these bits of wood I spent quite some time working on my hand planing technique. Then I moved on to custom fitting each handle recessed about 4mm into the plane body. The totes and knobs were then glued and screwed into it’s permanent home for the next 500 years (I hope).
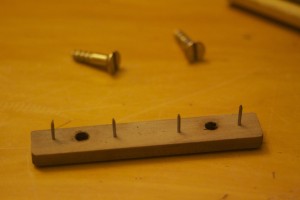
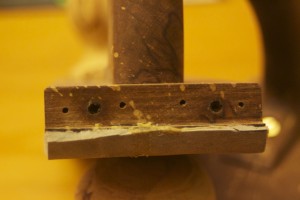
The mechanism I chose to fix the sand paper to the plane necessitated a lot of fiddling with small bits of wood, screws and panel pins. Although probably not the fastest way of changing paper, it works like a charm and also adds a certain je ne sais quoi on the looks side of things!
Seeing that these are sanding planes with which I do not want to spoil a surface that was already elbow-greased to perfection by hand planing, the next critical step was to ensure that they are as flat as glass. I used two different grids of 3M Adhesive-Backed Sandpaper on a piece of glass. You can see how I used the trick I learnt from David Charlesworth by scribbling on the sole with a pencil to see low spots. I saw him using this in a DVD on sharpening. I think if I saw this guy working in his meticulously cerebral fashion earlier in my life, I probably would have pursued woodworking as a career. His DVD’s are highly recommended. I bought mine from Lie-Nielsen.
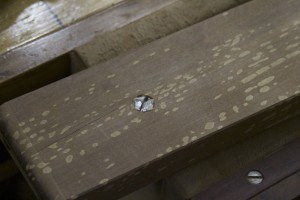
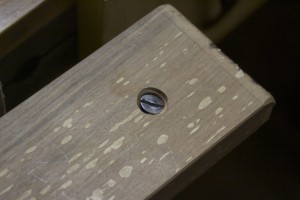
Next I mixed epoxy and added some wood dust to increase the viscosity. This concoction was then used to fill the holes left by the countersunk steel screws which fixed the knobs and handles to the plane body. It dried to an incredibly hard filler, which was again sanded perfectly flush with the rest of the sole.
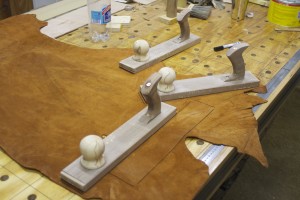
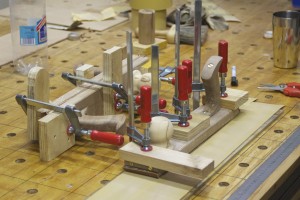
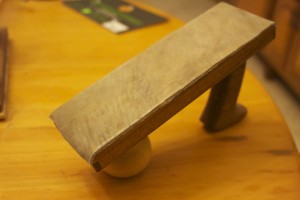
I then glued Red Dear leather (short planes) and Kudu leather (long planes) to the soles to ensure an even contact between the sandpaper and wood that is being sanded. You can see how in one case I used a piece of glass as a flat surface clamping through the assembly table. In the other case I used the two sanding planes as each other’s flat reference surface, to ensure flat and consistent adhesion of the leather.
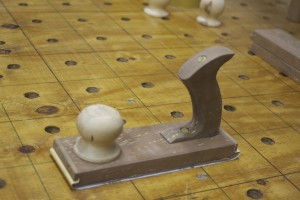
Finally the first test with sandpaper and it works like a dream.
Usually my favourite part of building these tools is to rub on Ballistol. It brings out the beautiful colours of the wood and does not dry to a film at all, nor does it go yellow over time.
Here you can see how I indicated on the back of each plane which grid of sandpaper it is loaded with. This makes it easy to simply grab the next plane needed during a sanding operation.
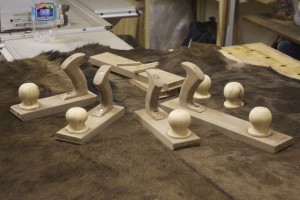
In these final pictures you can see where the planes found their little home.
