15/3/2017
As promised we will look into the process of jointing, gluing, and inserting dovetail keys into the top of the table in part eleven of our journey.
The rest of this particular chronicle can be found here.
The Kershout boards in the picture below were prepared up to this point towards the end of last year and has since been kicking it with my 1969 MGB in a separate garage.

The first task is to arrange the boards as best as you can with regards to colour matching and balancing out defects. This is where you whip out your artistic licence. This is after all a tribute to the legendary George Nakashima.

I took the opportunity to see what the trapezoid leg would add to the overall look. The top looks very light in colour (in this picture), but I can assure you that it will be transformed to a very dark reddish brown once the finish is applied. The Kershout dovetail keys contrasts exquisitely with the lighter Witpeer boards that makes up the trapezoid leg. I also like the darker lines created by the defects on the leg. It was strategically place to balance out from an aesthetic point of view. We will see later in this post how the reverse of the mentioned timber combination has a similar effect with regards to the top.

As you can see here my bench really came into it’s own working on the edges of these boards during the jointing process. I first prepared the edges so that they were close to the desired configuration, which is a very slight bow in the length.

Then the boards are clamped together with the two edges that will mate (so to speak) flush with each other and folded much like book-matched pieces before opening the “book”. This nifty trick leads to a cancelling out of the minute error that might arise in squareness of these edges with regards to each other. This technique is sometimes referred to as match planing.


Didi gave me a few pointers.

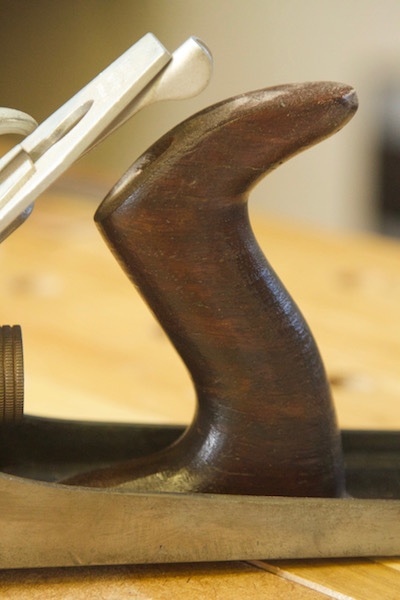
The Kershout is so ridiculously hard that I had to resort to using an alternating attack with my Lie-Nielsen low angle Jack plane armed with a toothed blade and a Shaw’s Patent Sargent no. 14C armed with an aggressively cambered blade.

Once the artillery softened up the enemy, I moved on to this shop made jointer plane to finish off the job.

I find my Festool Domino to be a very useful tool to keep the edges flush during glue-up.


It has become my custom to do only one of these edge joints at any one time given the short window to get the job done in our dry climate. Each joint is then left in the clamps for at least 16 hours. In other words, I tend to leave the glue-up for my final task each day. It is usually done at around 17h00 and left over night until around 09h00 the next morning.

Repeat.

Ditto.


Ready for the final glue-up.

I had to buy a set of 1.3m long 1″ pipes for my pipe clamps in order to do this final glue-up. Of course, as you would expect, my 1.2 meter wide assembly table was too narrow to accommodated the clamps for this glue-up. The situation therefore necessitated some problem solving on my behalf.

As you can see here a piece of wood (for each of the bottom clamps) was cantilevered off the edge of the table held in place by a clamp through a dog hole. Oh! … and yes, in case you wondered, it is my daughter’s “Biscuit finds a friend”. My English is not advanced enough to indulge in such haute literate.


As I have mentioned before, a mere mortal tends to sweat like a Gypsy with a mortgage during our sweltering rainy season. Didi is the master of African Climate Control (aka toplessness).


… and Bob’s your Uncle.


I modified the strip of wood that links my trammel points to draw a curve to soften the appearance of both ends of the top.

Marking the location of the dominos like this helps to remember where they are when further shaping is done.


The waste was removed with an electric jigsaw. It is a crappy old Black & Decker that I bought many moons ago while still living in New Zealand. I do not use it very often to start with and do not recall ever calling upon it to munch through Kershout. As most things you do for the first time there were a few lesson to be learnt. These things (for lack of a better insult) cut on the pull stroke, which translates into a messy splitting out of fibres at the top edge. Therefore (in hind sight) it is desirable to have the bottom of the top facing the jigsaw when doing this job. Secondly, I realised that I used a blade that was too aggressive, which did not help either.
On the flip side, this indiscretion coerced me into a design tweak that might (or might not) add an interesting twist. You will have to wait and see just like me.


Another reason I chose this shape for the ends of the top, is to enhance the appearance of it being sliced from a massive tree trunk. The idea is that this shape resembles the end of a trunk that was chopped off by axe. If you imagine a board cut from a trunk like the one in the first photo below, it would probably resemble the top of my table as seen in the picture below. That is in my mind anyway, you might feel different.


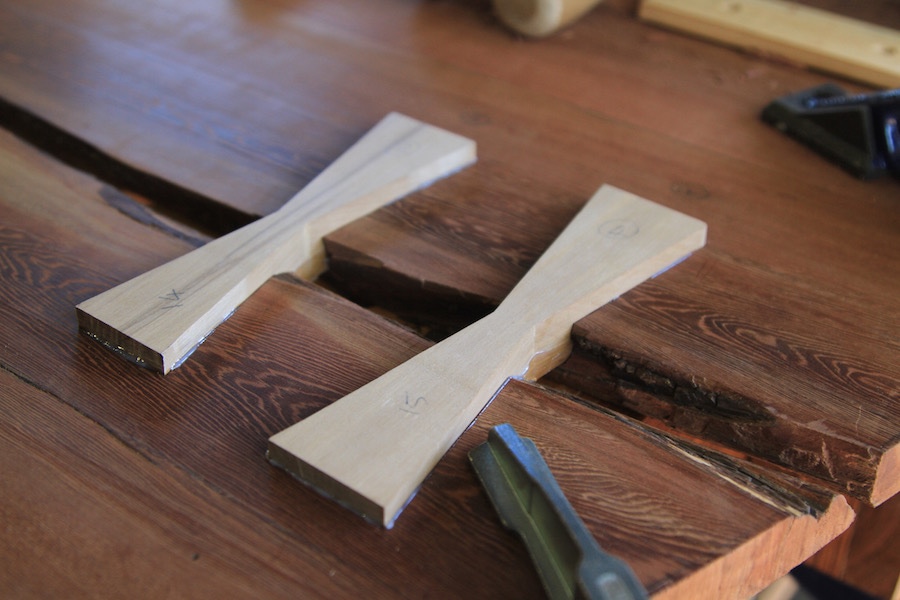
Then it became time to fashion a few dovetail keys to stabilise the obvious cracks in the top.


I worked out how many is needed of each size.

Here I tried to work out where to place the keys with regards to my sense of (randomly planned) artistic balance. The picture below was not the final version that was decided on, but somewhere towards getting there.

For the design of the keys I chose an angle of 9º, which repeats all through the design of the table. This is an idea you might want to consider. You draw only one key, chopped off at different lengths, and write on the template the number of keys needed of each length. It is then cut out, traced onto the wood as many times as the key tells you and then you chop off the ends and repeat on the next sized key. This way they all have the same shape, but of different lengths in an attempt to add visual interest.

As so.


The keys were liberated from the above Witpeer board by means of a bandsaw.


19/6/2017
Another useful trick is illustrated below. Clamping a piece of scrap wood across the top to hold the dovetail key firmly in place while it’s exact configuration gets marked out on the top.


Drilling out the waste by hand in such hard wood is no joke. “Trust you me”, as they say around these parts.


Enter: Lie-Nielsen merchandise in tandem with my trusty shop made Assegaai mallet. I chose the mallet as I needed a bit more heft than what the so-called Je ne sais quoi Persuader can deliver. When working “stone”, the extra heft is a must.


The lazy winter sun give us a better idea of the warm colours of the Kershout as it infiltrates my shop during the late afternoon.


It seems as if this post is riddled with tips, so here is another one. In order to see the scribe line better, one can have a small torch lying on the top to cast a shadow into the line. On my bench this is usually accomplished by positioning the bench light in a similar fashion, but clearly this top is too big to take to the bench.


Once the key enter it’s mortise like this I stop refining the fit. The key is then clobbered home after a frugal application of Epoxy, which acts as lubricant as well as an adhesive. The clobbering is done with a heavy mallet furnished with a thick sealskin face (not pictured).


As you can see here (minus the heavy mallet).

One week later the keys were planed flush using the two planes pictured.


As you can see the Witpeer keys contrasts nicely with the Kershout, much in the same way as the opposite combination works splendidly in the trapeziod leg.


We will get into the preparation of the top for finishing and the key bits of joinery in our next riveting edition of this series.