

8/7/2018
Here we go with the second of the mains on our bistro menu. In the previous post we looked at the final glue-ups of the top. We will now confront that virago of a task aka flattening the top by hand.
This (as you know) is the second time that I will attempt doing it. At least the Witpeer is quite a bit softer than the Kershout of the previous top, but does not even approach soft.
The curves at the ends were cut with what is most probably my least favourite tool of all time, a nasty Black & Decker jig saw. To call it rubbish would be a insult to the word rubbish. Anyway, it got the job done in a B&D type of way, which left a lot of work to smooth out the curve with hand tools. I used an Auriou rasp, Lie-Nielsen small block plane, and sanding planes of different grit to improve the curve.


The protruding Kershout strips curving around the sides were planed flush using my shop made Jack plane.


I then did a very basic cleanup of the bottom of the top. I used my Lie-Nielsen low angle Jack plane with a toothed blade. The cleanup was only aimed at getting the bottom side to sit flat on the torsion box.


Due to the very delicate thickness of the top, I wanted to first fix it to the torsion box before flattening the face side. The other challenge presented by the thin top was how to fix it to the torsion box without drilling the pilot holes all the way through. I decided to glue blocks of wood to the bottom of the top in all the appropriate spots. These blocks were seated with screws that only just enter the surface to hold down the block for the glue to set.


The setup below ensure that the middle of the top is fixed to the middle of the torsion box. The top can expand towards the sides, but remains fixed in the middle.


Here you can see how the blocks assisted to fix the top to the torsion box.


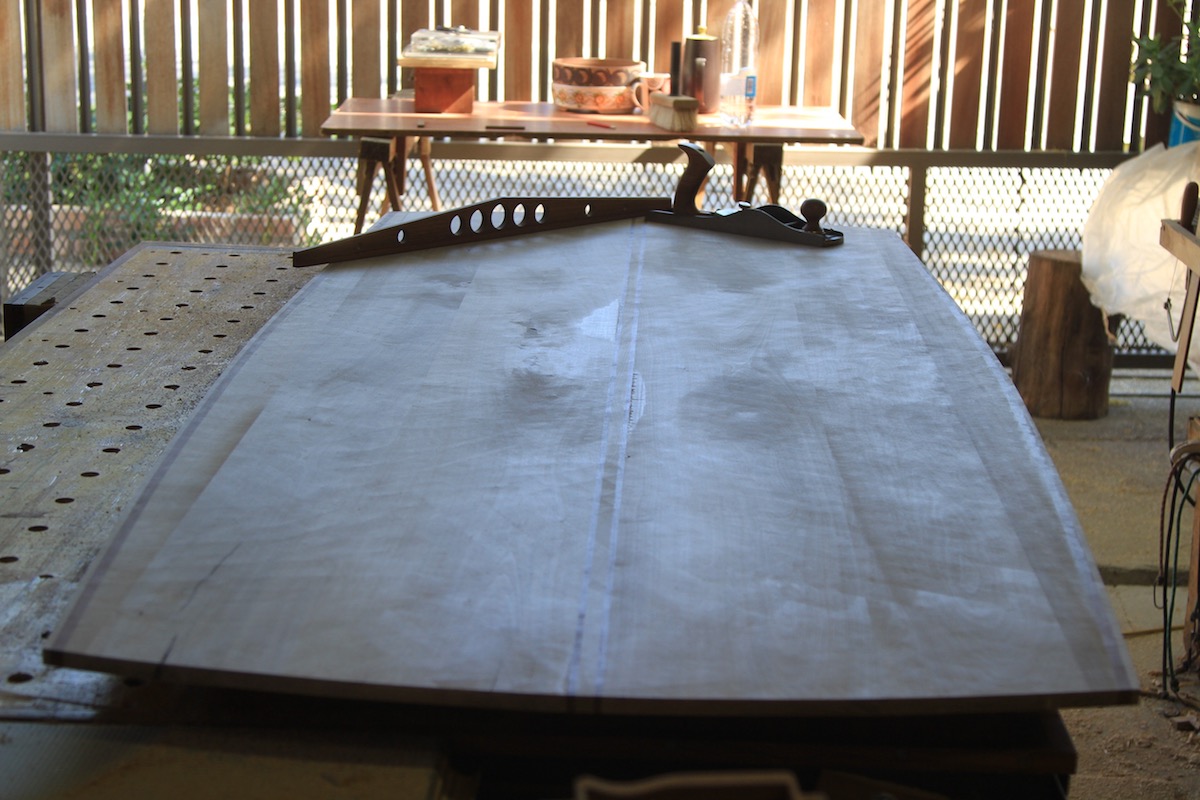
At this stage I could start the process of flattening the face side. Once again the low angle Jack plane did the bulk of the work.


Seeing that it is such a arduous task I alternated between flattening the top and tapering the octagonal shape of the four legs. In the pictures below you can see how I marked out the thin end of each leg.


The leg sits in a groove created by opening my twin screw vice to the desired amount. The strips of wood on the bench help me to do the tapering in a consistent fashion.


After about half a day’s planing.

One day’s planing.

One and a half day’s planing.
Finished after about two day’s planing.


Of course ‘finish’ means flat only, nothing else. Now we have to remove the diamond shaped patterns created by the toothed blade. For this task I used my Lie-Nielsen no.112 scraping plane and my shop made smoothing plane with an effective pitch of 70º.


Once most of the diamond shaped patterns were dealt with, I continued with an orbital sander and sanding planes. I worked through progressively finer grit sandpaper from 120 to 400. First the orbital sander followed by the sanding plane (with the same grit but worked in the same direction as the grain) before moving to the next grit.


I stuffed around a bit with this photo to try and express what it feels like to do this work. It is hard work that asks a lot of patience as any shortcut will lead to inferior results.

One last photo before the tung oil gets applied. I pressed on with the preparation of the face side so that oil has a good few weeks to polymerize while I take a break from the shop. Once we get back from our break it will be ready for shellac.

The tung oil brought it all alive. After all that work it is always a good feeling when the beautiful feral grain comes to the party.


Next time round we will finish off the legs and join them to the torsion box by means of Windsor style joints.