26/10/2015
Way back at the end of October last year, I started planing the Kershout for this table. As you can see from this picture, I had first class help in the form of my wife. She helped me to feed the boards to the planer as they are far too big and heavy to manage by myself. She did all of this while sporting some or other tinfoil-toe-treatment-thingy. Heaven knows whether it is for cosmetic or functional purposes. She is training for the world famous Two Oceans Ultra Marathon (56 km) so it might be something to do with that (I do not want to know), or simply a type of African pedicure??
Anyway, the Kershout were planed bit by bit over a 4 month period. This ensures that it has enough time to settle between planing sessions, which usually results in less warping.


7/3/2016
The timber mill day.
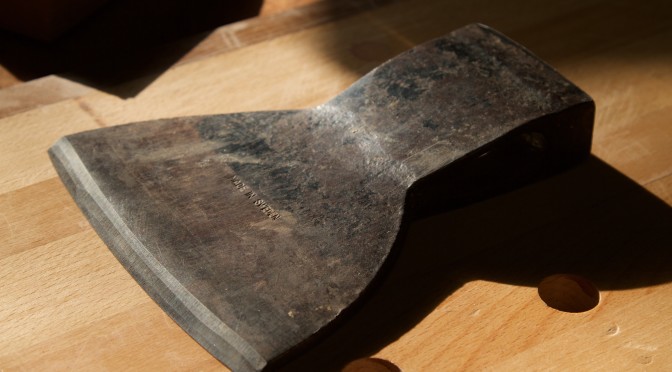
On Saturday I took to the Witpeer for this project with a vengeance. It has been sitting in the shop to acclimatise for about 5 months now. Given the amount of processing to do, I asked my gardener (this is Africa aka TIA) Adam to help. We identified and marked out the pieces for the trapezoid shaped leg, which was first cut into shorter pieces using my Disston no. 12 crosscut handsaw


From left to right: The shorter pieces for the trapezoid leg, four long strips for the beam at the bottom of the table, with a bit more trapezoid leg pieces sitting on top of it, and the Kershout pieces for the top which received its final planing pre glue-up.

Trapezoid leg pieces.


I usually try to clamp the pieces as shown below after each of the planing/cutting steps. With each of these steps you release tension, which tends to make these feral boards move like Michael Jackson.


Now I often refer to the timber as being feral and I do not think most people realise exactly what I mean. Here are a few pictures to illustrate what I mean. For every bit of stock I want to use I usually have to laminate carefully chosen bits of timber together. In order to make up the necessary dimensions of the beam for this table I had to liberate four strips of Witpeer from wild boards such as the one pictured. You can appreciate the cracks, changes in grain direction, and changes in colour.


Therefore I have to whittle out relatively defect free timber to laminate into stock of larger dimensions. This takes a lot of time and effort as you can imagine. All this happens prior to being able to start really shaping pieces of furniture, hence my very pedestrian progress most of the time.


Here I am hand planing a straight edge on one of the pieces to use as a reference surface for the table saw to cut the opposite edge parallel to the aforementioned. This wood is so hard that you really do need power tools for same of the steps.

Resting in clamps overnight.


The next day saw the strips being prepared a bit more with a final planing and sanding to create the best possible glue surface. Then the glue-up.


Now we have a piece of timber of appropriate dimensions to start shaping into a beam for the table.


I removed the excess dried glue with my shop made flush plane.


On wards and upwards, they say.