2/11/2015
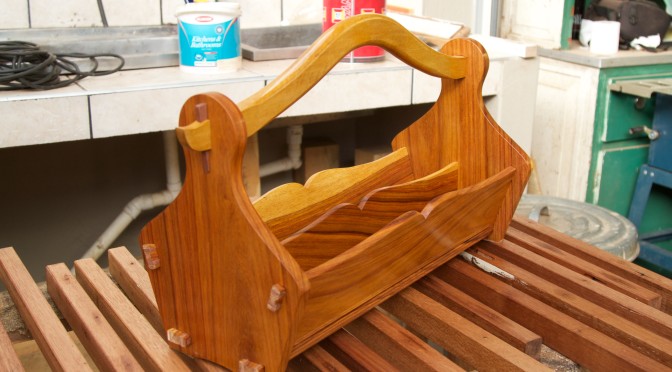
You might remember that I started building an end grain chopping board towards the end of 2014, which was completed early in 2015. Well, my mother-in-law liked it so much that she requested her own version. Here are the two boards I chose for the project. Kershout and Witpeer are both extremely hard and provides the ideal contrast in colour.

In order to get the most out of this Witpeer board, I had to first chop it into two pieces before ripping it into appropriate strips. You can relax, I did not do the ripping by hand, only this crosscut.

I then chose the best strips for the first glue-up. These feral boards always have some wood borer art, but that is part of it’s charm.

Each glue surface was prepared carefully by hand to ensure the best possible bond. I used my no. 606 Bedrock fore plane and a sanding plane for this task.

The first glue-up was quite stressful given the amount of joints and how quickly the PVA glue sets in our heat and low ambient humidity.


My shop made flush plane removed the excess glue before the planer got stuck into it.


After ripping the stock crossgrain into 45 mm wide strips, each strip were turned by 90º in order to expose the end grain. Every second strip were then flip end-to-end to create the chest board appearance.

9/11/20115
I decided to do the next glue-up in two separate stages as a result of the speed at which the PVA sets. Once again each glue surface were prepared carefully by hand.


Second glue-up: stage one.


Second glue-up: stage two.


Removing excess glue.


30/11/2015
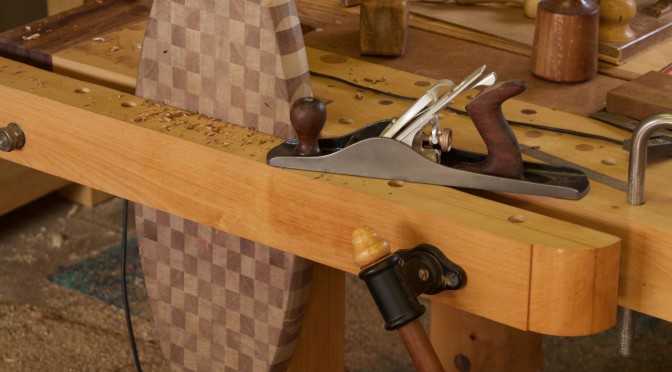
The most laborious part of this project is without a doubt the hand planing of this large end grain surface. I first sharpened the toothed blade of my Lie-Nielsen low angle (or sometimes referred to as a “bevel-up”) Jack plane as best as my current sharpening skills will let me. Even with a freshly sharpened blade it is extremely hard work, especially in a shop that is averaging between 30 and 35°C during the day in the past month. For that reason I planed in short bursts between other tasks over a 10 day period.


I removed the bulk of the “toothed” texture left behind by the Jack plane using a Lie-Nielsen scraping plane.


That was followed by a sanding plane.

Marked out the final shape.


The waste was removed with the bandsaw.

All of the rest of the shaping was done by hand. The Shaw’s Patent (Sargent) Jack plane pictured in the background is set-up as my most aggressive metal plane. I used it to do the bulk of the shaping.


That was followed by this Stanley no 9½ block plane and finally the sanding plane.


7/12/2015
The wood borer art I mentioned earlier got filled in with slow setting epoxy to stop water from getting in. To those of you who are going to bring up the issue of epoxy causing cancer in California (or something to that effect), I will refer back to the title of this post. Only joking of course, but here in Africa we have bigger problems than ingesting minute amounts of epoxy. Problems such as corruption, racism, tribalism, nepotism, affirmative action (sometimes referred to as reverse racism), incompetence, to name a few.


According to my research, liquid paraffin is one of the best oils (for lack of a better term) to apply to wooden surfaces that will come in contact with food, but who knows what it might do in California?