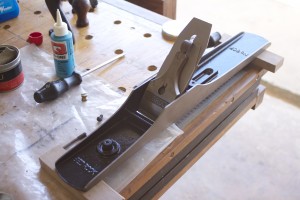
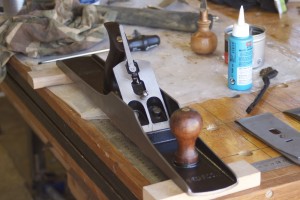
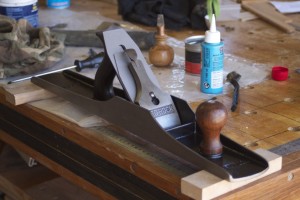
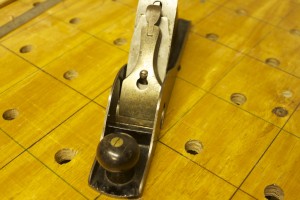
Category Archives: Rehabilitation of old tools

Tour de Shop and project inventory 2014

13/11/2014

My last proper weekend in the shop for 2014 has now come and gone. It is therefore now time to start reviewing what I have managed to accomplish during this year and to take a quick look around the shop.

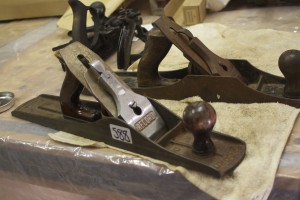
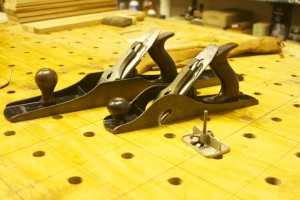
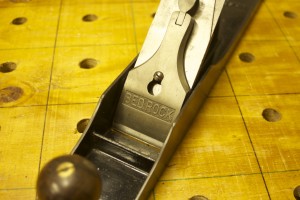
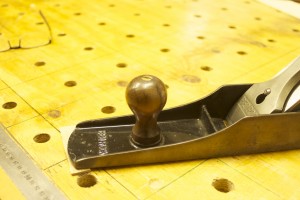
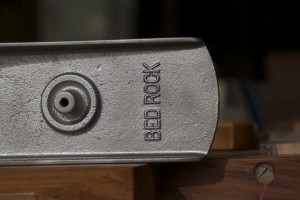
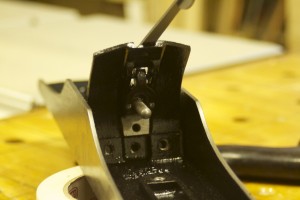
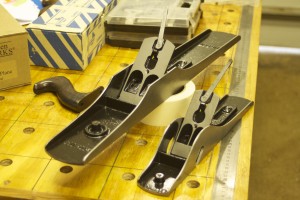
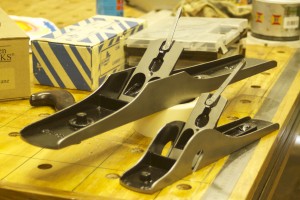
It all started with the rehabilitation of the two planes I happened to buy at an antiques sale in RSA over the December holidays. The Bedrock no. 606 has become one of my go-to tools.

http://www.jenesaisquoiwoodworking.com/resurrection-of-two-cast-iron-fore-planes/

IMG_9022IMG_9024IMG_9036IMG_9604IMG_9605IMG_9607IMG_9608


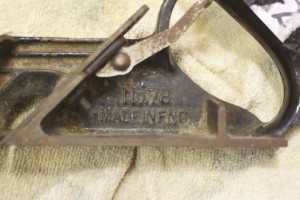
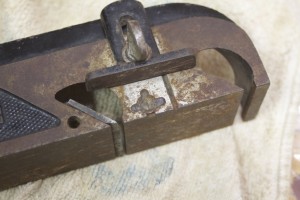
I also bought this no.78 Rabbet plane from Stanley at the same auction, but it’s rehab took quite some time as it had several parts missing.

http://www.jenesaisquoiwoodworking.com/stanley-no-78-rehabilitation/

IMG_9038IMG_9040IMG_9041IMG_9981


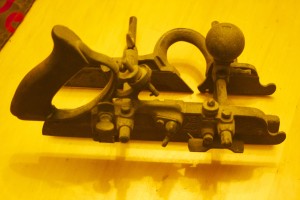
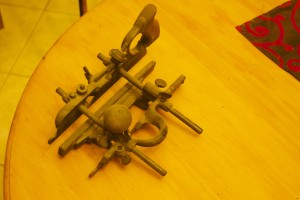
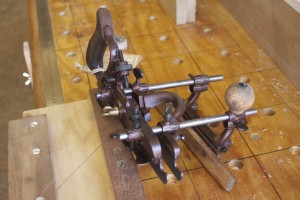
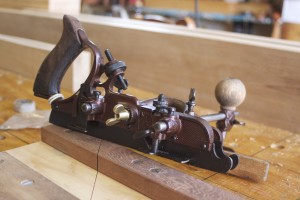
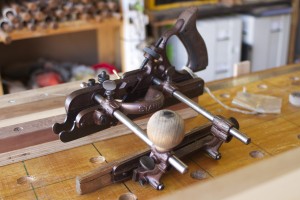
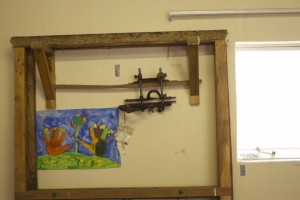
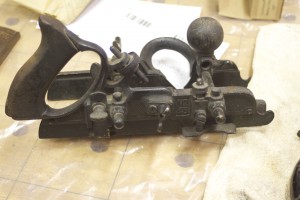
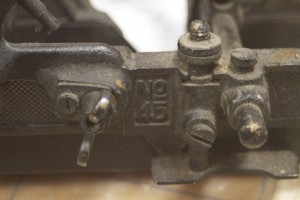
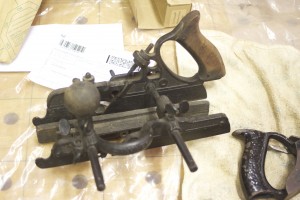
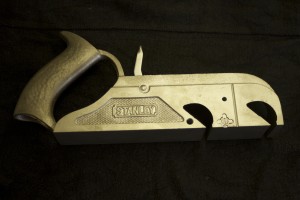
This was the last of my holiday shopping, a no. 45 Plough Plane from Stanley. It was covered with a thick black paint, and had no iron/s. I decided to tidy it up for shop decoration purposes.

http://www.jenesaisquoiwoodworking.com/stanley-no-45-rehabilitation/

IMG_9044IMG_9621IMG_9622IMG_1772IMG_1773IMG_1774IMG_1775


I managed to finish turning all those file handles that I started with at the end of 2013.

IMG_9596


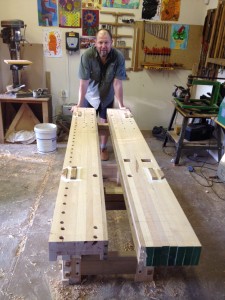
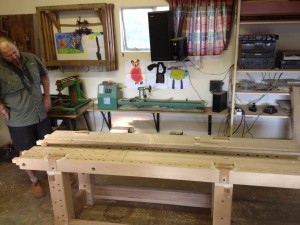
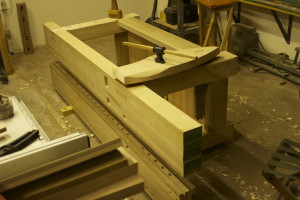
My major project for 2014 started on the 1st of February and is not finished by quite some way. I spent at least 80% of my shop time this year working on my 18th century workbench and am pleased to say that it is at least assembled by the end of 2014. You can read all about it in a series of posts entitled “My 18th Century Workbench in progress”

IMG_9580IMG_9581photo 3photo 4


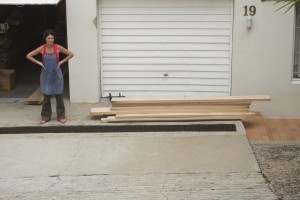
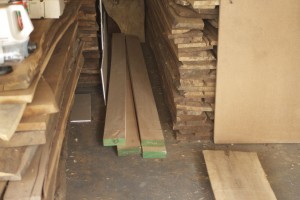
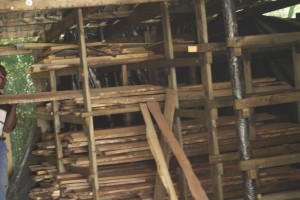
My 17 m³ wood finally completed it’s journey when it took occupation of it’s purpose built shed.

http://www.jenesaisquoiwoodworking.com/the-lumbering-odyssey/

IMG_9643IMG_9642IMG_9804IMG_9654IMG_9661IMG_9671IMG_9857IMG_9860

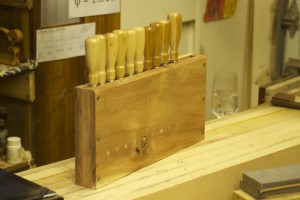
These exquisite chisels from Lie-Nielsen arrived after a wait of several months. I made this very basic storage to keep them out of harm’s way.

http://www.jenesaisquoiwoodworking.com/chisel-storage/

IMG_0005IMG_0003IMG_0004


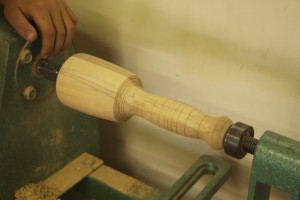
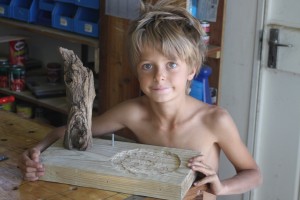
Didi (my son) started his woodworking journey by turning this mallet for himself.

IMG_0071IMG_0072


I used an antique brace bit from my father’s collection that had key parts of it’s business end missing to fashion this birdcage awl. It is a real winner.

http://www.jenesaisquoiwoodworking.com/brace-bit-birdcage-awl-also-known-as-bbba/

IMG_0128IMG_0180

Didi’s next project was this bird feeder.

IMG_5595

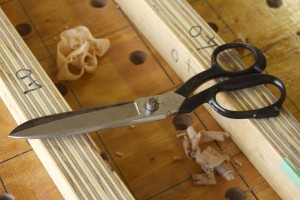
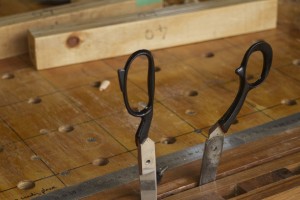
I revamped and sharpened this old scissor.

http://www.jenesaisquoiwoodworking.com/scissor-rehab/

IMG_0201IMG_0215IMG_0227

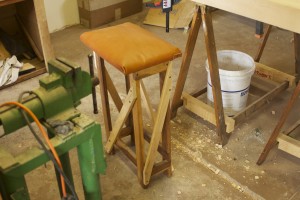
This shop high stool saw a bit too much action during the 14 years since I first made it. I re-upholstered it with leather and strengthened the base, while (clearly) not worrying too much about je ne sais quoi.

http://www.jenesaisquoiwoodworking.com/shop-high-stool-facelift/

IMG_0330IMG_0337

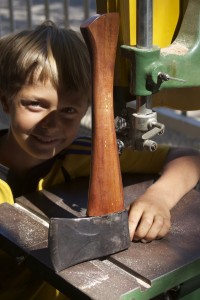
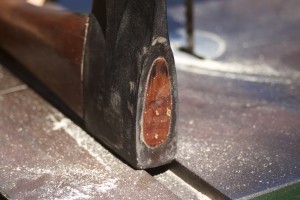
Didi learnt a few more skills by producing this beautiful Assegaai handle for an old axe we had lying around.

IMG_0418IMG_0421IMG_0422

This Miller’s Falls no. 88 joiner gauge was successfully rehabilitated.

http://www.jenesaisquoiwoodworking.com/millers-falls-88-perfection-jointer-gauge-rehab/

IMG_0913IMG_0907

The wife and I managed to make a team effort of the re-upholstering of “die rooi bank”.

http://www.jenesaisquoiwoodworking.com/die-rooi-bank/

IMG_1071IMG_1084IMG_1078IMG_1101IMG_1148IMG_1412IMG_1414

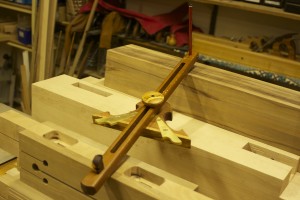
In order to hand plane the two edges of my benches top parallel, I had to first build this large panel gauge.

http://www.jenesaisquoiwoodworking.com/makeshift-panel-gauge/

IMG_1360IMG_1361IMG_1362IMG_1364

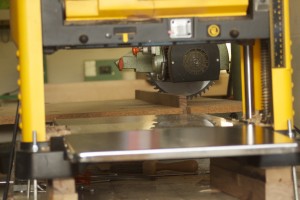
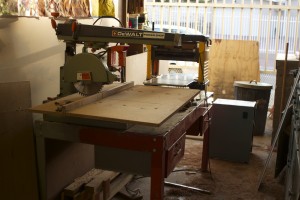
In order to create the space for my 18th century bench, I had to rearrange  some of the power tools. This planer and radial arm saw were placed on the same steel table and lined up to become each other’s out-feed table.

http://www.jenesaisquoiwoodworking.com/level-playing-field/

IMG_1404IMG_1405IMG_1406

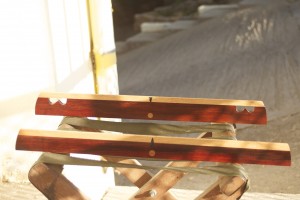
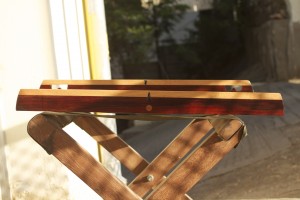
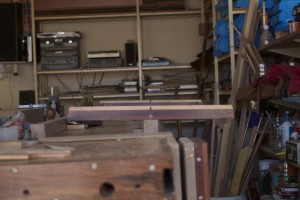
A set of winding sticks.

http://www.jenesaisquoiwoodworking.com/shop-made-winding-sticks/

IMG_1493IMG_1494IMG_1749IMG_1751

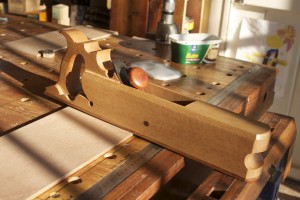
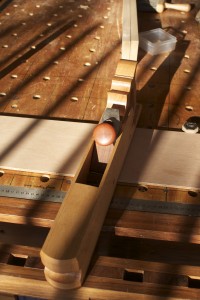
My favourite shop made wooden plane received some cosmetic surgery. I added a thin strip of Tamboti to it’s chipbreaker/lever cap and covered the lever cap screw with Kaapse Swarthout. This is a true workhorse as it makes short work of all scrub plane and very aggressive fore plane tasks.

http://www.jenesaisquoiwoodworking.com/scrub-plane/

IMG_1664IMG_1713IMG_1714IMG_1715IMG_1716

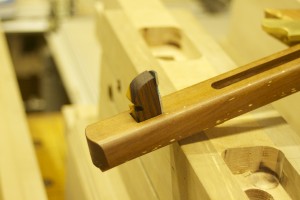
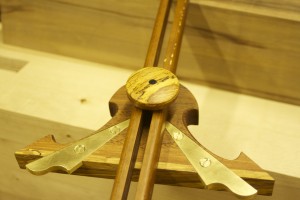
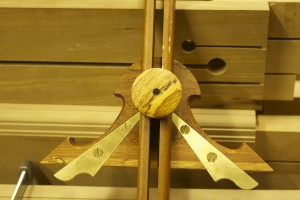
My own version of a Melencolia Square.

http://www.jenesaisquoiwoodworking.com/shop-made-melencolia-square-with-the-marxian-improvement/

IMG_1735IMG_1736IMG_1739IMG_1740IMG_1741IMG_1742

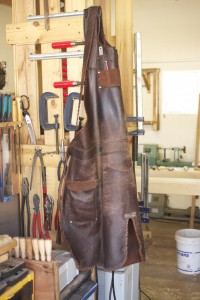
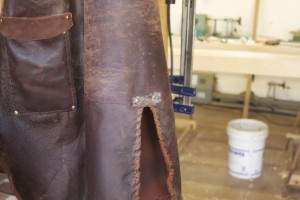
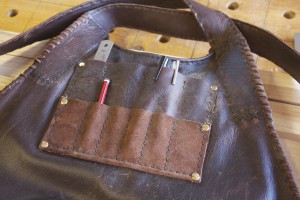
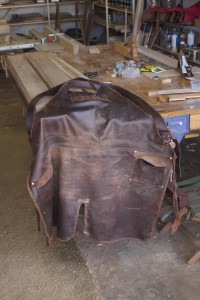
Custom made leather apron.

http://www.jenesaisquoiwoodworking.com/custom-made-leather-apron/

IMG_1743IMG_1744IMG_1745IMG_1746IMG_1748

Restored a Stanley no. 10 Rabbet plane (ca 1900) and a Bedrock no. 607 Jointer.

http://www.jenesaisquoiwoodworking.com/stanley-no-10-rabbet-plane-rehab/

http://www.jenesaisquoiwoodworking.com/stanley-bedrock-no-607-jointer-rehab/

IMG_1804IMG_1799IMG_1800IMG_1976IMG_1978IMG_1979IMG_1980

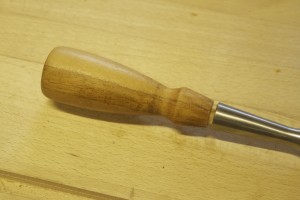
Replaced my ½” Lie-Nielsen mortice chisel handle with a shop made Ysterhout version. So far it is standing up to heavy abuse without breaking a sweat.

http://www.jenesaisquoiwoodworking.com/replacing-lie-nielsen-mortise-chisel-handle/

IMG_2180IMG_2169


A custom made pairing handle for my bevel edge chisels.

http://www.jenesaisquoiwoodworking.com/shop-made-pairing-handle-for-my-lie-nielsen-bevel-edge-chisels/


IMG_2170

Finally got round to making an Ysterhout straight edge.

http://www.jenesaisquoiwoodworking.com/shop-made-ysterhout-straight-edge/

IMG_2270IMG_2271IMG_2272

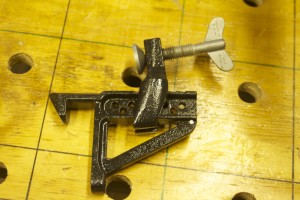
Restored this Stanley no. 203 bench clamp.


IMG_2286IMG_2289IMG_2329

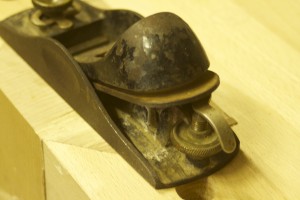
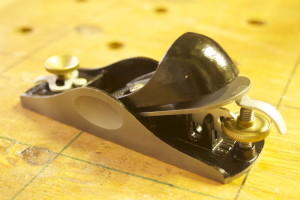
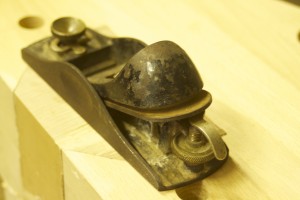
Restored this Stanley no. 9½ block plane.

http://www.jenesaisquoiwoodworking.com/stanley-no-9½-block-plane-rehab/

IMG_2482IMG_2483IMG_2485IMG_2486IMG_2512IMG_2641IMG_2643IMG_2645IMG_2644

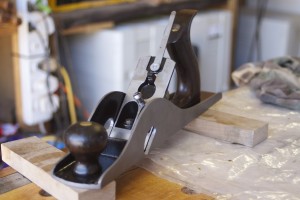
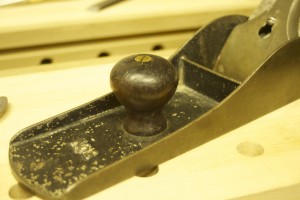
I started restoring this Stanley no. 8 Jointer (ca 1896), but there is a lot more work to do next year. I will replace both tote and knob.

IMG_2478IMG_2479IMG_2481IMG_2487IMG_2618IMG_2619


Tour de Shop at the end of 2014

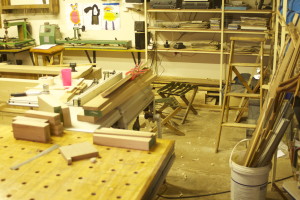
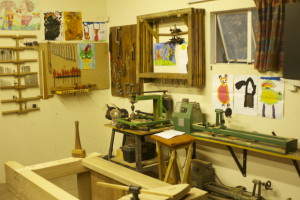
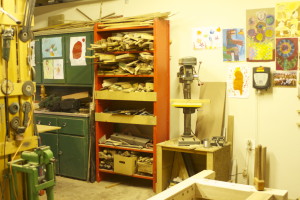
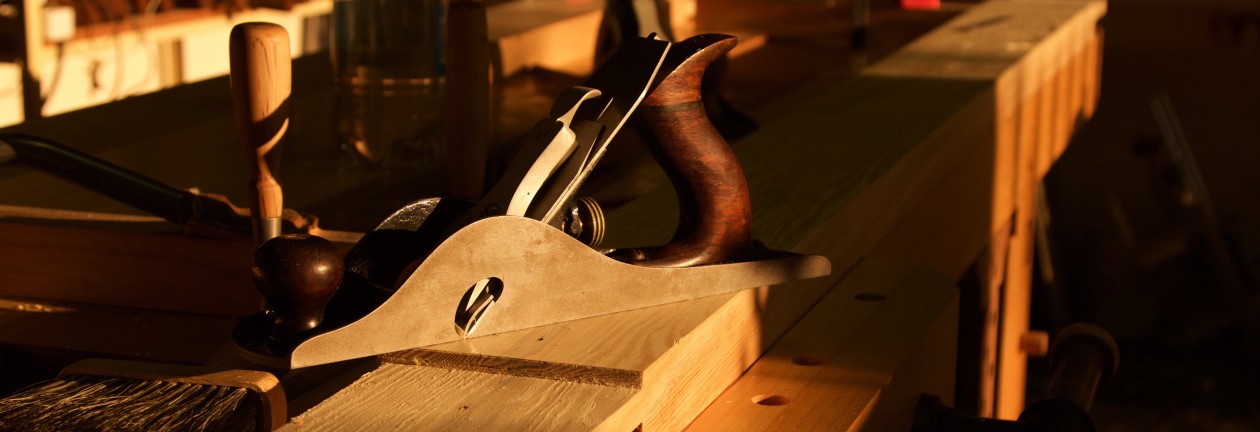
This is simply a series of photos documenting the state of the shop at the end of 2014. The major change from last year has been the addition of the assembled (though not finished yet) 18th century style workbench. I also managed to collect quite a few new hand tools with the help of Patrick Leach and Jim Bode. As I am writing this my first shipment from Jim has not arrived yet despite leaving the States on the 12th of October. My guess is I will never see those tools or money again. Just one of the joys of living in Africa.

(9/1/2015 – I am very happy to report that the shipment arrived in Namibia on the 6th of Jan 2015 without as much as a scratch. I will write a post on this saga in the near future)
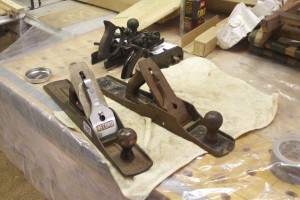
IMG_2620IMG_2621IMG_2622IMG_2623IMG_2624IMG_2625IMG_2626IMG_2627IMG_2628IMG_2629IMG_2630IMG_2631IMG_2632IMG_2633IMG_2634IMG_2635IMG_2636IMG_2637

Mallet facelift

17/11/2014

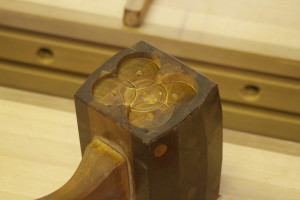
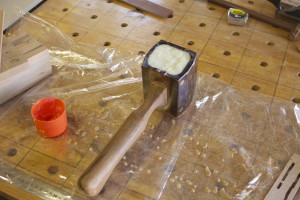
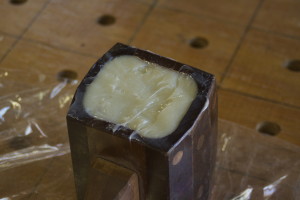
A week ago I damaged the non-leathered end of my shop made heavy dead-blow mallet, while getting carried away with hitting some Assegaai dowels (draw pins) home. It needed quite a bit of persuasion and I did not realise how hard those dowels are. Anyway, so I drilled out the damaged area and filled it with slow setting epoxy. I will report back on this post how it worked out after some abuse in the shop.

IMG_2677IMG_2678IMG_2679IMG_2680IMG_2681

Stanley no. 9½ Block plane rehab

27/10/2014

These little beauties were made between 1873 and 1981. This one is an example of the final design (in the tool’s evolution) as far as I can gather from the literature, but could still be anything between 40 to 100 years old. I bought it from Patrick Leach.

IMG_2482IMG_2483IMG_2484IMG_2485IMG_2486

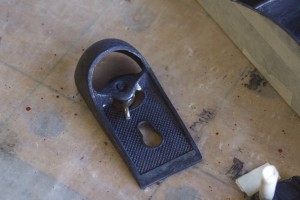
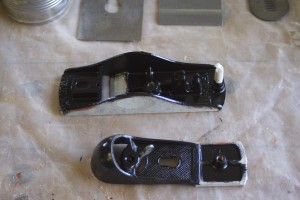
As per usual I sent the various part off to get bead blasted. Then I applied the usual sequence of coats to the main casting and lever cap.

IMG_2512IMG_2514IMG_2515IMG_2516IMG_2517IMG_2530

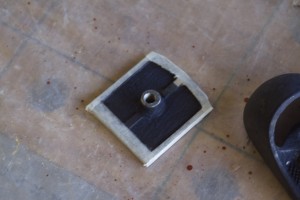
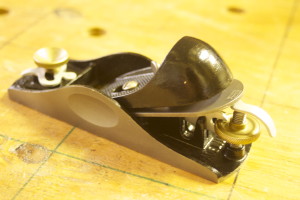
Kenney also plated the lateral adjustment lever, the lever that adjusts the throat and the depth adjustment lever with Cadmium. Now I only need to sharpen the blade. The last picture shows the leather pouch I made for it.

IMG_2641IMG_2642IMG_2643IMG_2644IMG_2645IMG_2646

Stanley Bedrock no. 607 Jointer rehab

24/7/2014 This #607 Bedrock arrived today after an arduous journey across the Atlantic Ocean and the Equator. It left Ashby (Massachusetts) in the US of A on 7/2/2014 as carefully packaged by Patrick Leach. I cannot say enough good things about my dealings with Patrick so far. You can find his details on the library page of this site.

I first thought that the plane only needs it’s blade to be sharpened, but eventually succumbed to my obsession to redo it completely. I have to warn you once again that it might not be a good idea if you want to sell the plane in future, but I am not a collector and do not plan to part from this plane. The only tools that I have been forced to part with are those that got stolen over the years. TIA as they say, this is Africa.

IMG_1800IMG_1801IMG_1802

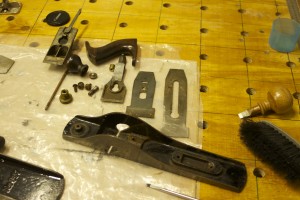
Here are some photos of the plane as I took it apart.

IMG_1812IMG_1813IMG_1814IMG_1815


IMG_1816IMG_1817


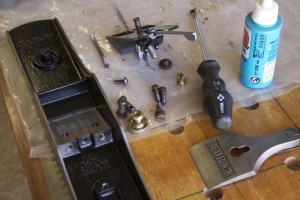
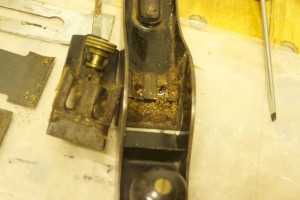
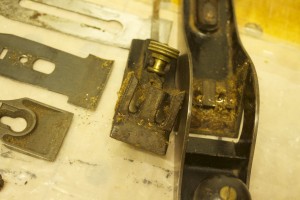
The frog screws and frog adjusting screw were a bit difficult to unscrew due to gunk and rust, but after a soaking in Q20 it could be persuaded to vacate it’s cosy abode.

IMG_1818IMG_1819IMG_1820IMG_1821IMG_1822IMG_1824

IMG_1850

29/7/2014

Today I received the frog and blades back from Kenney at the Prop Shop who bead-blasted all the gunk and japanning to Kingdom come. You will notice the blade and chip breaker of a #10 in the picture, but I am writing a separate post on that process.

IMG_0139IMG_0140IMG_0141IMG_0142


2/8/2014

This what the main casting looks like when cleaned by a professional.

IMG_1904IMG_1905IMG_1906IMG_1907IMG_1908


Masking tape before makeup.

IMG_1909IMG_1910


The rust converter coat.

IMG_1911IMG_1912


The anti-rust undercoat.

IMG_1914IMG_1915


The frog with it’s enamel paint finish.

IMG_1936IMG_1937IMG_1938


Main casting after painting.

IMG_1955IMG_1956


Japanning finished … now for the bits of metal work … flattening surfaces, sharpening blade and prep chip breaker.

IMG_1957IMG_1958IMG_1959IMG_1960IMG_1965

10/8/2014

On Friday I managed to sharpen the blades of both the #607 and #10 that I am currently working on. Then on Saturday morning it was time to reassemble the #607. Interestingly I had to shorten the frog adjusting screw in order to set a fine mouth opening. I am not sure whether this is a common issue, as it was not the case with the #606 I restored previously. The blade had a bevel angle of roughly 30º, which I hollow ground back to 25º with a very slight camber. I used a honing angle (1000 grid Ohishi waterstone) of 33º and a polishing angle (10 000 grid Ohishi waterstone) of 35º as I work mostly with exceptionally hard wood.

IMG_1966IMG_1967IMG_1968IMG_1969


IMG_1970IMG_1971IMG_1972IMG_1973


As you can see it was well worth the effort and works like a dream straight off.

IMG_1974IMG_1975IMG_1976


Stanley no.10 Rabbet plane rehab

24/7/2014

This ca. 1910 Stanley no.10 Rabbet plane arrived today after crossing the Equator and the Atlantic Ocean en route to the Land of The Brave. It is another of my acquisitions from Patrick Leach.

IMG_1804IMG_1805IMG_1806IMG_1807IMG_1808IMG_1809IMG_1810IMG_1811

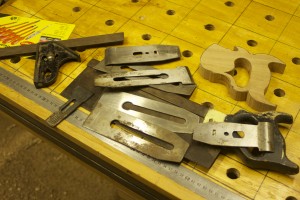
Here you can see what the blade, chip breaker and lever cap looked like as I took the plane apart.

IMG_1825IMG_1826IMG_1827IMG_1828

I found ample evidence that the plane was used at some point between 1910 and 2014, as you can see.

IMG_1829IMG_1830IMG_1831IMG_1832IMG_1833IMG_1834IMG_1835

Initially I decided to only send these three parts (from my latest acquisition) for bead blasting, but then changed my mind and sent (second picture) all the blades, chip breakers, the #10’s frog and the #607’s main casting off too. (see posts entitled “Third acquisition from Patrick Leach” and “Stanley Bedrock no. 607 rehab”)
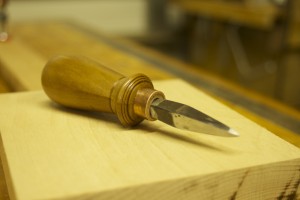
IMG_1844IMG_1863

As you can see here, the main casting lost some japanning during it’s 104 year tenure.

IMG_1846IMG_1847IMG_1848IMG_1849

During a very brief (less than 4 days) visit to Kenney at the Prop Shop it lost all of the rest of it’s japanning, rust and gunk.
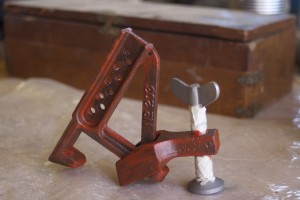
IMG_0135IMG_0136

The lever cap were bead blasted and then plated with cadmium.

IMG_0145

The blade and chip breaker (left two) received the same treatment as above.

IMG_0142


I hope to get close to finishing this rehab over the next weekend. So hopefully will be able to post the rest of the drama next week.

3/8/2014

I first applied a coat of rust converter followed by an anti-rust undercoat (first picture). That was followed by three coats of black high gloss truck enamel.

IMG_1891IMG_1902

After removing the masking tape, it looked like this.

IMG_1932IMG_1933IMG_1934IMG_1935

Initially I I thought that the frog did not need the full treatment, but after try to clean it realised that it really should get the benefit of a bead-blast exfoliation. It is pictured with the #607 Bedrock (you will find a seperate post on this rehab) shortly after returning from the spa and after the rust converter, followed by anti-rust under coat and enamel paint.

IMG_1904IMG_1911IMG_1912IMG_1915IMG_1951IMG_1952IMG_1953

Starting to look like the business.

IMG_1961IMG_1962IMG_1963

Posing with the #607.

IMG_1964IMG_1965


10/8/2014

IMG_1977IMG_1978IMG_1979IMG_1980

Stanley no. 45 rehabilitation

I bough this Stanley no 45 at an antiques auction in Groot Brak River RSA in December 2013. As you can see there are several parts missing and was painted with a thick black paint. I decided to get rid of the paint and sent it to my main man Kenney at the Prop Shop who bead blasted it to bare metal. Unfortunately I did not take a picture of this.

IMG_9622IMG_9621


IMG_9044IMG_9045IMG_9046IMG_9047IMG_9048IMG_9049


21/7/2014 Then I took it to a gunsmith who “blued” it. This is a process I know nothing about apart from it being a rust resistant treatment usually applied to a rifle’s metal parts. Now it looks a bit better and will hopefully stay looking this way for another century. I am using it as decoration on my shop’s wall due to all the missing bits. If you listen to Patrick Leach, it is not a plane you want to use anyway.

IMG_1772IMG_1773IMG_1774IMG_1775IMG_1776

Level playing field

23/6/2014

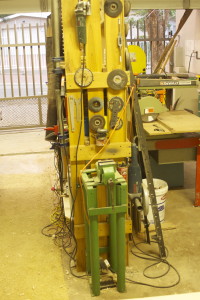
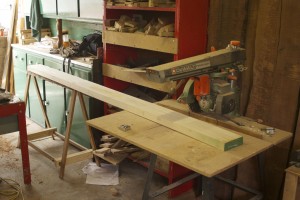
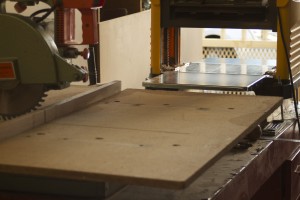
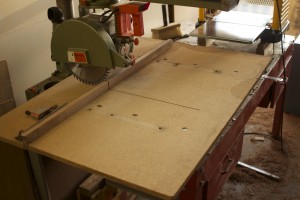
On Sunday I finally made the effort to set up my radial arm saw and my planer (both DeWalt but from different eras) on the red steel table (first photo). About eight weeks ago I took the radial arm saw off it’s custom steel table and bought a new cross cut blade for it. I decided to move it to the red steel table to create more space for my new 18th century workbench that I am in the process of building. It used to reside next to the red steel rack that house all my offcuts (second photo).

IMG_1393IMG_9582

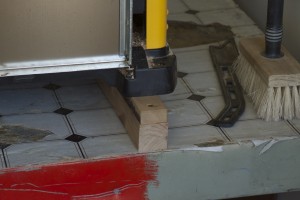
In order for these two power tools to be functioning next to each other I had to get them on the same plane. That meant that I had to lift the planer.

IMG_1394IMG_1395IMG_1397

Here you can see how the radial arm saw now acts as an out-feed table for the planer and vice versa. It took ages, fiddling around with different strips of wood to line the two surfaces up perfectly.

IMG_1398IMG_1399IMG_1404IMG_1405

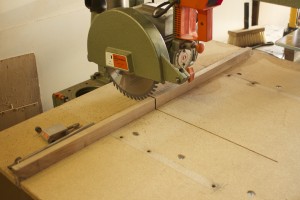
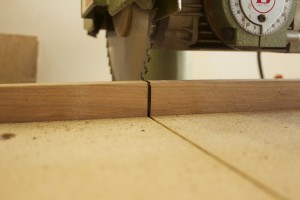
I also flipped the old chip board over that did duty as the radial arm saw table and made a new fence. Once I managed to set the saw up perfectly square in the two important dimensions, I cut a new zero clearance groove through the fence.

IMG_1400IMG_1401IMG_1402IMG_1403

… and finally I cleaned the track in which the saw runs, which had heaps of antediluvian grease- sawdust-crap obstructing the saw’s path. A fresh serving of grease got it back to it’s former self.

IMG_1406IMG_1407

Miller’s Falls #88 Perfection Jointer Gauge rehab

19/5/2014

I bought this jointer gauge from Patrick Leach recently. His contact details is on the library page of this sight. Miller’s Falls eventually inherited this tool from Langdon who introduced it in 1904. They continue to produce it until 1944. You can find a wealth of information on the history of Miller’s Falls and Langdon at the following site. http://oldtoolheaven.com/index.html

perfection jointer-gauge-lg


This was how mine looked like when it was still with Patrick in the US of A.

t48.jpg 1,763×1,434 pixels

Shortly after arrival in Namibia, I sent it to Kenny at the Prop Shop who bead blasted all the old paint and rust away. You can see the spectacular job he did in the picture below. Just a warning though, I understand from what I read in on Patrick’s site that the tools actually lose value to collectors if they are rehabilitated like this. I however use my tool to work with so it is not much of a concern to me but, you might want to be aware of this, if you want to collect tools.

IMG_0873

After a coat of rust converter. I followed this with a coat of antirust undercoat (no photo unfortunately).

IMG_0874

In these pictures you can appreciate the cadmium plating Kenny did on the cams. I glued a strip of seal leather to it’s inside where it tightens against the rim/side of a handplane. This way it grips better and does not grind the japanning off the plane.

IMG_0903IMG_0904IMG_0905IMG_0906


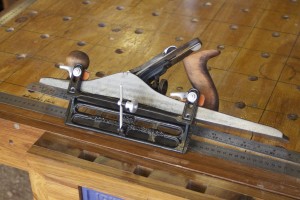
Here you can see it reassembled and in action on a #6 Record fore plane.


IMG_0907IMG_0908IMG_0909IMG_0910IMG_0911IMG_0912IMG_0913

Scissor rehab

22/4/2014

This is the pair of scissors that came with my father’s tools. Until recently it could not even cut toilet paper. It is however good German steel and made during the time when people still cared about quality. Therefore I decided to rehabilitate it by sharpening and repainting it.

IMG_0201

The bits of old paint disappeared with the help of paint stripper.

IMG_0204

I did some research on how to properly sharpen scissors in the electronic version of the book pictured below. I can really recommend it for all sharpening purposes.

sharp

A new coat of paint …

IMG_0214

… and Bob’s your Uncle.

IMG_0227

Stanley no. 78 Rehabilitation

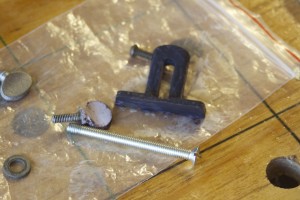
4/2/2014 – I bought this old Stanley #78 rabbet plane at an antiques auctions during the December holidays in Groot Brak Rivier. As you can see it was in a pretty bad state. The parallel guide and the lever cap were missing, but the depth stop and the nicker survived.

IMG_9038IMG_9039

It had one bade that was held in place by a washer as you can see.

IMG_9040

Here you can see the depth stop and nicker.

IMG_9041IMG_9042IMG_9043


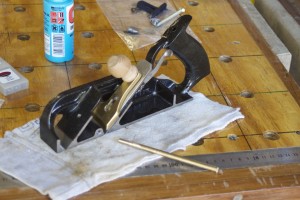
Since I struggled for a day with paint remover and wire brushes on a handheld drill to remove the japanning from the 2 cast iron fore planes I restored recently, a friend told me of a engineering shop that does bead blasting. The idea seems to be that these beads only removes paint and rust but no metal. So I rang Kenney at the Prop Shop who quickly explained what they do. Within 3 days I received a #78 looking like this ….

IMG_9613IMG_9614


I could not believe my eyes and thought they decided to plate it with something or other, so I rang Kenney. He assured me that it was only bead blasted and on closer inspection I realised that he was correct. As soon as I arrived home I proceeded to stick masking tape on all the areas that needs to stay paint free.

IMG_9615IMG_9616IMG_9617


Then I applied a coat of rust converter.

IMG_9618IMG_9619IMG_9620


10/2/2014 – Next came a coat of a rust resistant undercoat …

IMG_9623IMG_9624


… and three layers of high gloss truck enamel paint.

IMG_9637IMG_9638

IMG_9865IMG_9866


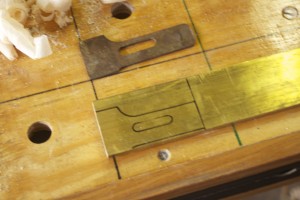
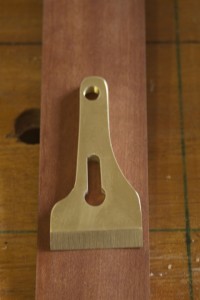
24/2/2014 – Seeing that the plane lost it’s lever cap, I fashioned one out of brass to give it that Lie-Nielsen look.

IMG_9898IMG_9899IMG_9900IMG_9901


17/3/2014 – Speaking of the devil, at about this time the Lie-Nielsen replacement blade arrived with a set of bevel-egde chisels.

IMG_9975IMG_9977

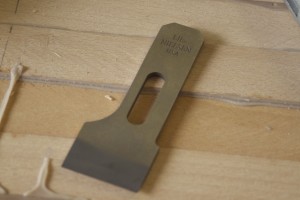
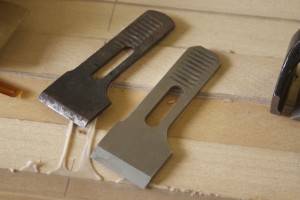
As you can see the news blade is almost an exact replica of the original except that it is quite a bit thicker. This has the added benefit that it closes up the throat.

IMG_9978IMG_9980IMG_9979


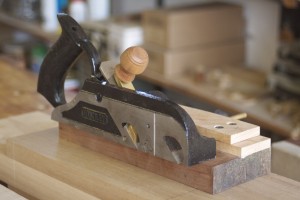
New blade and lever cap in position.

IMG_9981


31/3/2014

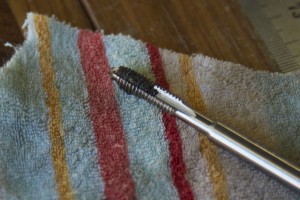
I started cleaning up the thread were the MIA fence guide should screw in.

IMG_0055IMG_0056IMG_0057

I then fashioned a new guide out of brass.

IMG_0058IMG_0059IMG_0060IMG_0062

The depth guide received the same treatment as the plane …

IMG_0061

22/4/2014

… and fitted to the plane.

IMG_0225IMG_0226


19/5/2014

During the past weekend I finally fashioned this Dolce&Gabbana-esque fence as I needed it to do some hand-cut mouldings. I might work on it’s appearance a bit more in future and possibly add a knob to the side that screws onto the end of the guide. Watch this space.

IMG_0919IMG_0920IMG_0928IMG_0929IMG_0930


A few examples of the mouldings.

IMG_0932IMG_0933IMG_0927