11/4/2016
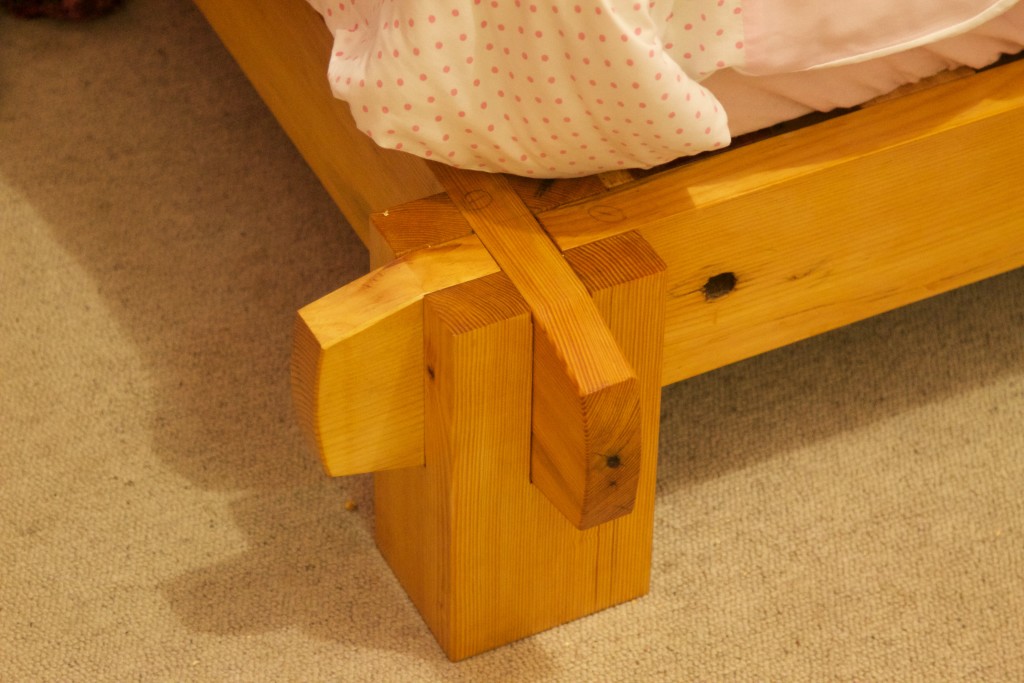
This is the final chapter in the series on building my daughter a bed from mostly reclaimed wood using Japanese joinery.
You can find the previous chapters here (part 1) and here (part 2).
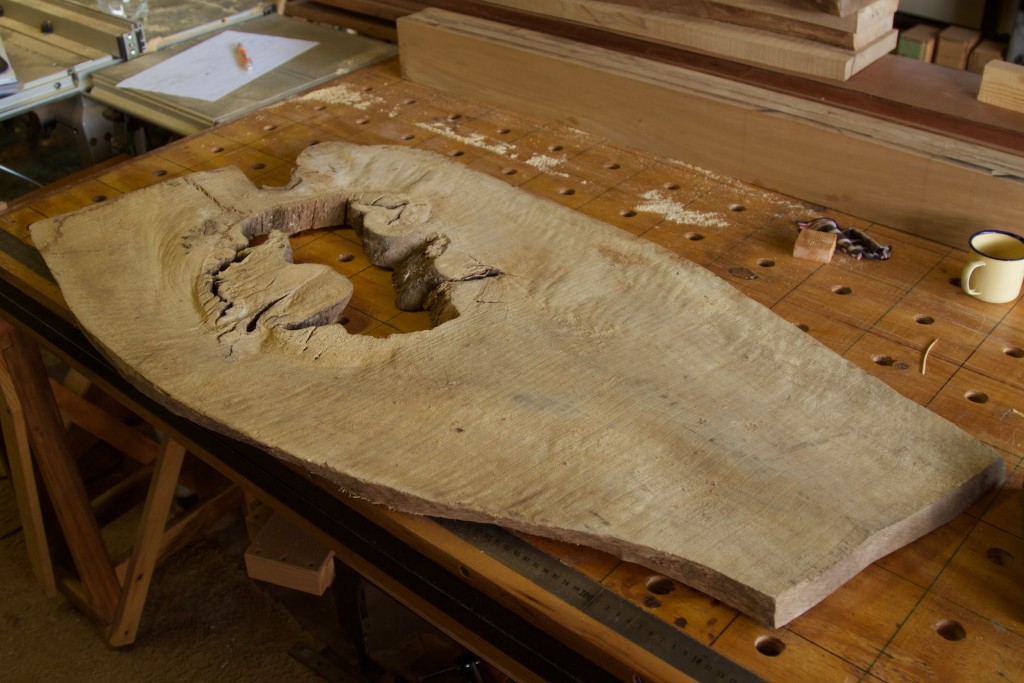
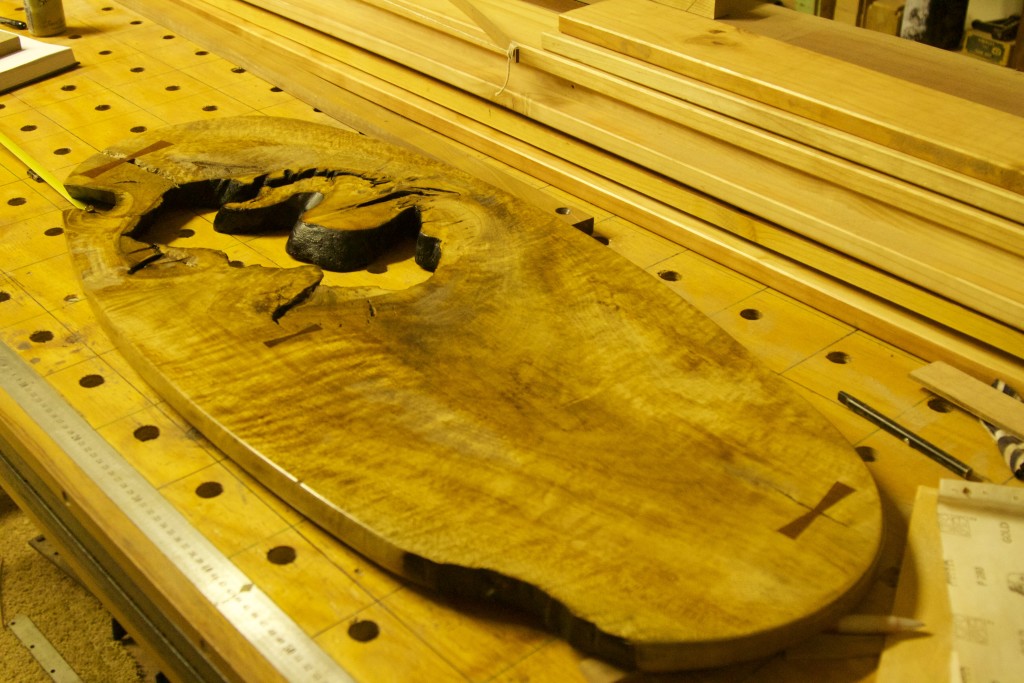
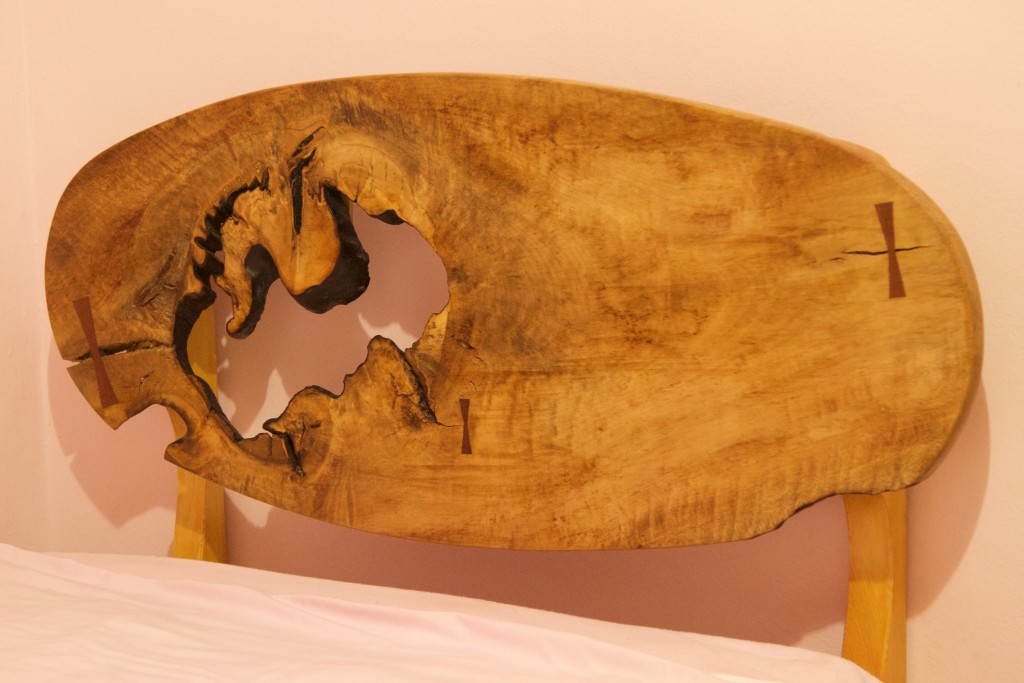
As you might remember we only have the headboard left to do. Aoife’s has been using the actual bed since mid April. The piece of Cape Holly (Ilex mitis) below was deliberately left over after harvesting the straight grained part of the board for the shelve of my second Roubo bench. I thought it could become an interesting headboard, especially with a bed that embraces Japanese traditions. The second picture below gives you an idea where these beautiful trees tends to grow in the wild.
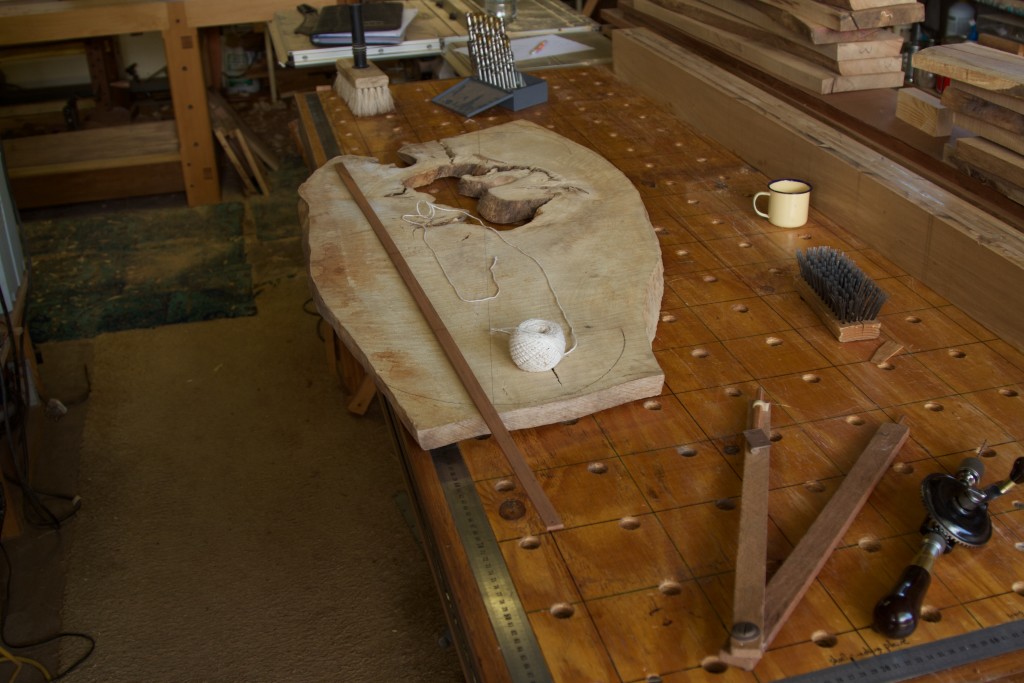
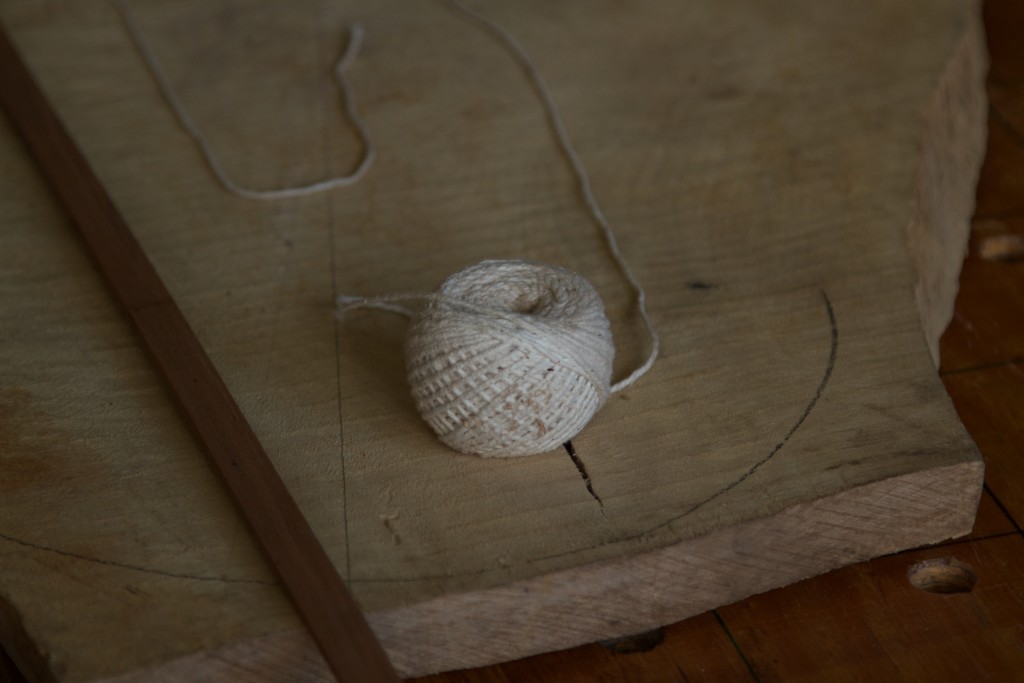
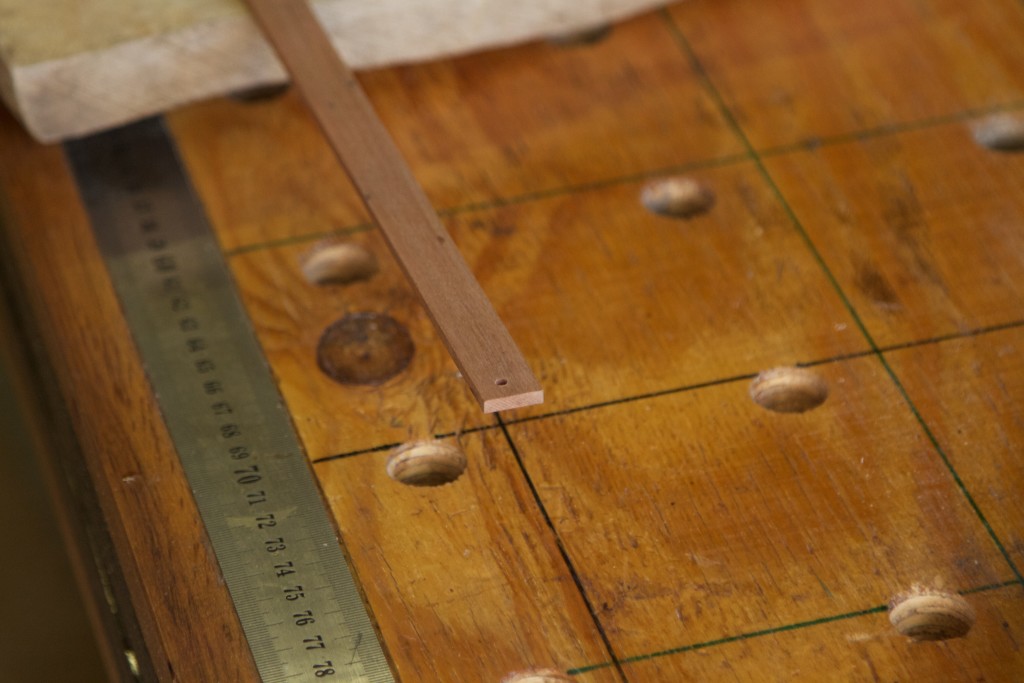
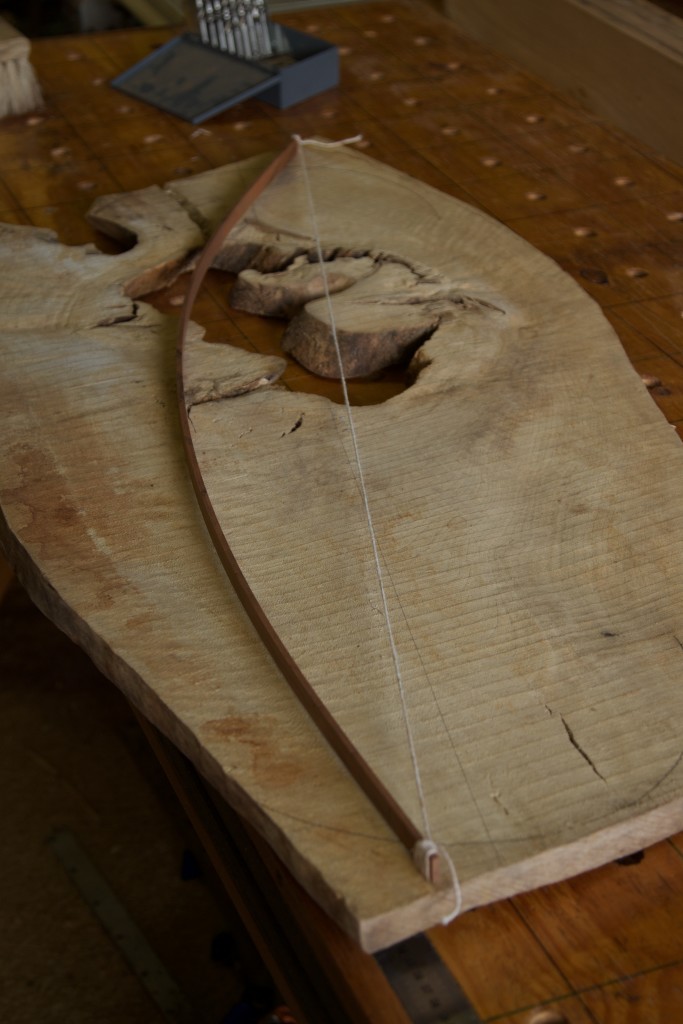
I made a bow using a strip of Assegaai and string. It enables you to experiment with different curves, which I did.
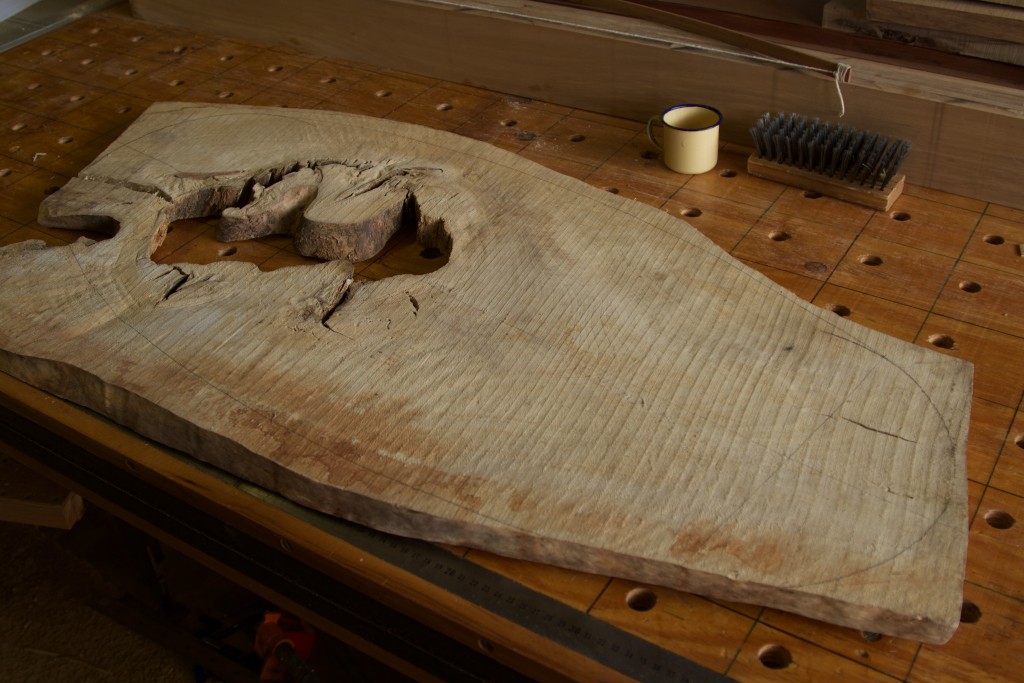
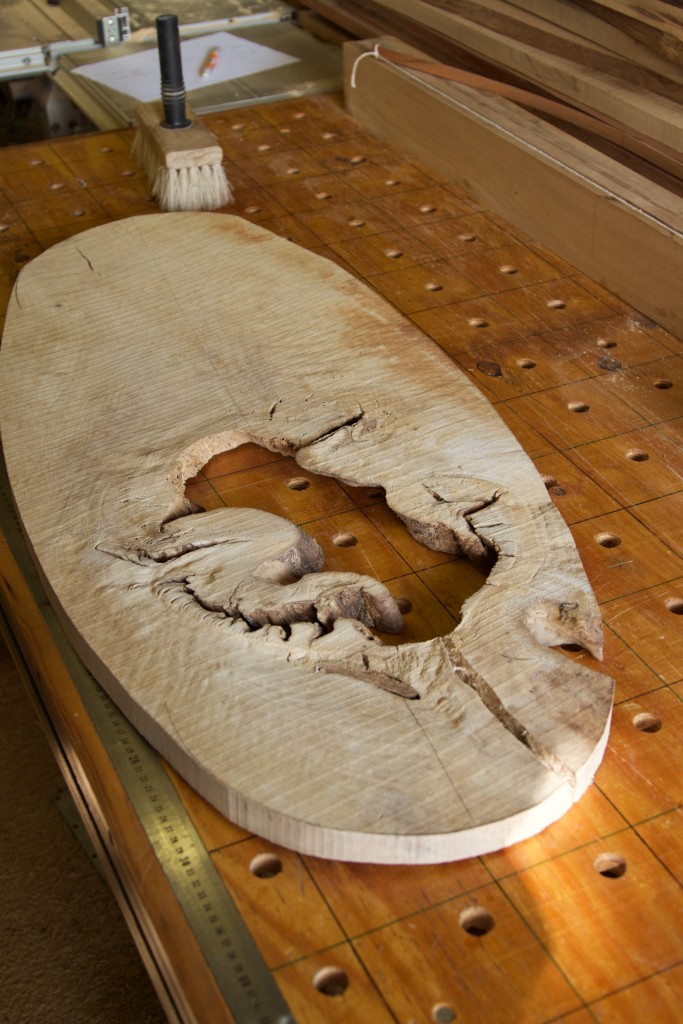
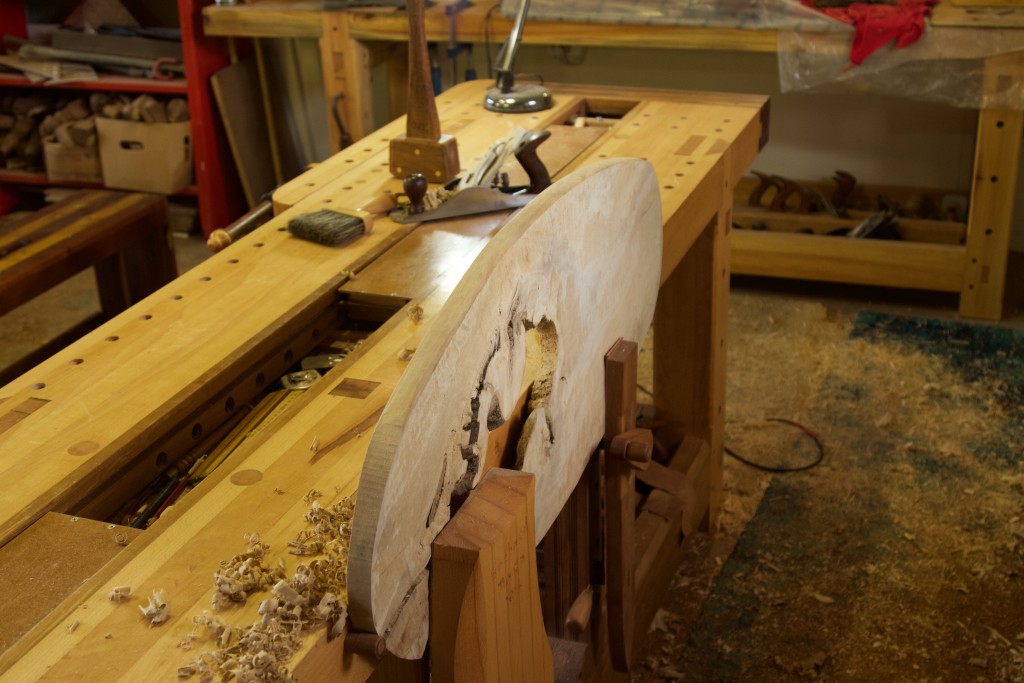
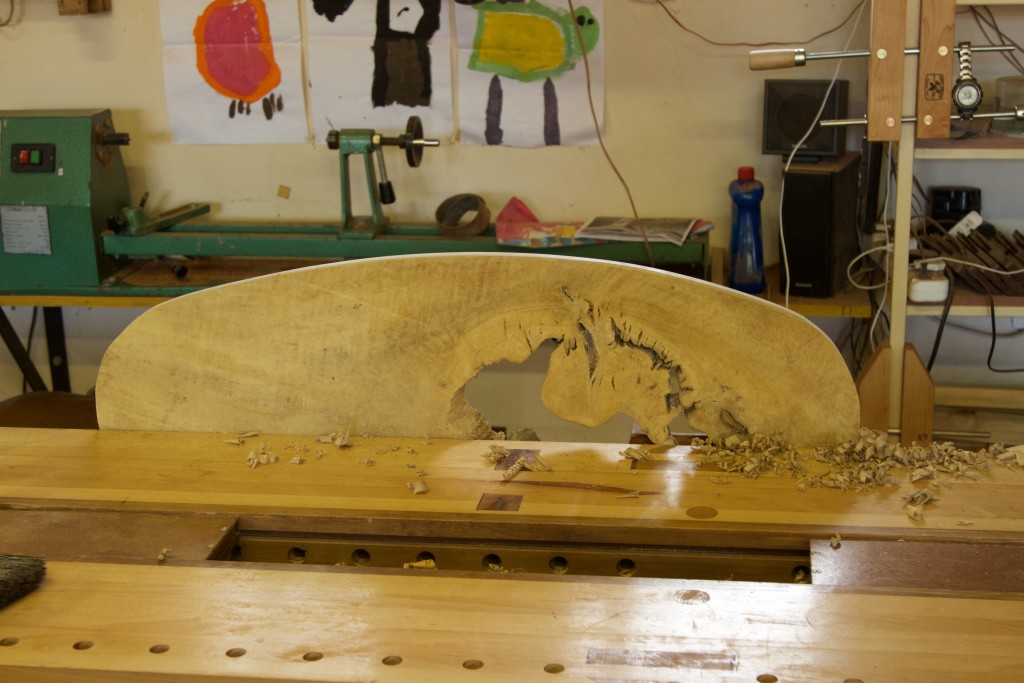
I ended up with the below shape.
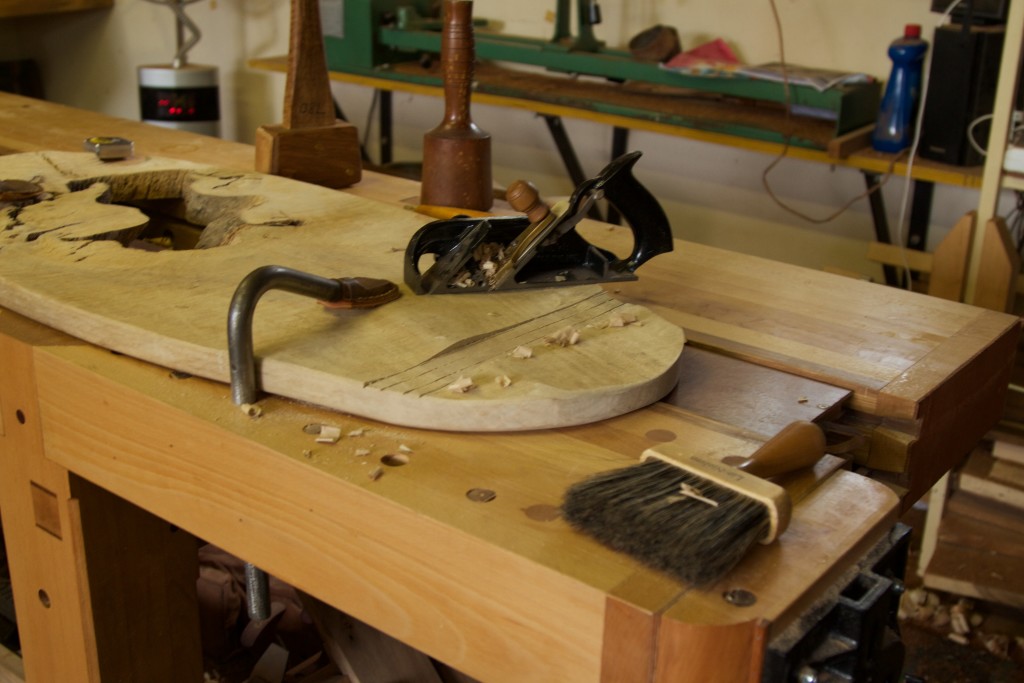
The edges were smoothed off using hand planes.
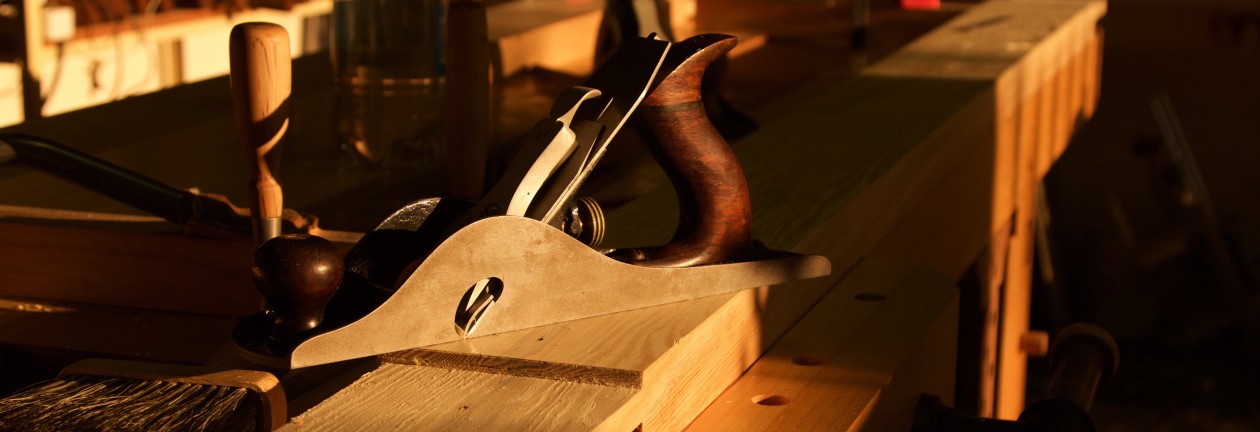
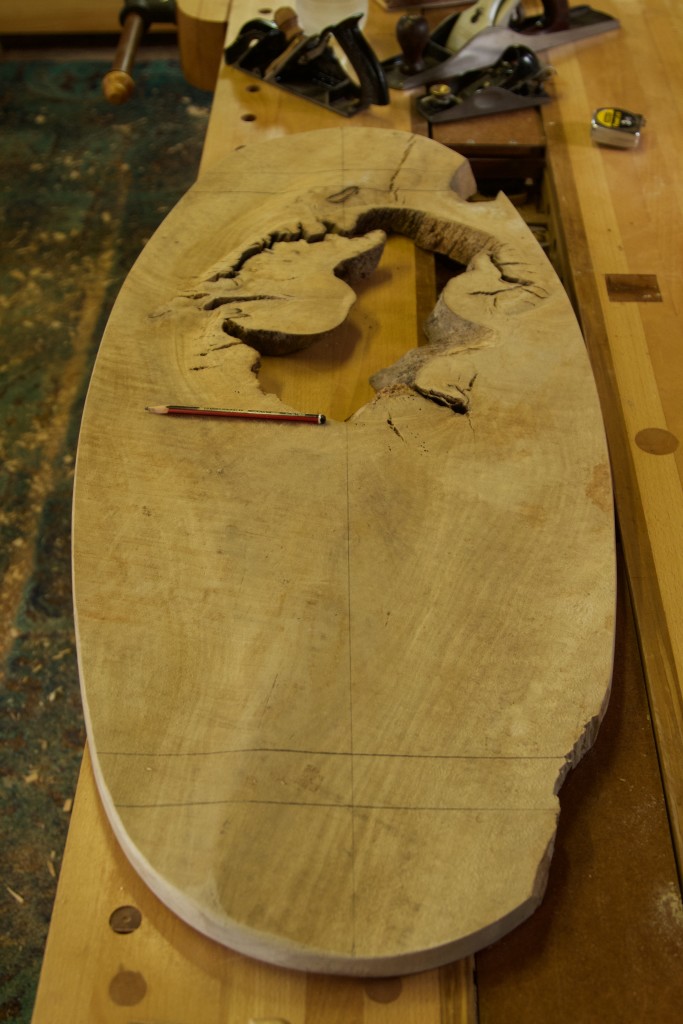
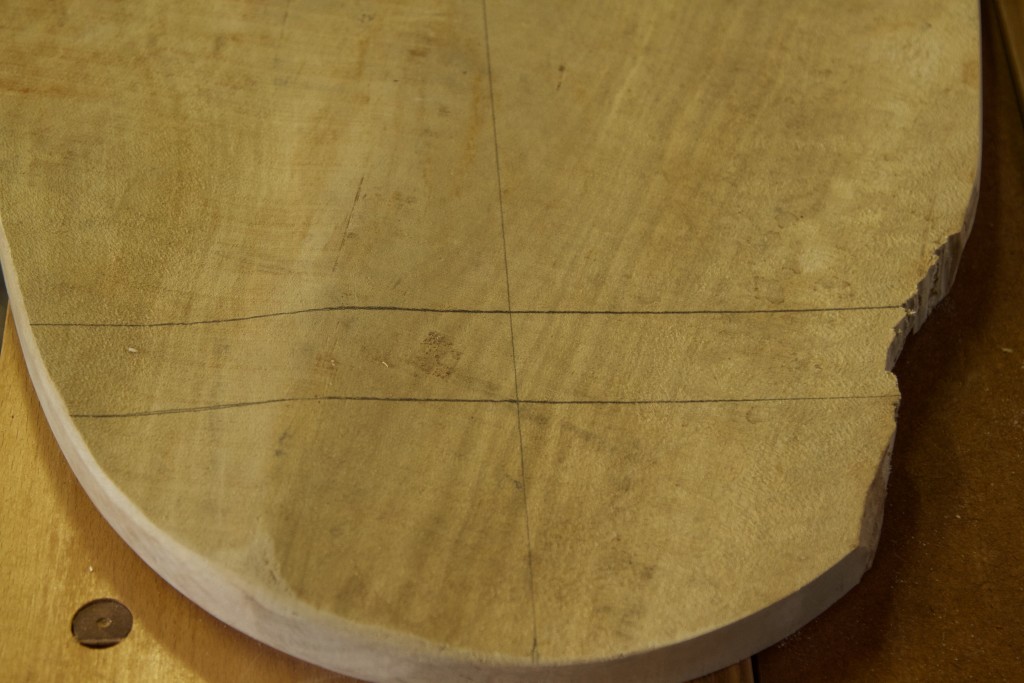
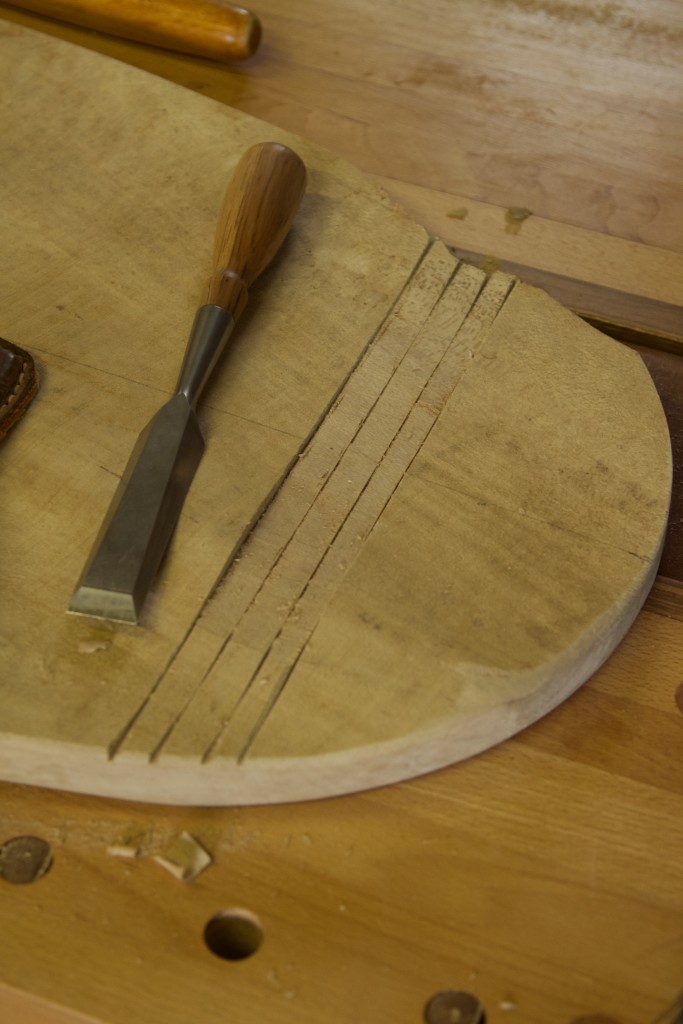
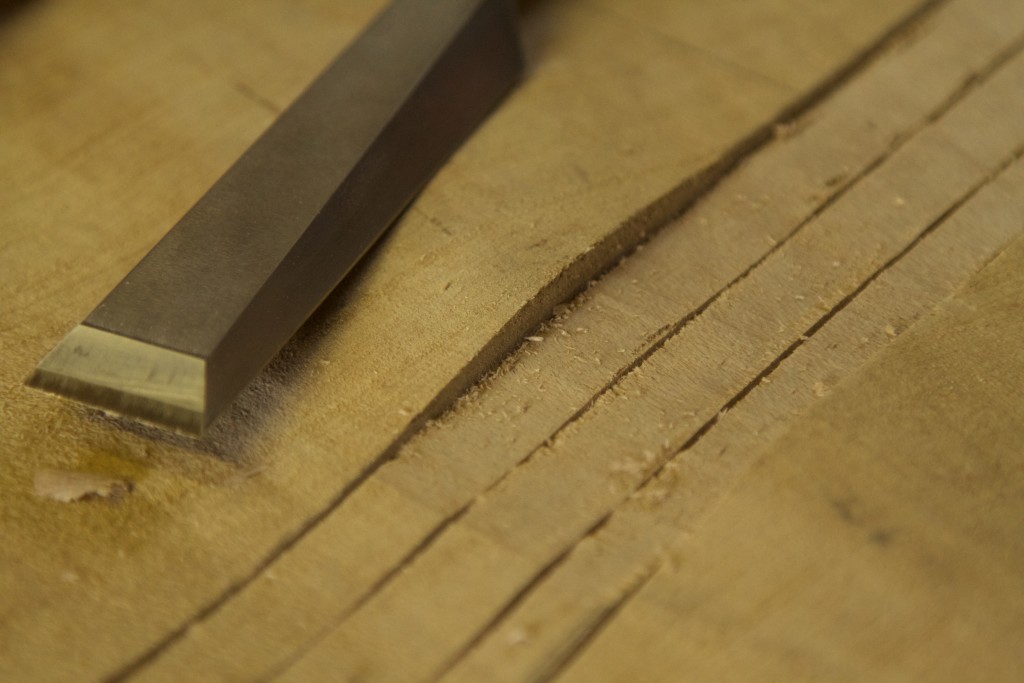
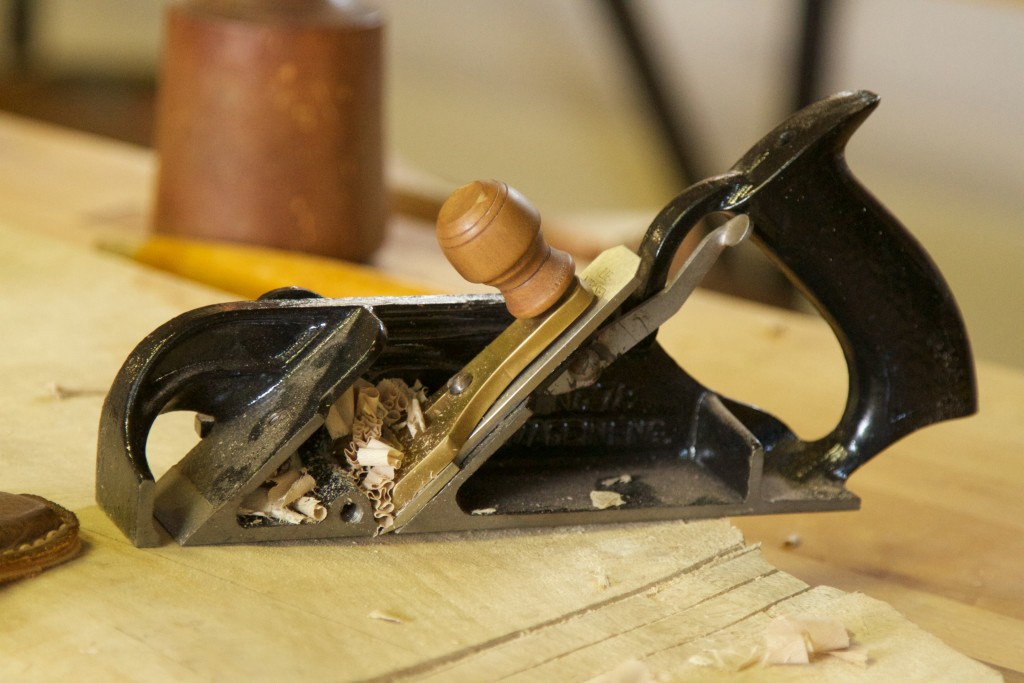
One of the issues (that I constantly complain of) in using such untamed stock is the amount of twist, bowing and cupping. In this particular case it was mostly twist. As you can imagine it is impossible to plane something like this either by hand or machine without destroying it. Yet it is of utmost importance to create two surface in the same plane where the posts of the headboard can be attached. My solution was this. I marked out two strips parallel to each other of exactly the same width as my Stanley no. 78 rabbet plane. Then removed the bulk of the waste by sawing and chiselling.
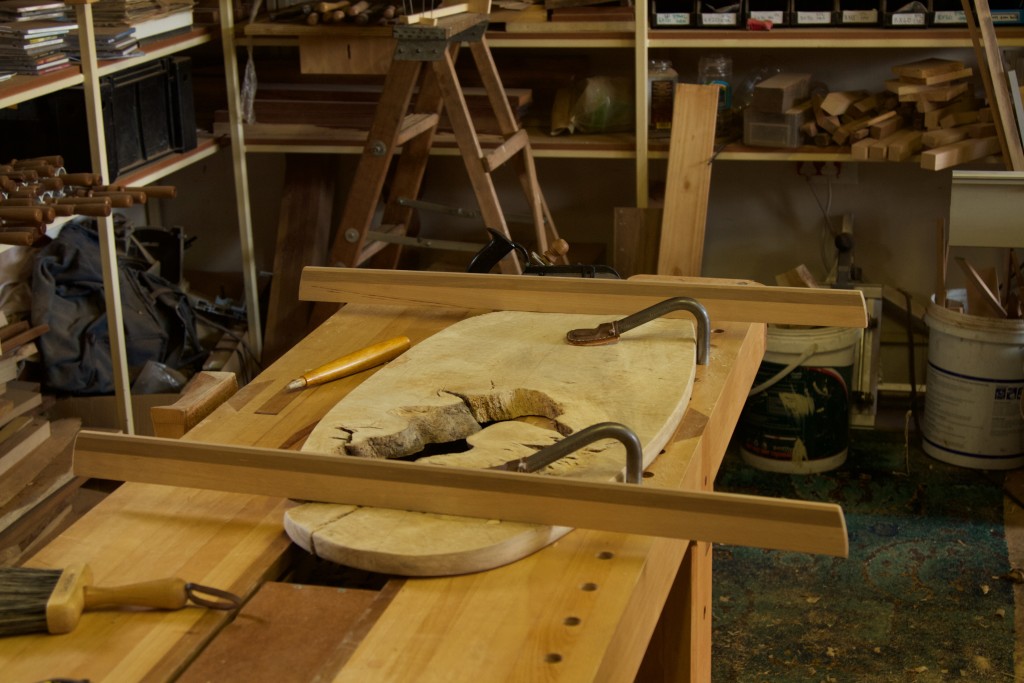
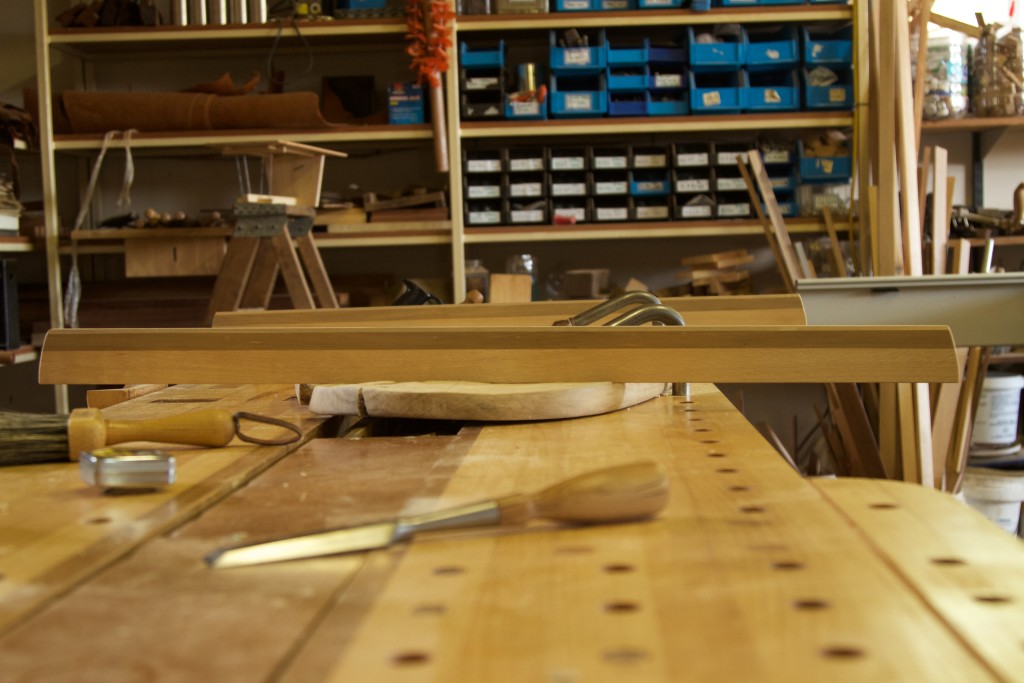
The area was then flattened using the no. 78 to allow an accurate reading with my long winding sticks.
As you can see in the second picture below the winding sticks revealed quite obvious twist, which was then removed with the help of the no. 78.
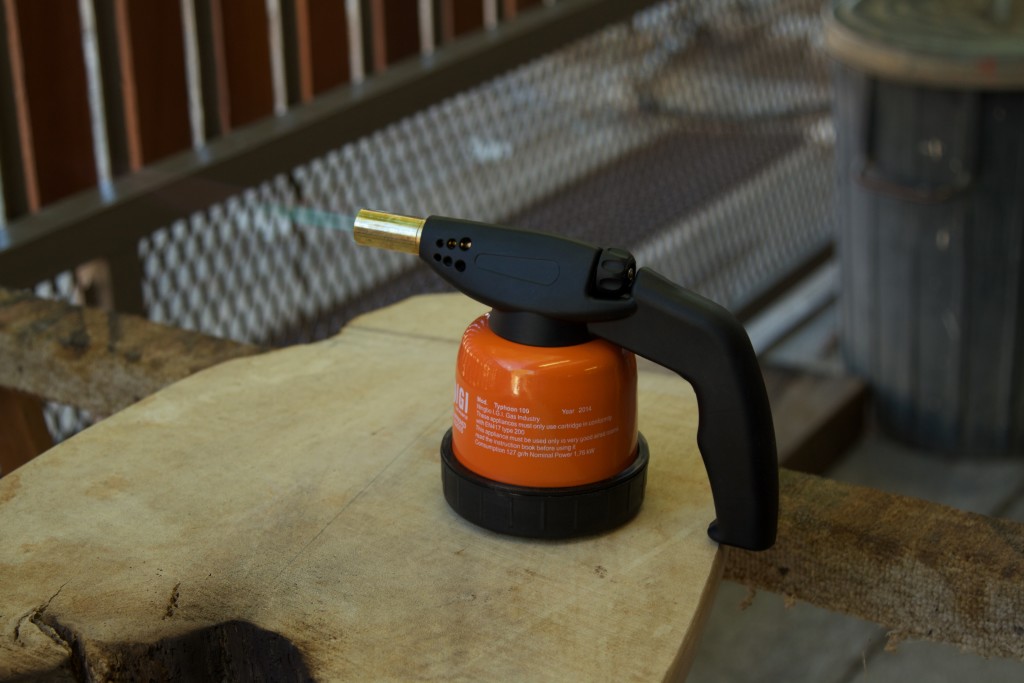
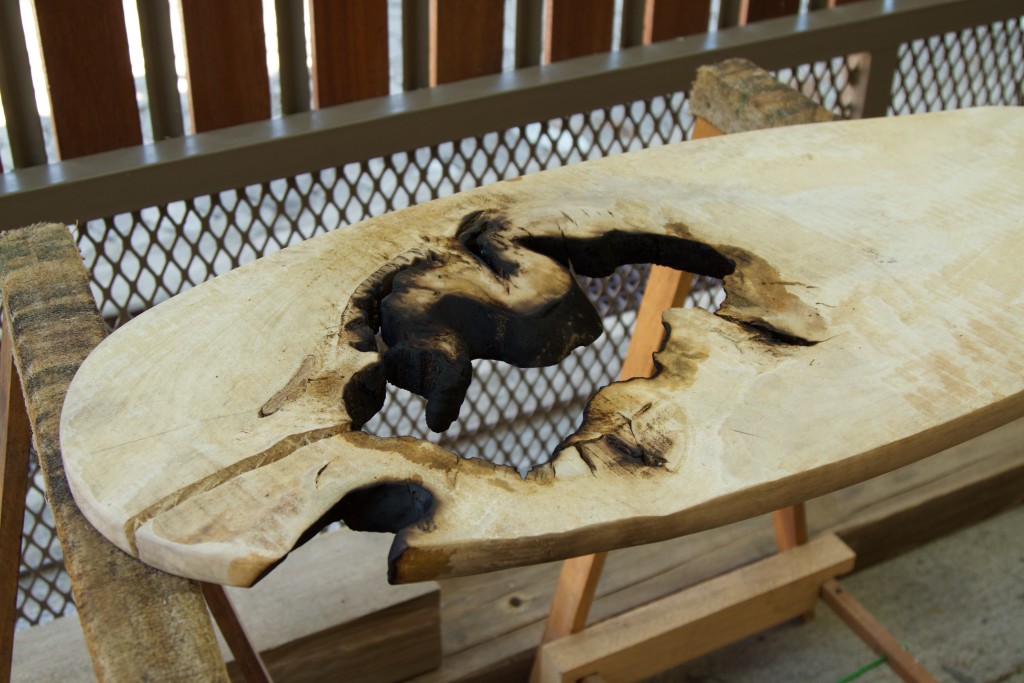
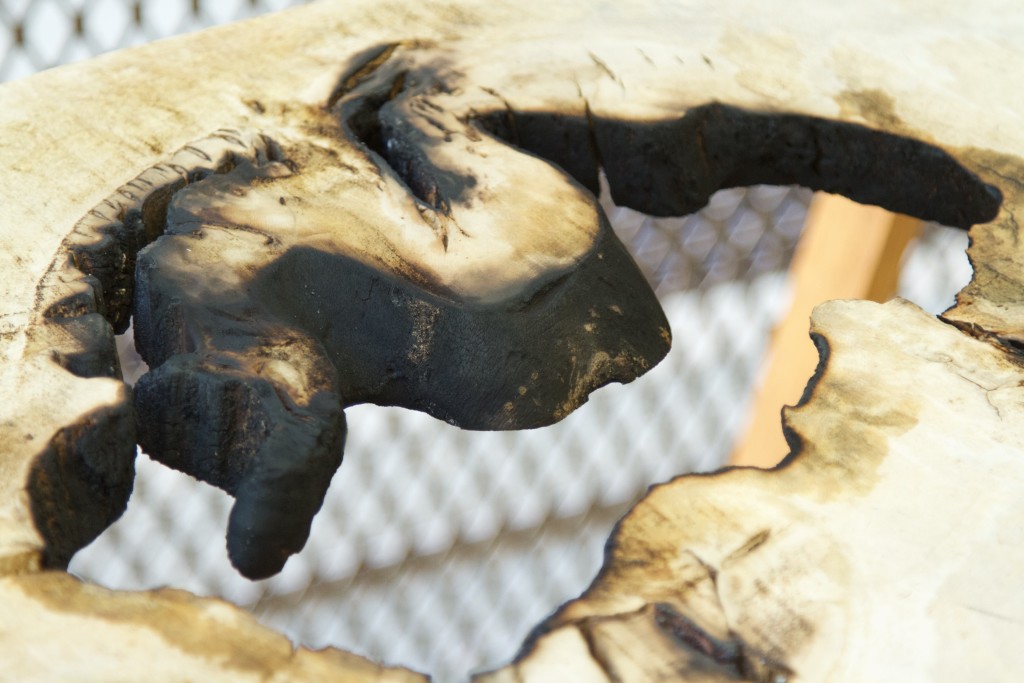
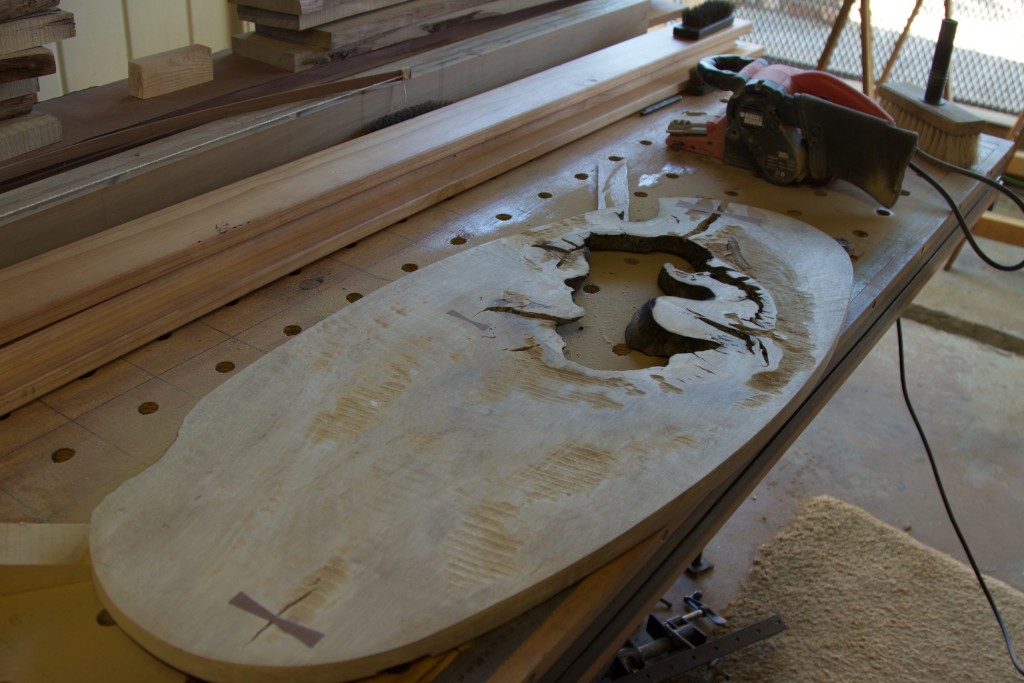
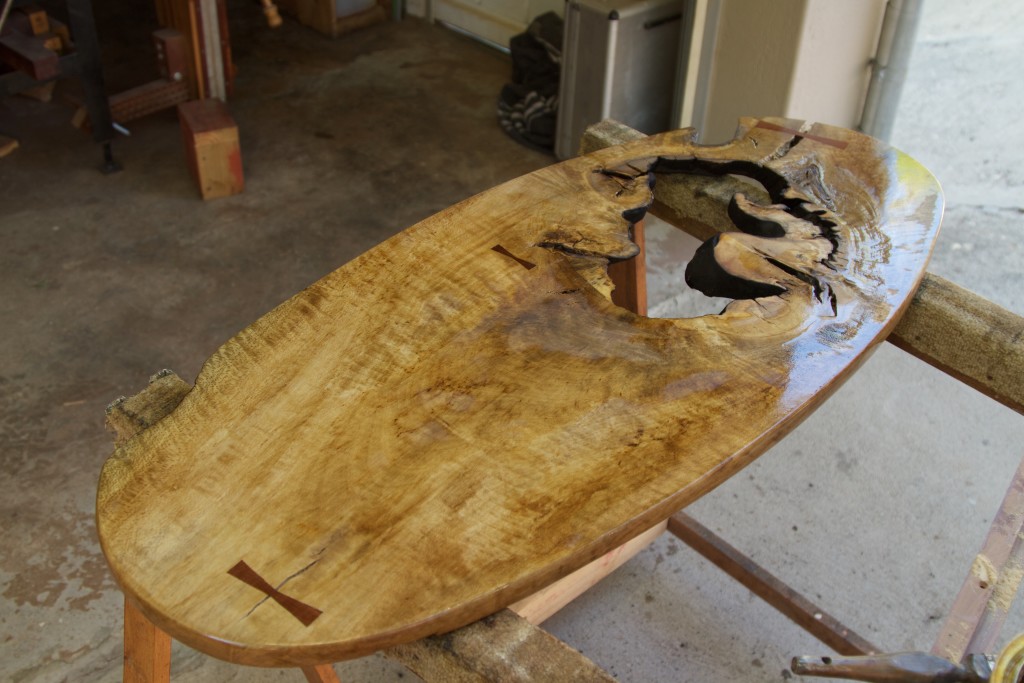
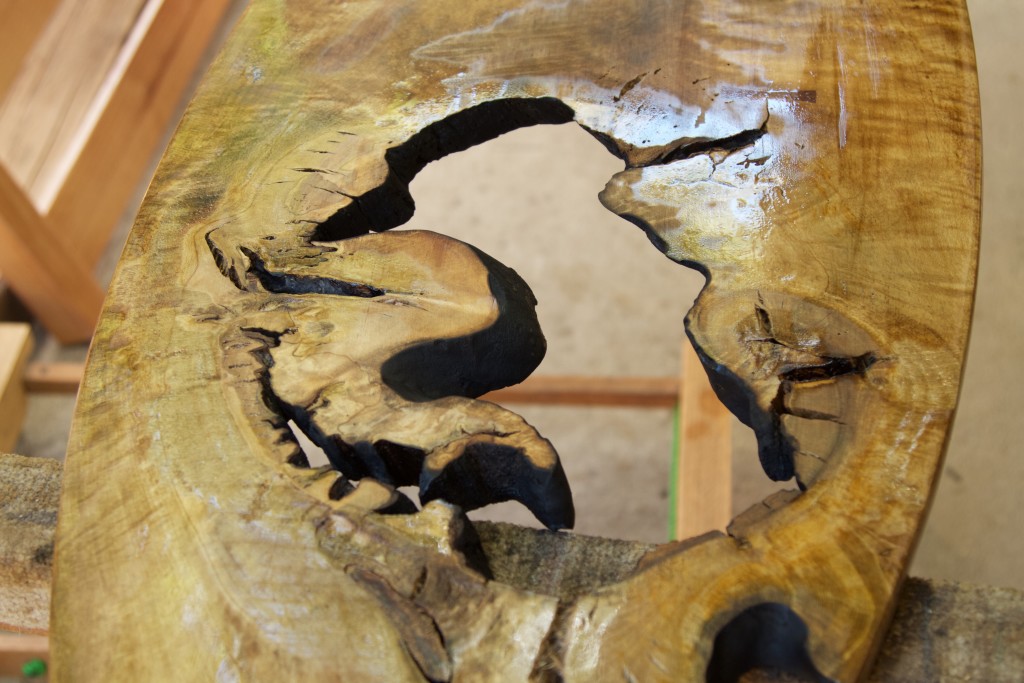
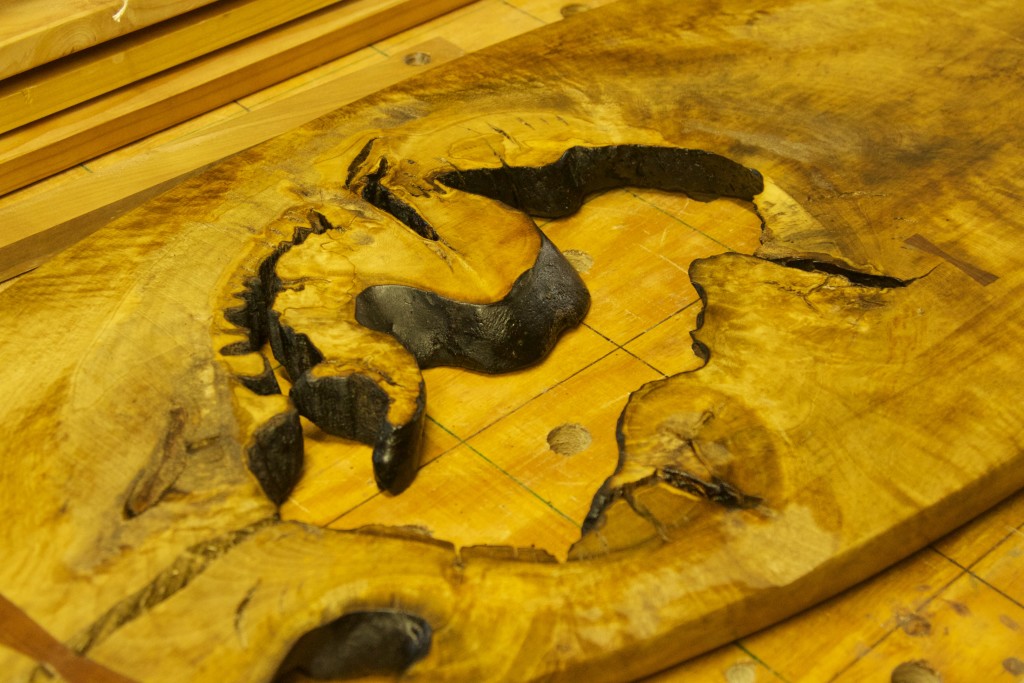
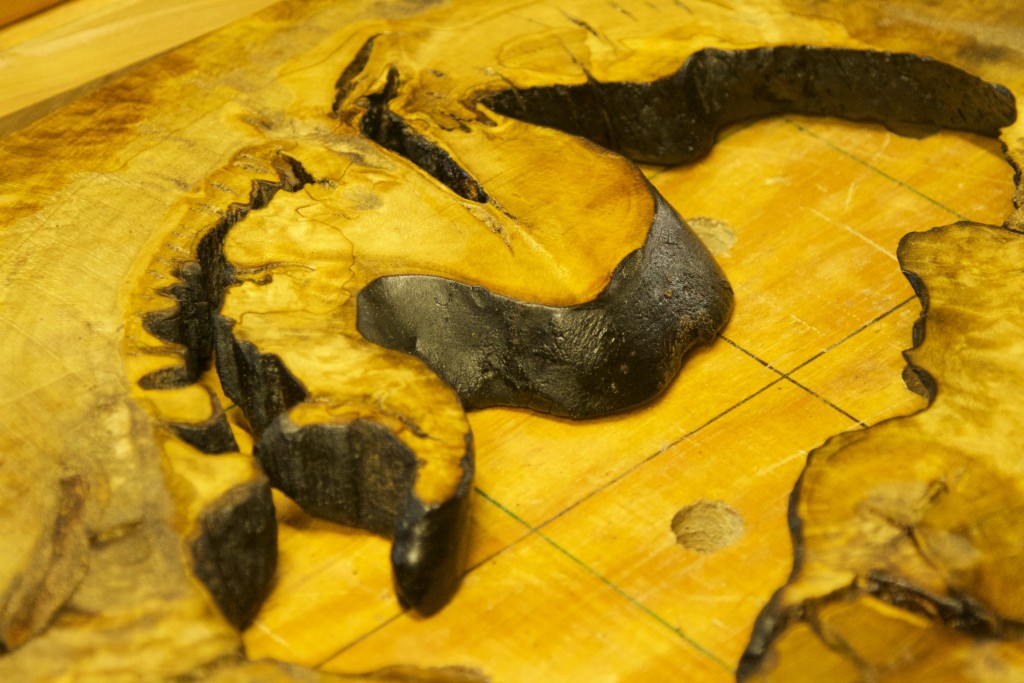
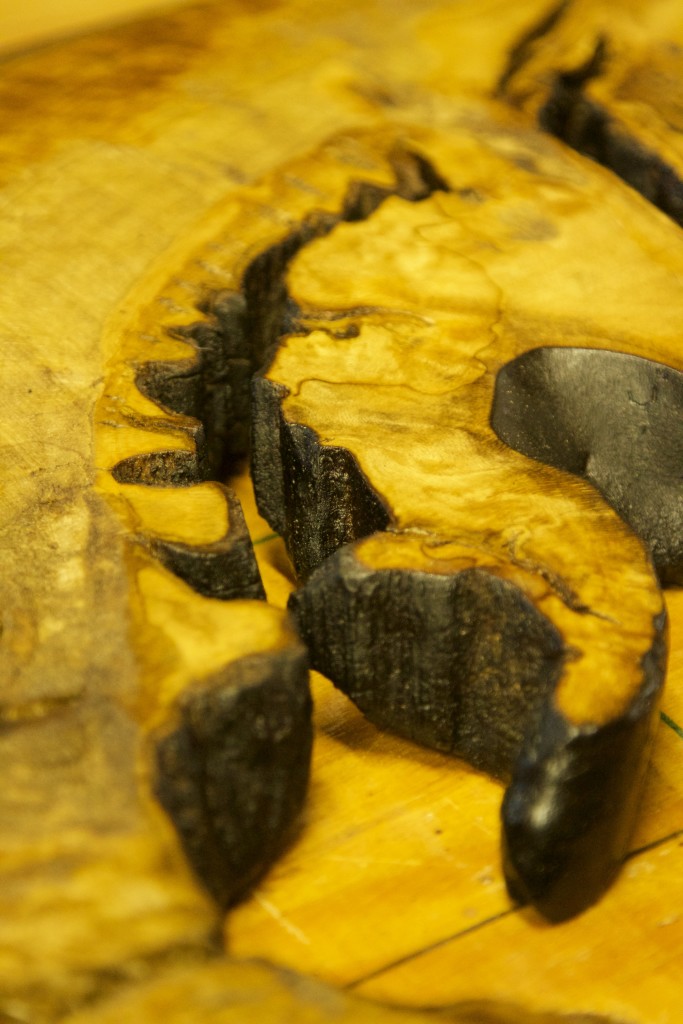
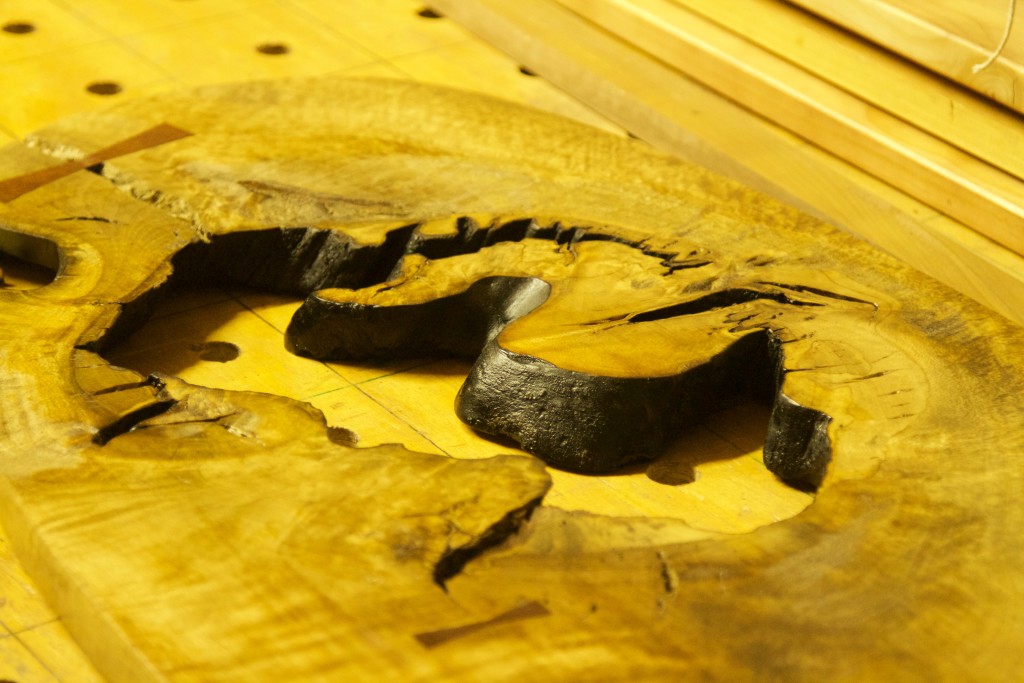
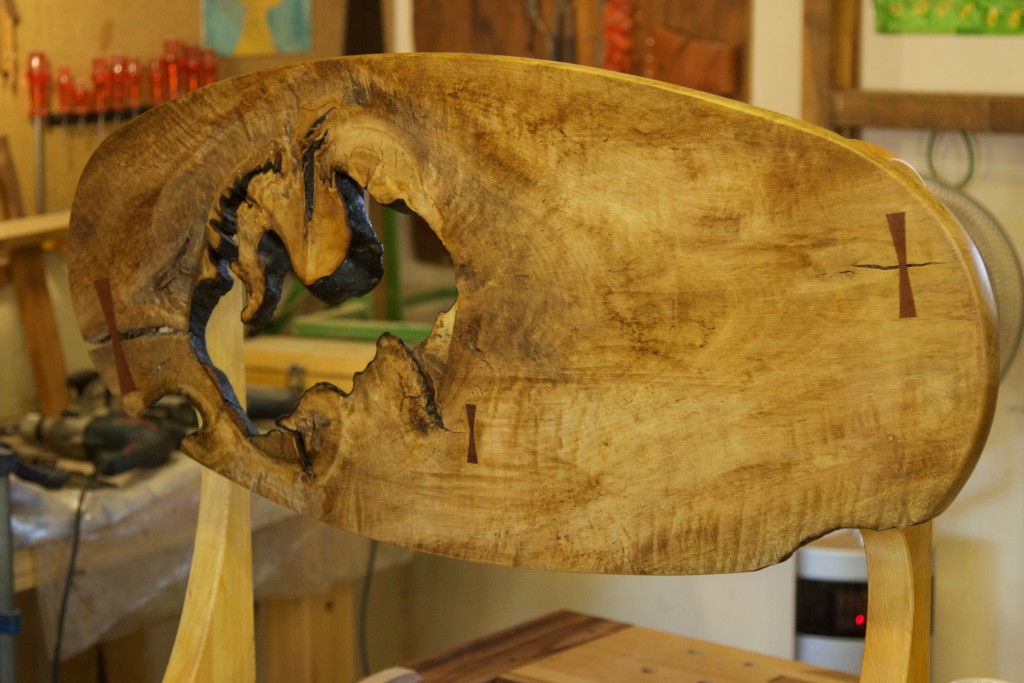
My father was visiting at the time and he had the idea to burn the inside surfaces of the naturally shaped hole in the board to create an attractive colour contrast.
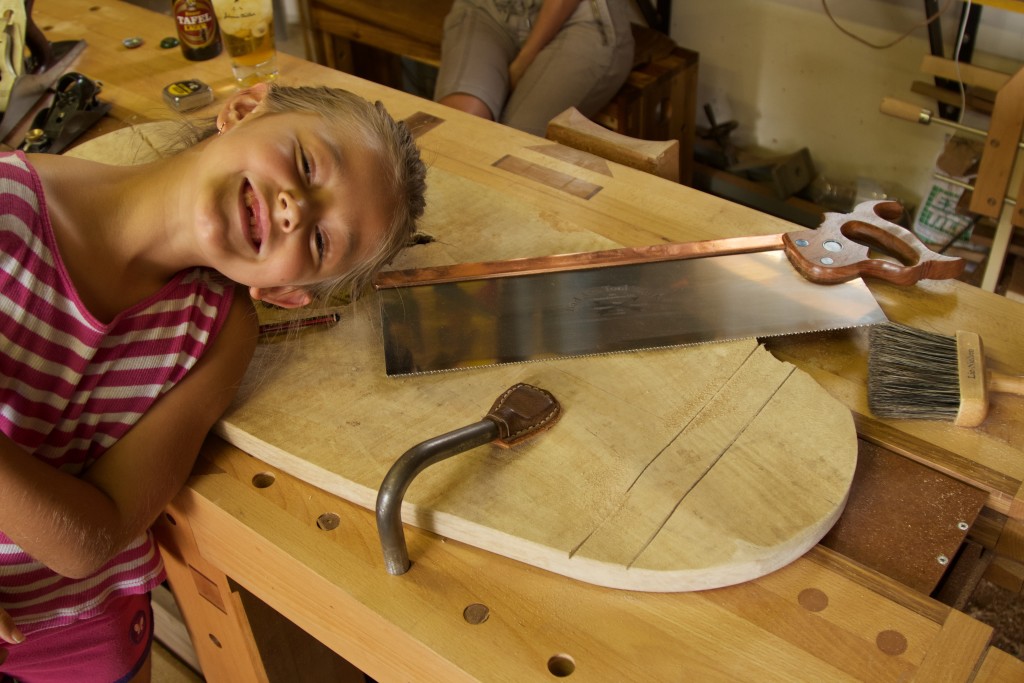
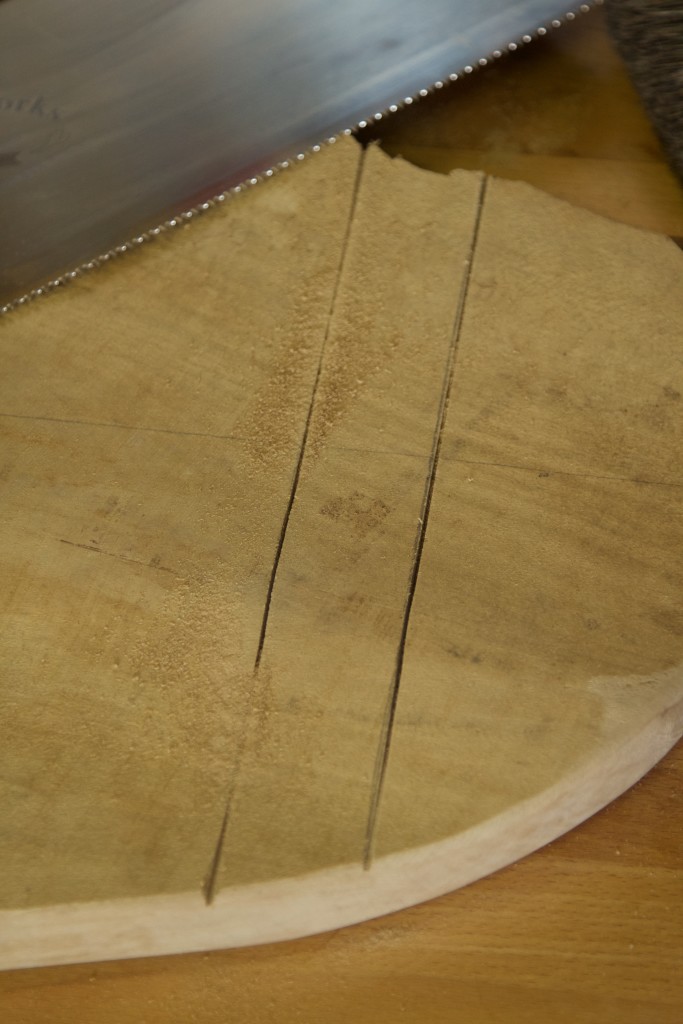
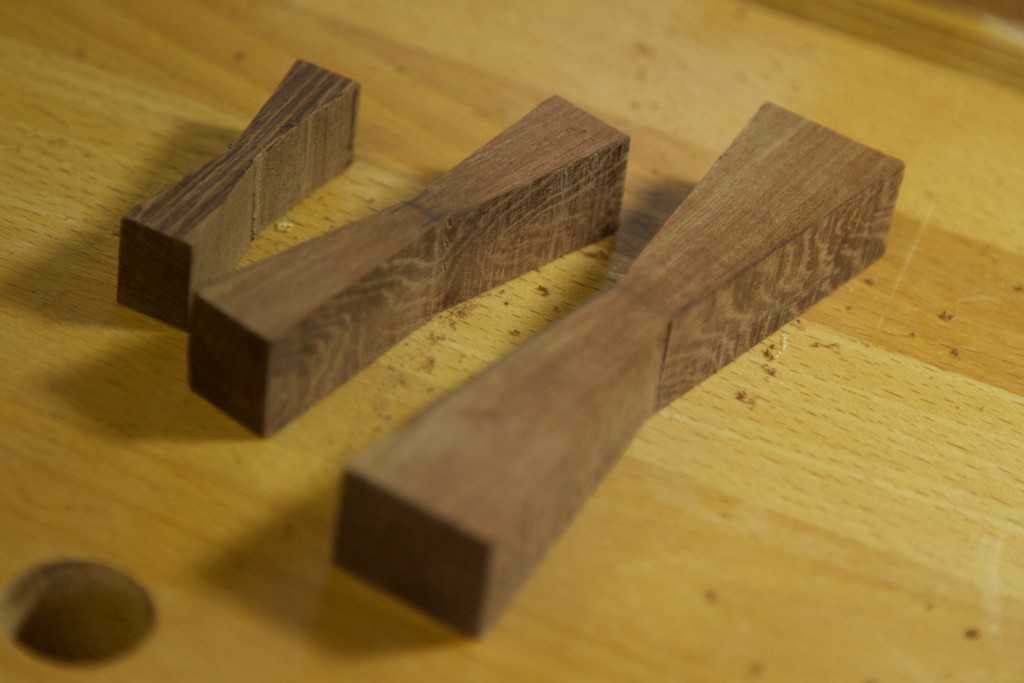
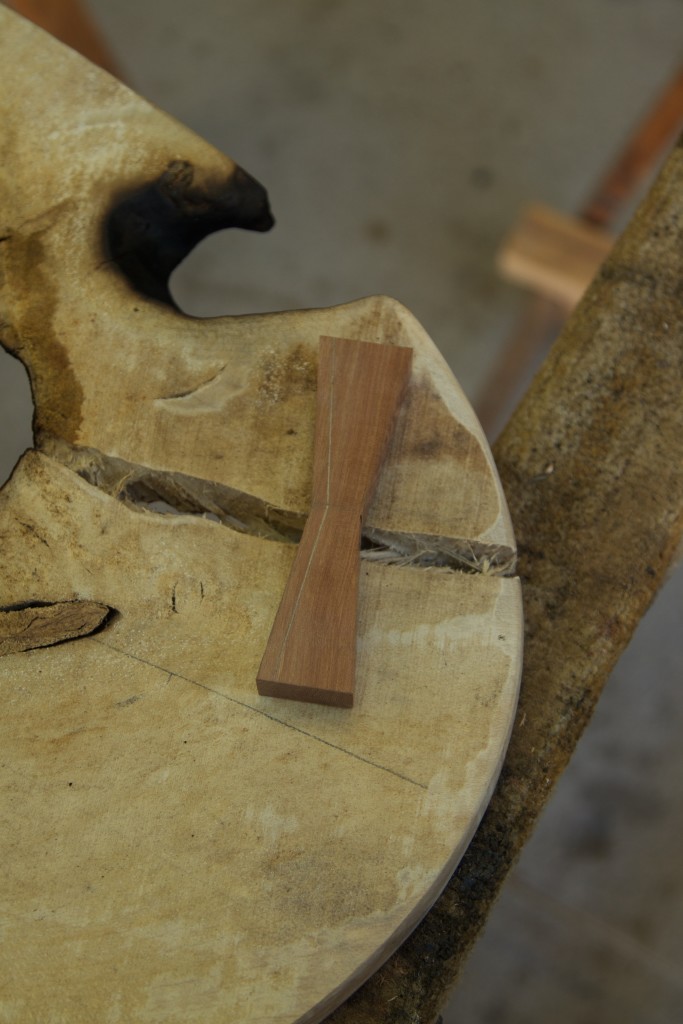
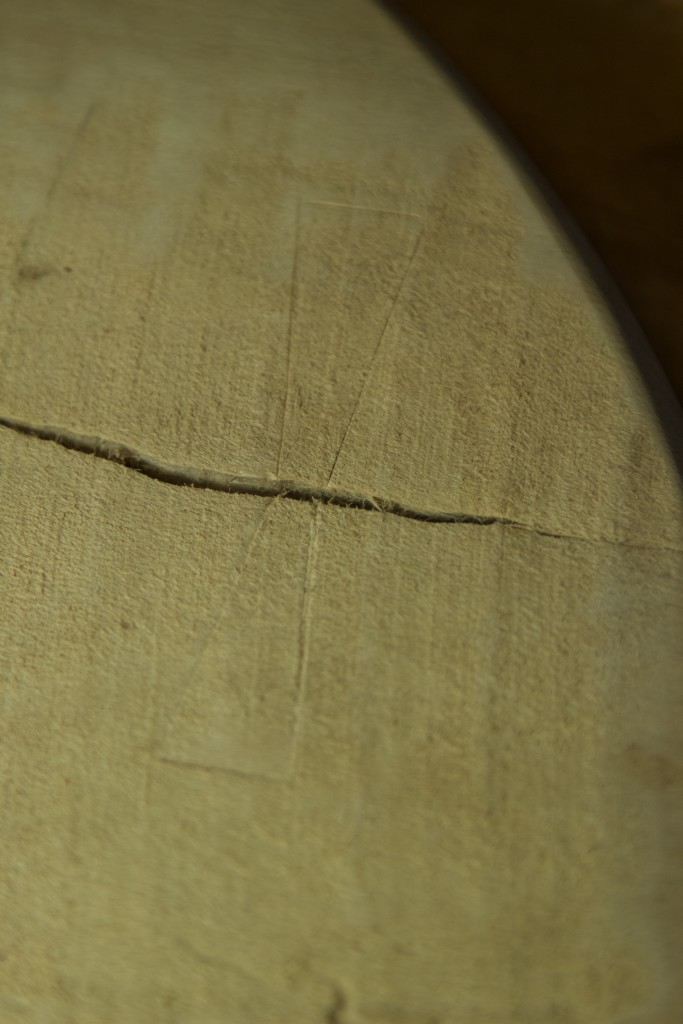
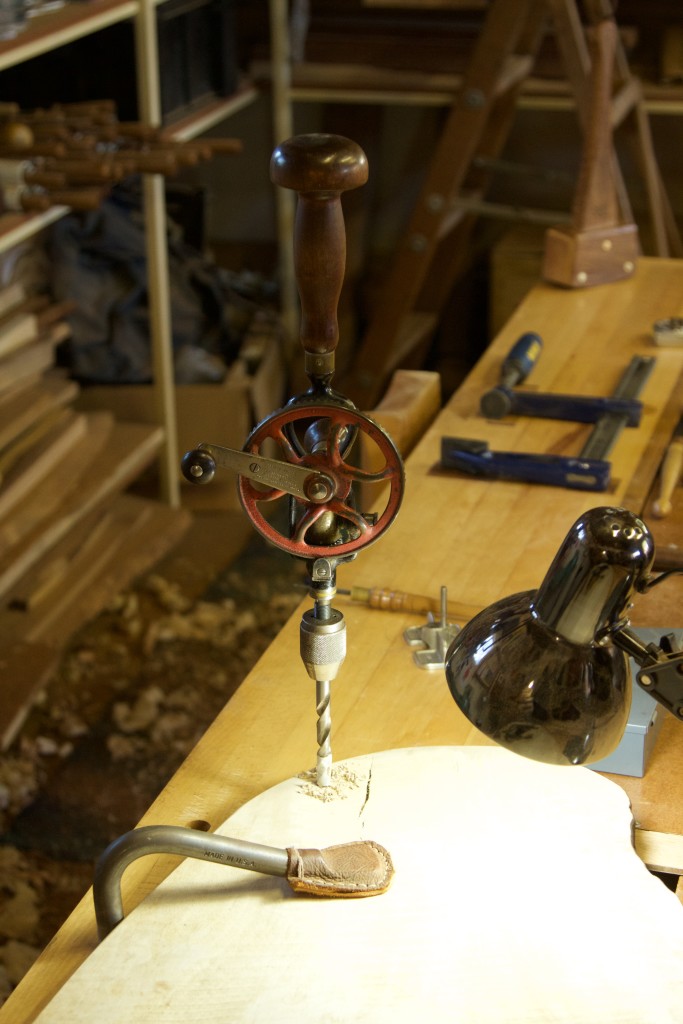
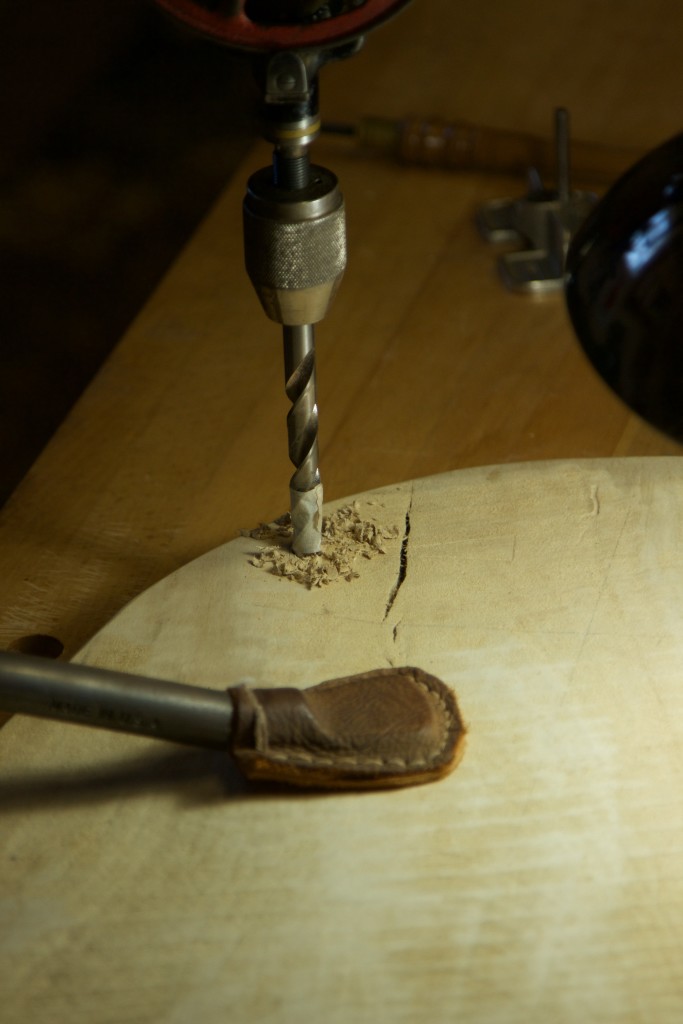
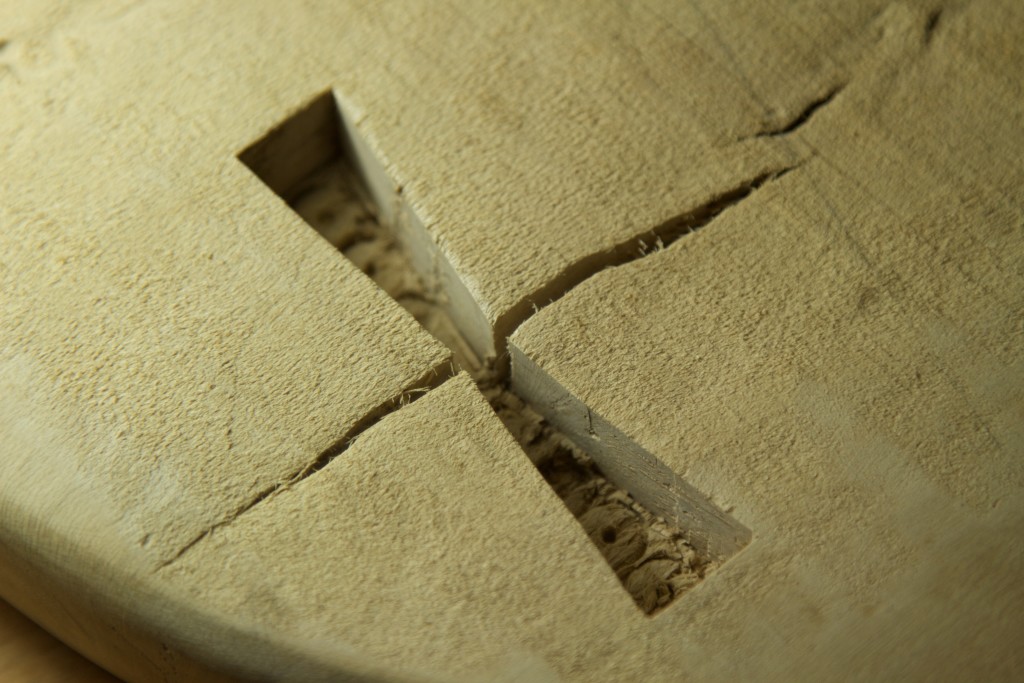
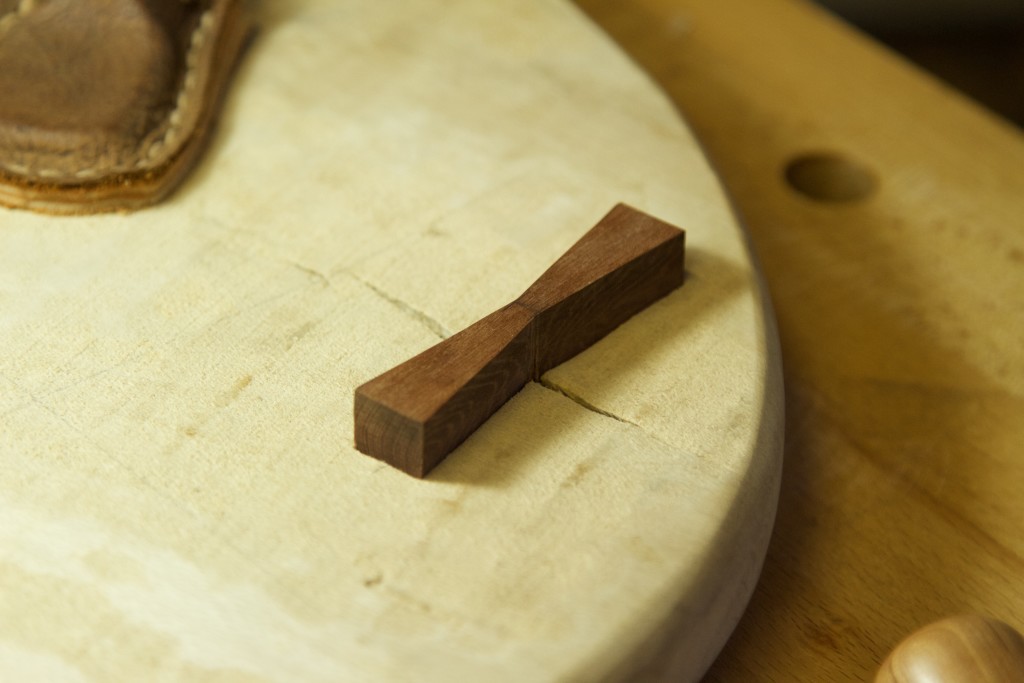
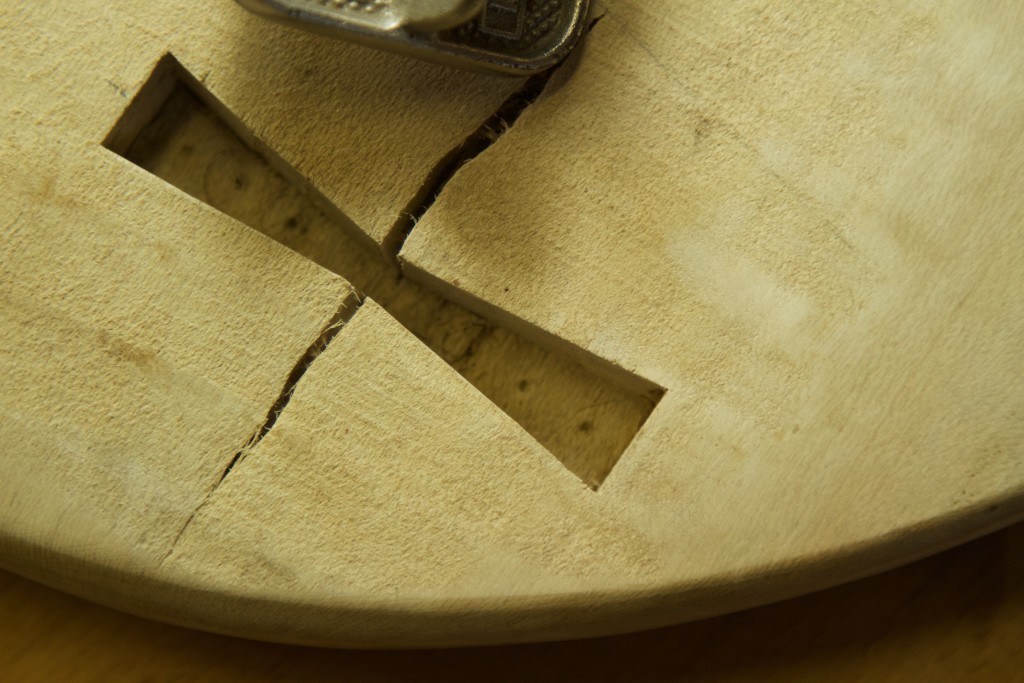
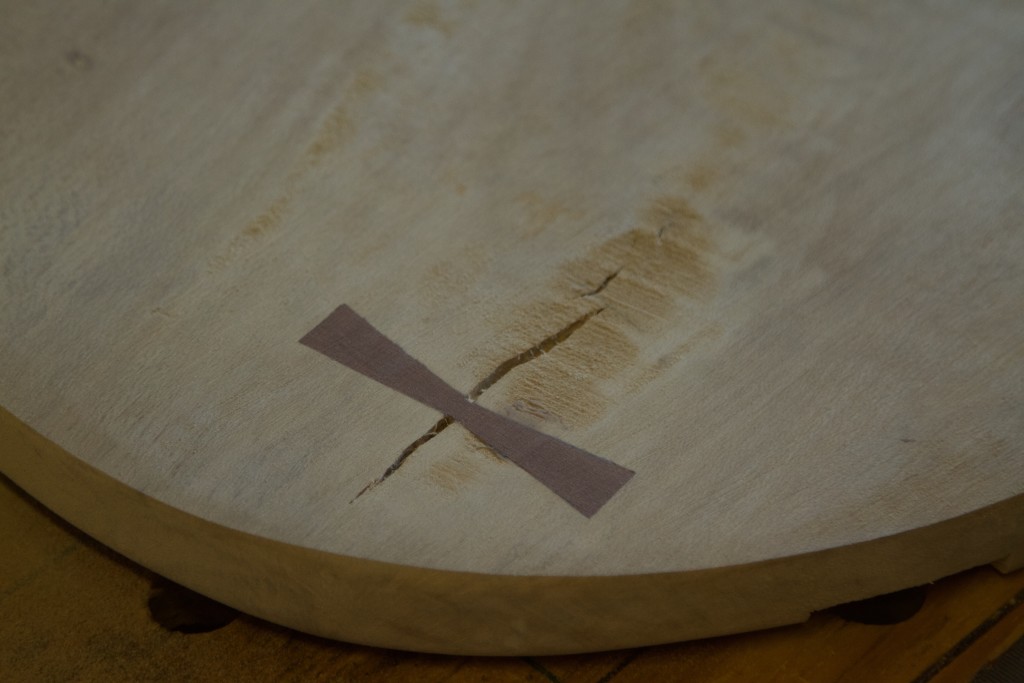
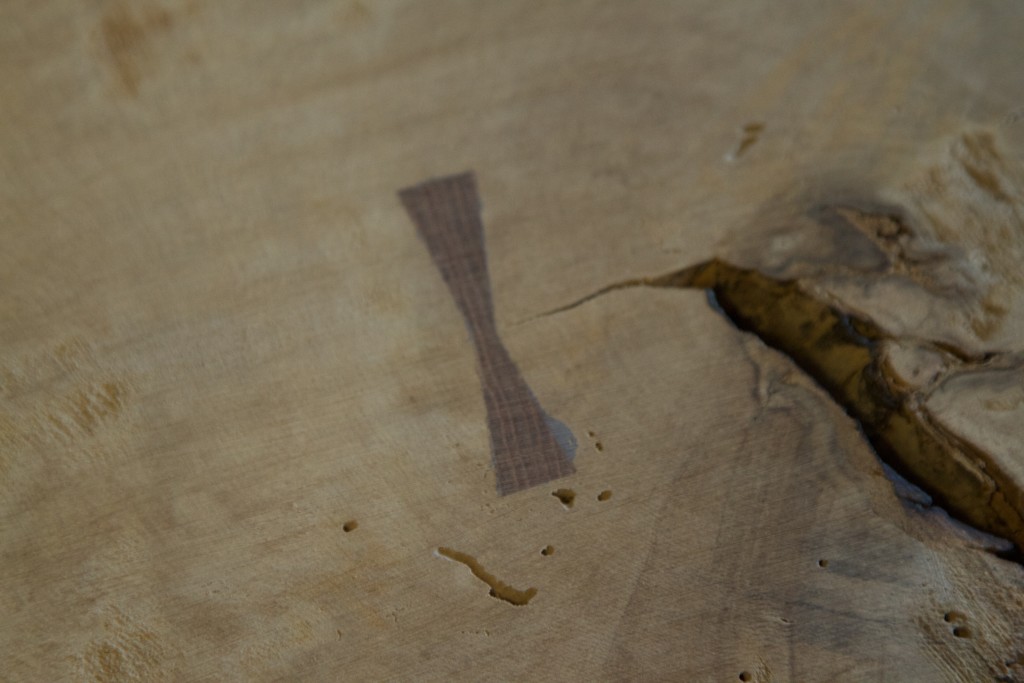
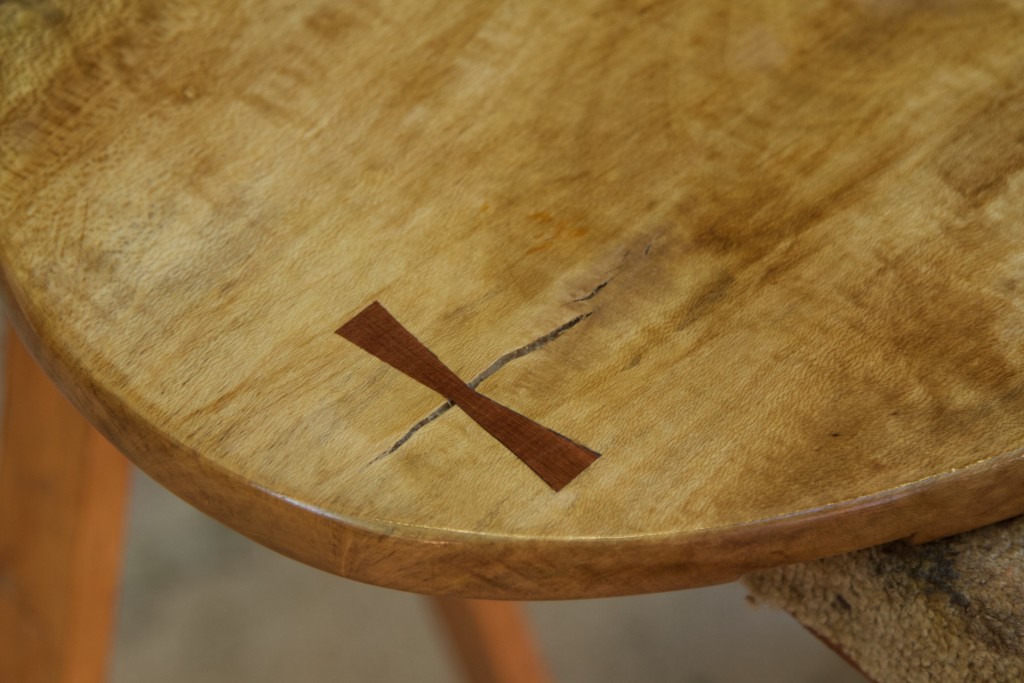
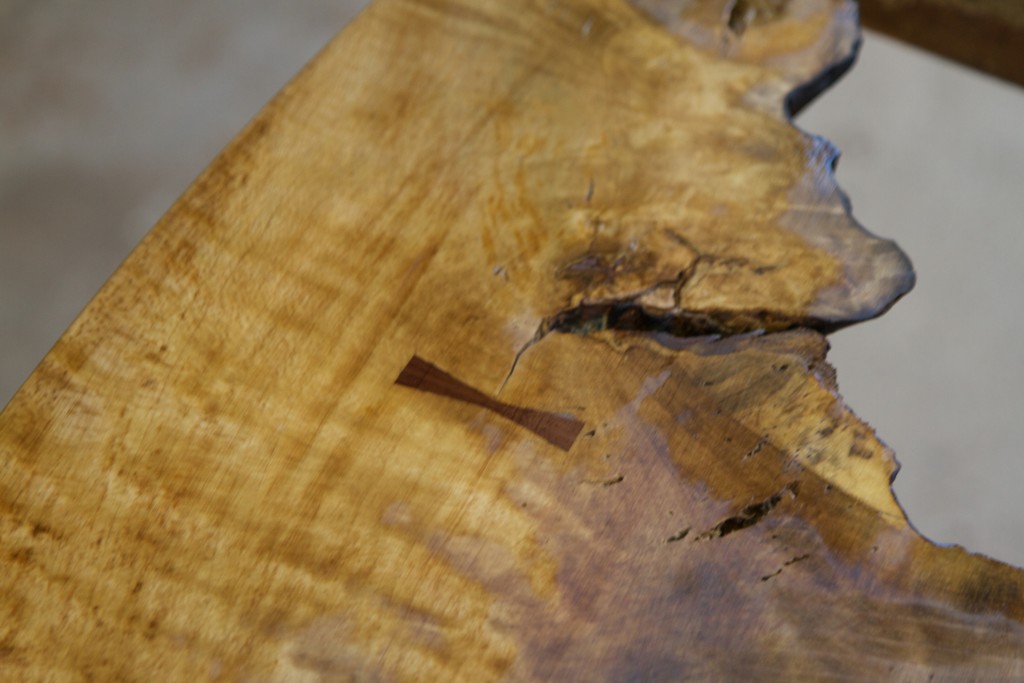
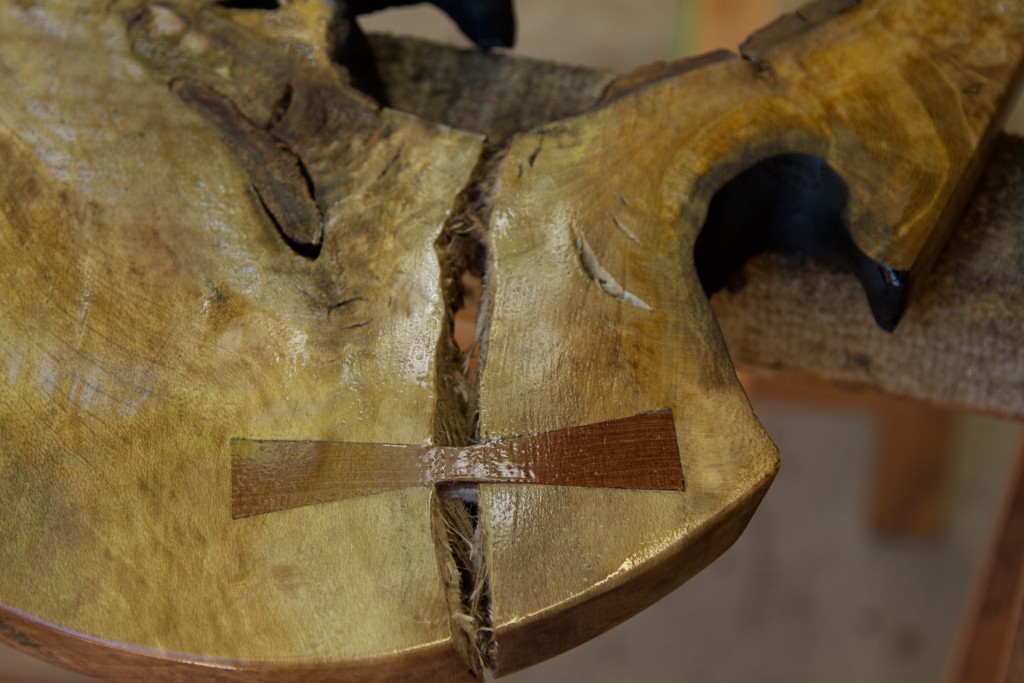
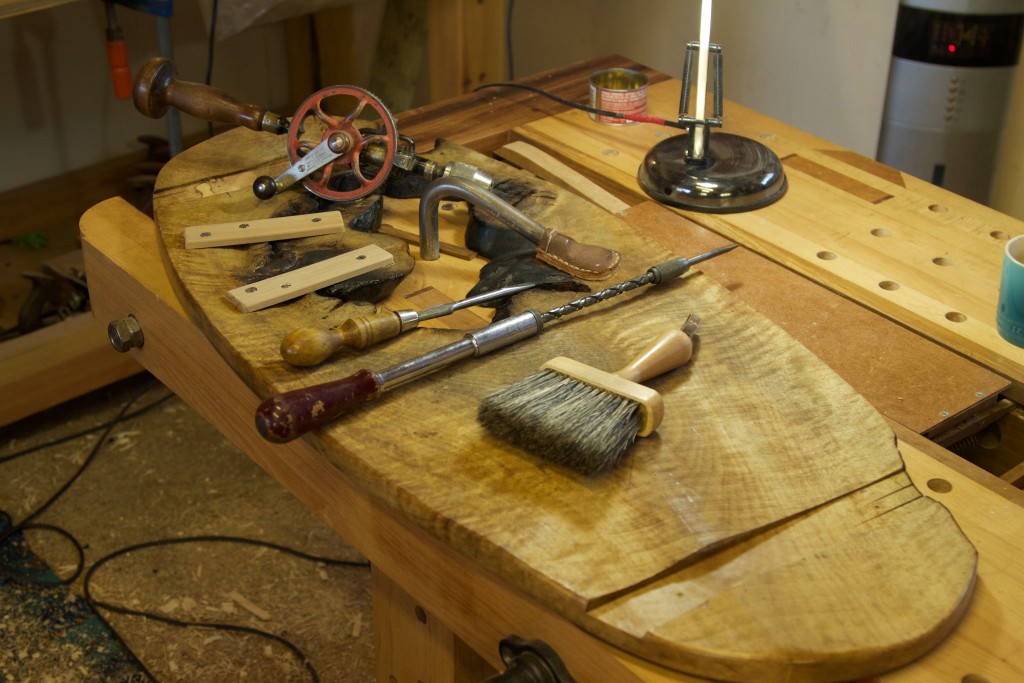
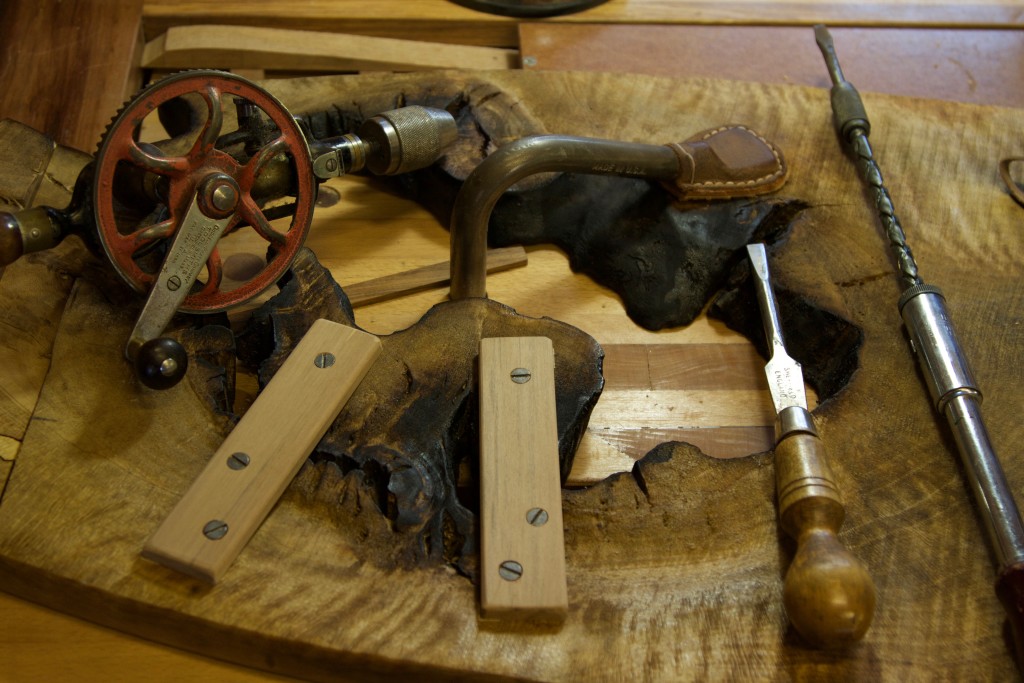
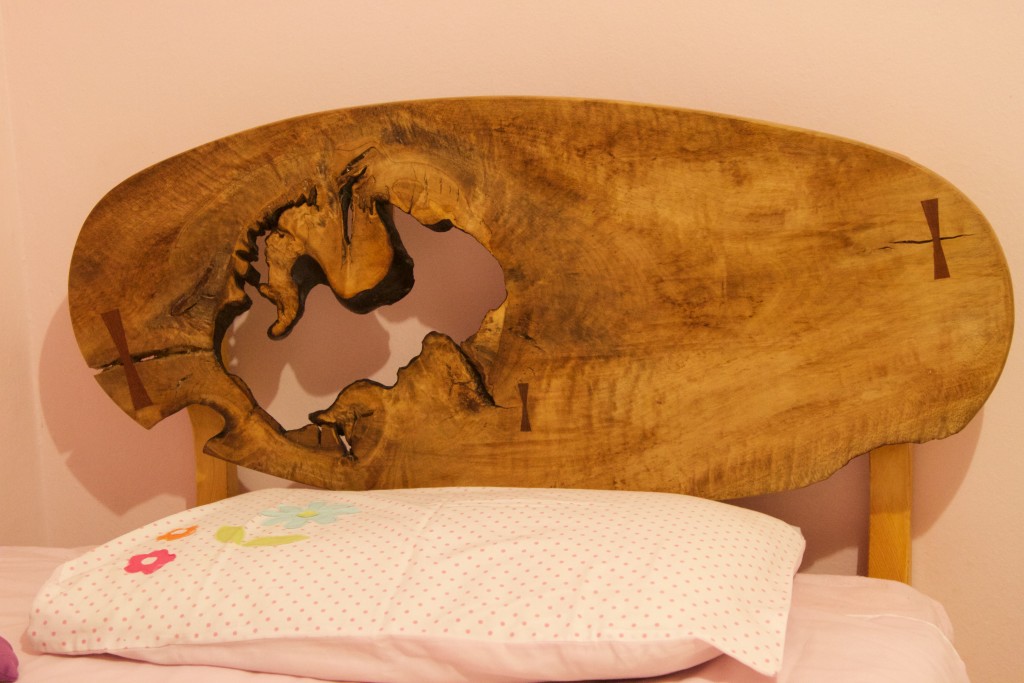
I decided to stabilise the cracks using the famous Nakashima dovetail keys. I used a handsaw to produce these Kershout keys.
As you can see below, the biggest of the keys looked a smidgen clunky so it was trimmed down a wee bit.
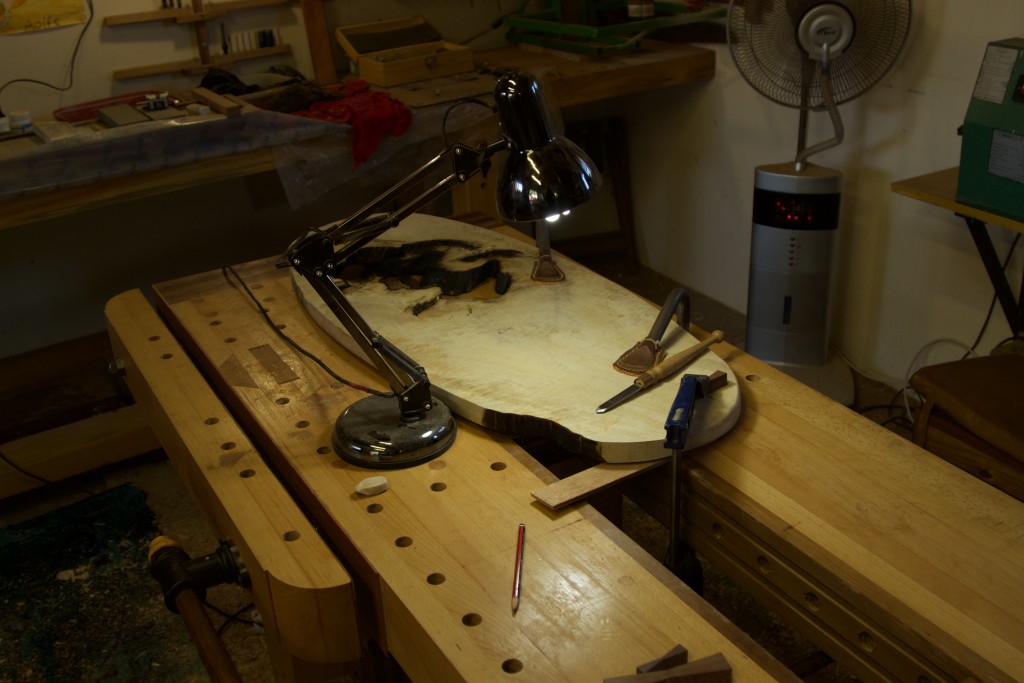
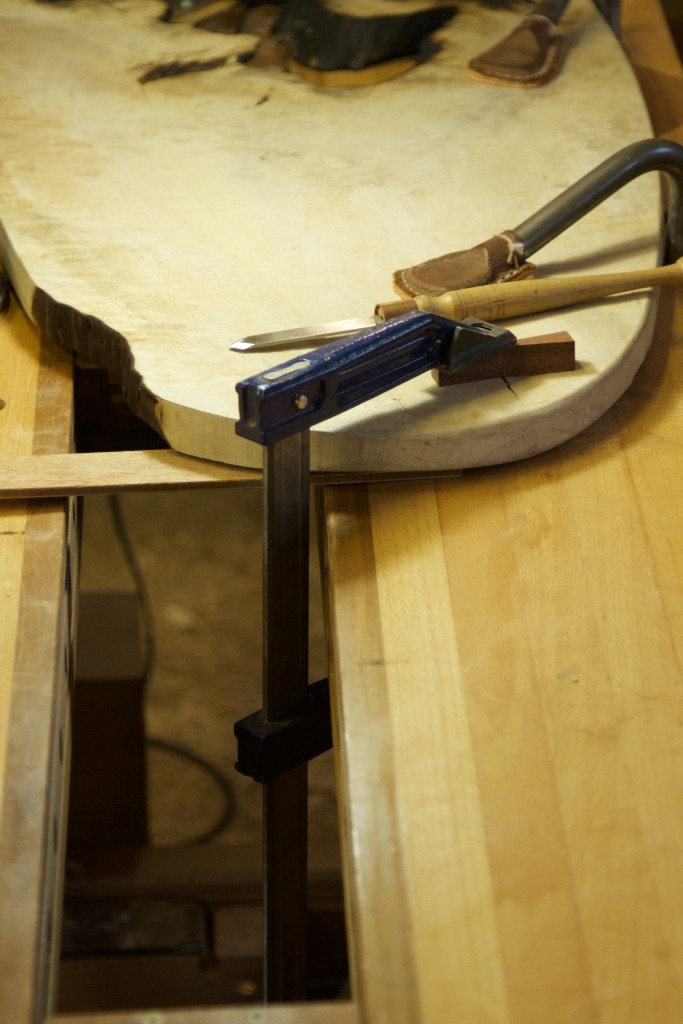
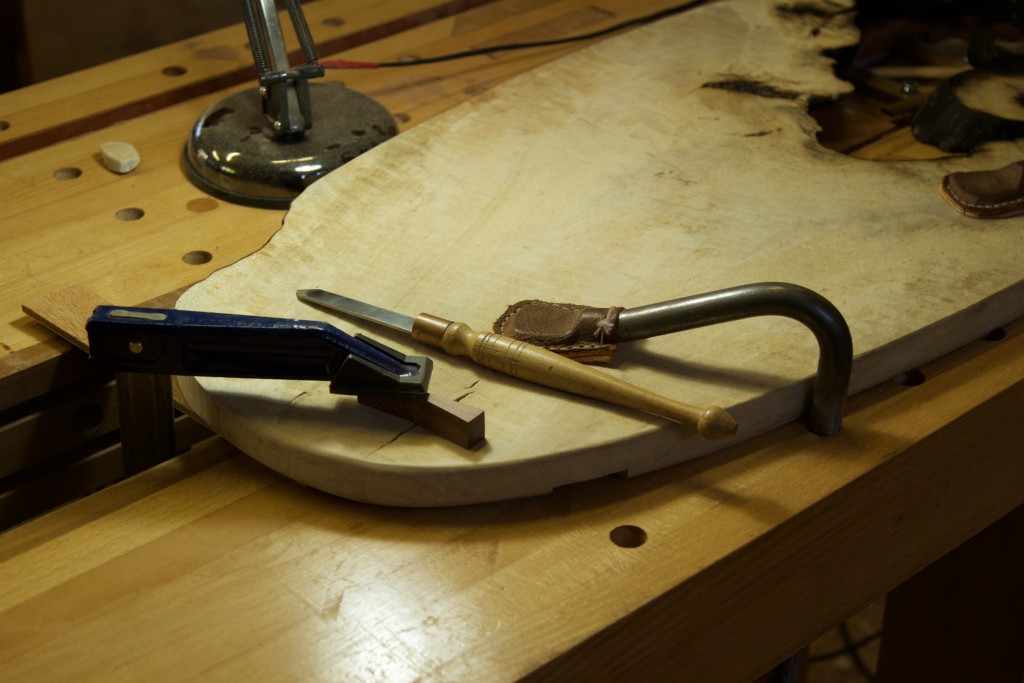
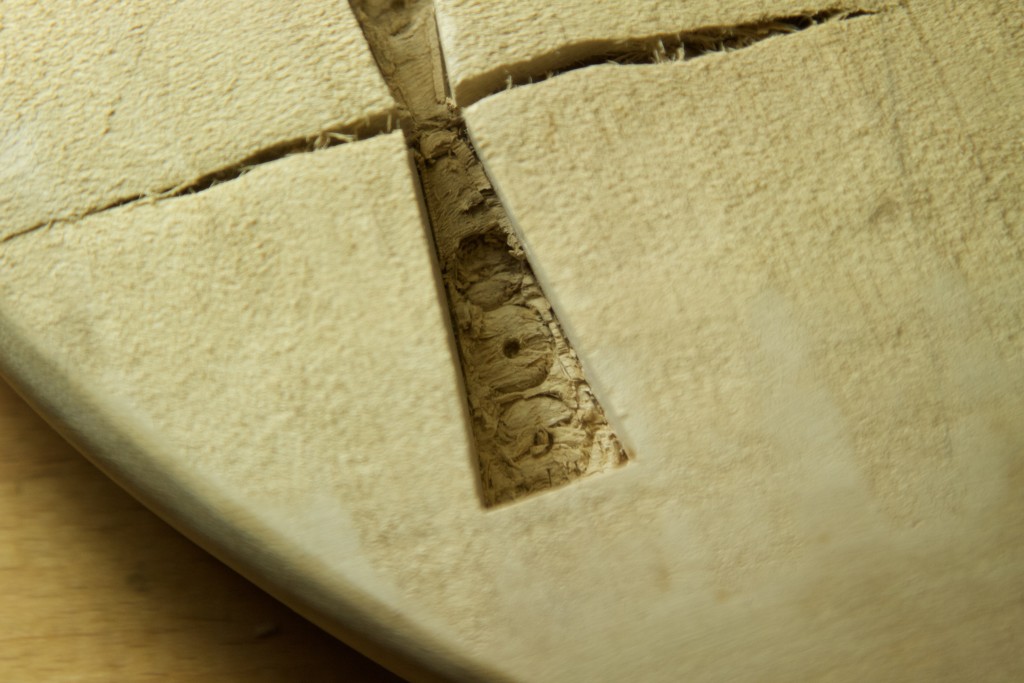
After a quick readjustment of my sliding tool trays (you can read all about it here) the stock was secured to my bench’s chopping area by means of two holdfasts and a F-style clamp. This enabled me to fit the keys.
Marking out it’s location.
Removing waste.
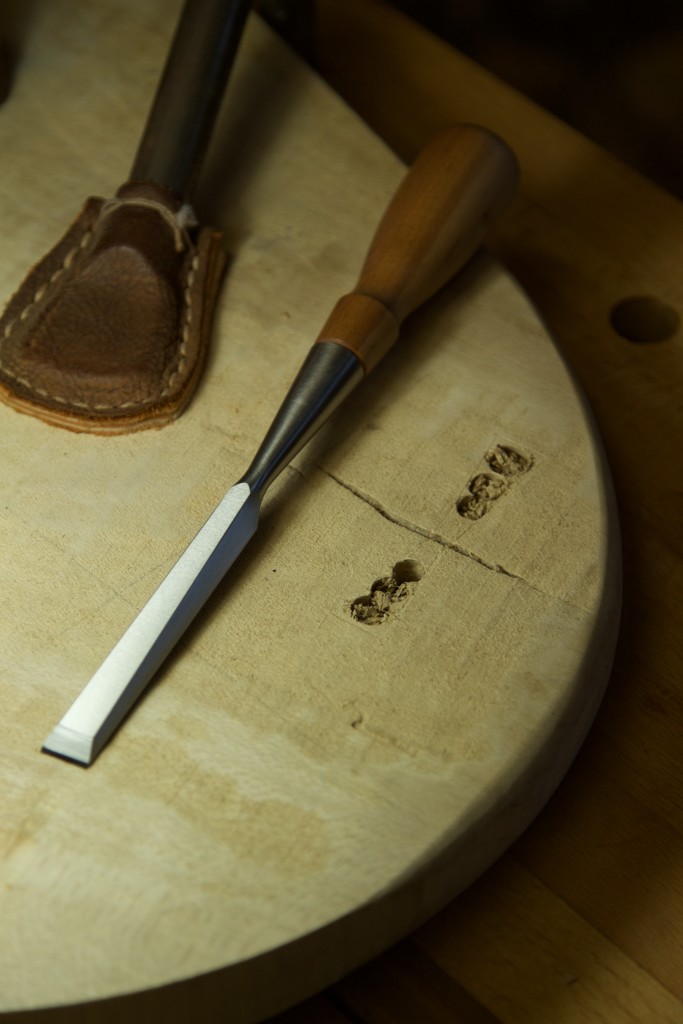
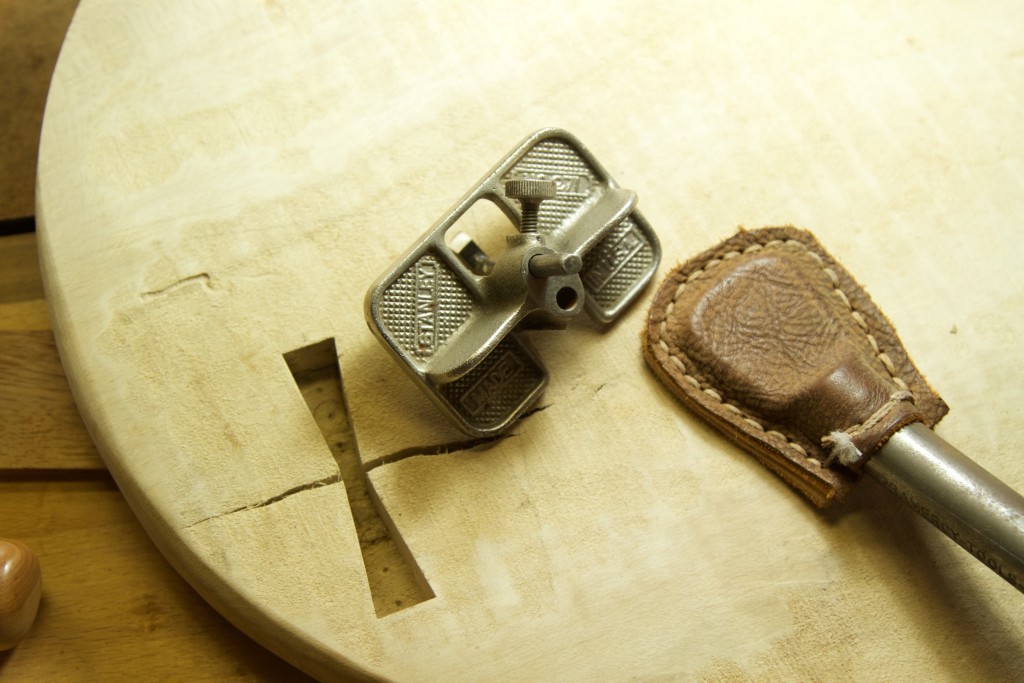
Chopping and detailed fitting.
The depth was dialed in using this Stanley no. 271 router plane.
Because it is literally impossible to plane this board I had to resort to a belt sander to create at least a few polished areas.
As you can see in the picture below, a small piece of timber broke away (filled in with epoxy) from the side of the “mortise” as a result of the schizophrenogenic grain direction in this part of the board. Certainly not as a result of inferior skill levels, no. Seriously though, what I did learn from it was that this size of key (5 cm long and about 6 mm at it’s widest) is too small and thus difficult to produce an accurate mortise for in inebriated grain.
A coat of Tung oil and turps brought out the the stunning side of the grain inebriation. The dull areas are those that were left unpolished. I thought these areas would come up much darker as it does with some of the other species I work with. The idea was that it would create more areas of visual interest, but then it only ended up dull. Another lesson for this woodworker.
27/5/2016
That was followed by three coats of Woodoc. The photos below illustrate the attractive (I thought) colour contrast created by the burnt areas.
30/5/2016
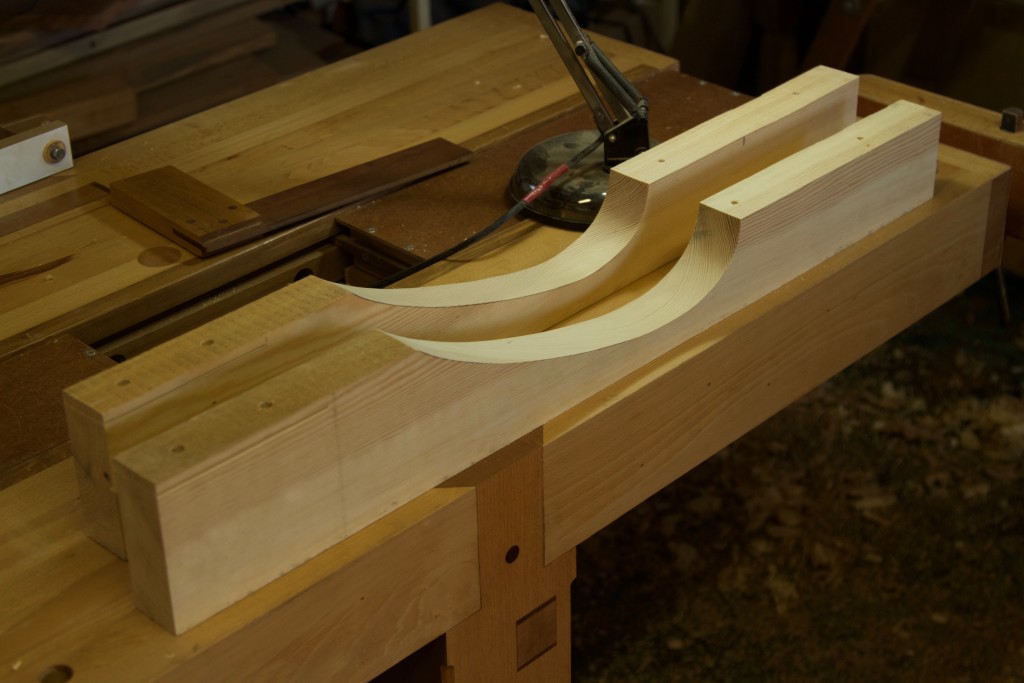
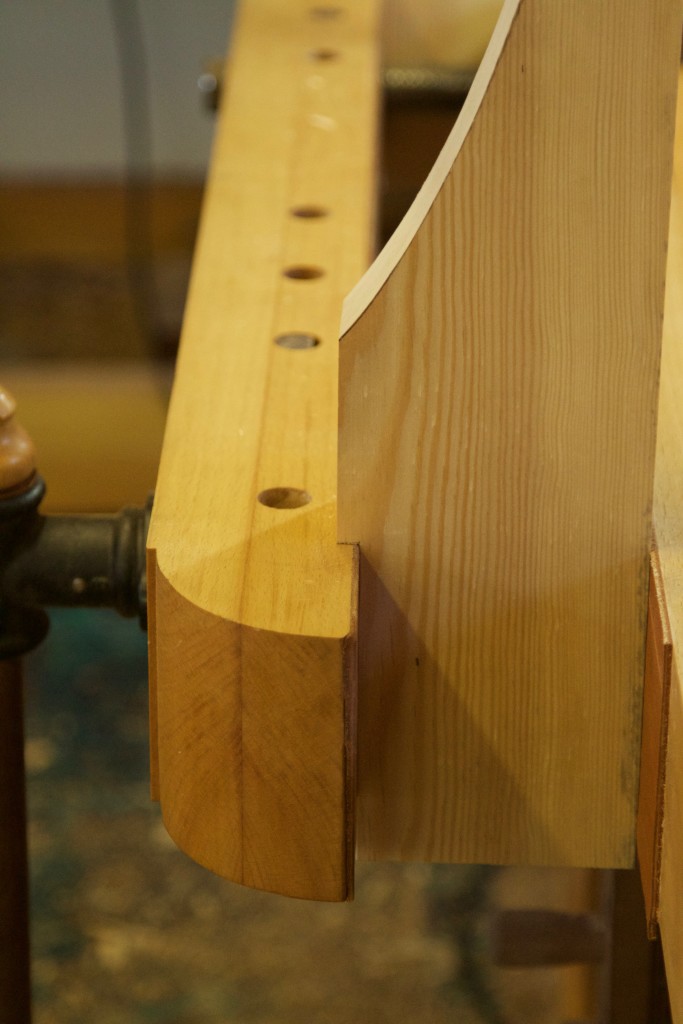
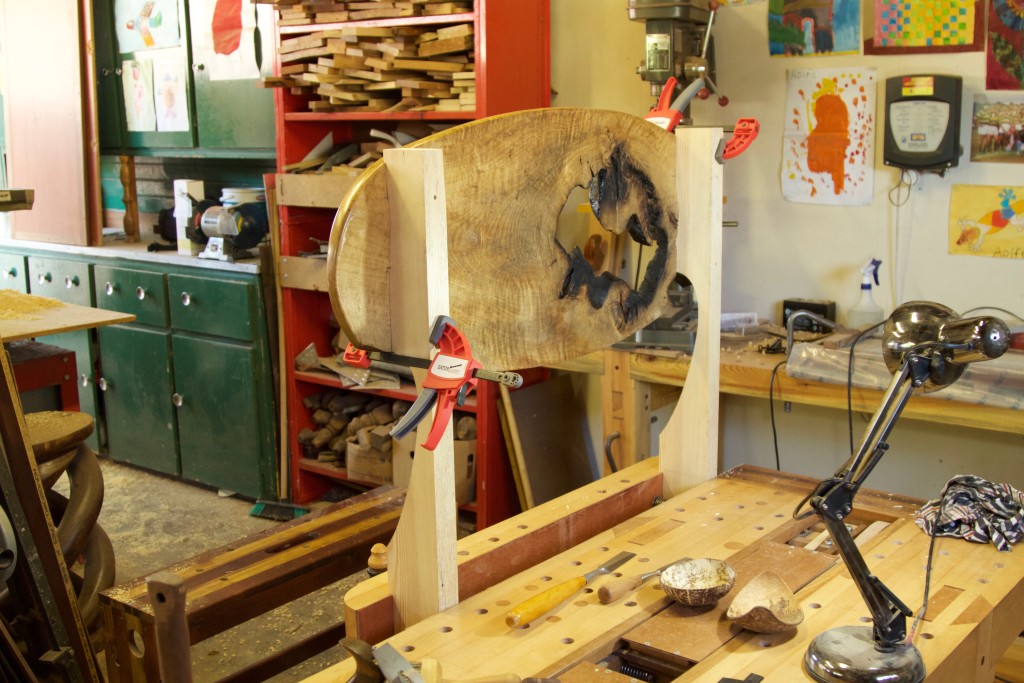
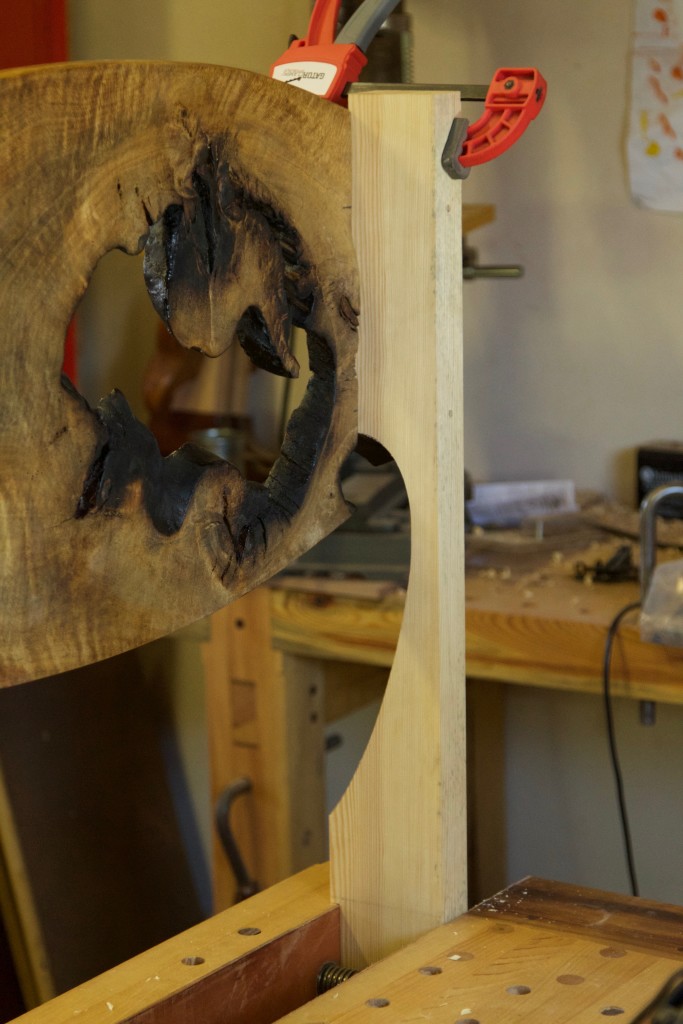
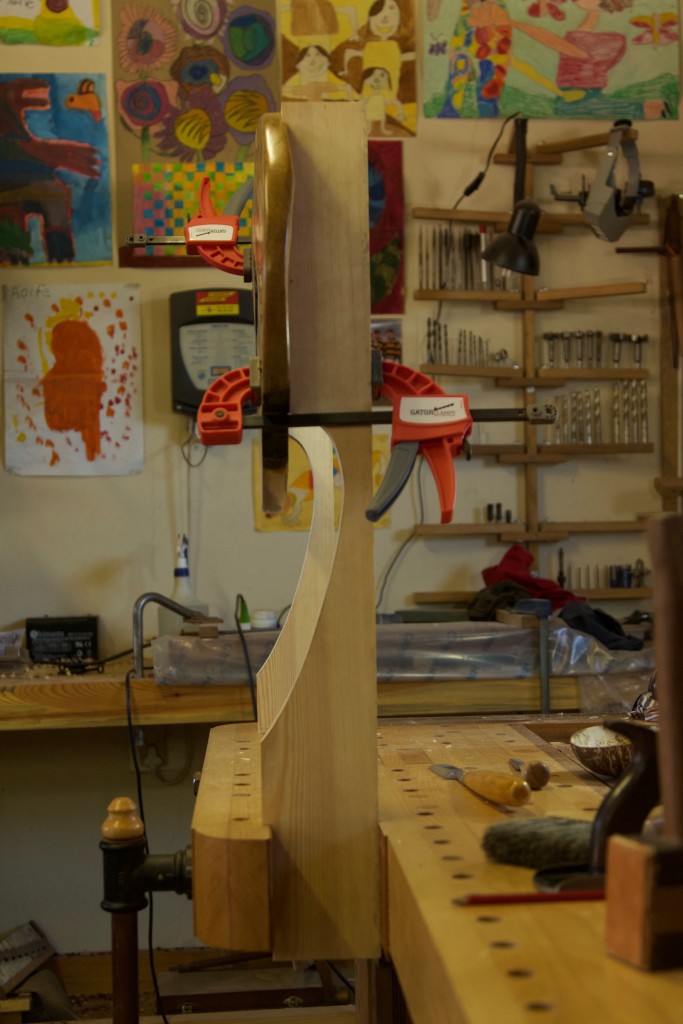
For the posts I milled stock from my stash of Scots pine to fit exactly in the dados at the back of the headboard.
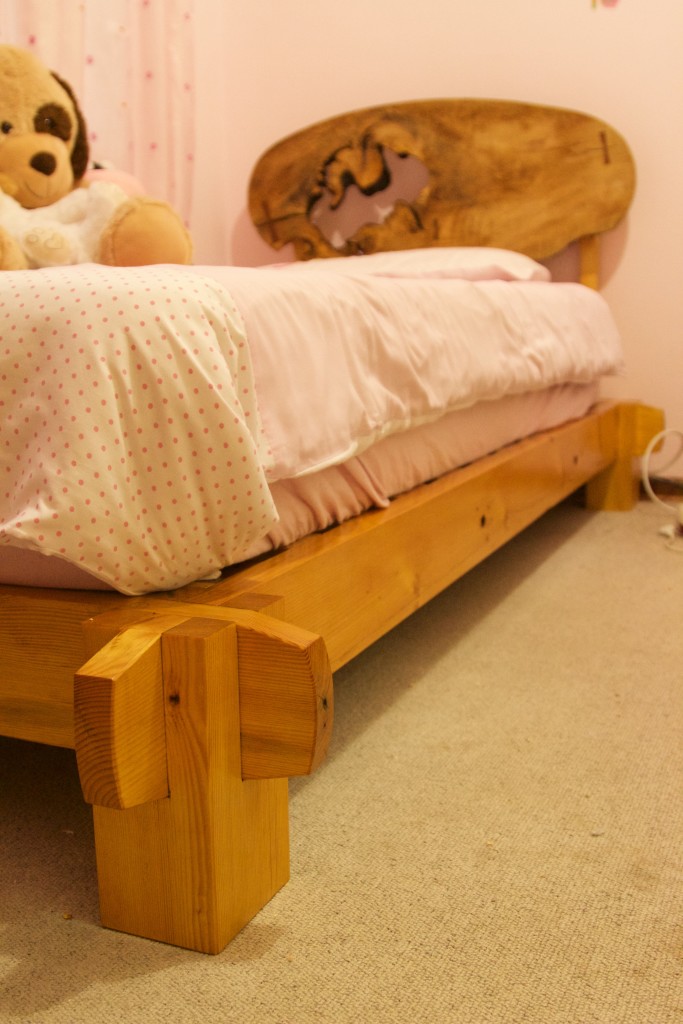
The posts were designed with curves to give the headboard an bit of a floating appearance. You can be the judge whether it worked or not.
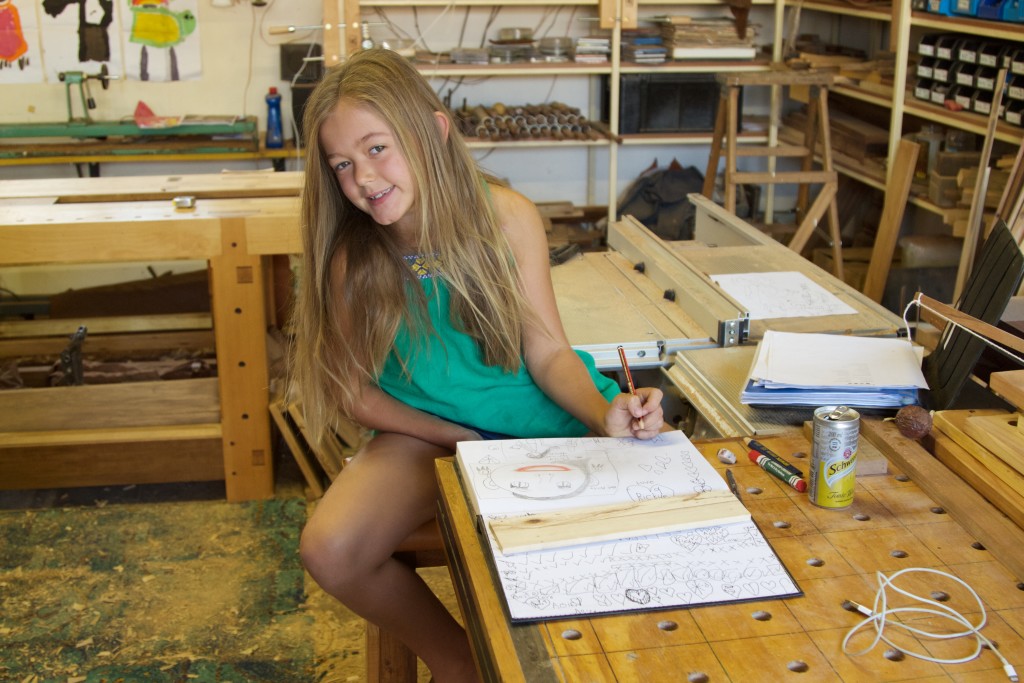
Aoife kept a close eye on proceedings.
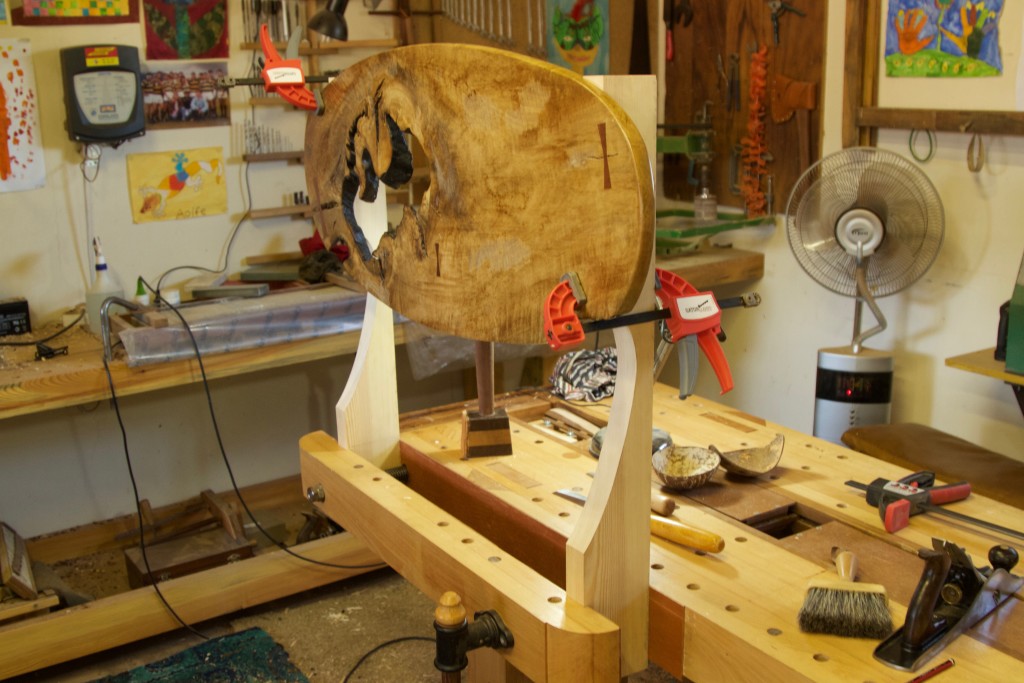
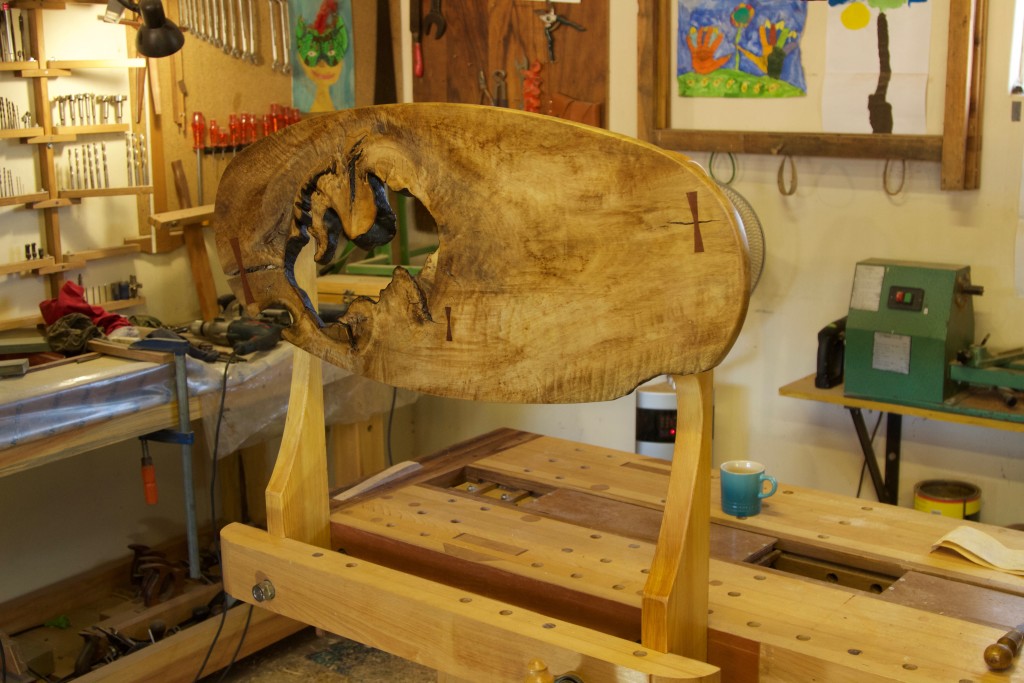
In order to strengthen the area of contorted timber floating inside the irregular hole I added two supports. This looks pretty sloppy although it is admittedly in an area were it should not be seen. However the nature of the grain and fragile connection to the main part of the headboard did not leave me with too many other options. Please let me know it someone has a better idea for future reference.
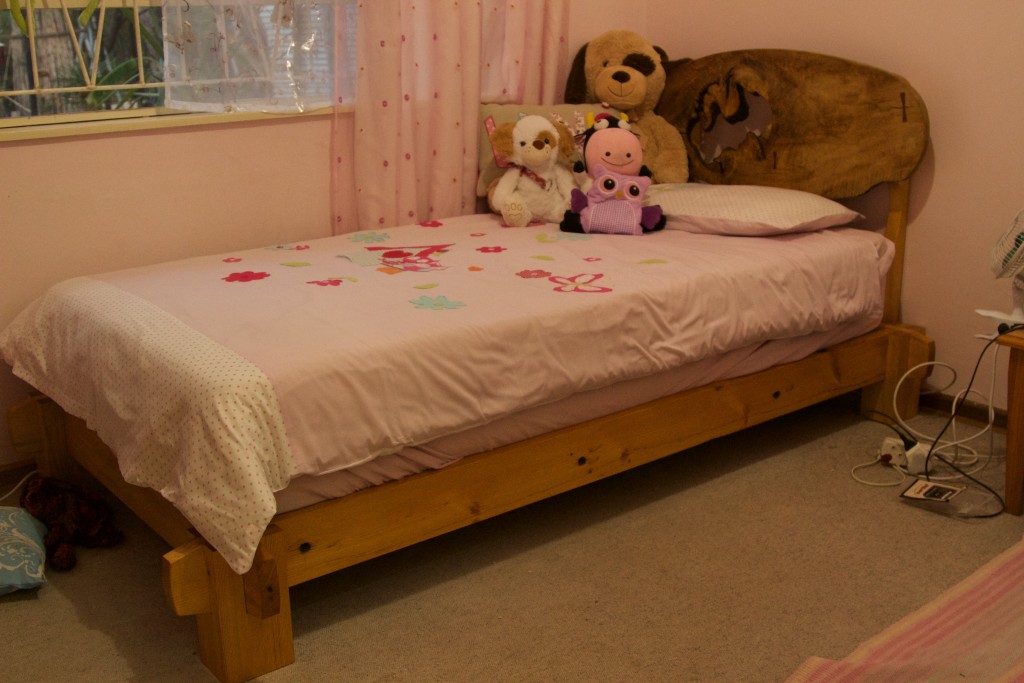
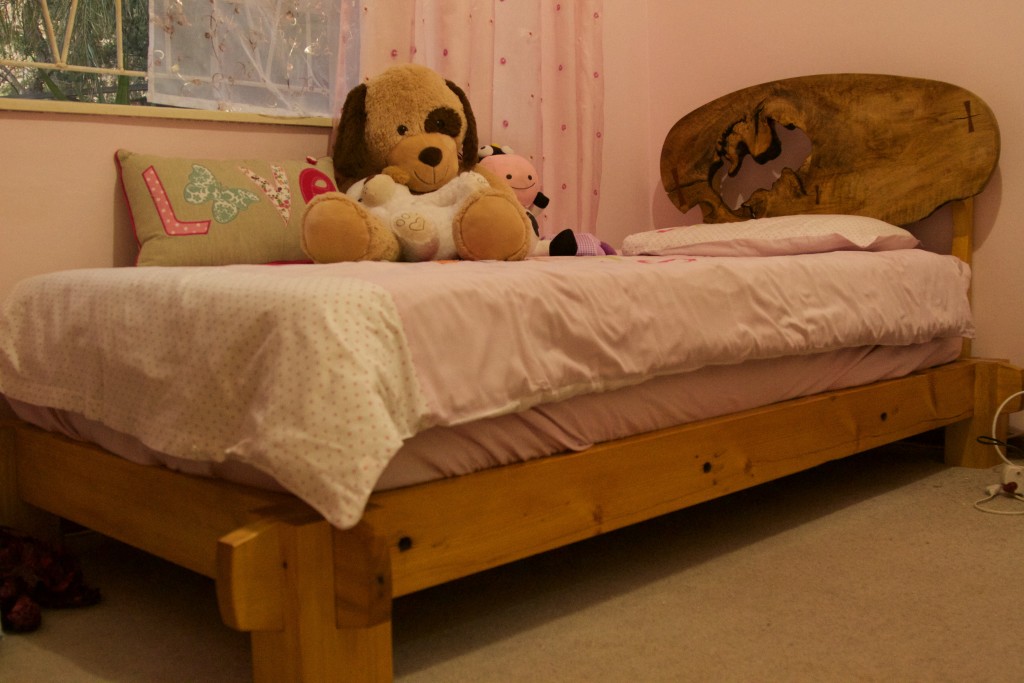
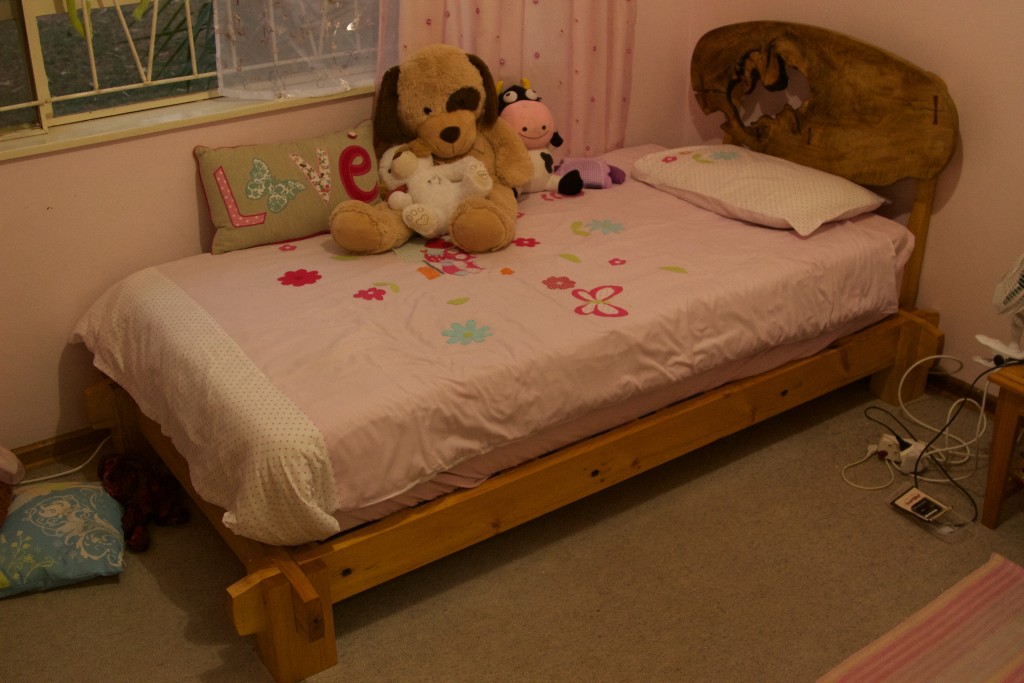
I assembled the three components in the shop and then took it down to the house to fit to the bed.
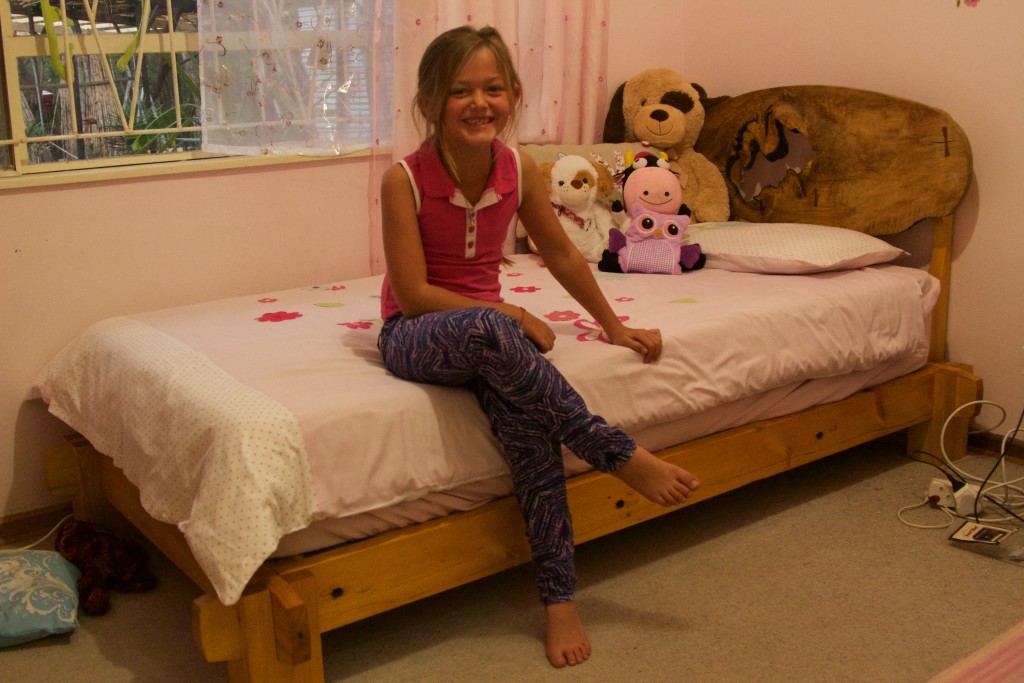
Here we go! The first proper piece of furniture for the house from my current shop.
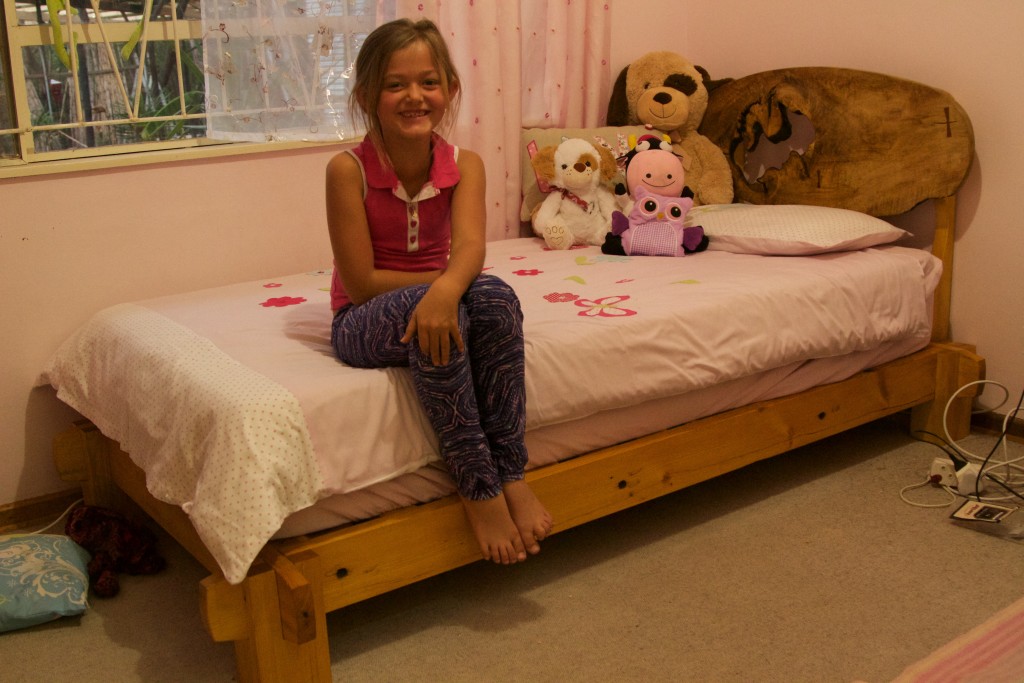
Aoife seemed fairly impressed.









Gerhard,
That looks amazing and I really like the dovetail keys that you used. That head board sure is on-of-a-kind! You are very creative. I think that I would have tried to eliminate the hole from my work piece thinking it a defect and I would have been very wrong. Your idea is clearly far superior. The bed overall is a fantastically handcrafted piece of furniture and I’m sure that Aoife will be happy with it for many years to come. She sure looks happy in those photos.
I hope that you are all well.
Jonathan
Hey Jonathan
Thank you very much for the kind words. I had an excellent idea of what I will be sending your way at some stage in future. I will let you sweat it out like you did with me, however. One clue that I am happy to give is that it will include quite rare African hardwood. The rest you can figure out yourself over the next month or two.
Have a wonderful day mate.
Gerhard
Well…. now you’ve got me thinking!
Clearly some thought went into this whole bed-design project. Lucky to have your dad there to keep you on the straight and narrow!!! Lol!
No, seriously, I need to make one of these and I’m already tired before I’ve even started! Very well done!! And very original!
Regards
Frank
Cape Town
Thank you Frank, much appreciated. I am very excited about publishing your next project. Tomorrow everyone will be able to read about that incredible African Rosewood Roubo!!
Cheers
Gerhard
Wow well done! Good to see your daughter on the mend and enjoying her new bed… very cool.
Uncle Bob and Rudy
Thank you Uncle Bob, how are you doing? Please forgive me for being so quiet over on your site, will do my best to get back on track.
Have a wonderful day.
Gerhard