
10/8/2015
It was a wonderful day when I was able to move on to activities other than planing this past weekend. I first drilled out most of the waste from the massive mortises in the top with a 1″ Irwin bit and Stanley no. 923 brace (12″). Then followed the removal of the waste from the sliding dovetail part of the famous Roubo joinery.
This was the first time I used my new Bad Axe back saw on a project. It is not called a Roubo Beast Master for nothing. After doing damage with the saws and chisel, I used a router plane (Lie-Nielsen) and a Stanley no. 10 Rabbet plane to perfect the sliding dovetail mortise wall (unfortunately not pictured).


Next up was the chopping out of the standard mortise. You can see how my shop made saw bench doubles up as a seat at the chopping station.


Here I am in the process of fitting the legs. Non of them needed much persuasion to occupy their new home. I think these pictures also testify how well my bench handles these massive beams, which are currently in the order of 84 mm x 181 mm x 3300mm.


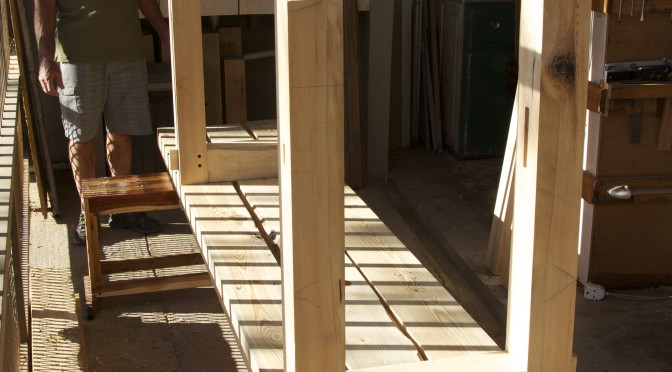
By Sunday afternoon, I assembled the bench in order to mark out the exact location of the long stretcher’s shoulders. I always enjoy this stage of proceedings as it is the first opportunity to really get an idea of what the bench will look like.


My father-in-law was so kind to help me, while enjoying the pleasant late afternoon winter sun.


My final task was to do the rest of the marking out of the tenons. They are now ready for the Bad Axe Roubo Beast Master. You might notice that the tenons are off centre by quite a margin. I deliberately designed them this way. These stretchers sit flush with the front of the leg so I decided to move the tenon as far away from the front edge as possible. This should ensure a stronger joint to the leg as there will be more timber left between the front of the leg and the stretcher’s tenon.

