20/6/2016
This story starts way back in May when Jonathan White (of Bench Blog fame) sent me a William Marples Hibernia Mortise Gauge as a very generous, but completely unexpected present. You can read his and my posts on the tool for background. Anyway it got me thinking how I could return the favour. At the time I already met a delightful young Namibian blacksmith by the name of Hanno Becker. He trained in Germany through the ancient apprenticeship model they have for all craftsmen. Since he finished his training he moved back to Namibia and started his own business. He is a very refreshing change from the often money orientated younger generation. Hanno is driven by excellence.
Hanno and I decided in February to try and create our own version of a Japanese Daruma hammer that I wanted to use with chisels for fine joinery work. I have adopted David Charlesworth’s techniques for this type of work and a good purpose made hammer is essential. These Japanese hammers are so well thought out (over a matter of several centuries) and made that it is not just a case of rocking up and producing a good quality hammer, even with Hanno’s considerable and well polished skills. We wanted to have one perfectly flat face and one slightly convex.
By late June Hanno had the first prototype ready. You can see what it looks like in the picture below. By that time I had ample time to ponder over the shape and choice of wood for the handle. I wanted to create a handle that sloped towards the flat face of the hammer and away from the convex face. The idea behind this is to open the convex face up to keep one’s knuckles away from the work when setting nails, hence the convex design of the face. The curve towards the flat face helps keep the face perfectly square on the butt end of your chisel while doing precision joinery work, hence the flat design of the face.

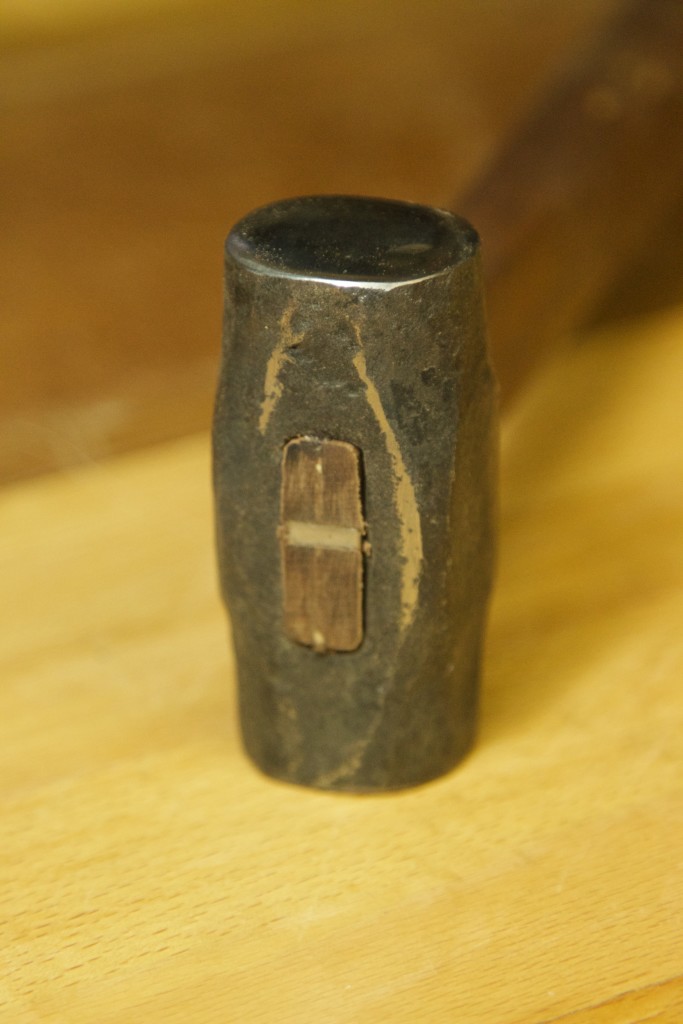
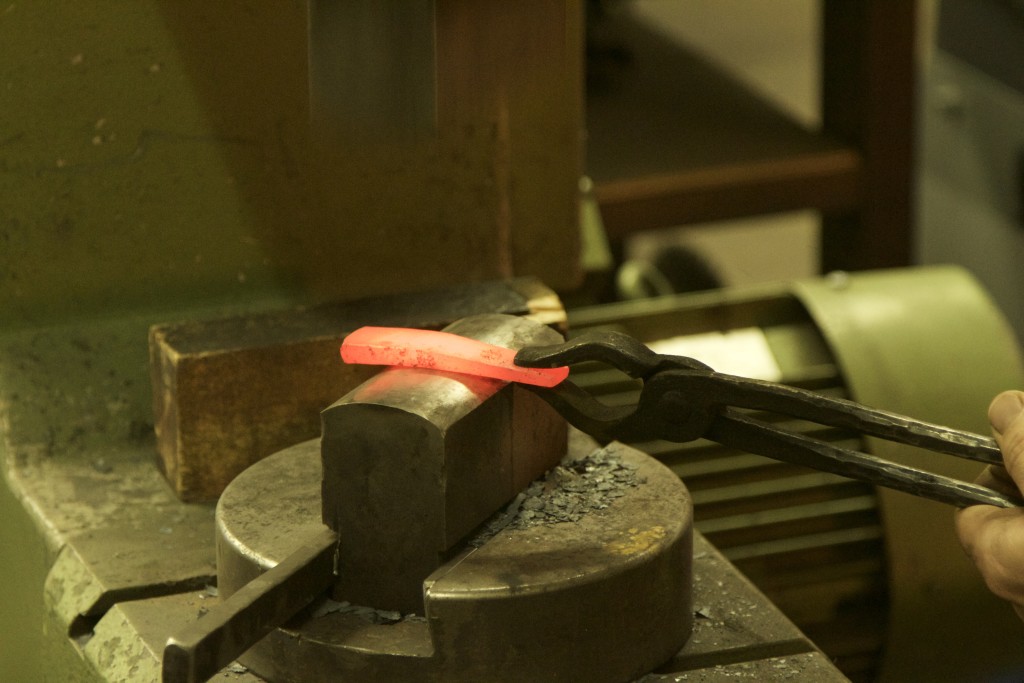
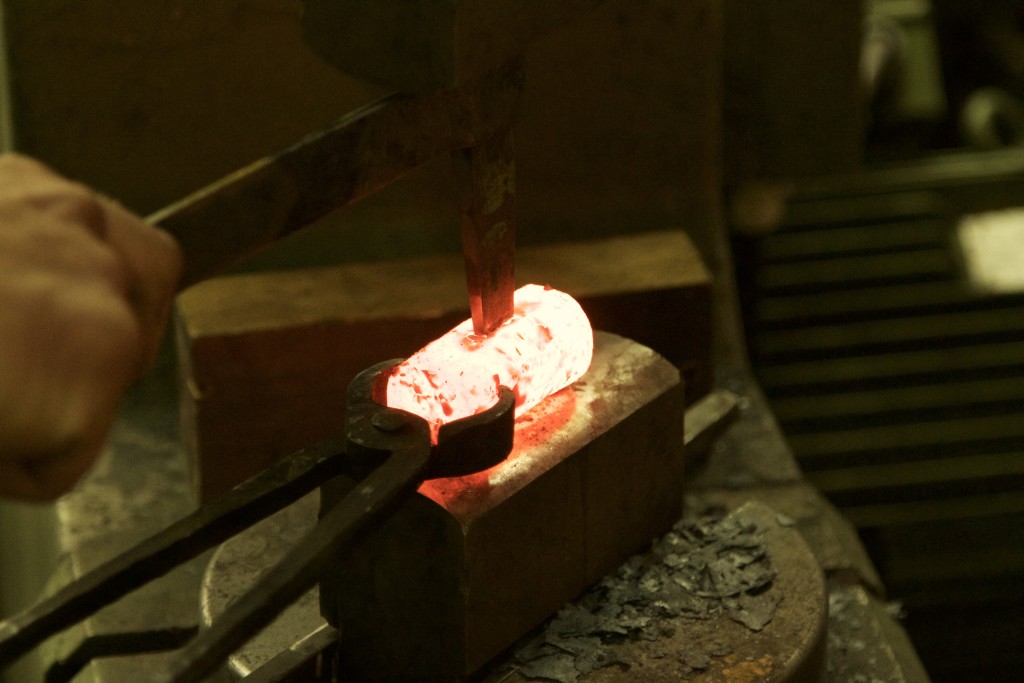
This picture illustrates one of the most challenging obstacles in producing these hammers the traditional way. As the blacksmith forms the hole for the handle it deforms the shape of the billet.

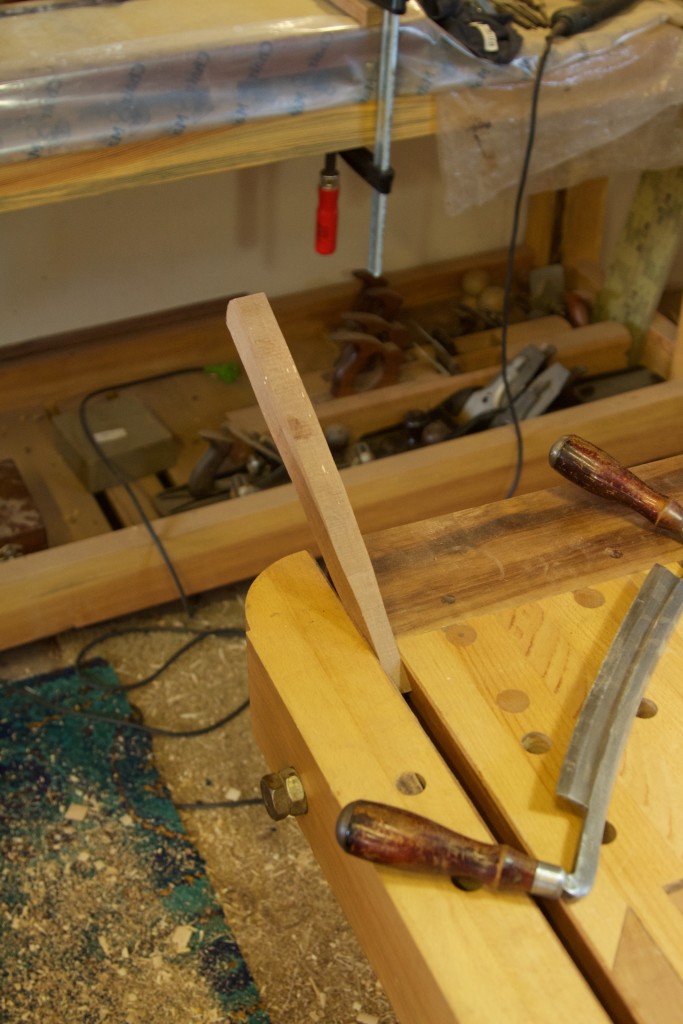
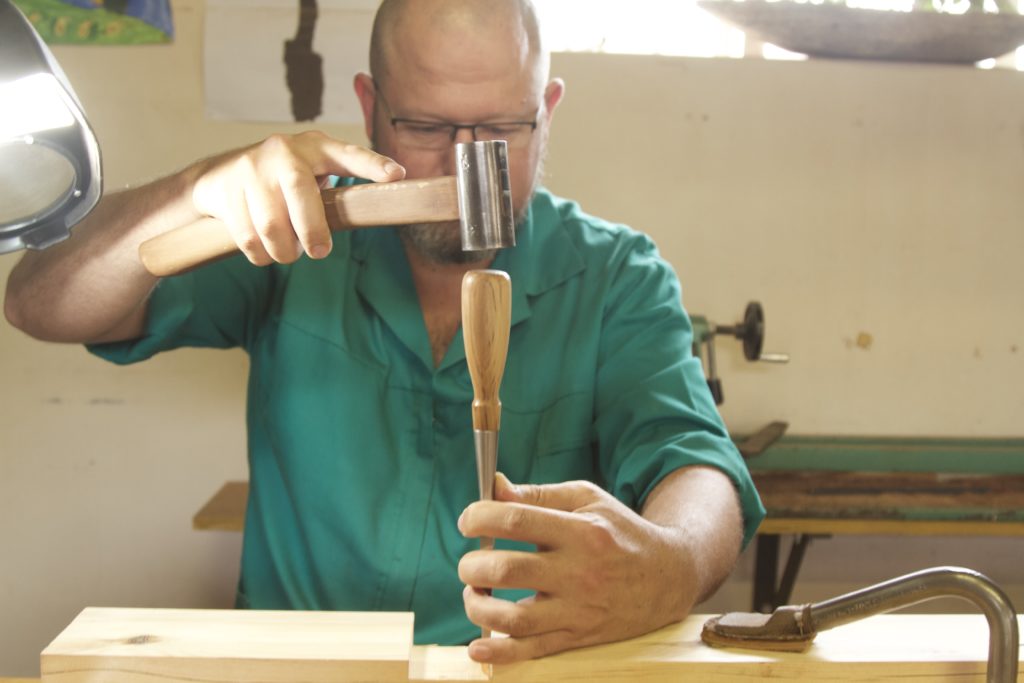
This picture illustrate the ergonomic advantage of the sloped handle while doing joinery work with the hammer.
I made my first handle and used the hammer for a week before handing it as a present to my cousin the Urologist. Apparently he has been using it to chisel out prostates ever since. Apparently it works like a dream, albeit a particularly frightening one.

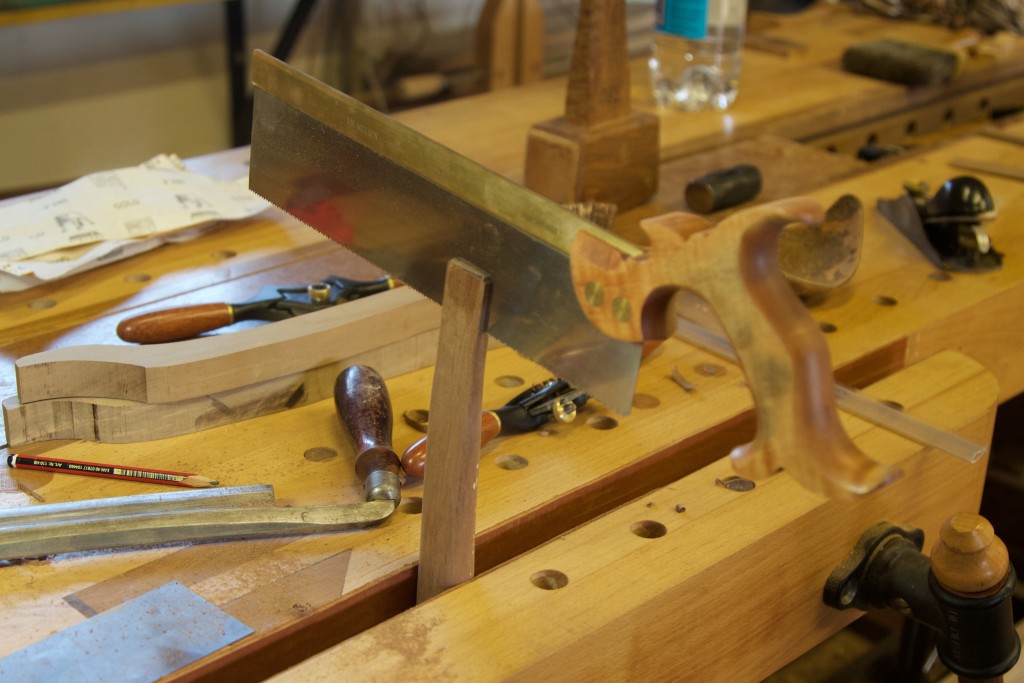
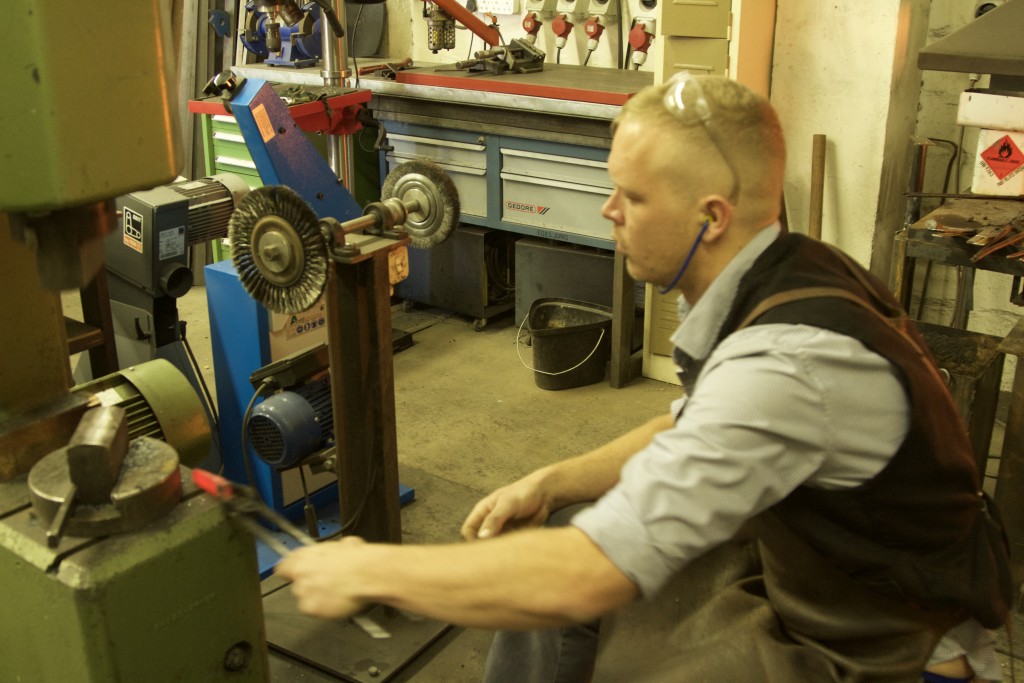
My apprentice Connor is helping me to shape the handle.
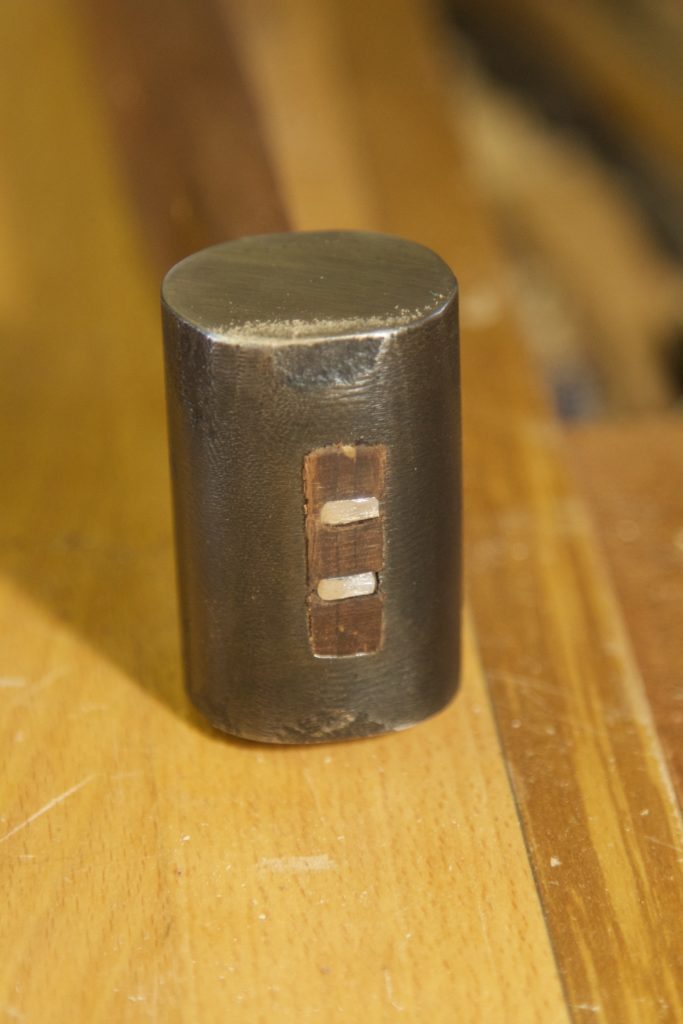
The handle gets wedged in two directions. First a wooden wedge longitudinally, followed by purpose made metal wedges diagonally with regards to the aforementioned.

A trick I learnt from Hanno is to heat up (ever so slightly of course as not to have an effect on hardness or tempering) the head and rub on beeswax. It creates an attractive protective finish that smacks of the old artisan age.


What I learnt from this first attempt is that the handle needs to fit perfectly in the head otherwise you end up with the metal wedge splitting the handle below the head. There is a learning curve to everything in the shop I guess.

Another advantage of the handle curving towards the flat face is that it can be placed on the workbench like this while doing joinery work and it is easy to pick up immediately in the desired orientation to continue working. The curve and oval shape of the handle also informs the user immediately which face is at the business end if picked up without looking at the hammer.

After this first prototype Hanno and I collated our thought on where we could improve the design. What we notice on the positive side was that the hammer is an absolute joy to use. Clearly the age old tradition of hardening only the faces and keeping the rest of the head relatively “soft” works wonders for the feeling of superior power transfer and pretty much eliminating recoil. When I first read about this in Japanese hammer literature I thought it was just hype or marketing, but believe you me it is quite striking (pun intended) when compared to a regular commercially made hammer. I noticed that one needs to use the hammer for a little while before the mentioned effect reaches a peak. All I could think was that it has something to do with the “joint” where the wood meets the metal. It seems as if it needs to settle or mature a bit.
It might have something to do with the properties of the Assegaai (Curtisia dentata) I chose for the handle. Allegedly it was the species favoured by the Zulus for their spears, hence the common name of the species. Assegaai was also heavily favoured by colonial wagen builders, especially for the spokes of the wheels. Assegaai is extremely fine grained and hard, yet surprisingly flexible. Another prized property is the fact that it tends to be extremely stable once well seasoned. A property that is priceless to keep the spokes secured in their mortises and would probably apply to the joint with the metal head. I think it has something to do with these properties of the Assegaai which translates into a joint with the metal that needs a bit of time to settle to give a very noticeable improvement in the feel of the hammer. In conclusion we thought the first prototype was a resounding success, but wanted to see how much better it can get.
We decided to try and aim for a artisan round (as apposed to perfectly round) shape to the head, improve on the inside shape of the hole through the head to increase the grip of the handle, and I wanted to create a more flowing look to the curve of the handle. Hanno then invited me to his shop on a Sunday to witness the process firsthand. At this stage he had already made two more heads and thought he was ready to produce a winner.

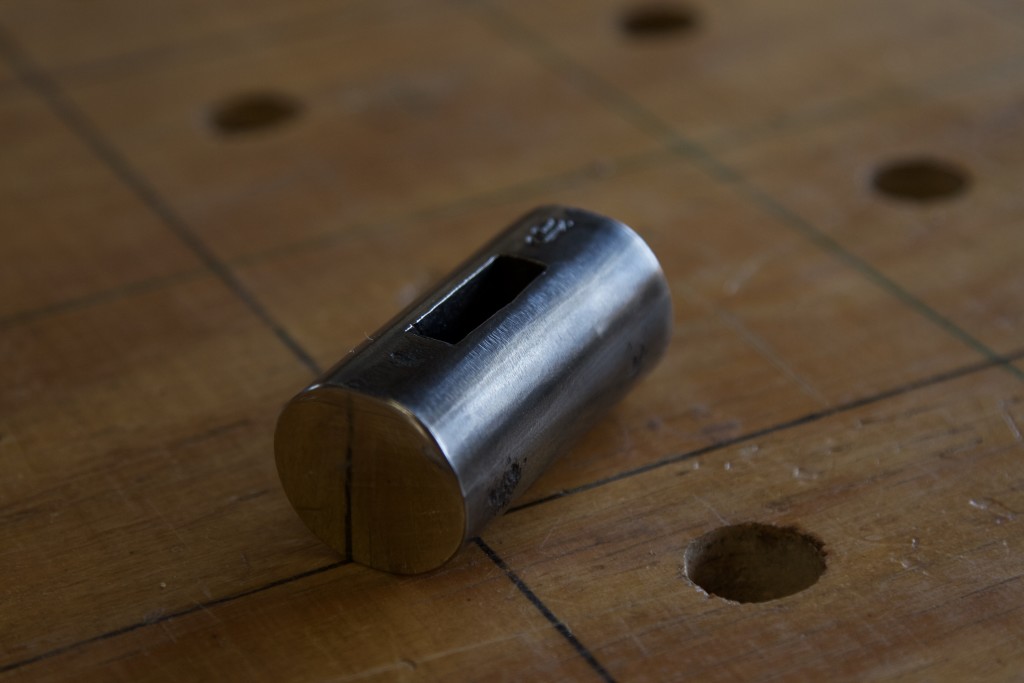
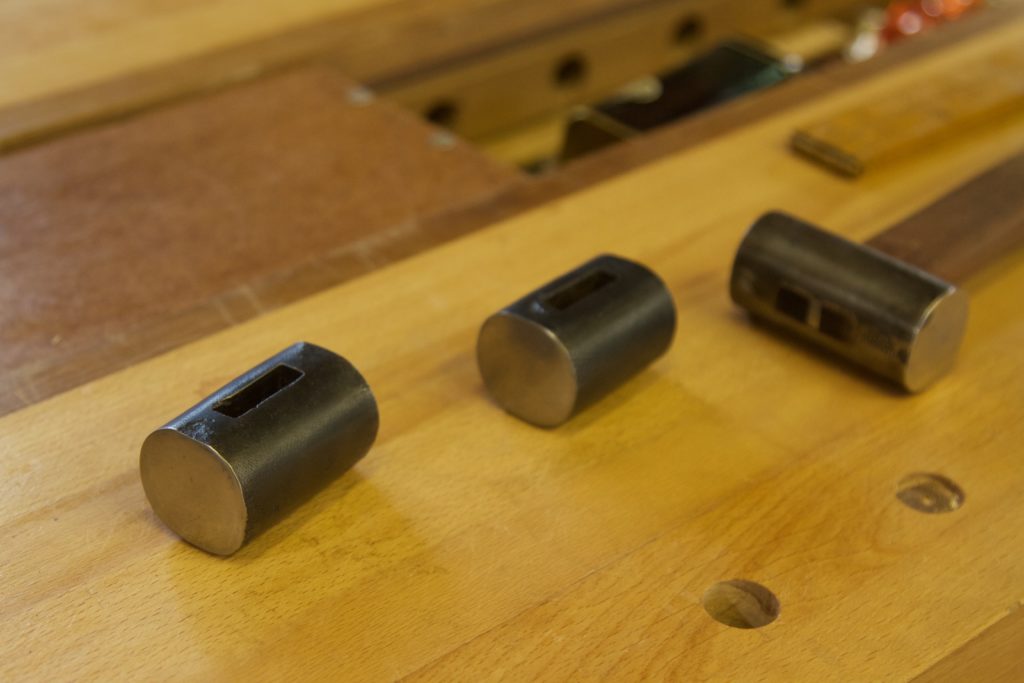
This is one of the two heads Hanno made in phase two.
On the big day Hanno first made a new chisel for punching the hole through the billet. He developed a few ideas on how to improve the chisel from the first two phases. This chisel is made from a special type of steel that is ridiculously hard in order to punch a hole through the special steel that Hanno handpicked for the hammer’s head. The chisel tapers slightly to ensure that the hole first narrows over the first third and then flares out after that when approached from the end where the handle enters. This feature together with the wedges ensures a very sturdy joint with the handle.


Once the chisel was done he moved on to the billet.


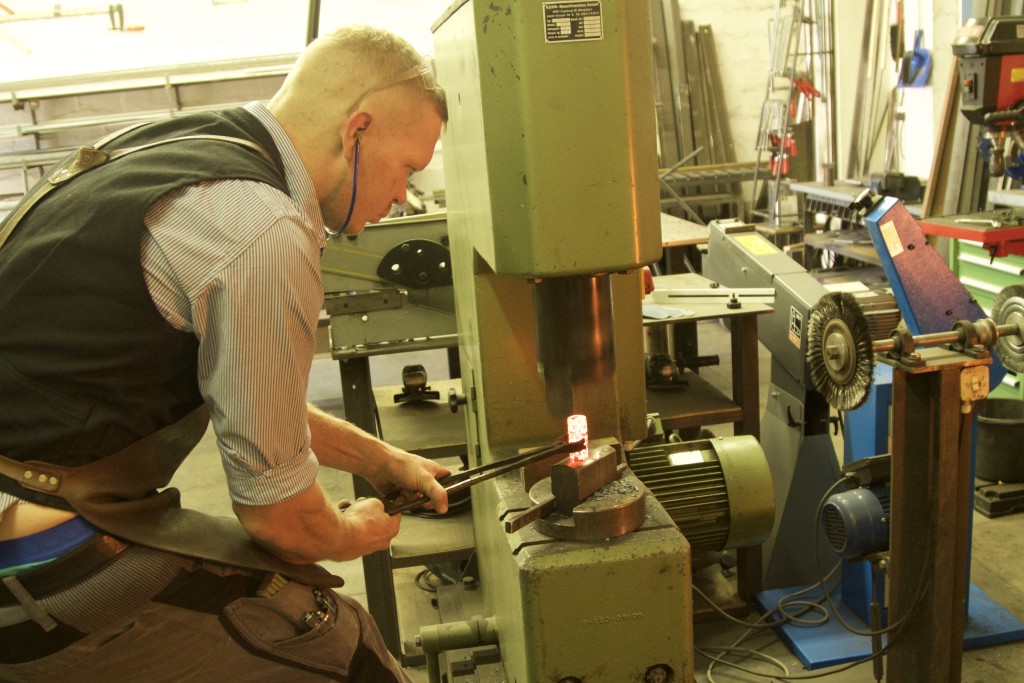

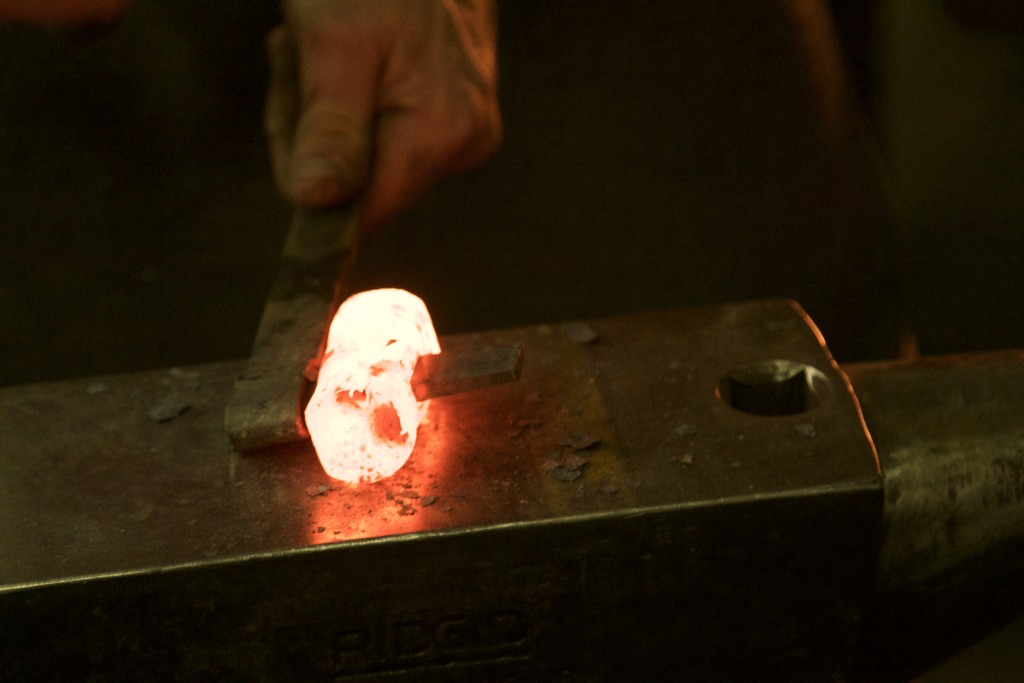
The hole gets punched through the billet from both ends bit by bit. It was at this stage that I realised just how skilful this young man is.


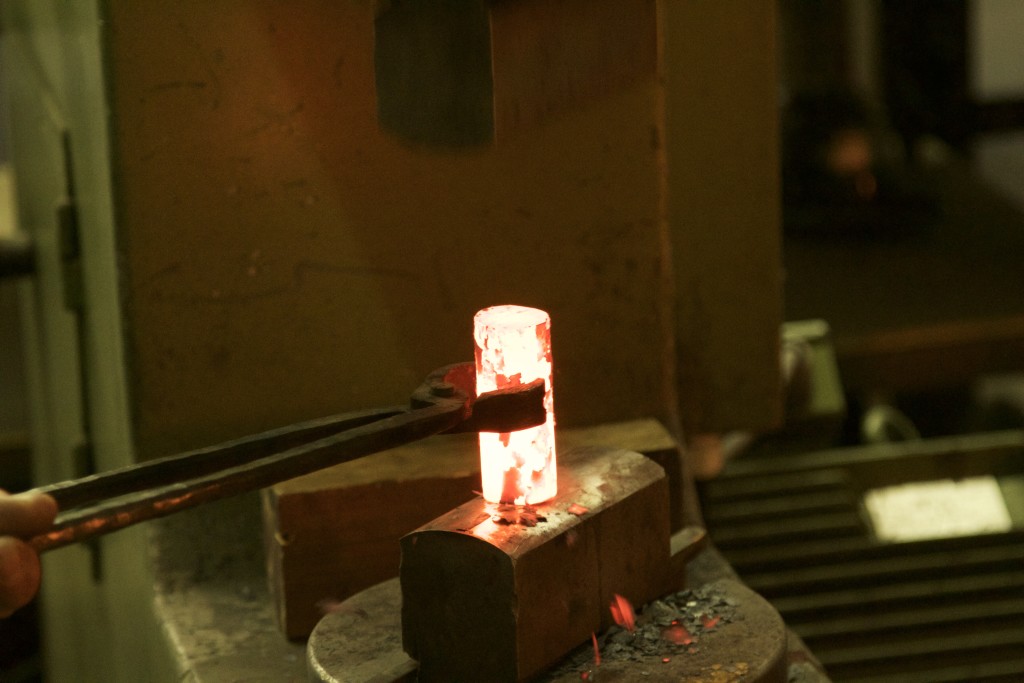
As you can see, this process tends to deform the billet somewhat.

One perfect hole done and dusted.

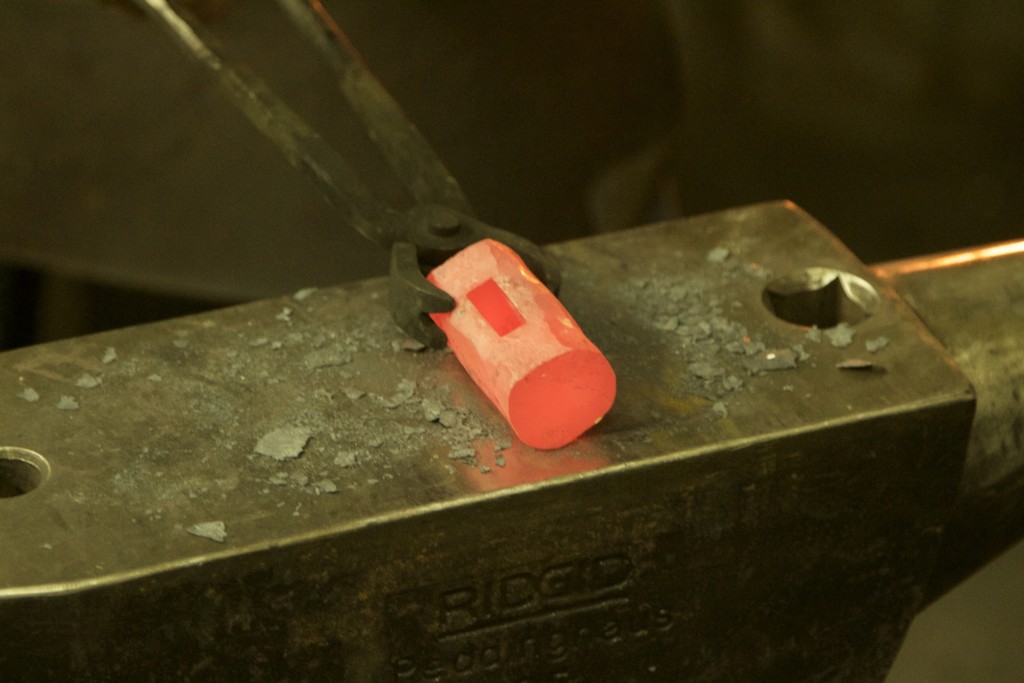
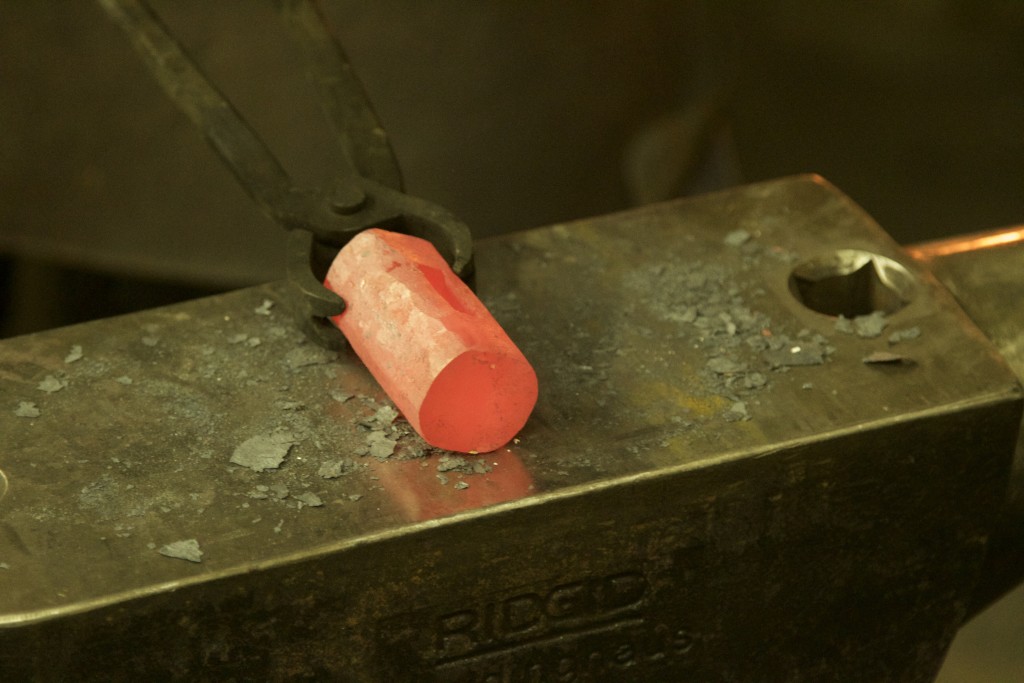
At this stage it takes even more skill to regain the round shape without deforming the hole.


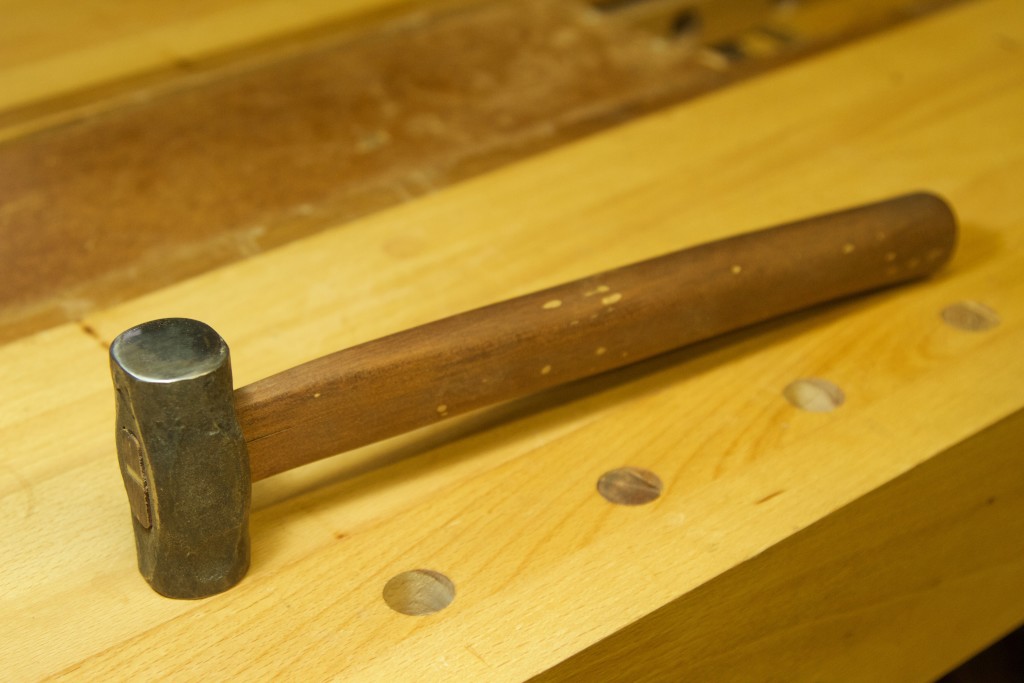
A week later Hanno delivered what would become my bench hammer and it looked liked this. My Jenesaisquoi Persuader (as apply named by Matthew J McGrane on Bench Blog) has become my favourite tool, it is literally the only tool that does not have a dedicated storage spot as it lives on the bench. I use it constantly to set my holdfasts (with the domed face of course) and it is a revelation in tandem with my Lie-Nielsen chisels while doing joinery work. Now I only need a Akio Tasai chisel to go with it. If there is one outstanding feature of this hammer that gives me tremendous pleasure (ala Charlesworth) each time I use it, it would be the incredibly soft efficiency of the power transfer. When hitting a holdfast there is almost no discernible recoil.


28/11/2016
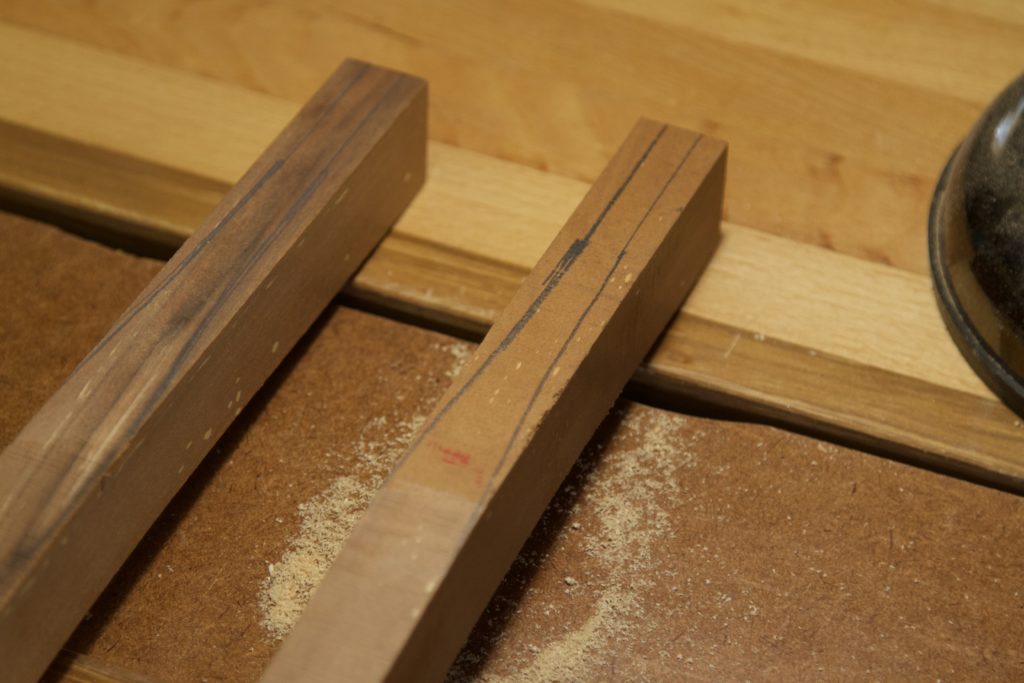
By late November I received two hammer heads representing phase four of the development. By now my handle shape improved to a more pleasing curve and I picked the best cuts of Assegaai I could lay my hands on.
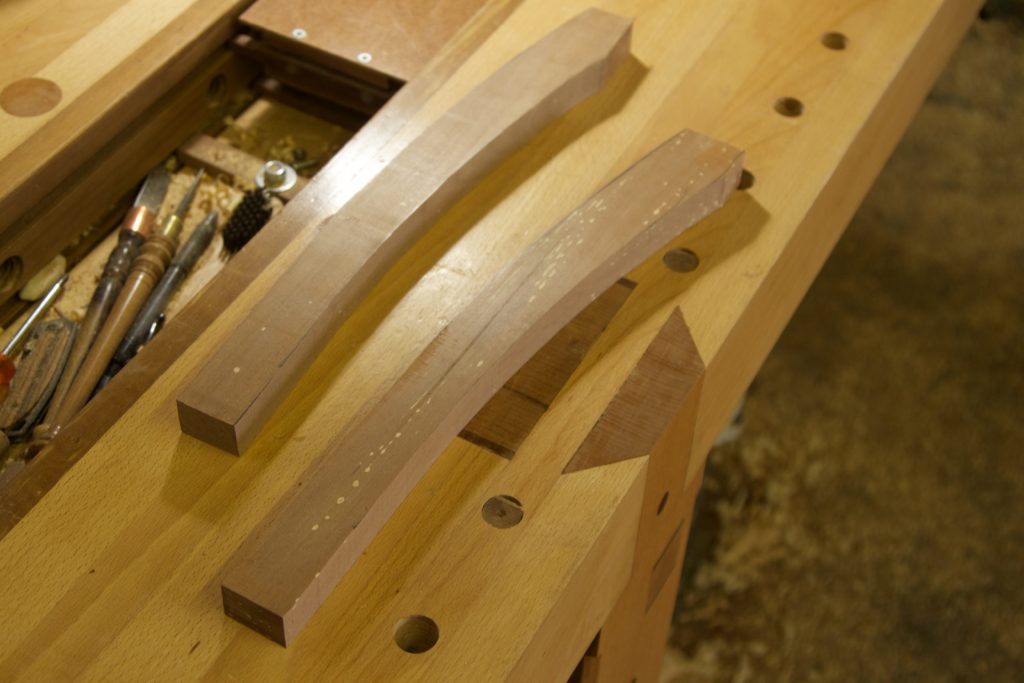
Below you can see my hammer’s handle. (i.e. phase three)

The following photos illustrate the improvements we identified for phase four. We wanted to increase the size of the hammer’s sweat-spot by increasing the diameter of the cylinder shaped head, while retaining the weight of approximately 375 gram. That necessitated the head to become a bit shorter.
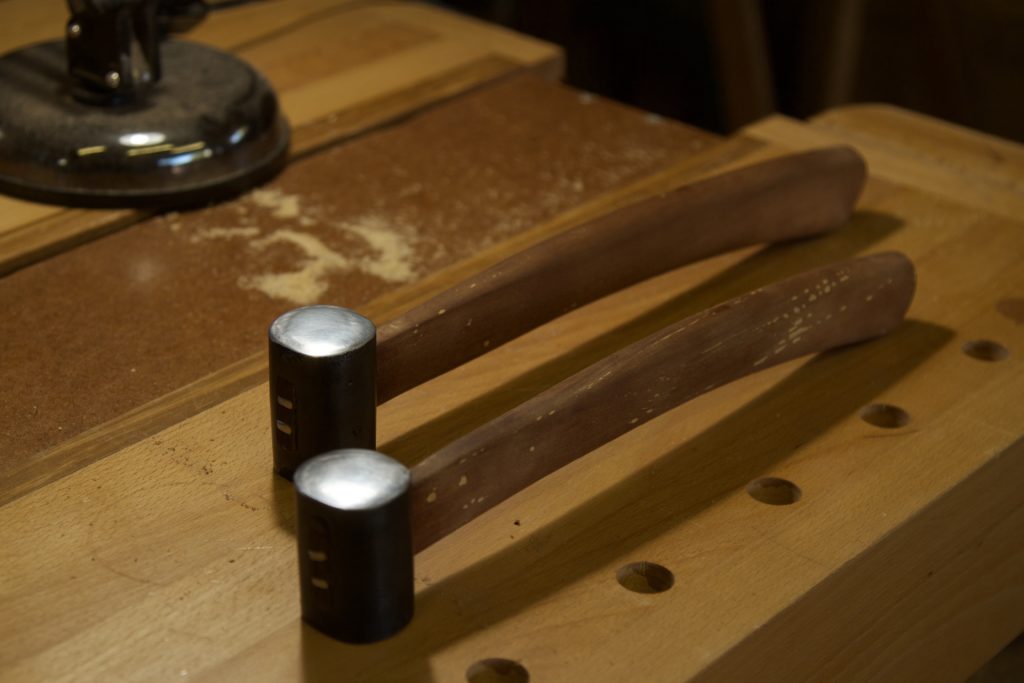
The phase three hammer is on the right and the phase four on the left with a noticeable increase in diameter.

Again phase three on the right and phase four on the left. Roughly the same weight yet noticeably shorter.

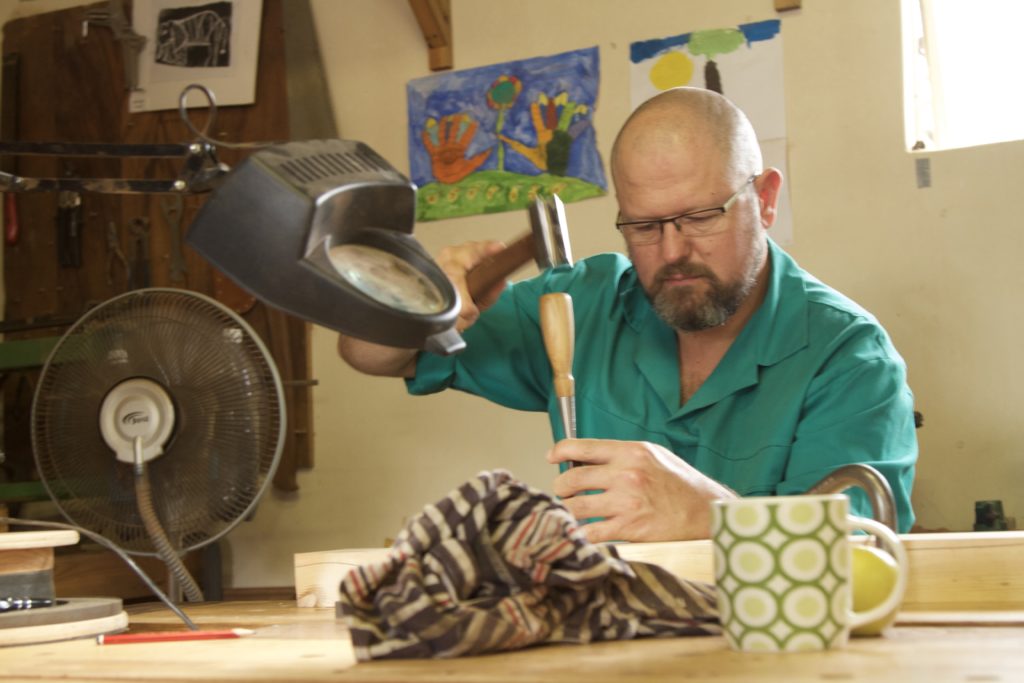
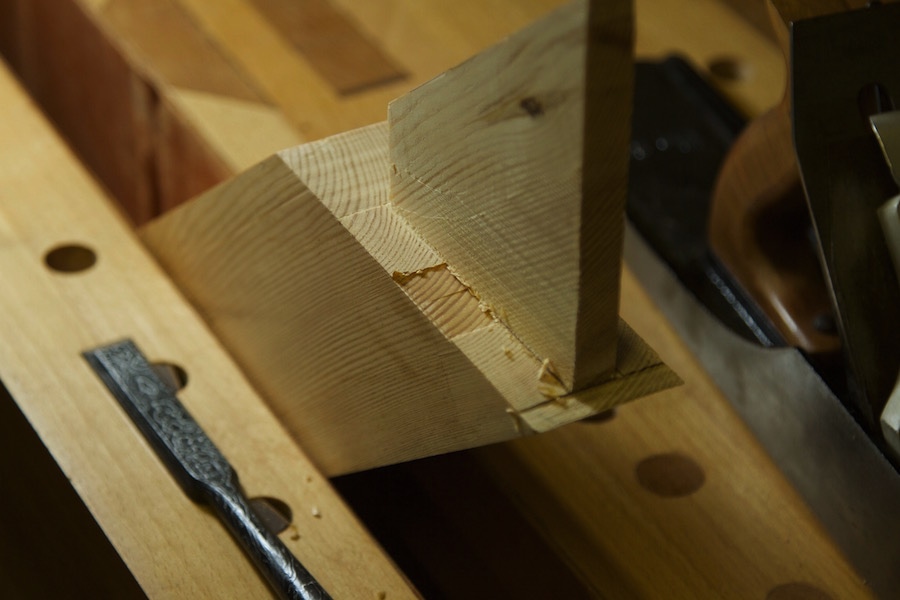
I try not to fuss too much when making these handles as they are meant to be working hammers not museum pieces. I also used the set of tools that I imagined an old artisan from yesteryear would employ for this task. That is perhaps with the exception of the electrivorous bandsaw that was initially used to cut the curves, but was followed by drawknife, spokeshave, card scraper and finally sandpaper. As my talented friend picked up in his assessment of the hammer, it actually balance best when you choke up on the handle somewhat. This is also intentional as that is the grip one would use when doing precision chisel work (illustrated by the picture below). When setting nails or holdfasts the balance is less important.


The wooden wedge.

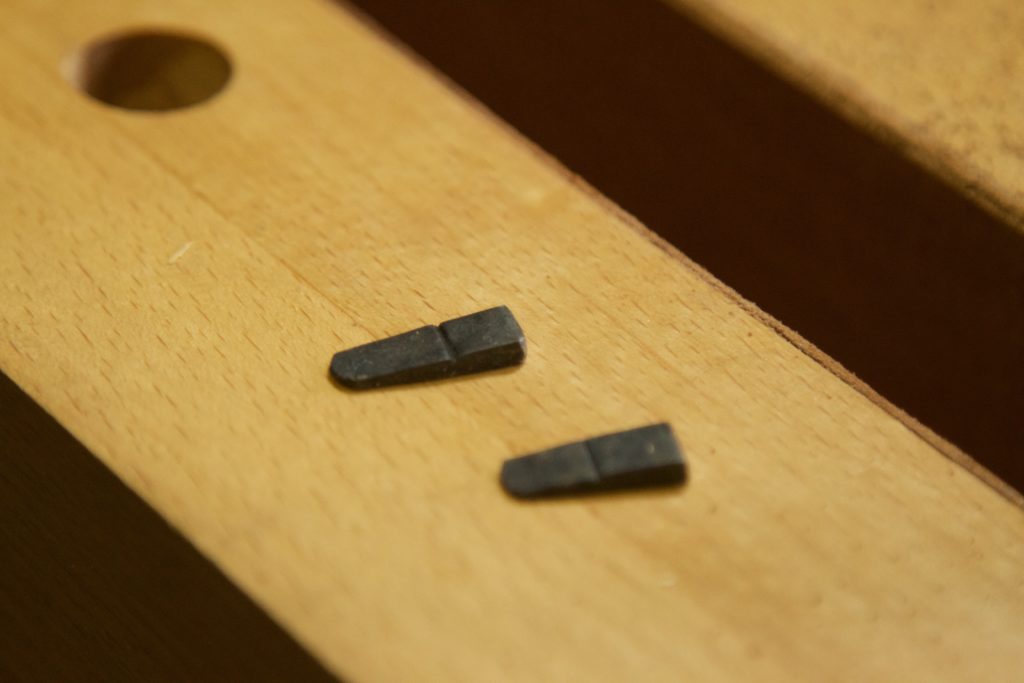
Followed by two (another detail we added) rather than one purposed made metal wedges.
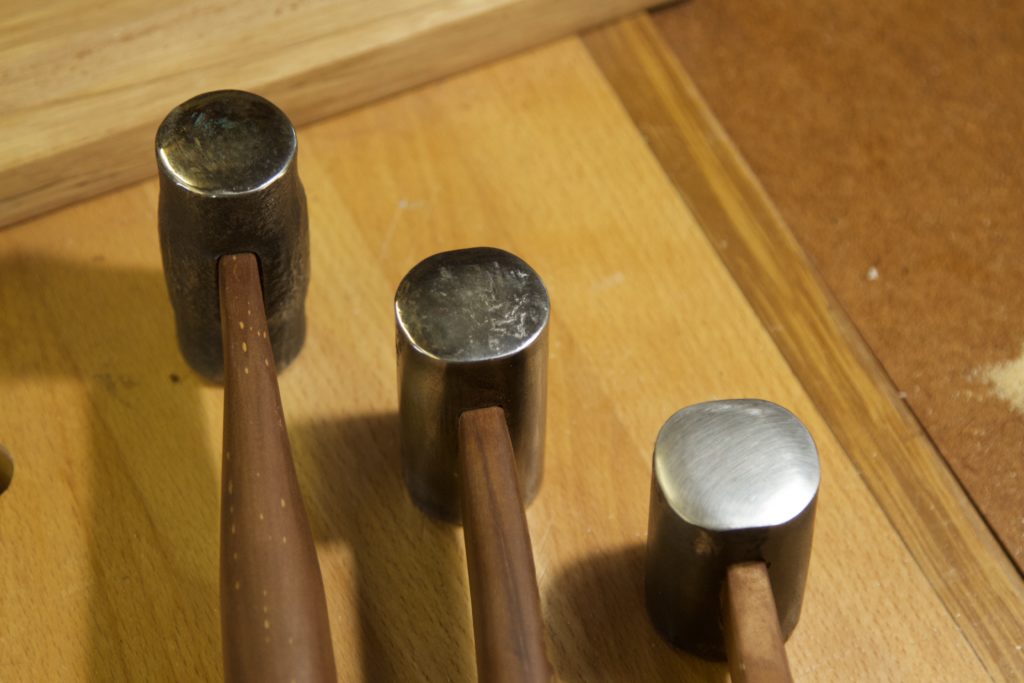
From right to left, phase 2, phase 3, and finally phase 4.


And here they are in the opposite direction, with phase 2 on the left and 4 on the right.
Finally they received a coat of Ballistol. I prefer using only a light coat of oil as it retains a better grip and tends to be less sweaty compared to lots of coats of varnish.

Then I sent them on their merry way to Washington and Nova Scotia. They are presents for my two blogging friends Jonathan White and Robert “Bob’s your Uncle” Demers. I hope you guys get as much joy out of them as I do.
Like this:
Like Loading...


