11/11/2013 – Just before I finally left my shop on Sunday evening, I took some photos of how it looks at the end of 2013. Hopefully this type of post will help me to see at some point in future that I am actually making progress. Since the shop tour photos of 2011, things changed quite a bit.
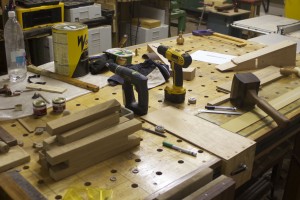
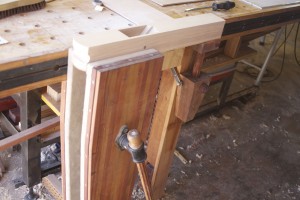
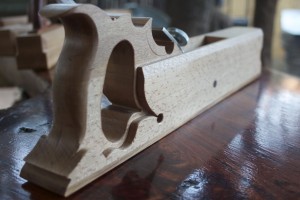
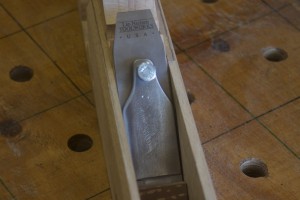
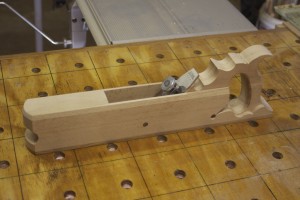
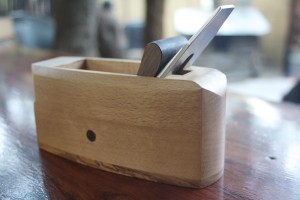
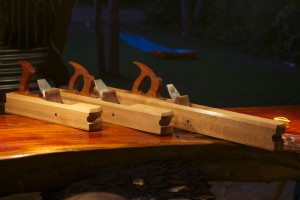
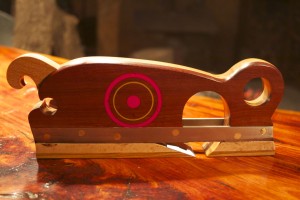
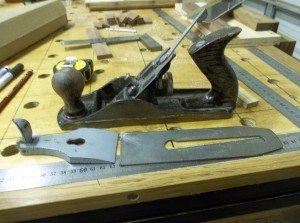
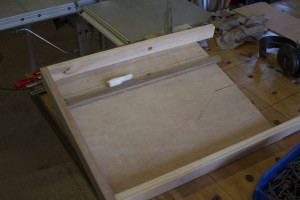
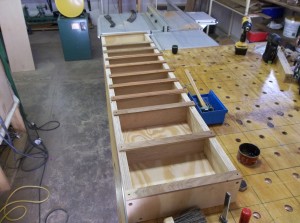
This first photo shows what is currently on my bench. At the back on the right hand side is the shooting plane I am working on. So far (excluding the shooting plane) I have managed to build 7 wooden planes during 2013. They are a Petite Smoother, a Jack Plane, a Fore Plane, a Jointer, a Scrub Plane, a Shoulder Plane and a Flush Plane. Here is a link to a gallery of photos of these planes http://www.jenesaisquoiwoodworking.com/shop-made-wooden-plane-show-off/ I also wrote a post on how I built each of these which you will find under the category “Handtools”.
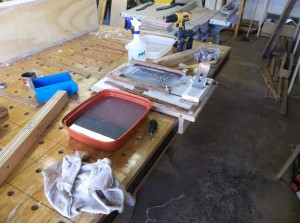
In the front left, you can see the Witpeer stock ready to become file handles. Behind that is an area set up to treat the handles with tung oil and Wooddock as they are turned. I am about half way with this project.
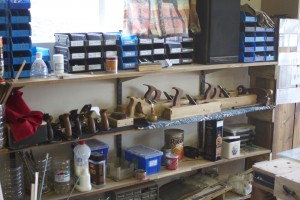
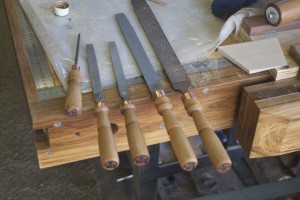
My main tool cabinet (by lack of a better word) has experienced several changes this year. Some tools were added (most notably the Proletarian sanding contrivances), some were moved (ie the files and chisels) and some moved to the opposite side of the bench (ie the planes and drill bits). I finally arranged easy access for all my small Bessey F-style clamps (last picture), which has made a huge difference to my efficiency. You can read more about this in the following post http://www.jenesaisquoiwoodworking.com/stingy-storage-ideas/


As I said my planes moved across the bench to were I do most of my hand planing.


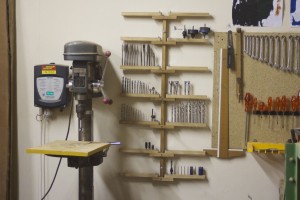
This is the area that I want to target next year. The bandsaw needs to move around the corner towards the left, while being lined up (height-wise) with the radial arm saw and the planer. This will created the space for my proper beech Holtzapffel bench, which will be my number one priority to build in 2014. The drill press might also move a bit to the right were the Kershout boards are standing up against the wall.
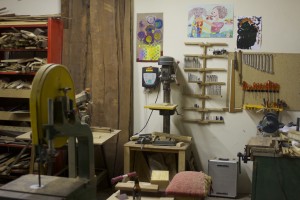
It is in this channel where I plan to line up the three mentioned power tools.

The green bench in the corner will move down to the shed where my wood will be store by next year. If you want to read more about that project see this post http://www.jenesaisquoiwoodworking.com/the-lumbering-odyssey/
My idea is to set up a rough lumber processing plant (probably a bit too dramatic of a description but anyway) down there in the shed. Then I will be able to cope with the tools and setup in this shop in terms of milling, shaping and cutting the tamer wood from the mentioned plant. Watch this space.

The future wood storage and rough processing shed.


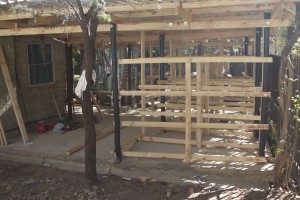
These are makeshift wood storing hooks hanging from the rafters. I use this to get wood acclimatized to the shop, while trying to get a better arrangement in place, which is part of the project mentioned above. These hooks will hopefully disappear once the majority of my wood is in the shed, which will enable me to acclimatize wood in the garage that is currently housing the wood.

I thought it would also be a good idea to list the projects that I have managed to complete in 2013, while it is still relatively fresh in my mind.
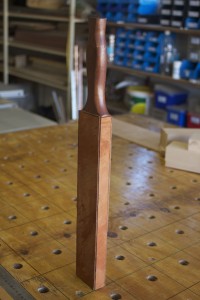
The Legvise was finished in 2013 although I already started on it towards the end of 2012.
http://www.jenesaisquoiwoodworking.com/legvise-with-a-twist-chapter-one/
http://www.jenesaisquoiwoodworking.com/legvise-with-a-twist-chapter-two/
http://www.jenesaisquoiwoodworking.com/legvise-with-a-twist-chapter-three/

The sliding deadman.
http://www.jenesaisquoiwoodworking.com/sliding-deadman-with-a-twist/


A set of six sanding planes (three short and three long) each with a different grit sandpaper
http://www.jenesaisquoiwoodworking.com/proletarian-sanding-contrivances/


The following planes:
Scrub Plane (http://www.jenesaisquoiwoodworking.com/scrub-plane/)


Petite Smoother (http://www.jenesaisquoiwoodworking.com/petite-wooden-smoothing-plane/)

Jack Plane, Fore Plane and Jointer http://www.jenesaisquoiwoodworking.com/building-a-wooden-jack-plane/
http://www.jenesaisquoiwoodworking.com/building-a-wooden-fore-plane/ http://www.jenesaisquoiwoodworking.com/building-a-wooden-jointer/
Shoulder Plane (http://www.jenesaisquoiwoodworking.com/building-a-wooden-shoulder-plane/)

Flush Plane (http://www.jenesaisquoiwoodworking.com/shameless-flush-plane-knockoff/)

A set of marking tools
http://www.jenesaisquoiwoodworking.com/tamboti-and-witels-marking-knives/
http://www.jenesaisquoiwoodworking.com/apodytes-dimidiata-scratch-awl/
http://www.jenesaisquoiwoodworking.com/another-scratch-awl/

I rehabilitated my father’s old Stanley Bailey no.4 and no.5 handplanes and replaced their blades with brand new Lie-Nielsen blades.
http://www.jenesaisquoiwoodworking.com/old-stanley-bailey-handplane-rehabilitation/
 Before
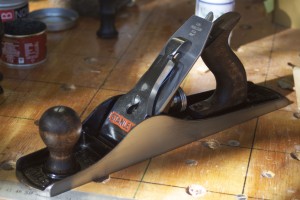 After
After
 Before
 After
After
A Sealskin strop
http://www.jenesaisquoiwoodworking.com/reprobate-sealskin-strop/ (by the way this is by far the most read post on this site, on 12 November 2013 it reached 1000 hits)

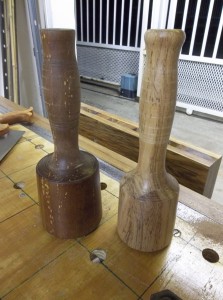
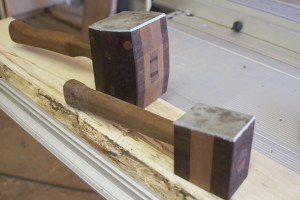
Five wooden mallets
http://www.jenesaisquoiwoodworking.com/mallet-mania/

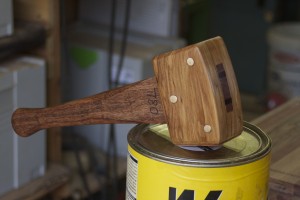
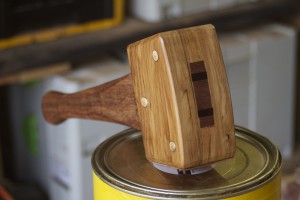

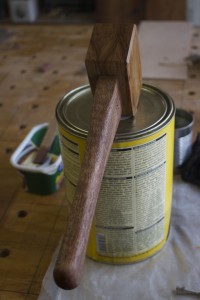
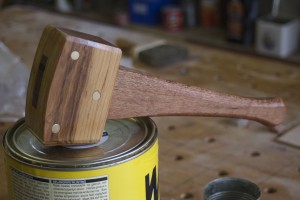


Plane hammer
http://www.jenesaisquoiwoodworking.com/plane-hammer/


Tuned my bandsaw and built a bandsaw mitre-sled
http://www.jenesaisquoiwoodworking.com/bandsaw-mitre-sled/


Heaps of file handles (I will probably not finish this project before the end of 2013)
http://www.jenesaisquoiwoodworking.com/file-handle-mania/


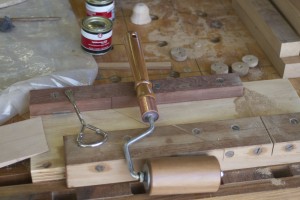
Glue roller
http://www.jenesaisquoiwoodworking.com/glue-roller/

Drill bit shelve
http://www.jenesaisquoiwoodworking.com/drill-bit-shelve/


Sandpaper storage cabinet
http://www.jenesaisquoiwoodworking.com/sandpaper-storage/


Card scraper holder
http://www.jenesaisquoiwoodworking.com/card-scraper-holder/


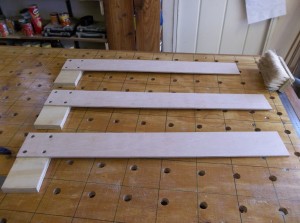
Plane stops of different lengths and four bench hooks


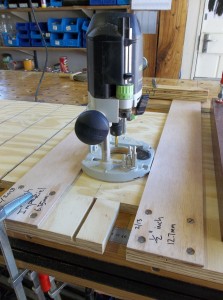
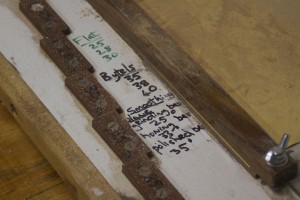
Three similar jigs for routing dados, each for a different diameter dado bit


Not sure what this thing is called but it stops your vise from racking.

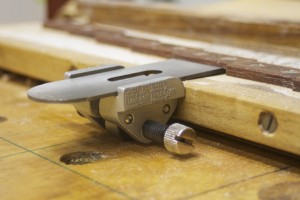
Sharpening jig based on a design by Deneb Puchalski (see the Lie-Nielsen site for a pdf version of his jig)
http://www.jenesaisquoiwoodworking.com/my-version-of-denebs-sharpening-jig/


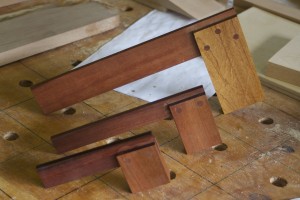
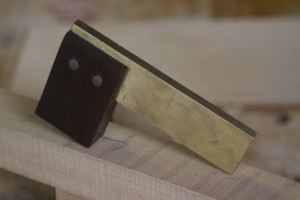
A set of shop made trisquares.


Rehabilitation of this egg beater drill.


Capscrew/Chipbreaker/Deadman screwdriver

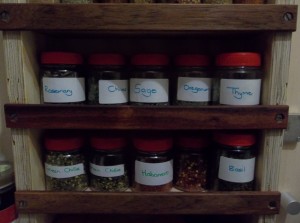
Spice rack

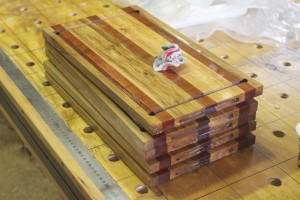
Wooden plates for braaivleis!!

Whoa-oa-oa! I feel good, I knew that I would, now
I feel good, I knew that I would, now
So good, so good, I got you (James Brown)
Like this:
Like Loading...


