Category Archives: Furniture

My second commission – part 3

26/10/2015

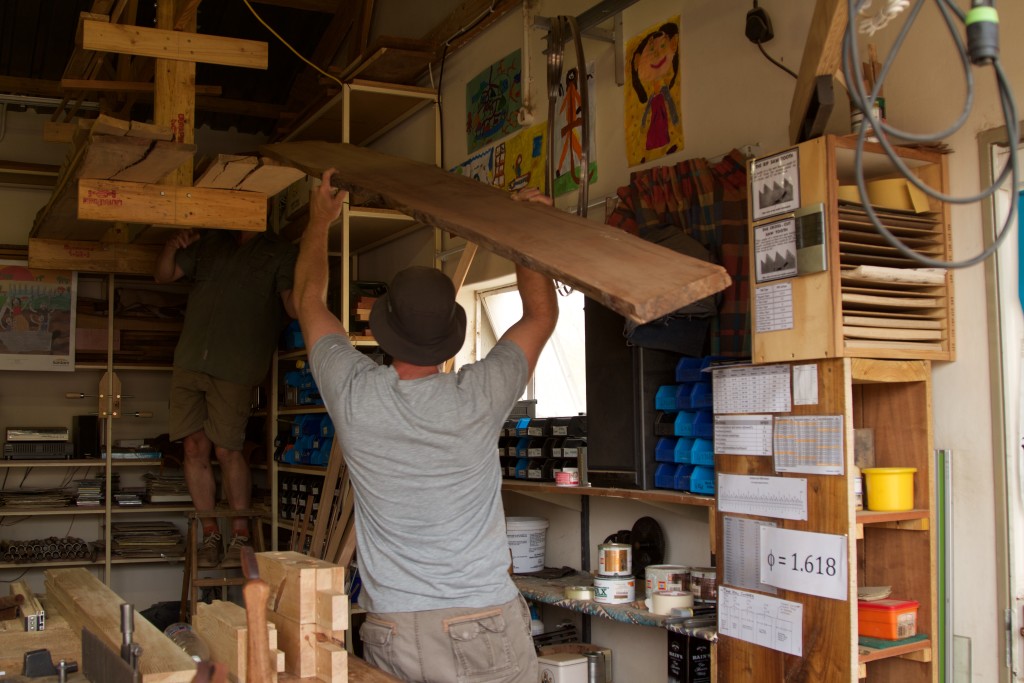
Way back at the end of October last year, I started planing the Kershout for this table. As you can see from this picture, I had first class help in the form of my wife. She helped me to feed the boards to the planer as they are far too big and heavy to manage by myself. She did all of this while sporting some or other tinfoil-toe-treatment-thingy. Heaven knows whether it is for cosmetic or functional purposes. She is training for the world famous Two Oceans Ultra Marathon (56 km) so it might be something to do with that (I do not want to know), or simply a type of African pedicure??

Anyway, the Kershout were planed bit by bit over a 4 month period. This ensures that it has enough time to settle between planing sessions, which usually results in less warping.

IMG_5363IMG_5365

7/3/2016

The timber mill day.

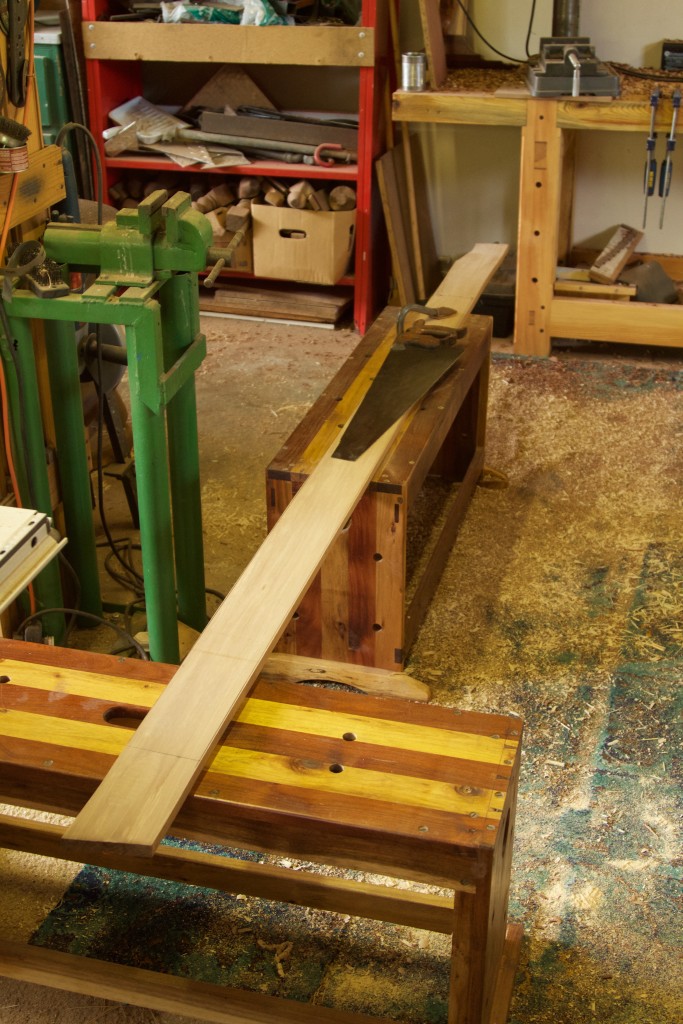
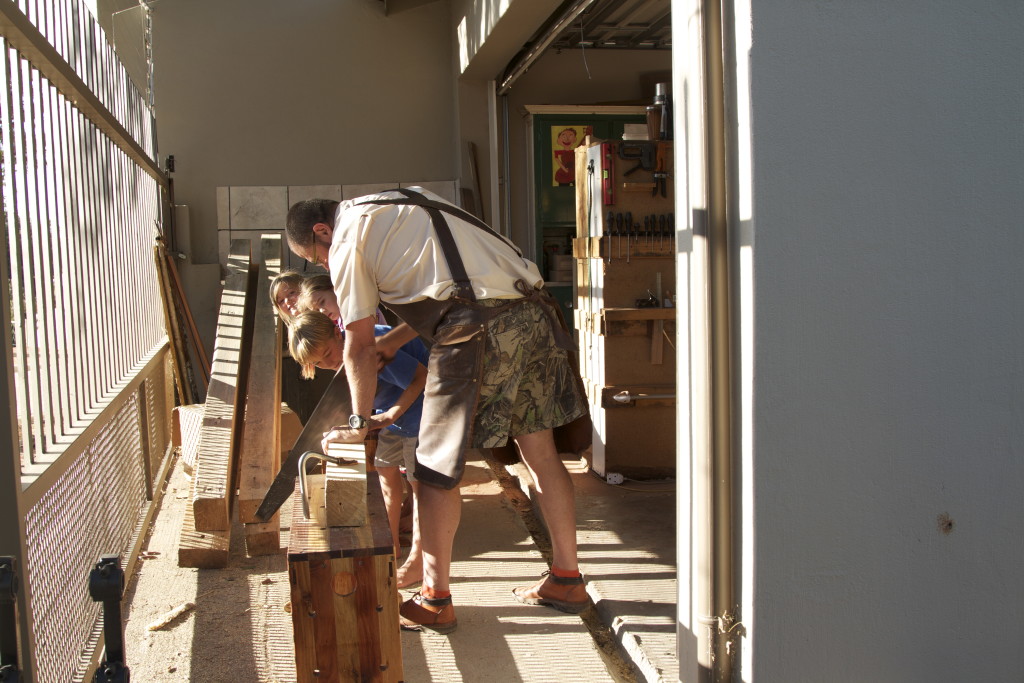
On Saturday I took to the Witpeer for this project with a vengeance. It has been sitting in the shop to acclimatise for about 5 months now. Given the amount of processing to do, I asked my gardener (this is Africa aka TIA) Adam to help. We identified and marked out the pieces for the trapezoid shaped leg, which was first cut into shorter pieces using my Disston no. 12 crosscut handsaw

IMG_6299IMG_6300

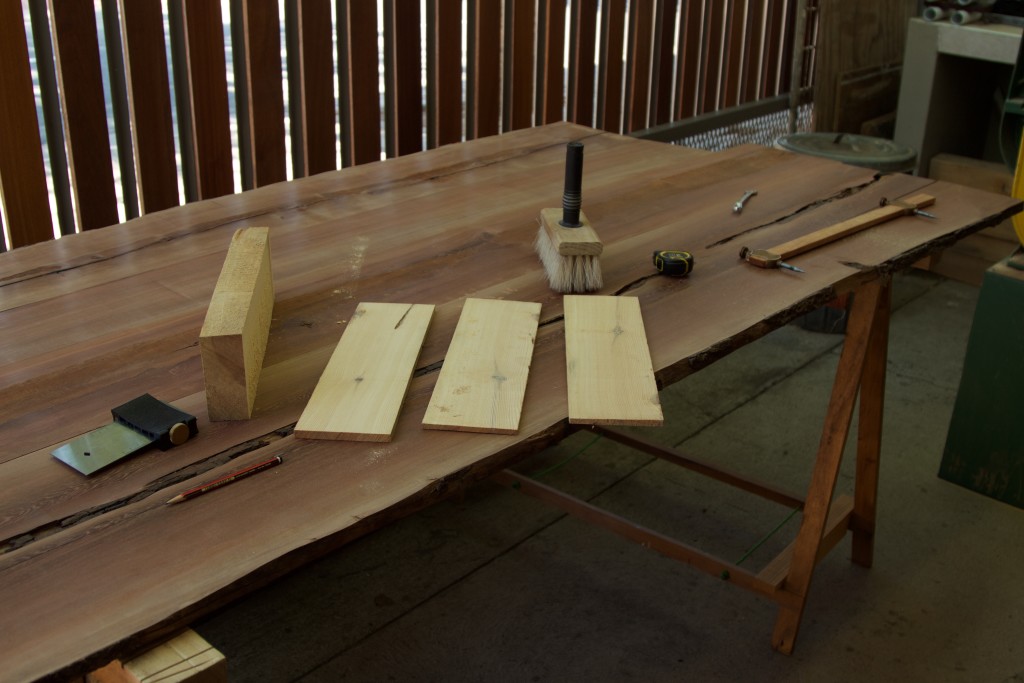
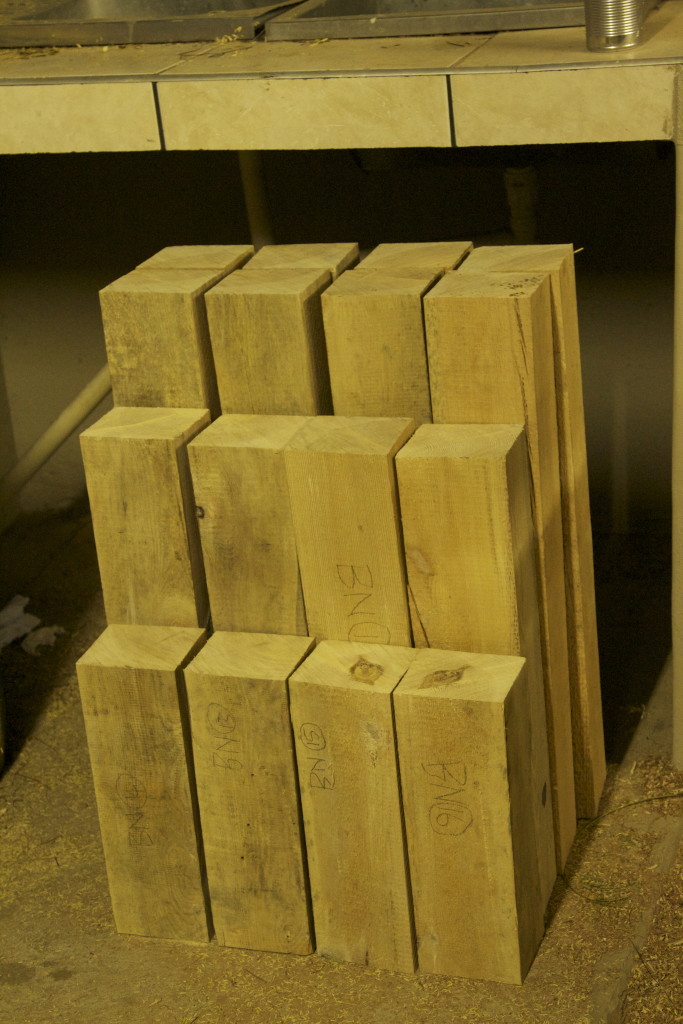
From left to right: The shorter pieces for the trapezoid leg, four long strips for the beam at the bottom of the table, with a bit more trapezoid leg pieces sitting on top of it, and the Kershout pieces for the top which received its final planing pre glue-up.

IMG_6302

Trapezoid leg pieces.

IMG_6303IMG_6304

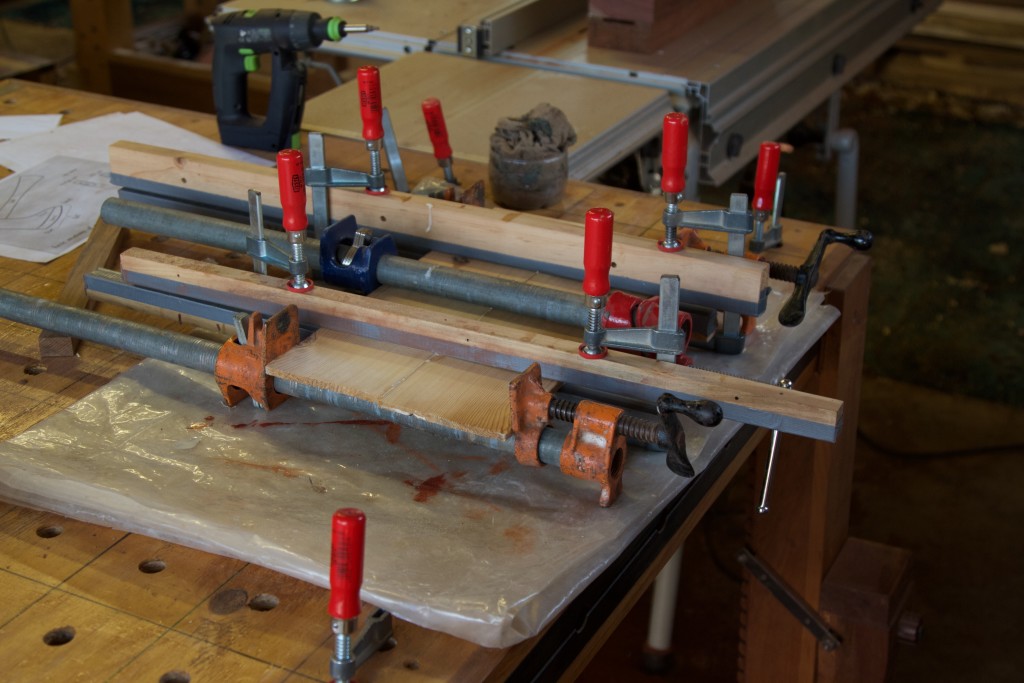
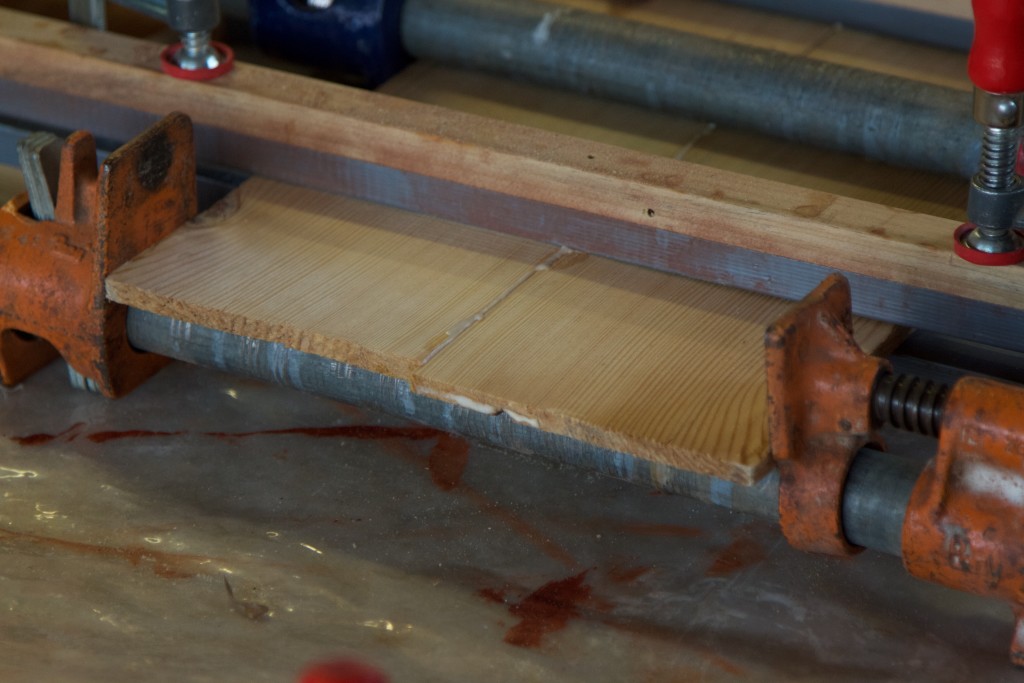
I usually try to clamp the pieces as shown below after each of the planing/cutting steps. With each of these steps you release tension, which tends to make these feral boards move like Michael Jackson.

IMG_6314IMG_6315

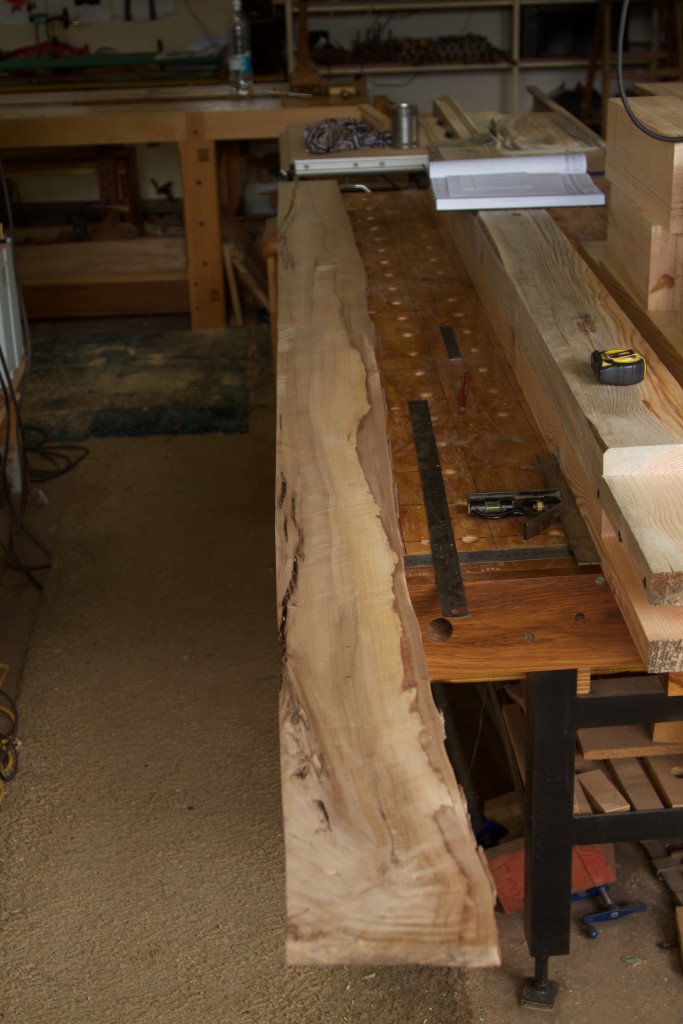
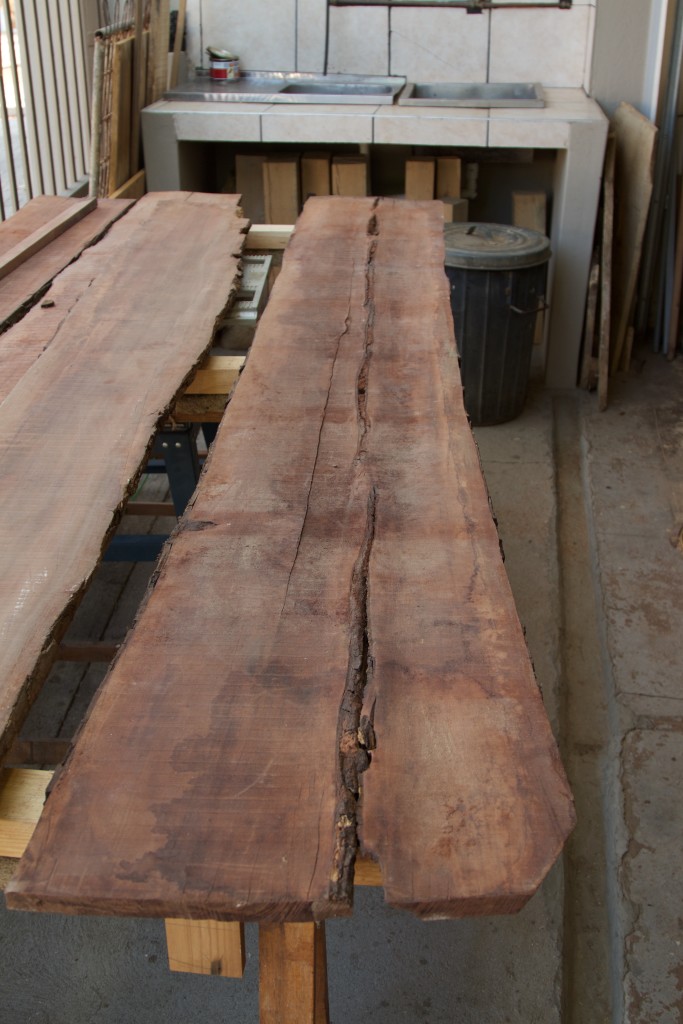
Now I often refer to the timber as being feral and I do not think most people realise exactly what I mean. Here are a few pictures to illustrate what I mean. For every bit of stock I want to use I usually have to laminate carefully chosen bits of timber together. In order to make up the necessary dimensions of the beam for this table I had to liberate four strips of Witpeer from wild boards such as the one pictured. You can appreciate the cracks, changes in grain direction, and changes in colour.

IMG_6341IMG_6342IMG_6343

Therefore I have to whittle out relatively defect free timber to laminate into stock of larger dimensions. This takes a lot of time and effort as you can imagine. All this happens prior to being able to start really shaping pieces of furniture, hence my very pedestrian progress most of the time.

IMG_6344IMG_6345

Here I am hand planing a straight edge on one of the pieces to use as a reference surface for the table saw to cut the opposite edge parallel to the aforementioned. This wood is so hard that you really do need power tools for same of the steps.

IMG_6346

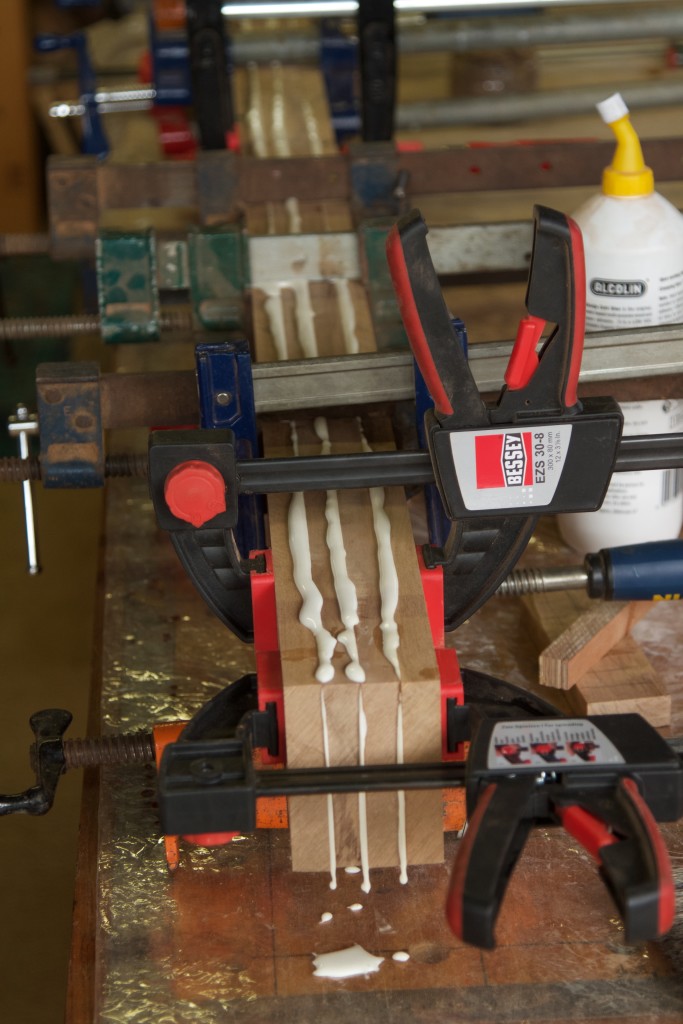
Resting in clamps overnight.

IMG_6347IMG_6348

The next day saw the strips being prepared a bit more with a final planing and sanding to create the best possible glue surface. Then the glue-up.

IMG_6358IMG_6359

Now we have a piece of timber of appropriate dimensions to start shaping into a beam for the table.

IMG_6360IMG_6361

I removed the excess dried glue with my shop made flush plane.

IMG_6378IMG_6379

On wards and upwards, they say.

My second commision – the prototype phase

8/2/2016

Previous posts in this series can be found here and here.

Seeing that this table will be one of the major projects for the year and the first significant piece of furniture to emerge from my current shop, I decided to first build a prototype. I have never done this before, but can already see that it is a vital step in the right direction. Just to remind you of the background, this is a table for friends of ours the Burmeister-Nel family. I am building the table as payment for a whole stack of excellent Scott’s Pine beams.

The design of this table has evolved significantly over the past 7 months. So far the evolution took place in the realm of my personal cerebral SketchUp. The prototype is the first tangible manifestation of the mentioned neurophysiological exercise. At this stage it is primarily inspired by George Nakashima and Japanese joinery ideas. The feral nature of the African hard woods we chose for this project really lends itself to the Nakashima design ideology.

A second prominent influence in this design effort would be the ideas and techniques used by pre-industrialisation artisans as explored by George R. Walker and Jim Tolpin in their seminal work “By Hand & Eye”. I tried to use those techniques to strike the sweet spot in terms of proportion between various parts and their relation to one another. What I found was that working with simple whole number ratios makes it very easy to shrink and expand the design for the purpose of the prototype.

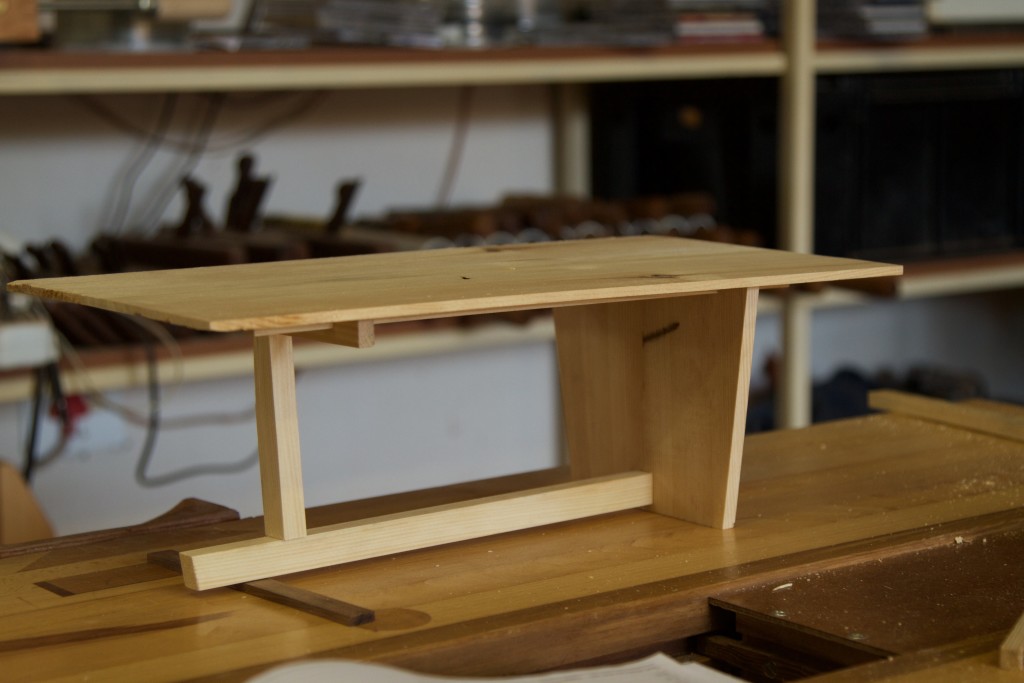
The starting point was the size of the top, which ended up being a 1:2 rectangle. The hight of the table that worked well was 2/3 of the width, which meant that the whole piece would fit in a 2:3:6 cuboid.

IMG_6162IMG_6163

Here you can see my initial sketches to work out appropriate proportions. The side view were divided into 5 equal parts and I placed the leg structures on a 1:3:1  rhythm. The angle of the leg structures were also derived using a similar approach.

IMG_6164IMG_6165

I used some of the mentioned Scott’s Pine to build the prototype as it is easy to work with.

IMG_6166IMG_6167IMG_6168

15/2/2016

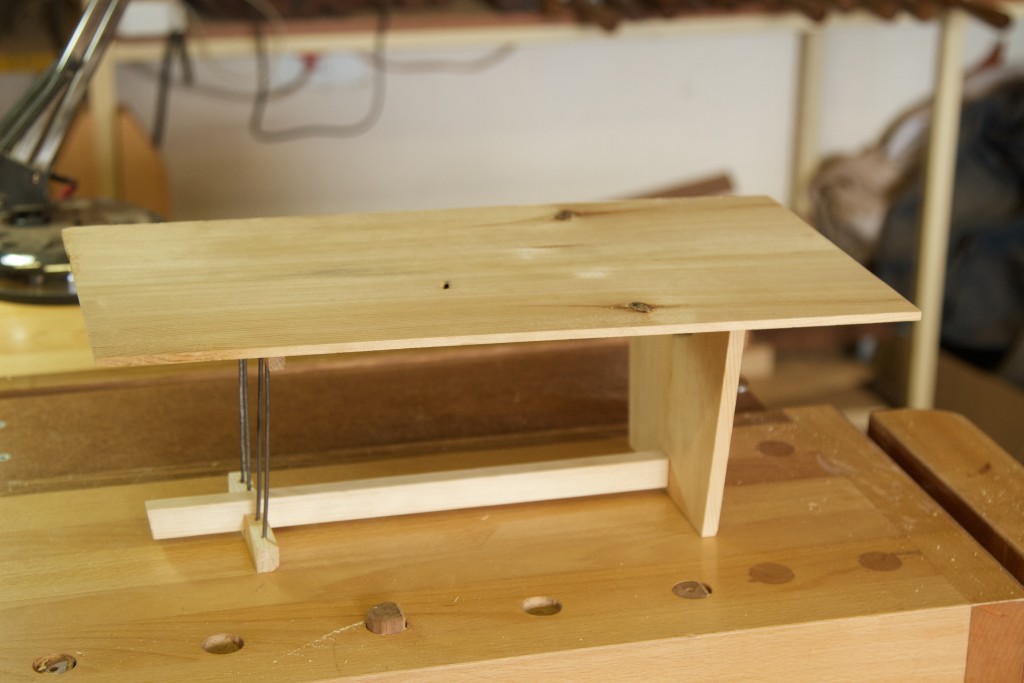
I made the effort to plane down the top to the exact thickness relative to the size of the model.

IMG_6270

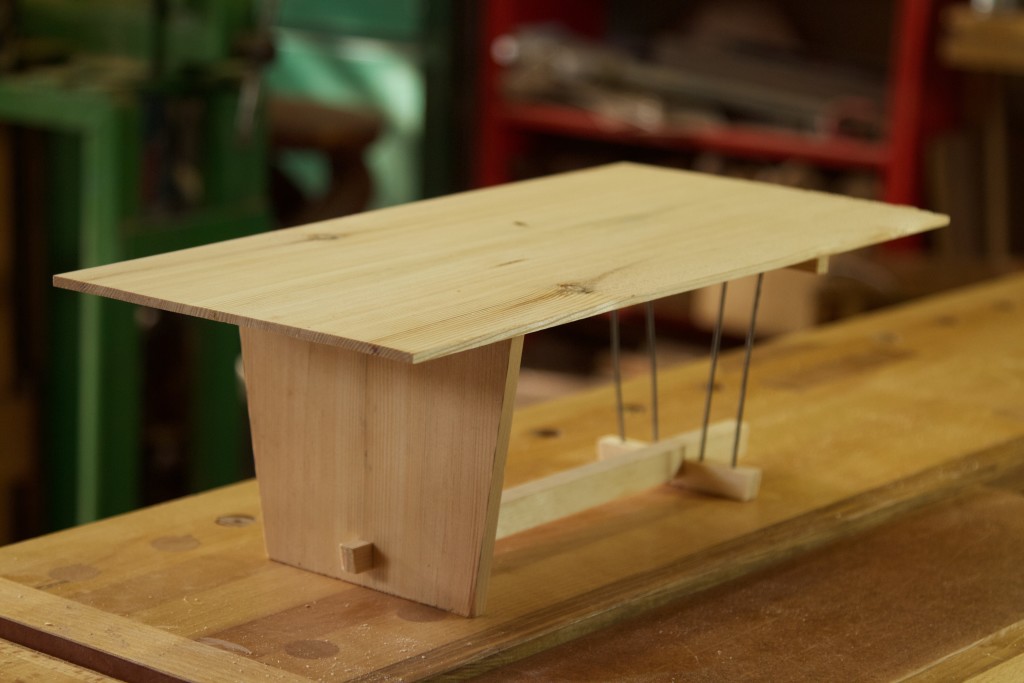
The solid trapezoid shaped leg piece is twice as thick as the top and all the other parts are related to the thickness of the top.

IMG_6271

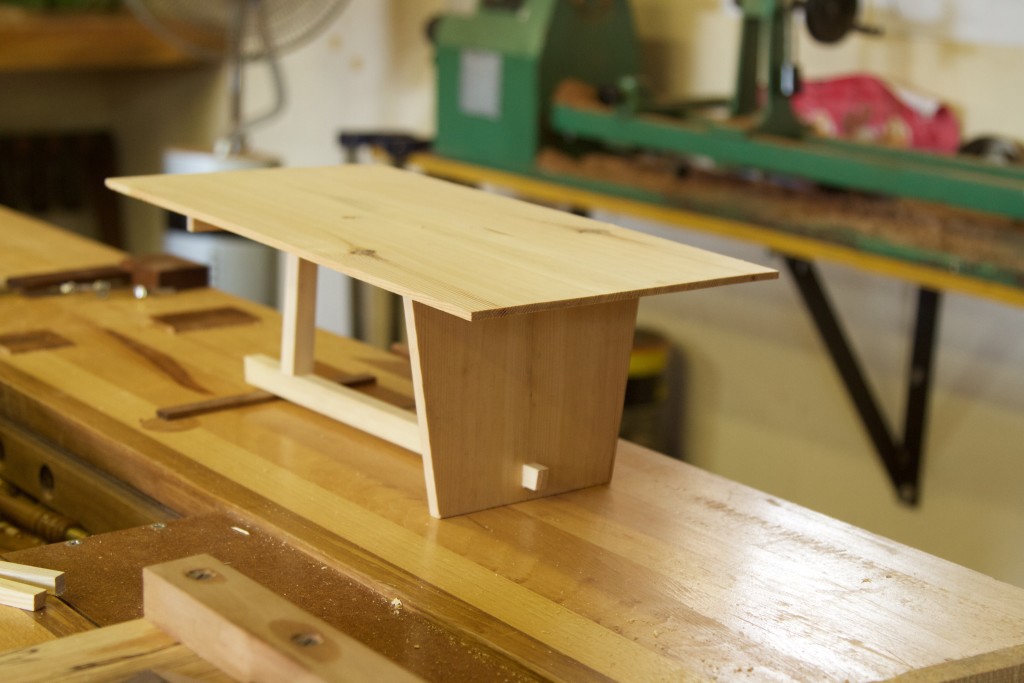
The heavy beam at the bottom that connects the leg pieces will be attached to the trapezoid shaped piece with a through tenon, which will receive a wedge similar to the one pictured.

IMG_6275IMG_6277IMG_5544

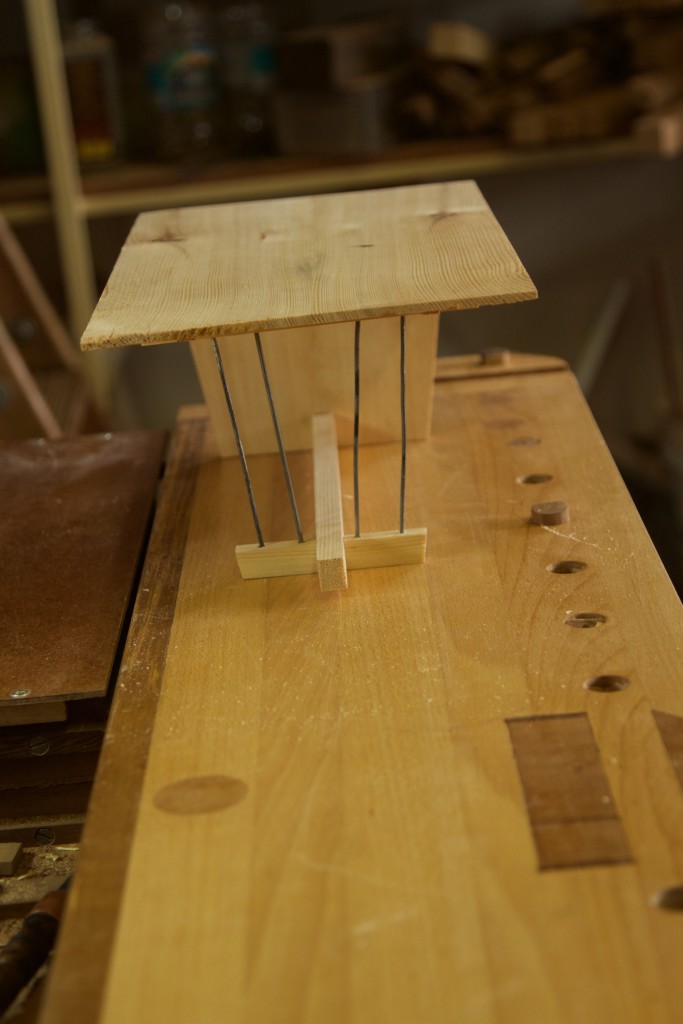
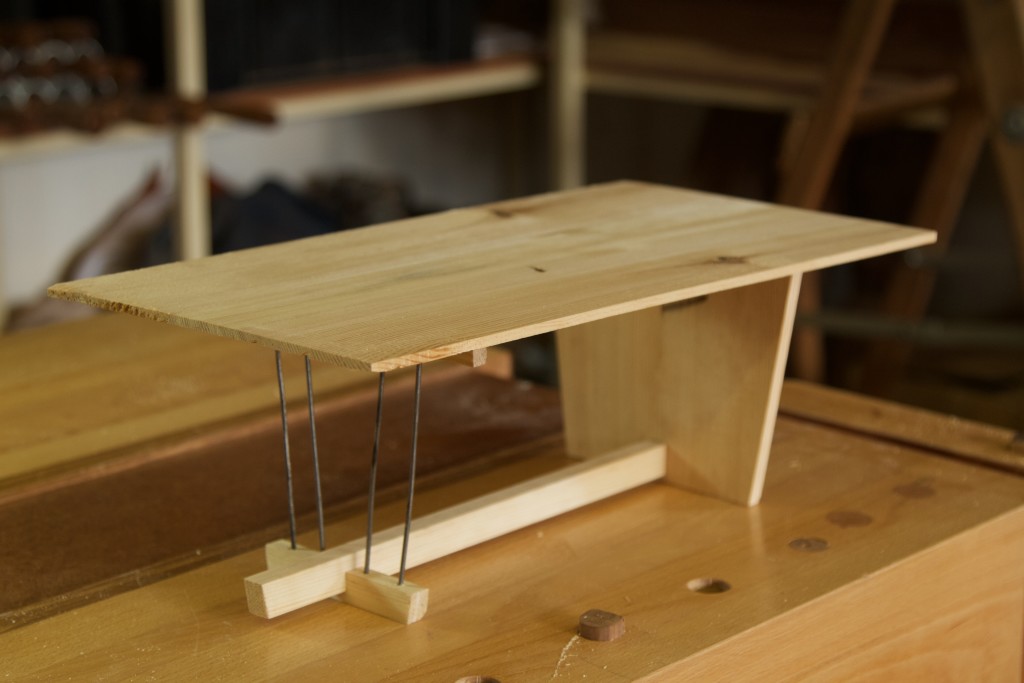
The opposite leg piece will consist of four spindles ascending at the same angle as the sides of the trapezoid piece. These are not the correct size as it was impossible to produced such small spindles, so the wire had to do. The actual spindles will be slightly thicker and have the bamboo type appearance similar to spindles used in some Windsor chairs.

IMG_6279IMG_6280IMG_6281IMG_6282IMG_6283IMG_6284IMG_6286

Here are a couple of photos illustrating the type of design I have in mind for the spindles. I refer to the spindles in the back of the Windsor chair rather than the legs. I add these pictures in response to Stefan’s valid feedback.

1-P1070729BambooHoopbackWindsorSideChair02

I would like to invite everyone to give input on the design. Please feel free to rip into it, if I feel too aggrieved by the criticism I can simply ignore it. Hopefully though we can fine tune it to be better. At this stage I am fairly happy with it, but am quite sure it can be improved a bit.

My second commission – part 2

12/10/2015

If you want to read this epic tale from the start, go here for part one.

The stock for this Nakashima-esque table has been sitting in the shop for the past 2 weeks. It should have acclimatised adequately by now for us to take the next step. Having said that, we’ve had a heatwave warning were they expect temperatures to go above 45ºc on a regular basis in the next 5 days or so. That might mean that the stock will need further acclimatisation, but what the heck.

I still remember vividly how we were waiting in eager anticipation for the  so called ‘heatwaves”, while living in Yorkshire UK. Usually we would ask the locals when the heatwave was supposed to hit when it got up to 18ºC (if you are lucky) and they would say that we are in the midst of it! At that stage we usually noticed that all the locals were halve naked in the streets. We would still be wearing jerseys and only venture outside if absolutely necessary.

Clearly it seems Namibia has a different type of heatwave. Anyway, it seems as if I went on a wee bit of a meteorological tangent there.

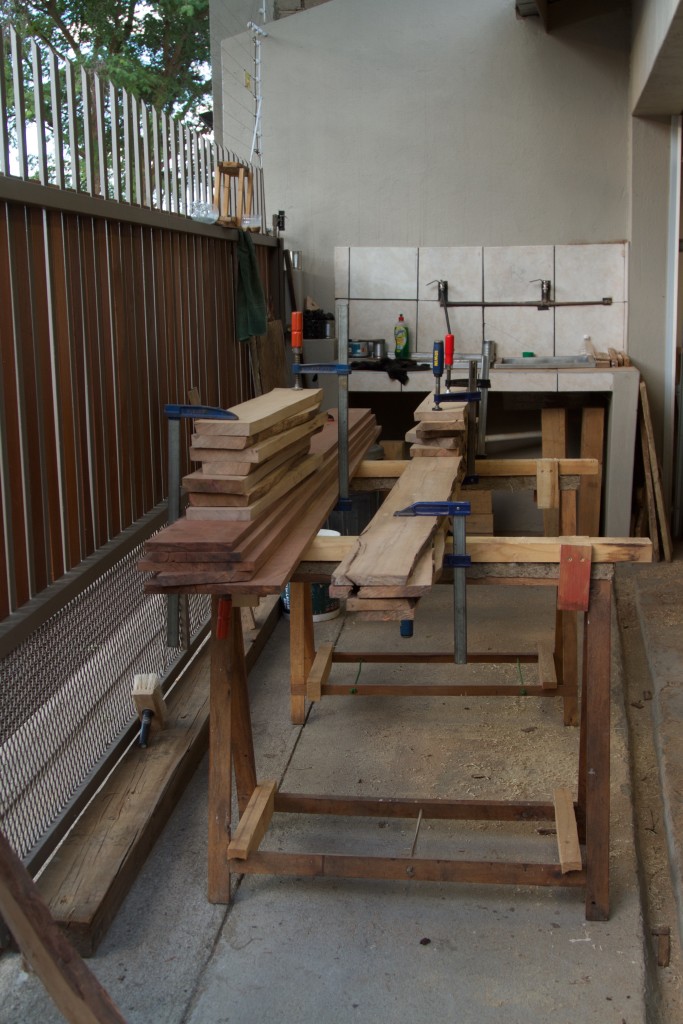
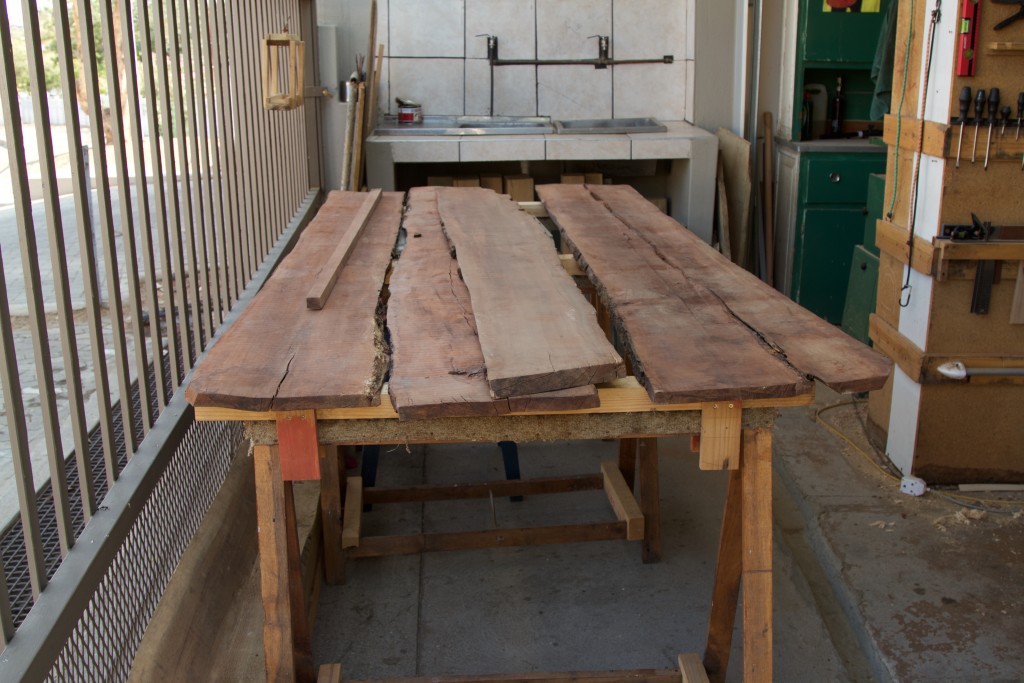
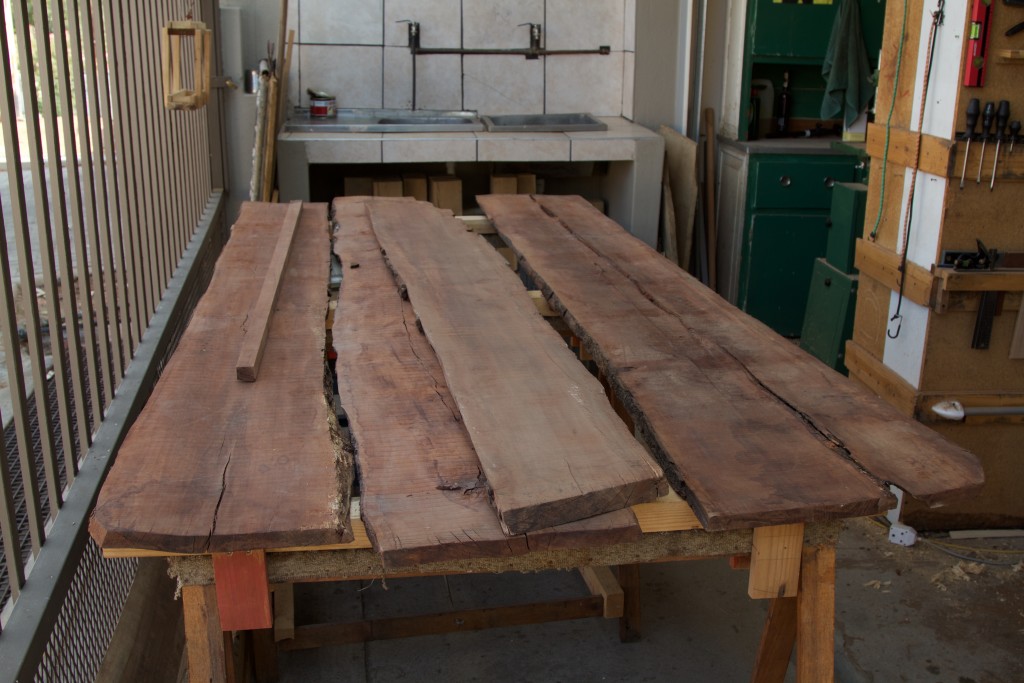
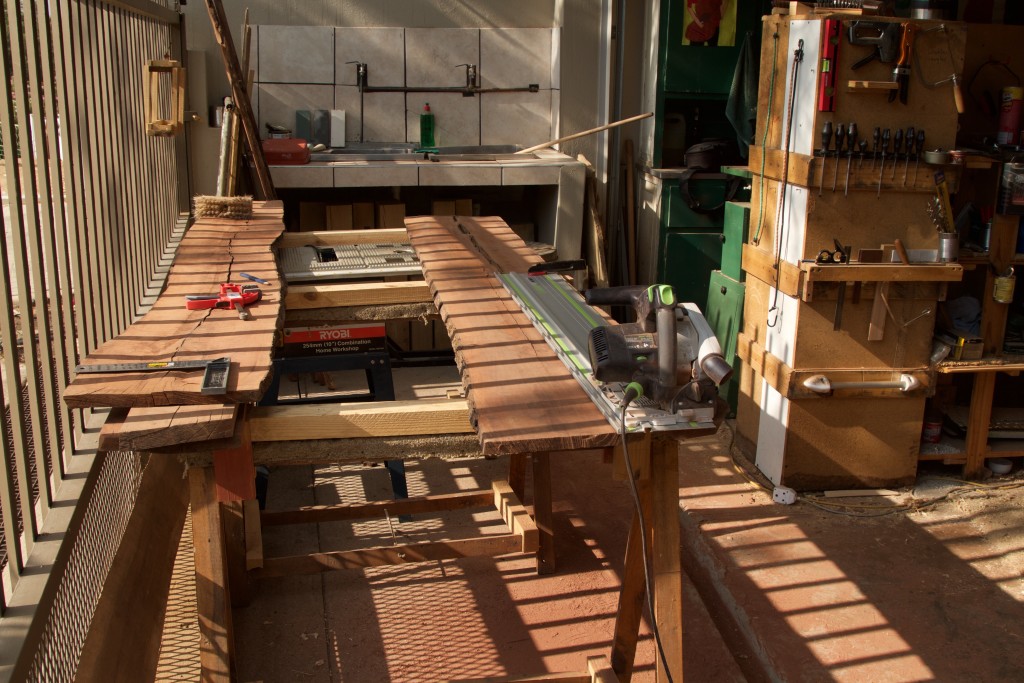
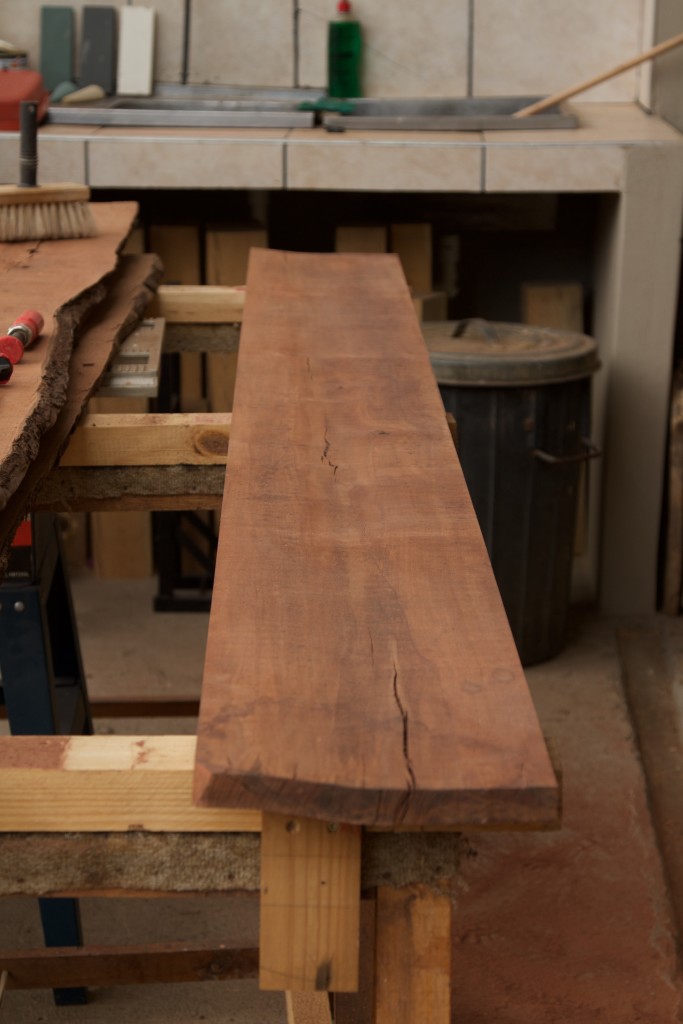
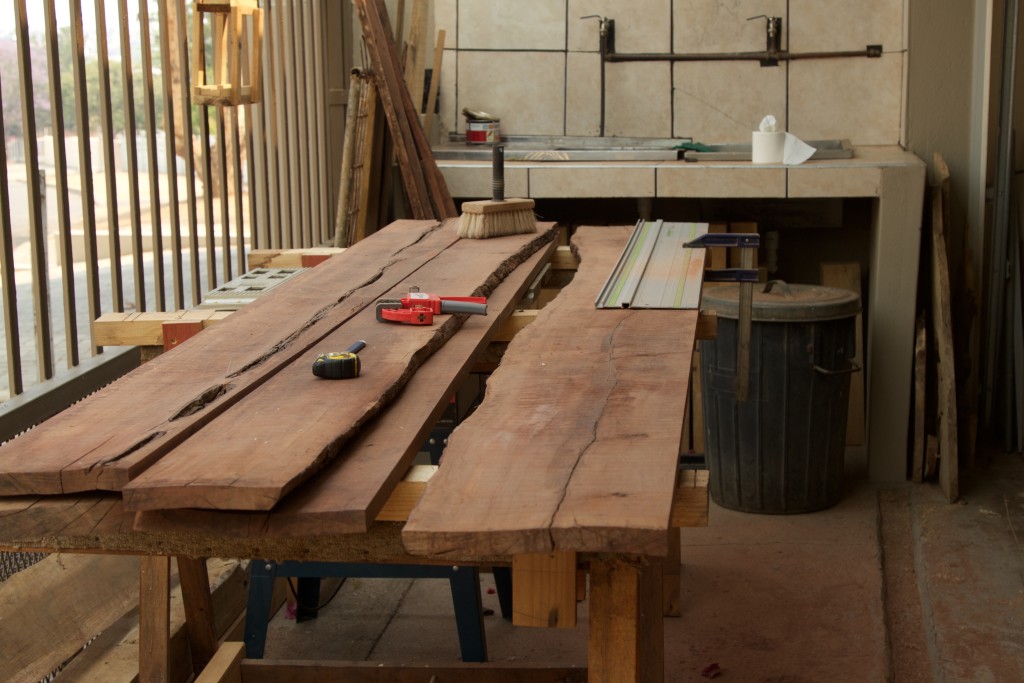
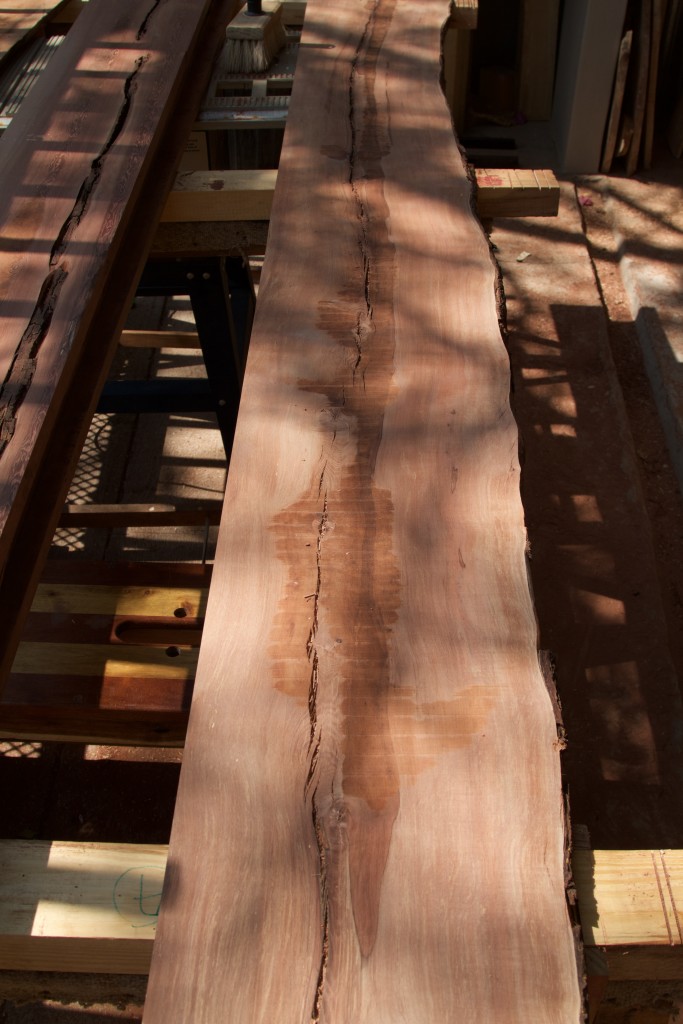
In the pictures below you can see the Kershout (Candle wood) boards we chose for the top. This stuff is exceptionally hard and the tree that the board on the right came from must have been close to or more than 900 years old. These trees spent all that time in the pristine surroundings of the Knysna-Amatole montane forest. Since being harvested the boards has been air dried and seasoned for at least 11 years, possibly closer to 16.

I spent quite a bit of time trying to work out what would be the best way to join them into an aesthetically pleasing top, while allowing the natural ‘defects’ and cracks to take centre stage, as per George Nakashima’s famous mantra: “Every part of each tree has only one perfect use.”

IMG_5197IMG_5198IMG_5199

I used my Festool TS55 with it’s guide to cut as straight as possible. Another variable I had to keep in mind is the maximum width of my planer, which is 300 mm. The wood is so hard that you will simply toast all your hand planes and yourself in attempting to plane these by hand. As you will know by now, I am not one to shy away from ridiculous hand planing tasks, but to attempt it in this case would be absolutely mental.

IMG_5216IMG_5218IMG_5219IMG_5214IMG_5215IMG_5220IMG_5222IMG_5230


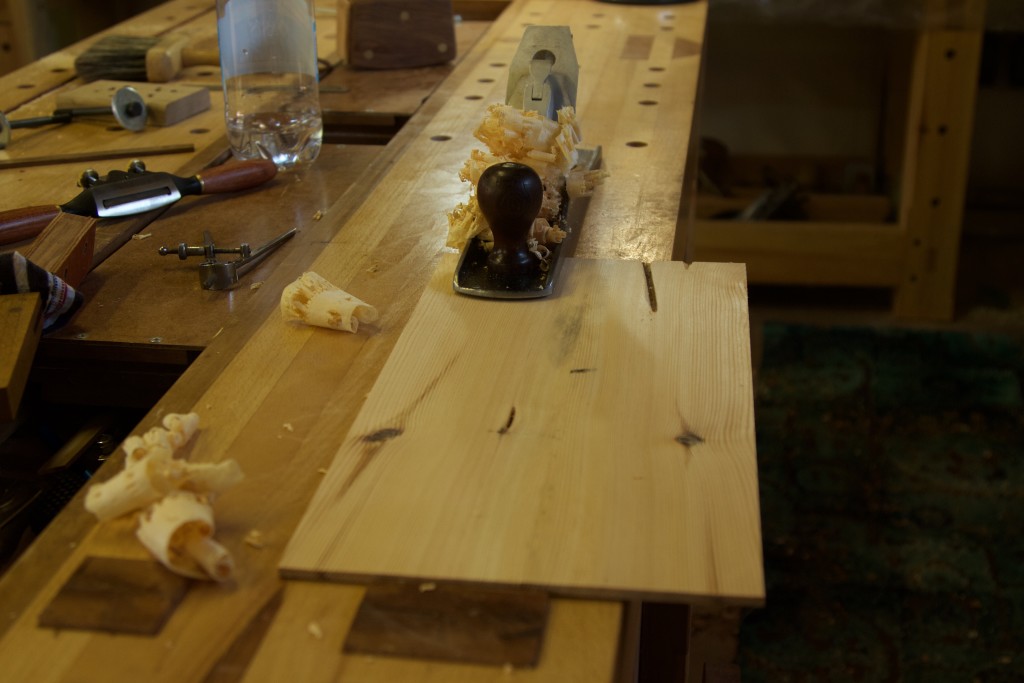
I plane the boards in two very tiring sessions down to the appearance in the pictures below. As you can see there is still some way to go, but it needs to settle down for a while before I can do the rest. If one does too much at once, the wood tends to move all over the place.

The wood was so hard that the planer really complained while removing as little as 0.1 of a millimeter. You can just imagine how many passes it took to get it down to the current state of play.
IMG_5231IMG_5232

By Sunday night I clamped the boards to each other and the top of my assembly table to keep them straight while they wait for probably 2 weeks before we touch them again.

IMG_5249

My second commission – part 1

1/6/2015

It might be a bit of a stretch, but it makes me feel good to call this a commission. My only other commission (which really was a proper one) was back in 2001 when a friend of mine wanted a top for his bar and I needed money to fund a move to New Zealand.

You might remember how I came into possession of this pile of exceptional Scott’s Pine, by agreeing to build a table for the former owner (and personal friend) and get to keep the rest of the wood. Well, the plan has mutated on several occasions since then. We started off with the idea of building two trestle type structures with an unattached top simply sitting on them.

IMG_0331

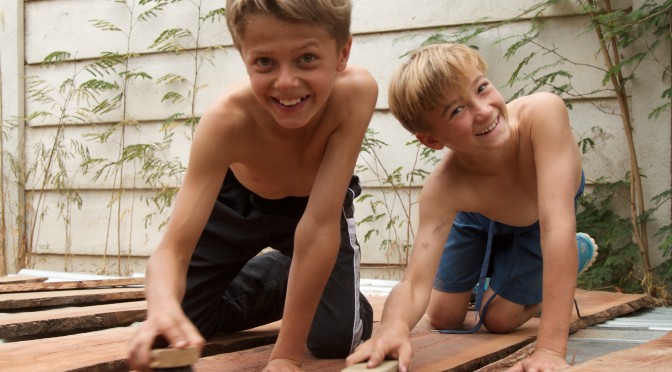
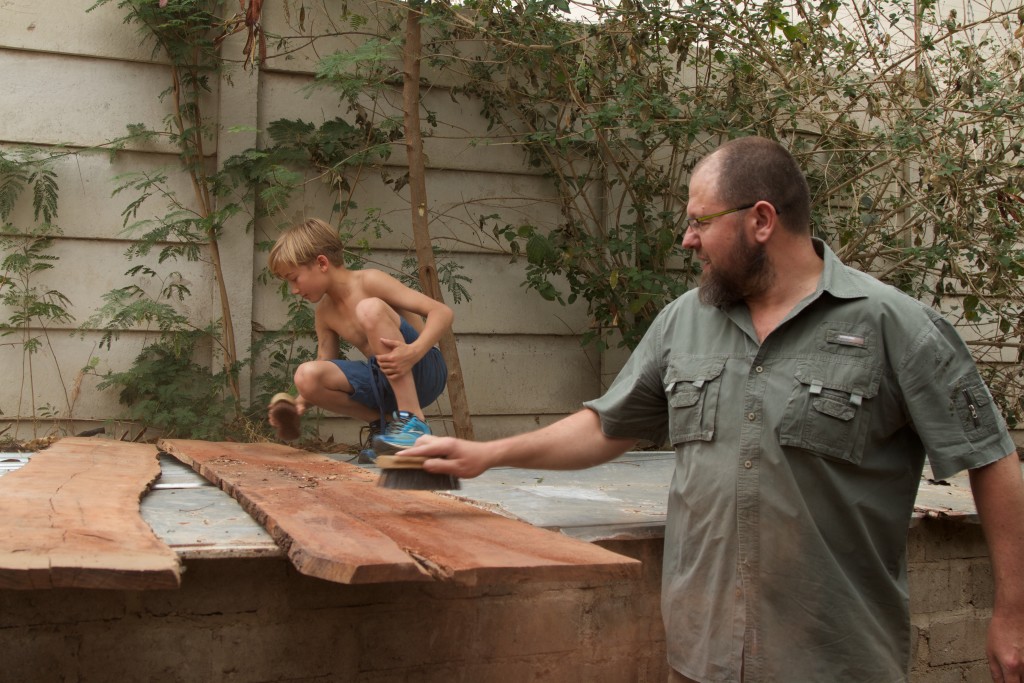
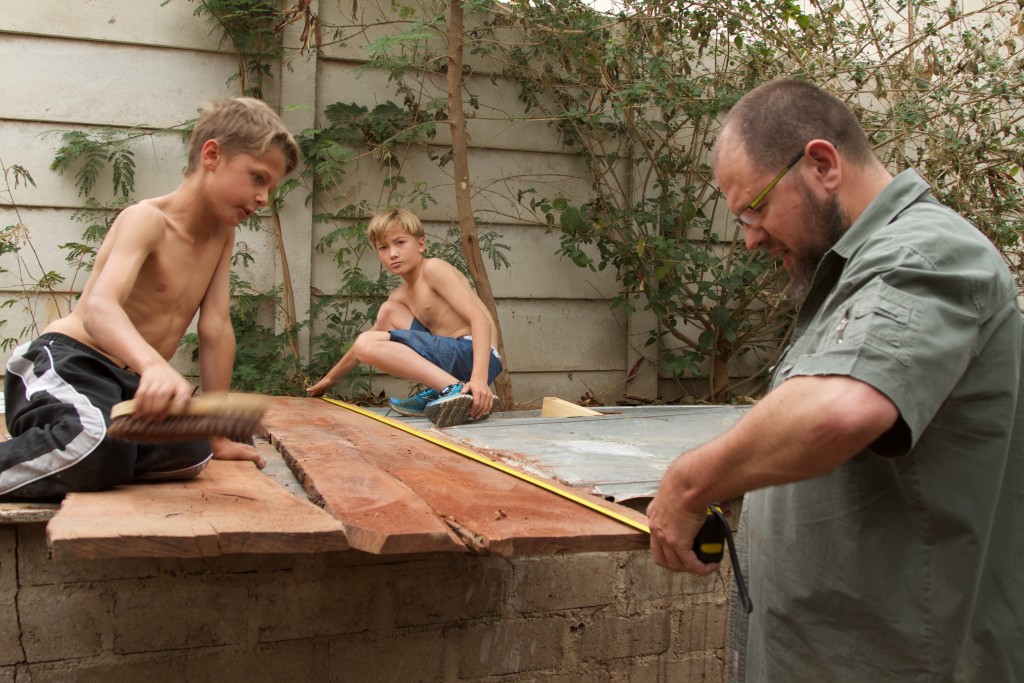
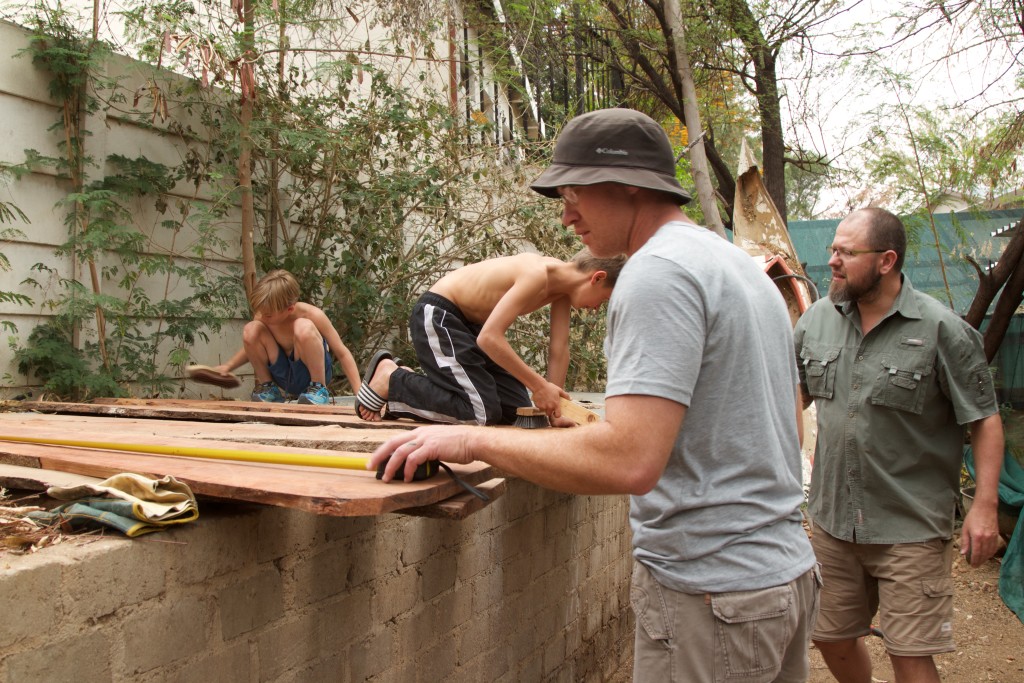
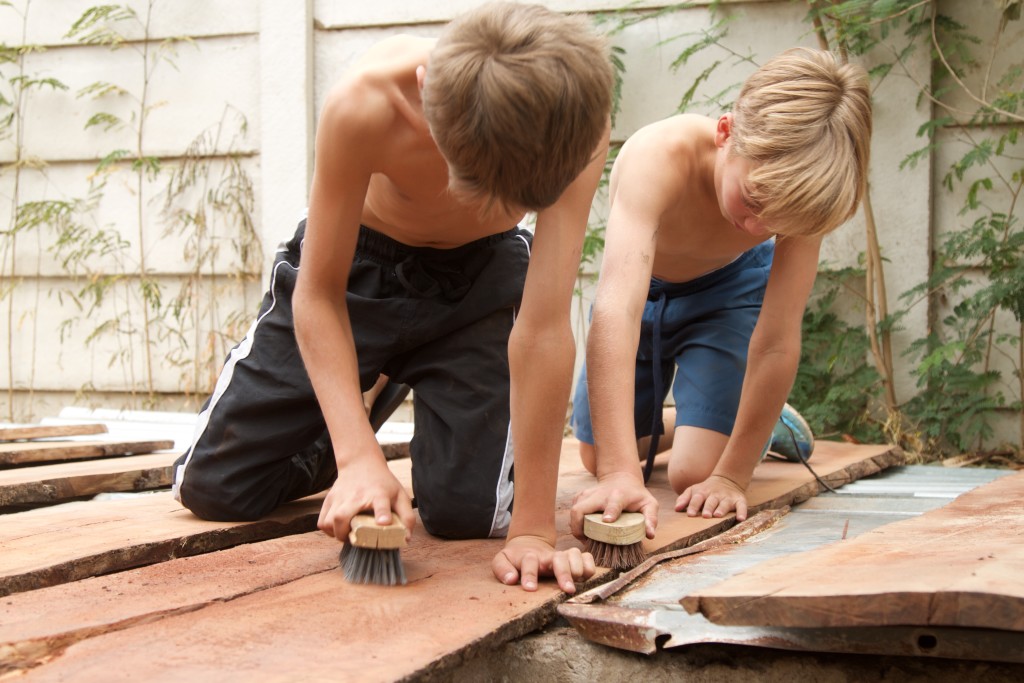
I started by getting my team of boisterous apprentices to clean up the reclaimed wood. After that I took out all the nails and other foreign objects.

IMG_4561IMG_4557IMG_4555IMG_4554

After a long day of sawing the beams into pieces of the appropriate length by hand, we (my friend Anton and I) had another chat about the design in the shop. We used the actual cut pieces to get an idea of what the structure would look like. We realised that, for the intended function we might be better off using some of the timber in my Knysna Forest collection.

IMG_4569IMG_4580IMG_4620

I forwarded some pictures of Nakashima style tops to him the following week via e-mail and he liked it. For the legs we first considered a very elegant design I found in a document on Danish modern furniture, as it reminded of the trestle idea we started off with.

The next step was for Anton to come and look for appropriate boards that would fit the bill. Unfortunately they have been going through a tough time with a father in hospital after MVA. That meant that we did not manage to pick out the timber until this weekend.

21/9/2015

All the wood in this collection was dried naturally after being sawn into planks between 2000-2004 (several batches that was bought back then). In other words it has been matured over 10-15 years of which the past 4 was spent in the very dry Windhoek climate.

IMG_5113IMG_5114IMG_5117IMG_5118IMG_5121IMG_5122IMG_5124IMG_5125IMG_5126IMG_5128IMG_5129IMG_5131

As per usual, my apprentices were integral to this activity.

IMG_5132IMG_5133IMG_5135IMG_5137

We decided on Kershout (Pterocelastrus tricuspdatus) for the top with Nakashima style Witpeer (Apodytes dimidiata) keys to stabilise cracks. I have not built a Nakashima-esque top before, so it is a tad stressful to think that it might go wrong at some stage.
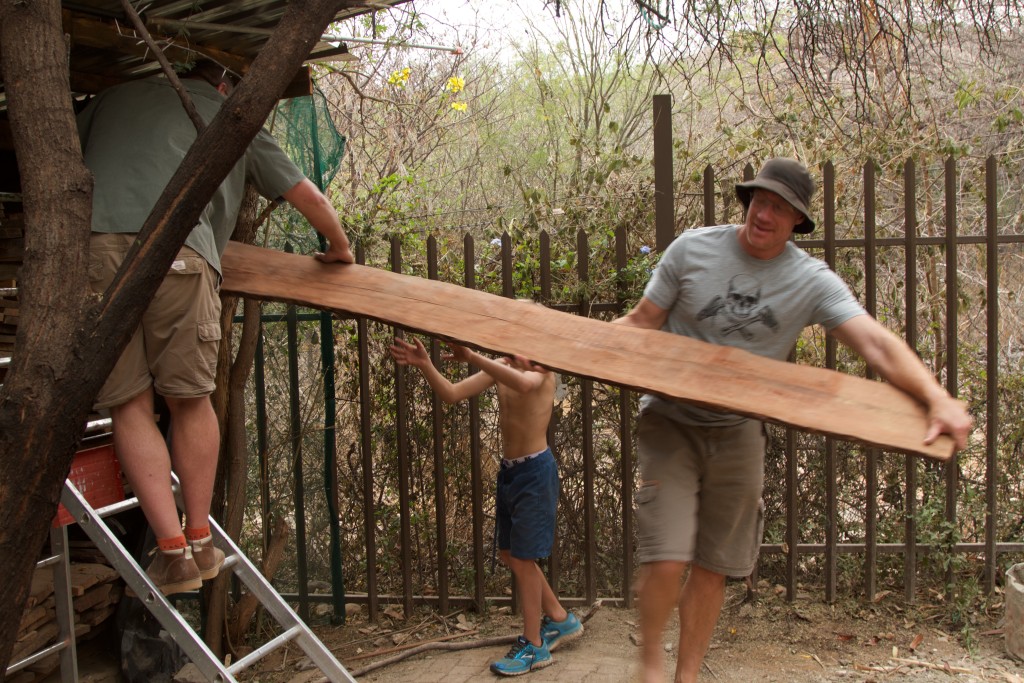
In the picture below you can see how we stored the chosen boards to acclimatise to the shop environment.

IMG_5138IMG_5139