
22/6/2015
It feels a bit like deja vu doing the massive joinery for this bench, as it was exactly what I was doing this time last year. It is however excellent practice in preparation for building furniture. I realise that my skills have improved significantly since the previous round of doing this. Also, the bench I built last year, improves the quality and speed of my work this year by providing so many work holding options.
Here you can see the setup I used to tidy up the tenon faces. I used my Stanley no. 10 Rabbet plane and a Bedrock no. 606 for this purpose.


A before and after photo.


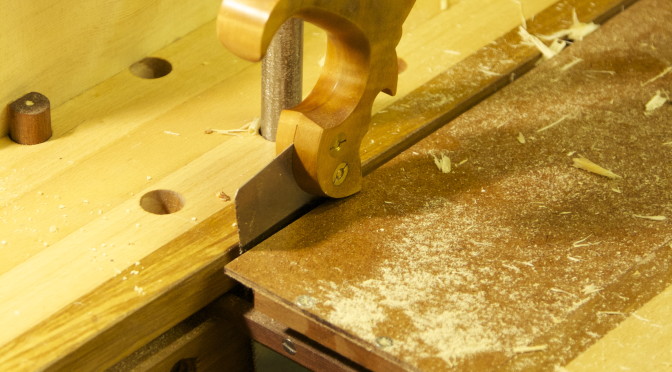
Next up was to saw away a part of the apron tenon to create a notch (I think this is the correct term). The reason for this design is to act as an anti-twisting device and not to weaken the leg tenons.


The short stretchers received the same treatment, but obviously with a different design.

I then tidied up the shoulders by means of horizontal pairing.


Again, it should be quite obvious how useful the array of holdfast holes around my chopping area are for all kinds of joinery related tasks. Here I am in the process of chopping away the wastes between the two massive through tenons at the top of the legs. The second picture show another handy (albeit unintended) feature of my bench design. My squares and 1″ chisel (as well as saw in an earlier picture) sit comfortably and handy in the slot between the bench top and the sliding tool trays.


Dual tenons done.


Loving the build. Any chance of a plan or diagram or cutlist?
Thanks!
Hi Paul
Thanks for your comment, I am glad you enjoy it. I do not usually work from plans, it is all in my imagination. My SketchUp skills also leave a lot to be desired, but I will see what I can do for you over the next week or so. It will basically be a very standard Roubo bench with no hardware such as vices etc. It will be 3.2 meter in length, 600 mm wide and 825 mm high. It is simply a matter of realising that I might as well use the dimensions of the wood I have available and build a long bench while I am at it. Then it can double up as a stand for my drill press, a spindle sander, bench grinder and a permanent/dedicated sharpening station.
Thanks for your interest.
Kind regards
Gerhard
Hey Gerhard,
This is coming along beautifully. Your saw work looks very neat and precise. I’m looking forward to seeing how this project progresses. Are you still enjoying working with this pine?
I haven’t done any woodworking for a few weeks now. I’m still felling trees and clearing land in preparation for the chicken coop build.
Jonathan
Hi Jonathan
It is so very good to hear from you brother. Yes I am loving this wood with a vengeance. I will also slow down in the shop for a few weeks now by the looks of it. Do you plan to document the chicken coup build?
Speak to you soon.
Gerhard