
11/6/2018
You might wonder why such a heavy French title for this series of posts. Well the Reuleaux Table part were explained in the previous and first post. The second part referring to different courses is a way to avoid the boring part one, part two etcetera. Or so I thought, until I realised that it is quite apt seeing that this is a table destined to serve in the kitchen of a family that loves exploring the vastness of French cuisine.
Anyway, at this stage our table is coming along splendidly despite several novel challenges. In this here post we will look at the assembly (and glue-up) of the torsion box and the top.
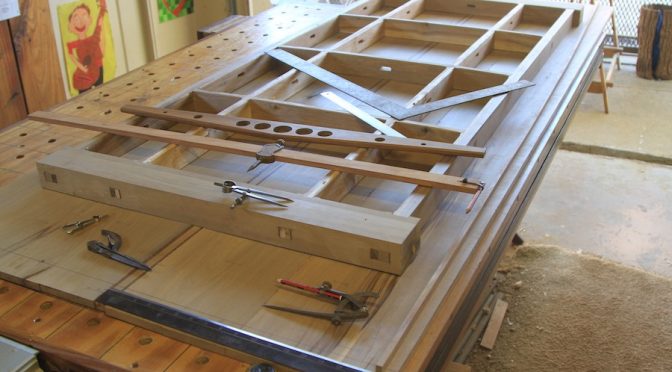
Let’s start with the cardinal structure that will hopefully allow me to construct a very delicate looking table with surprising strength. I am of course referring to the torsion box. In the pictures below you can see how it was dry fitted to make sure it goes together without hiccups.


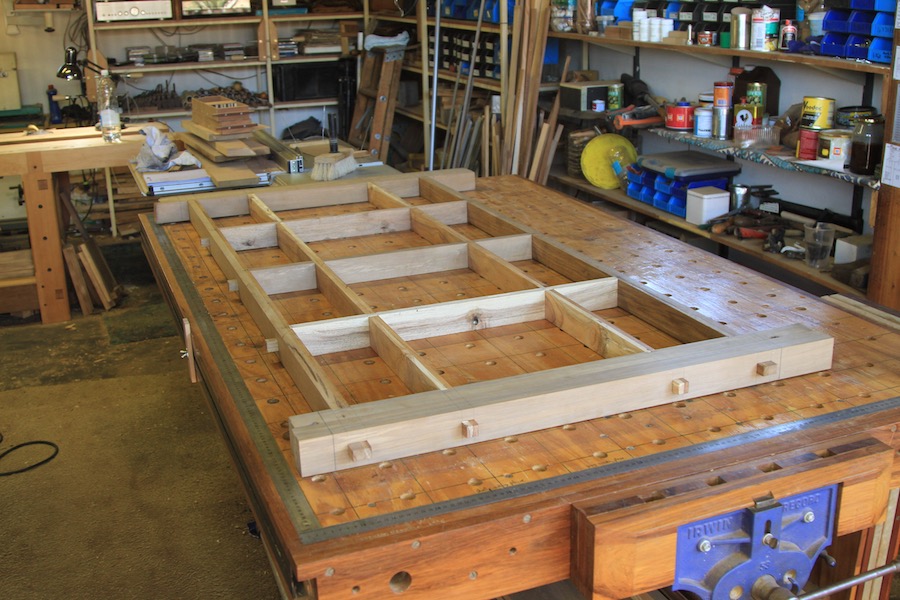
While assembled I took the opportunity to plane the surfaces that will mate with the bottom of the top completely flat and flush.


Once the torsion box were dismantled again, Didi used the Festool Domino to cut slots that will allow us to attach the top to the torsion box.


The heavy beams that will accept the legs were cut to final length prior to the final assembly and glue-up.

Seeing that this is a fairly complex assembly with 28 wedges to be secured, I decided to use slow set epoxy. The product I use has a open time of one hour, which helps to keep the nerves at bay.

I do not have clamps that are long enough to put pressure on the box lengthwise, so I came up with the below solution. One end of the box pressed up against two dogs and the opposite end were pulled in by two clamps hooking over two more dogs on the inside of the assembly.


As you can see here, the epoxy were only applied where long grain surfaces meet. Thus no epoxy on the outside of the wedges that sits up against end grain.


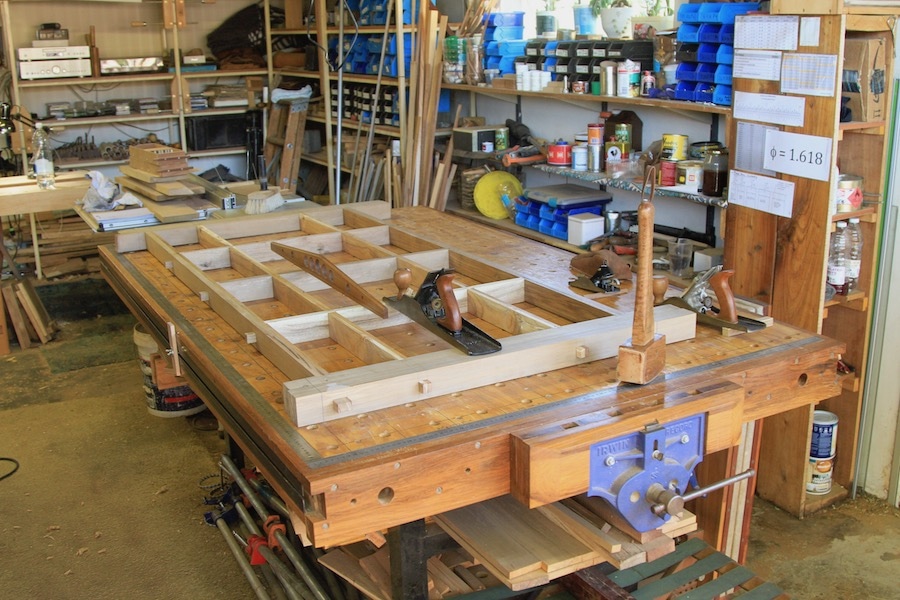
The protruding through tendons and wedges were removed with a flush saw, followed by hand planing.


Now let’s move on to the top. As I mentioned in the previous post, the top were partly assembled about one year ago. Since then these two halves were chilling in the shop while I finished my previous project. Seeing that the top is quite long given it’s width as well as the particular shape I chose, it sort of made me think of a long (surf) board. That made me think that I could use fairly minimalistic decorative lines to enhance the long board idea. Speaking of minimalistic, it occurred to me that this table (although not consciously intended) would not look out of place in an exhibition of Danish Modern furniture. I find this interesting because that was not my idea when setting out to design the table, but it is without a doubt my favourite style of furniture. Could it be that you end up designing stuff subconsciously in the style you favour? What do you think?
The picture below illustrate a fairly classic long board design.

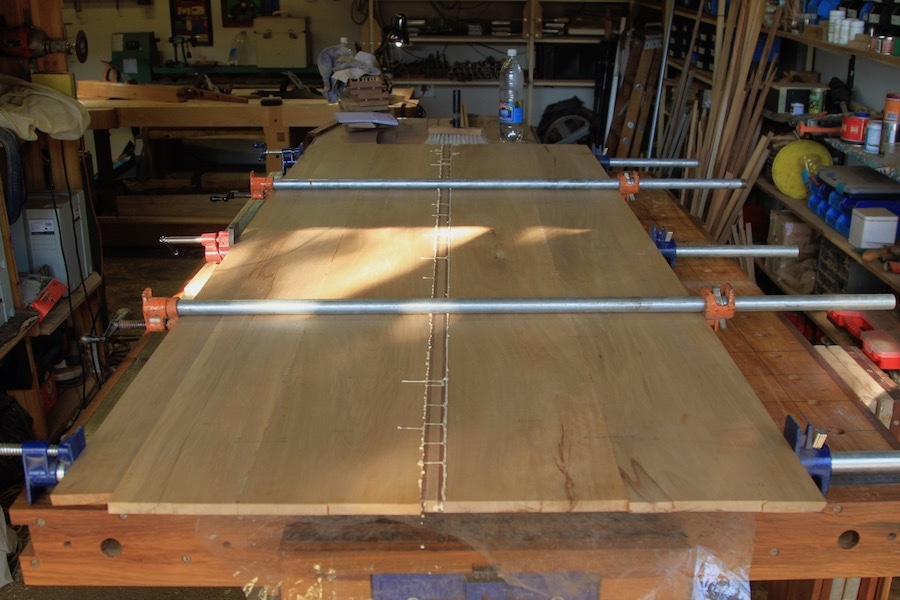
With the above design consideration in mind I thought that two Kershout lines running down the middle of the top would be a good start. I therefore glued up two such strips to a slightly wider Witpeer strip. As you can see, the one half of the top came in handly to ensure that the end result came out perfectly straight. I taped up the edge of the top to prevent the decorative strips from accidentally sticking to it.


A quick test to see how it will look once the top gets joined.


Preparing the edges for the final major jointing.

I prepared the decorative strip so that it is slightly thicker than the rest of the top. When it came to making the Domino slots I set it up so that it would keep the bottom of the strip flush with the bottom of the top, which ensured that the strip would stand proud on the face side of the top. That helps to minimize the effort when planing the face side flat.


Here you can already see how we are chipping towards the long board look.

The next step was to mark out the curves. I really like doing this type of thing. Curves are so much more fun than the square stuff and it also brings hand tools into it’s own. The idea that I should aim to build furniture that is difficult to impossible to be built in a factory has slowly dawned on me over the past few years. There is really no point in spending this much time and effort building stuff that you can buy for next to nothing at an IKEA type store. If you make the effort to build furniture by hand you are better off designing and building it in such a way that would set it apart from that type of drägg.


As you can see it is a very gentle curve along the side. I used a strip of witpeer bent and held in place with clamps to draw the curve.

The curve at each end of the top is more pronounced, but still quite suave.

Didi helped to cut the first of the curved edges.


The top then went to the bench where I smoothed out the curve with Lie-Nielsen’s small block plane. This is exactly the type of design feature that machines struggle to deal with. Also by fashioning the curve in this manner it creates just the right amount of imperfection to tick all those organic buttons. It can never be copied by a machine.


In order to mark out the location of dominos to ensure that the strips glued to the side is flush with the bottom of the top, I clamped them to the curve as so. You will notice that the off-cut comes in handy to bend the strip onto the curved edge.


Cutting the Domino slots in a thin strip of Kershout is near impossible so I first clamped it up against another wider piece of Witpeer.


The curved off-cut was also prepared in terms of smoothening out the surface, but in this first glue-up I realised too late that I omitted to cover it with duct tape. Luckily no glue ended up in the wrong place so it worked out OK.

Here you can see how the Kershout and Witpeer strips stand proud of the face side of the top.

The next day I followed the same process with the opposite edge. You will notice that I remembered to cover the off-cut with duct tape this time round.


We will indulge in the plat principal numéro deux next. Hopefully that will take us all the way up to the désert aka the finishing of the piece.