Aoife’s bed – part 3

11/4/2016

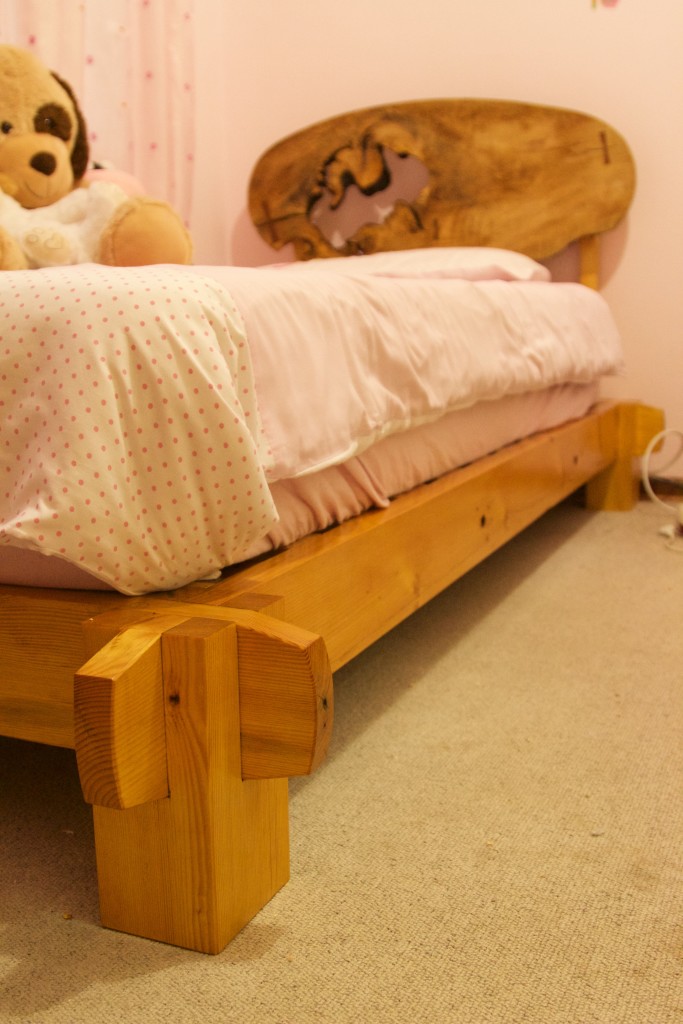
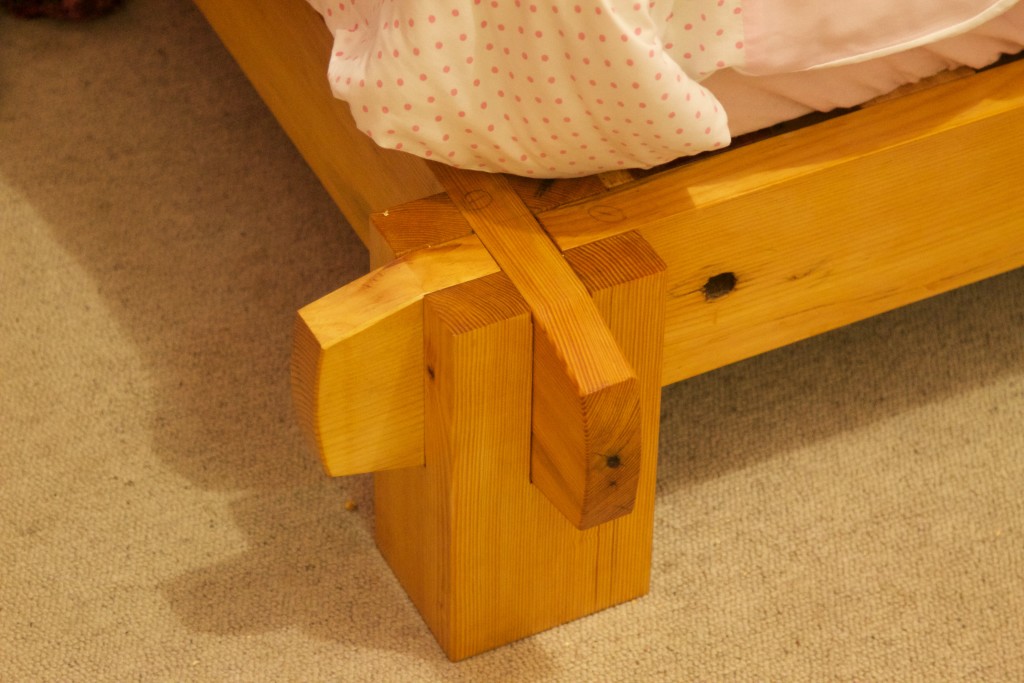
This is the final chapter in the series on building my daughter a bed from mostly reclaimed wood using Japanese joinery.

You can find the previous chapters here (part 1) and here (part 2).

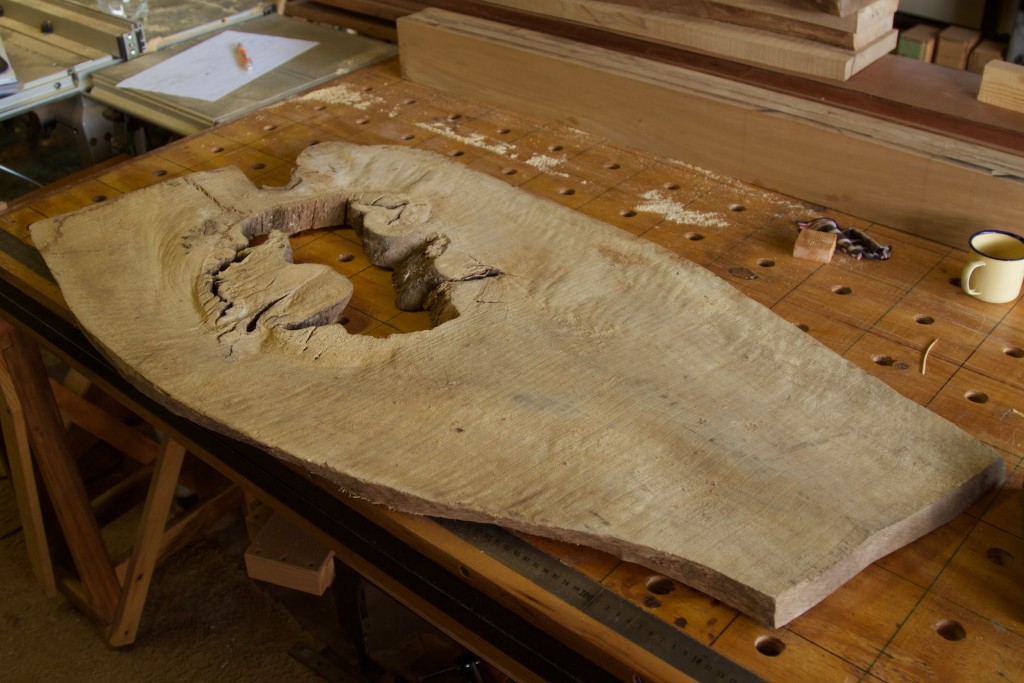
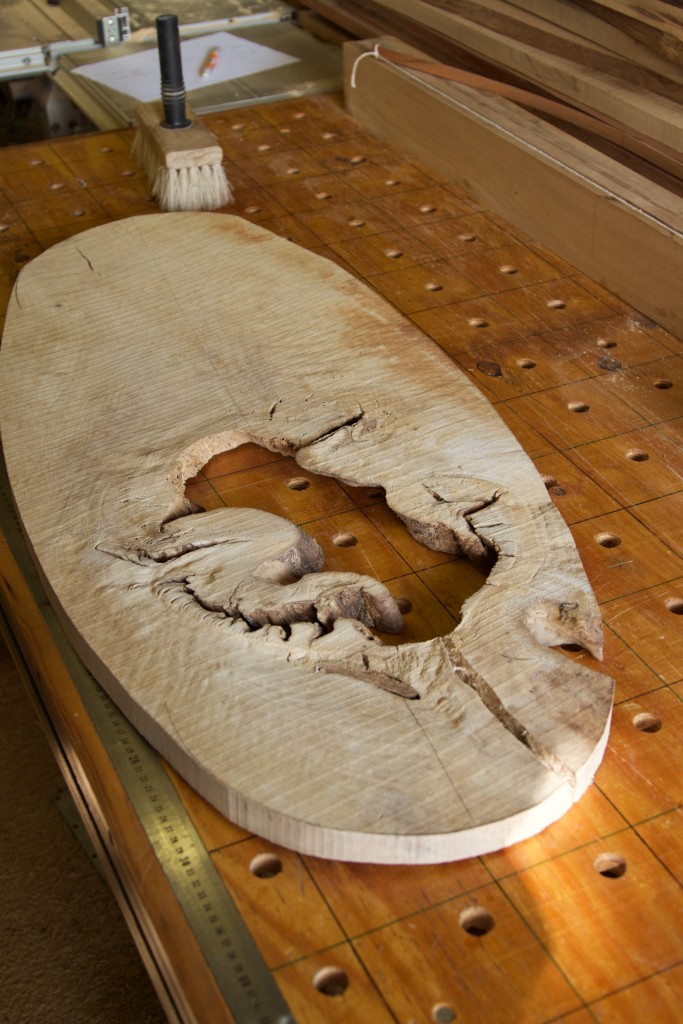
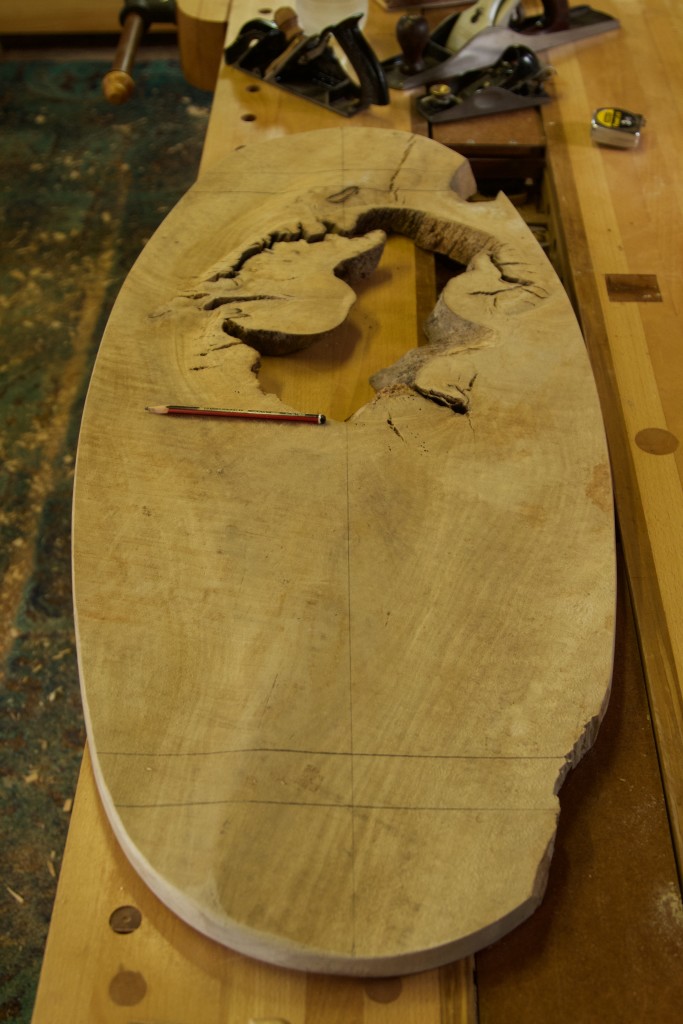
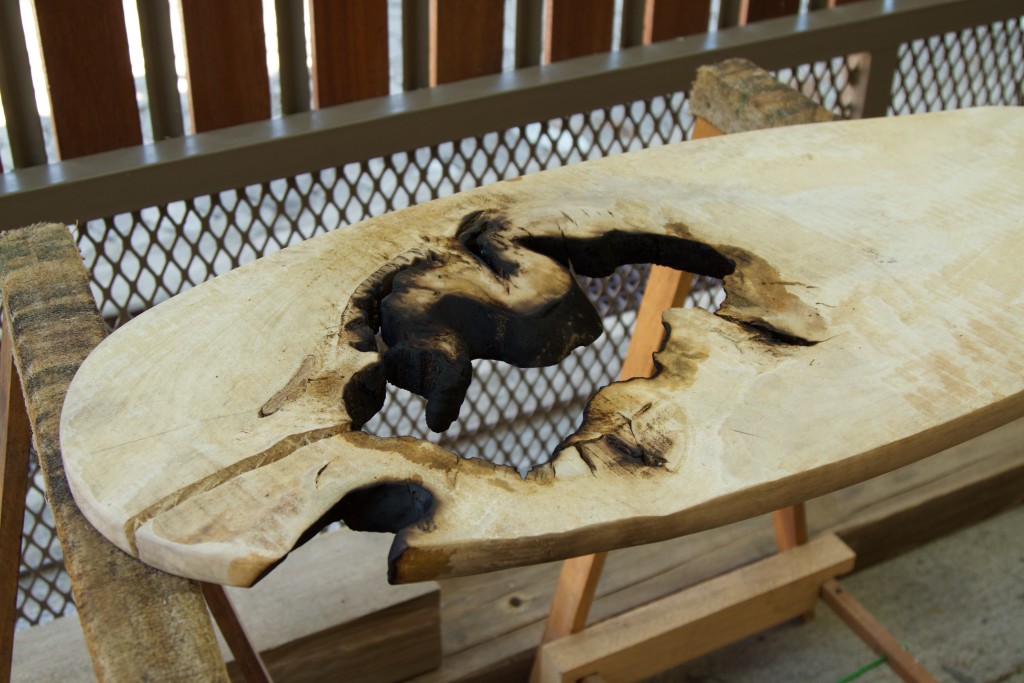
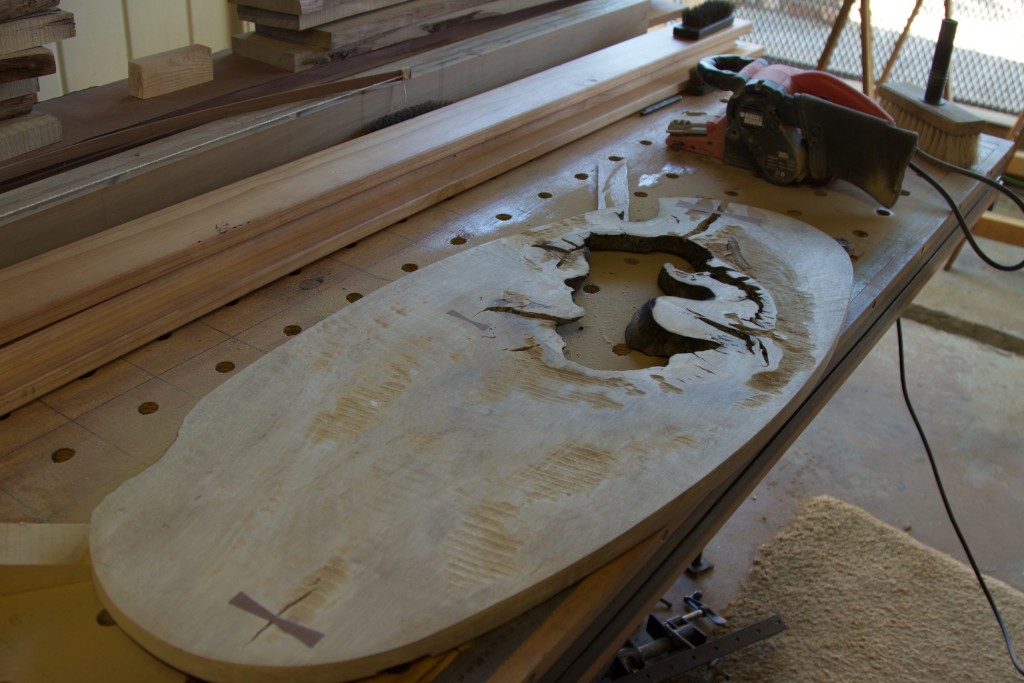
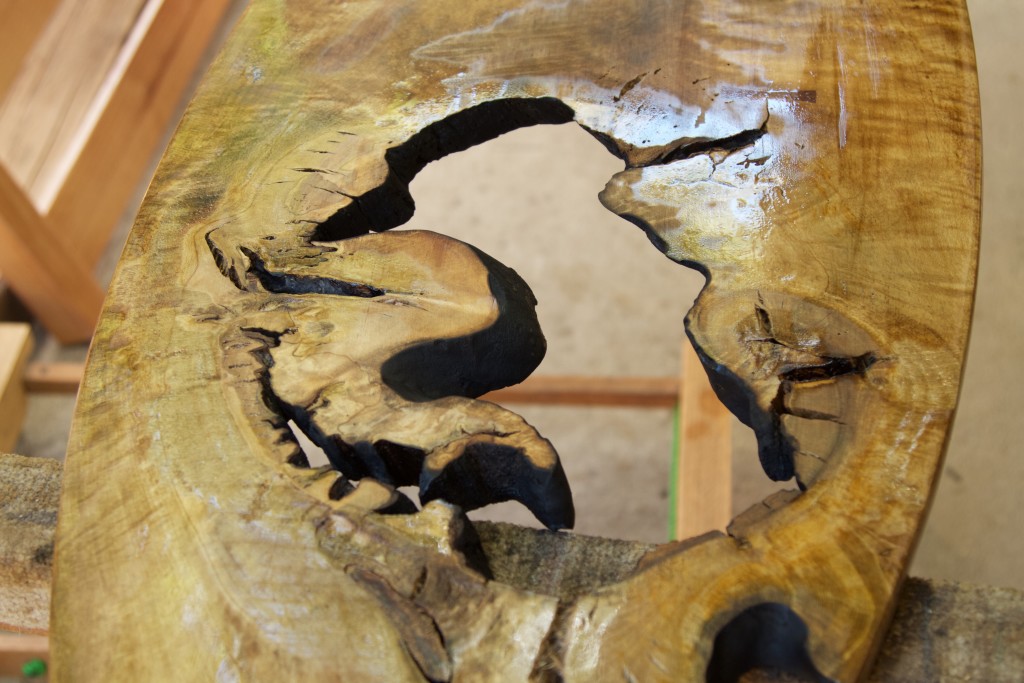
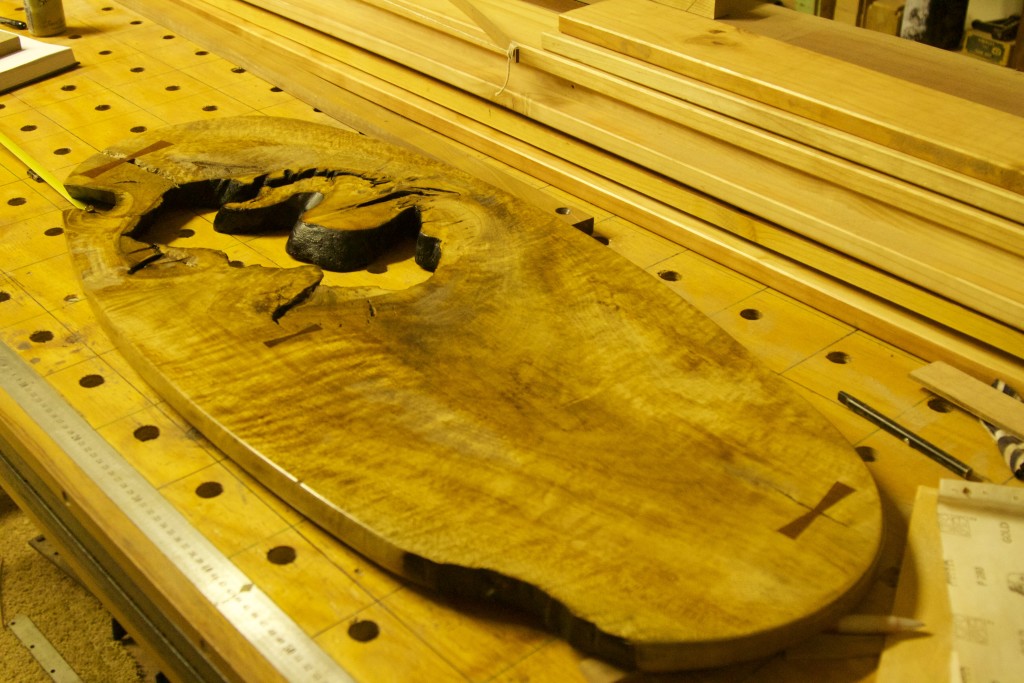
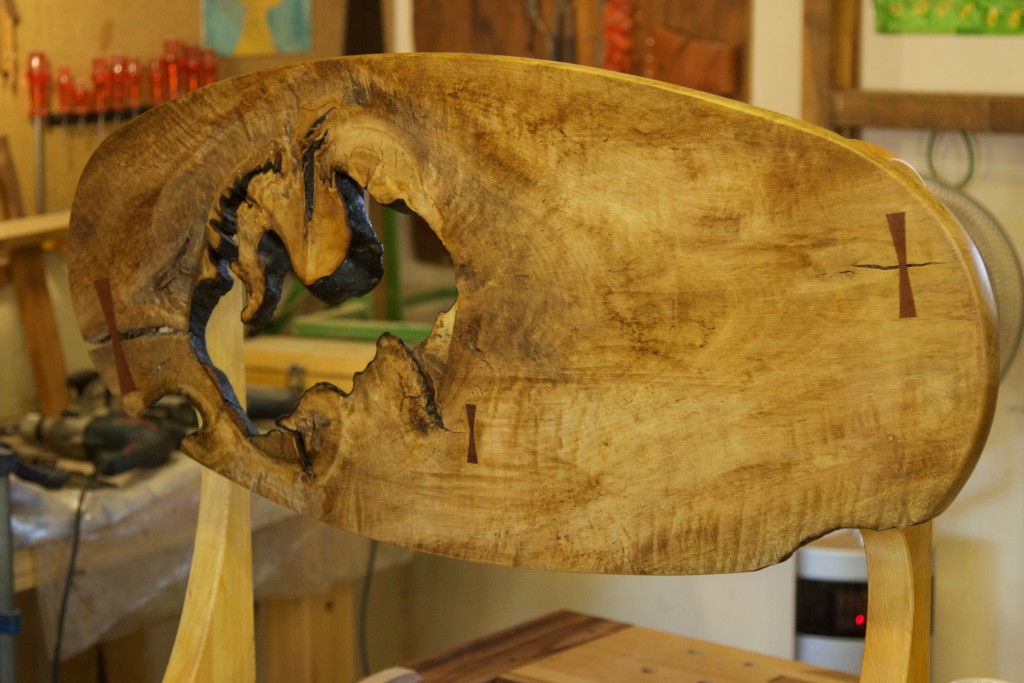
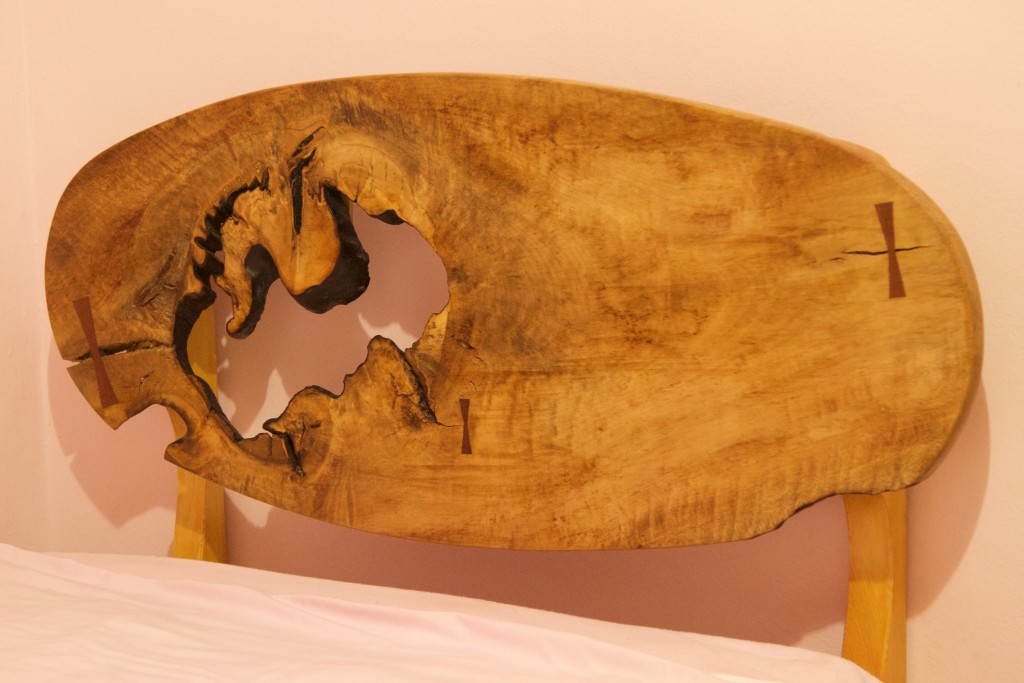
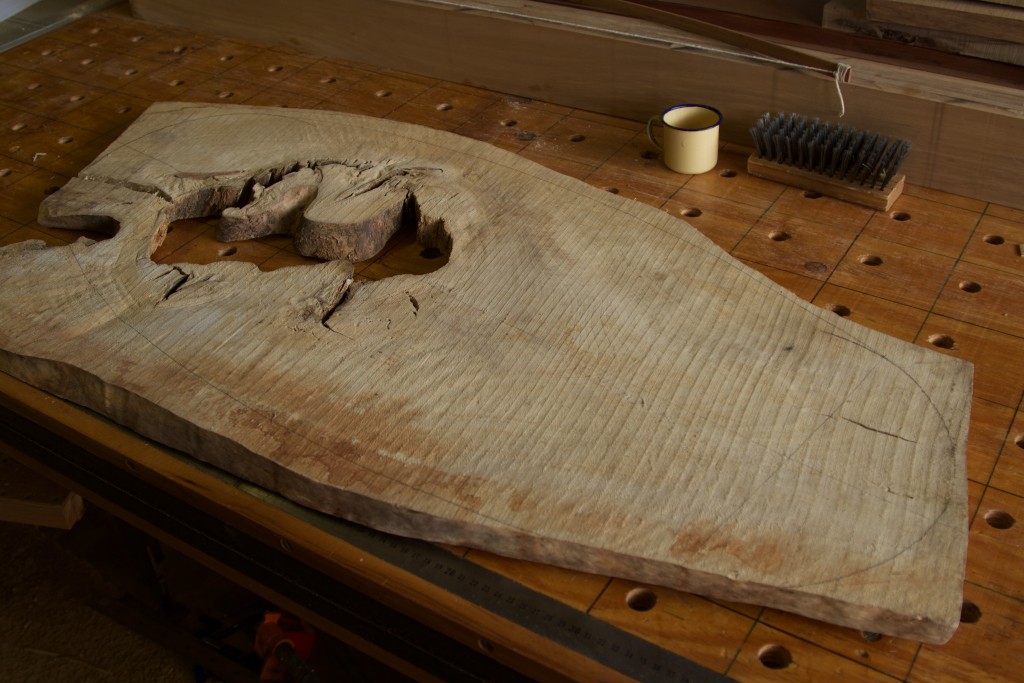
As you might remember we only have the headboard left to do. Aoife’s has been using the actual bed since mid April. The piece of Cape Holly (Ilex mitis) below was deliberately left over after harvesting the straight grained part of the board for the shelve of my  second Roubo bench. I thought it could become an interesting headboard, especially with a bed that embraces Japanese traditions. The second picture below gives you an idea where these beautiful trees tends to grow in the wild.

IMG_6447image44

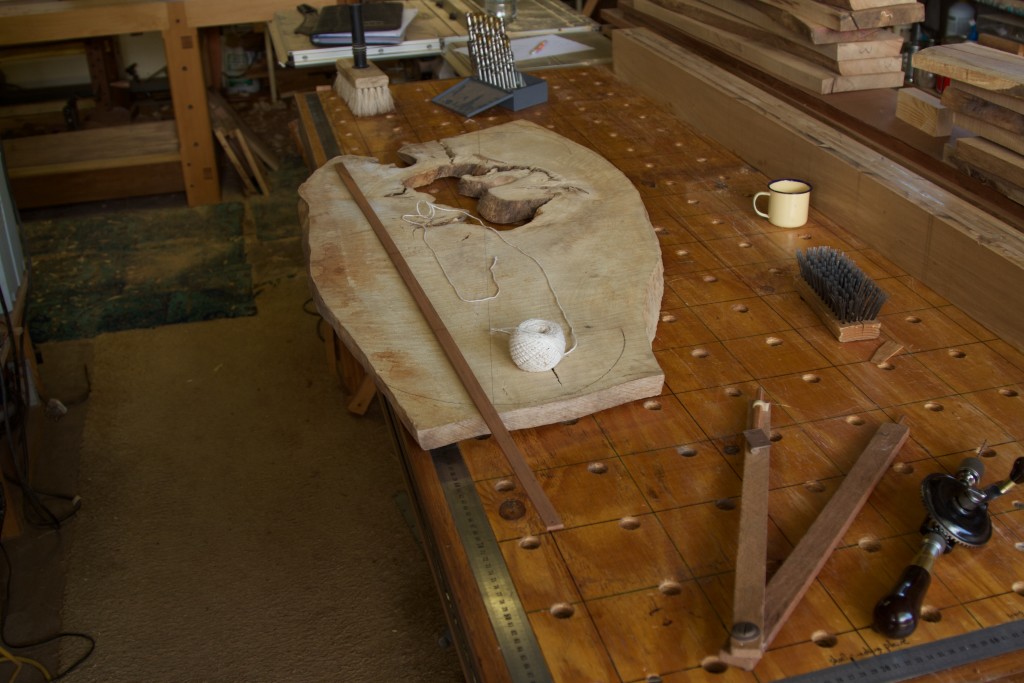
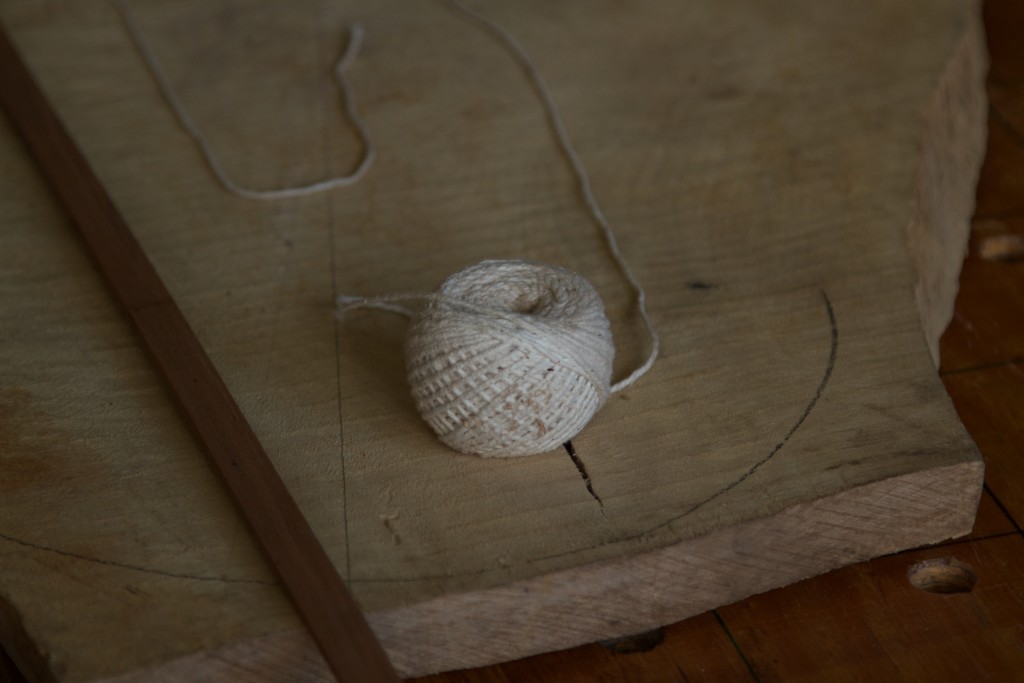
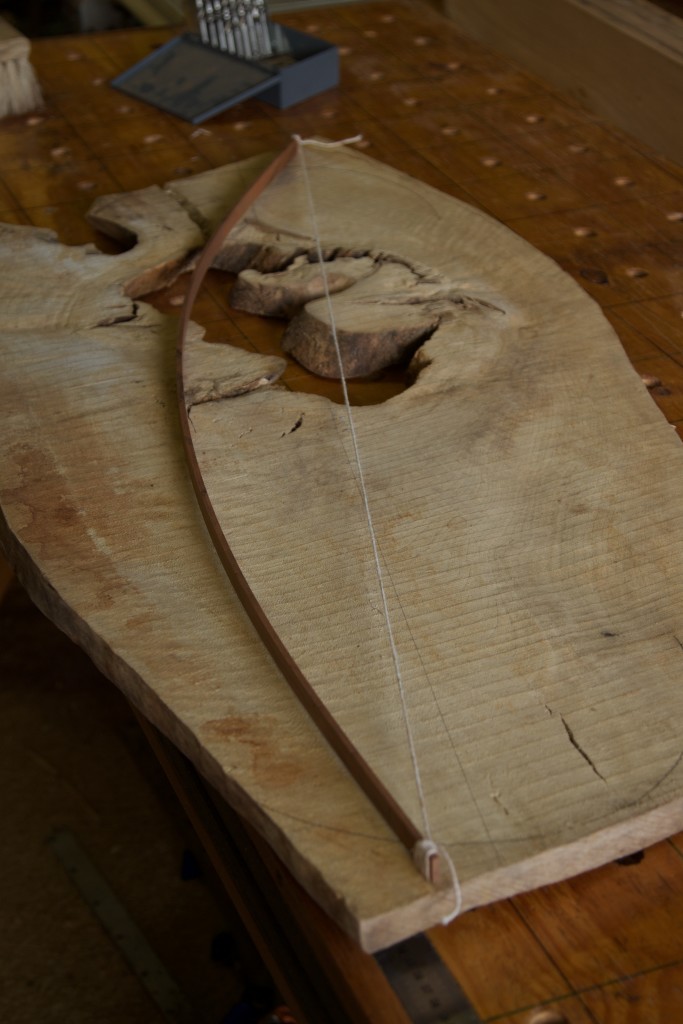
I made a bow using a strip of Assegaai and string. It enables you to experiment with different curves, which I did.

IMG_6448IMG_6449IMG_6450IMG_6452IMG_6453

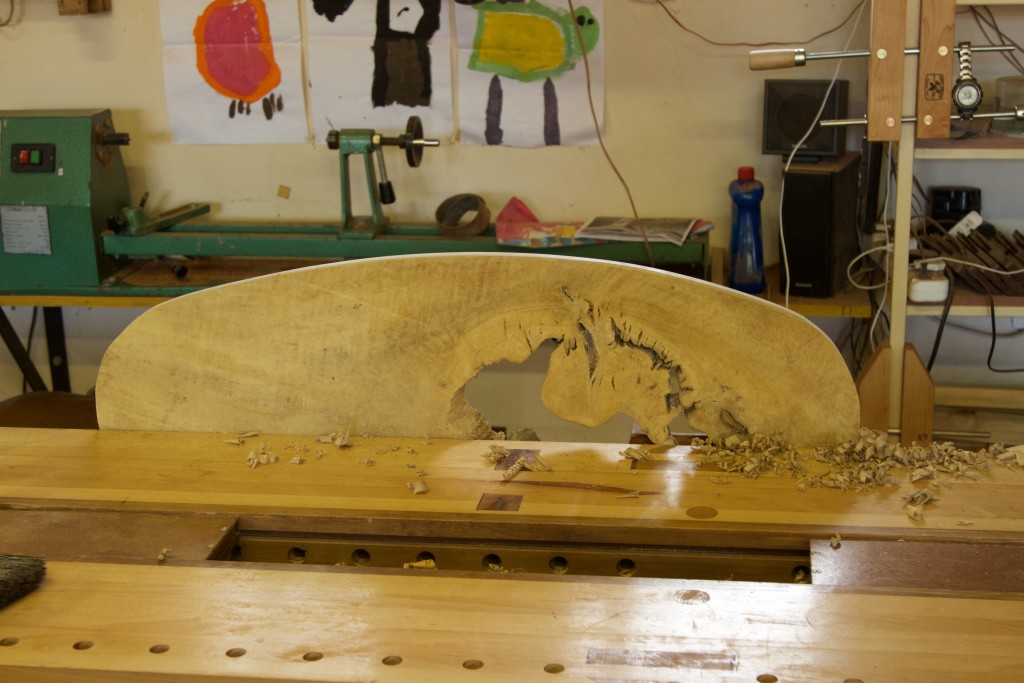
I ended up with the below shape.

IMG_6454

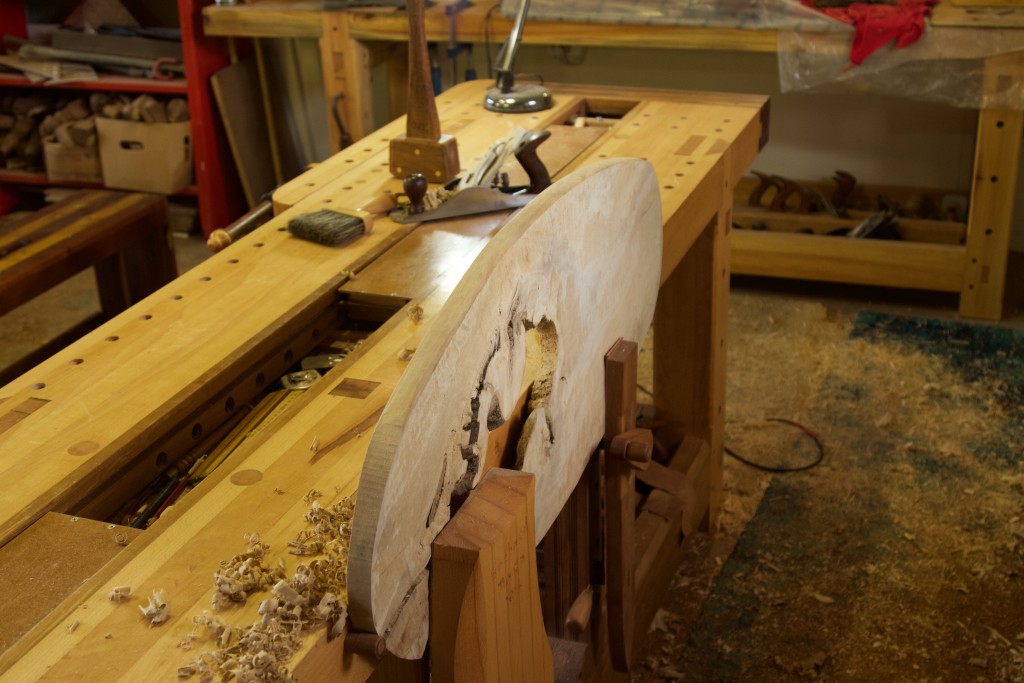
The edges were smoothed off using hand planes.

IMG_6456IMG_6457

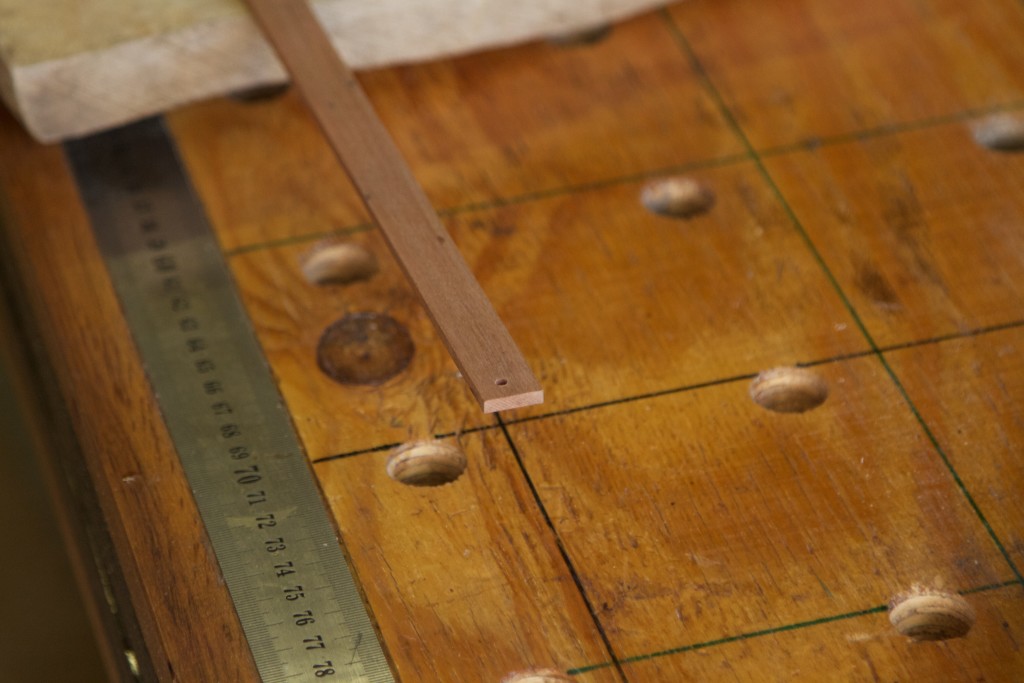
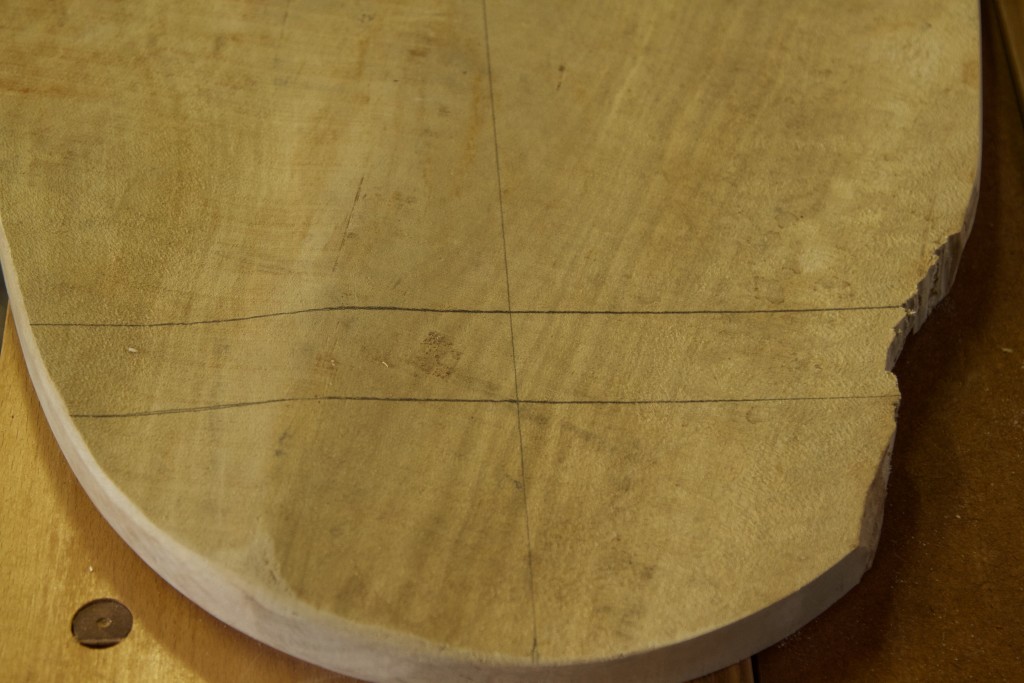
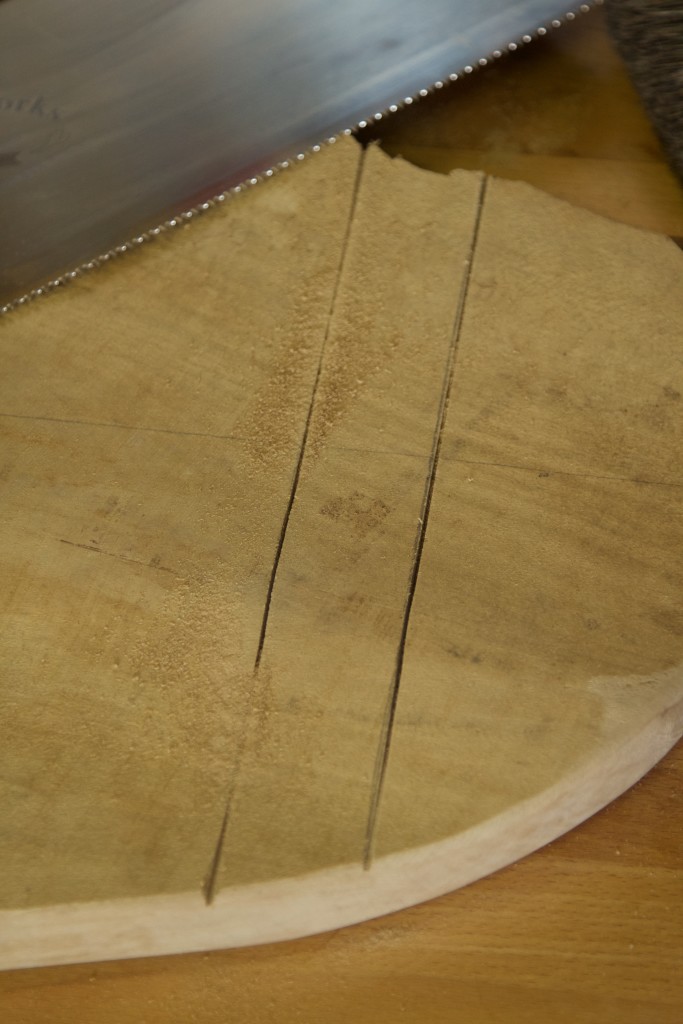
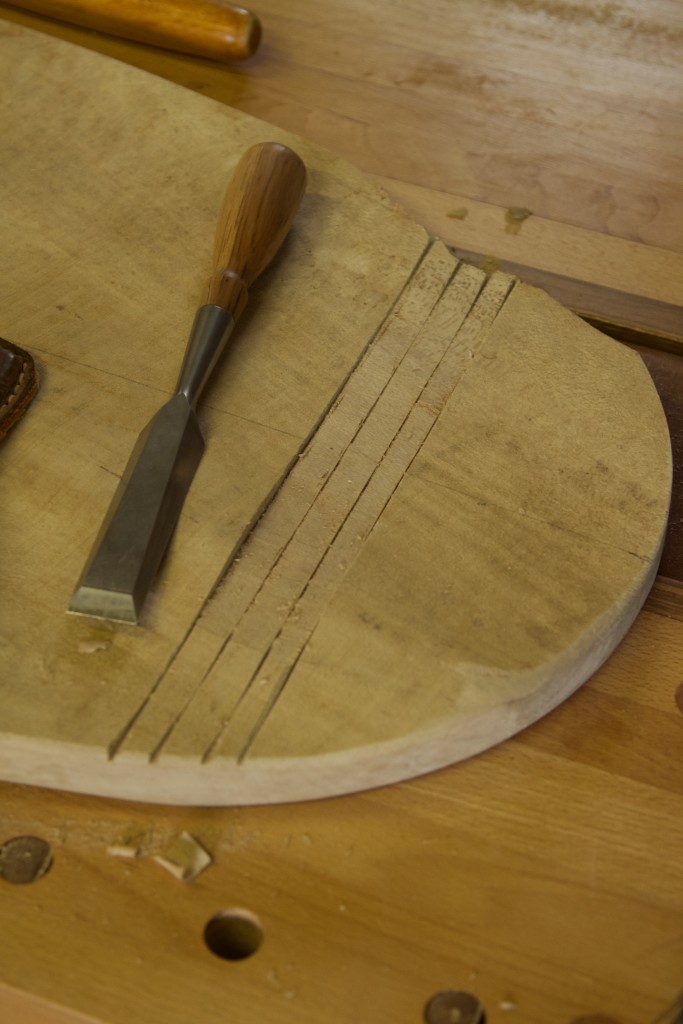
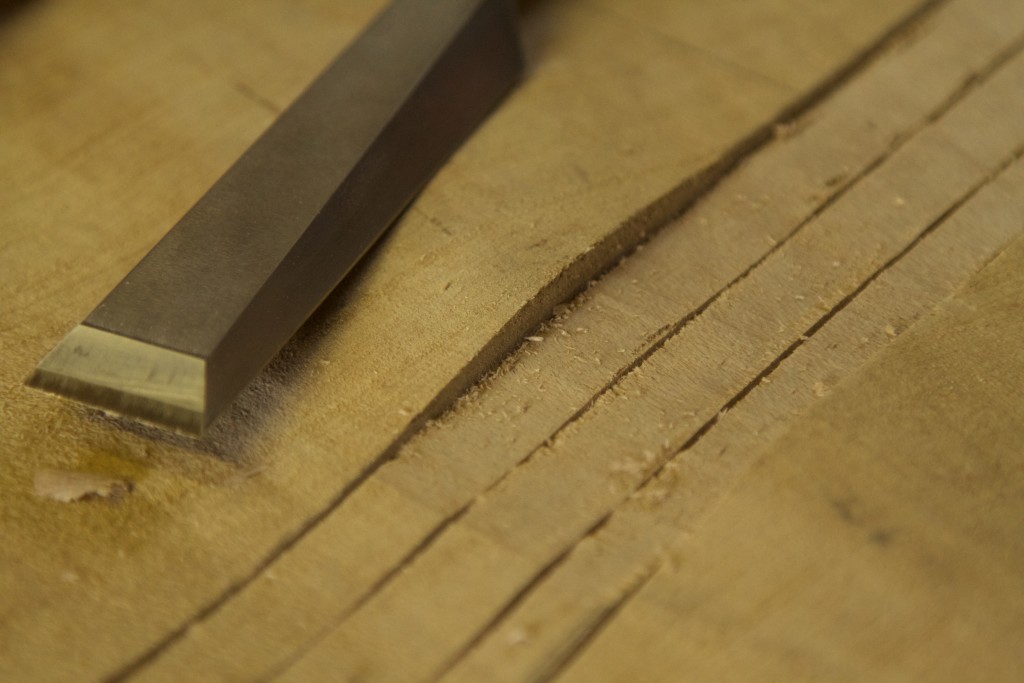
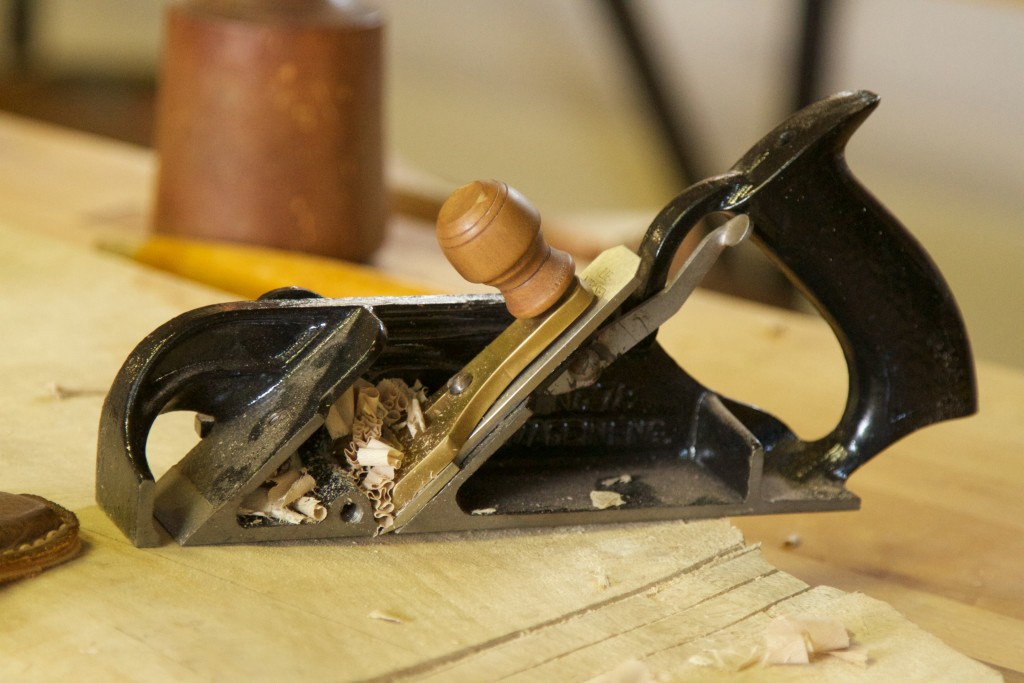
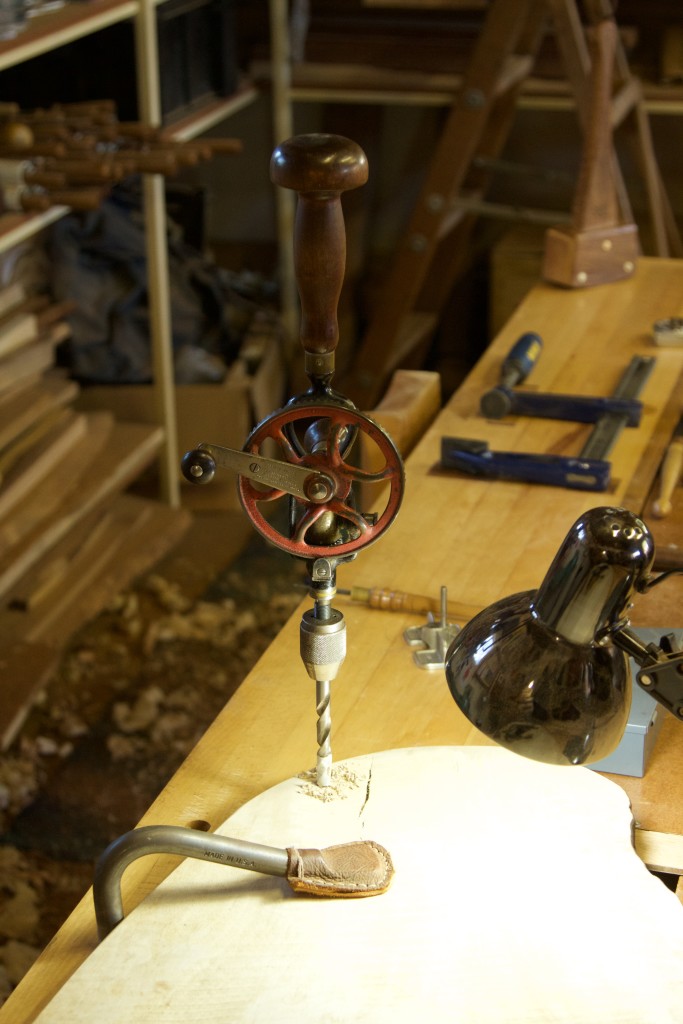
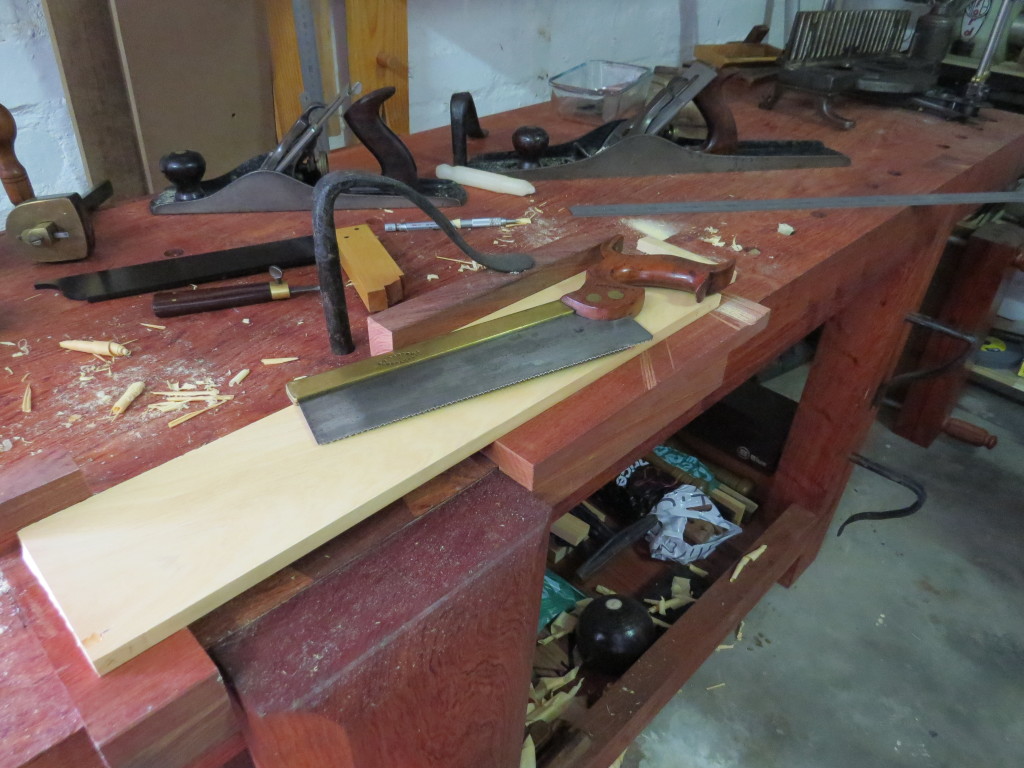
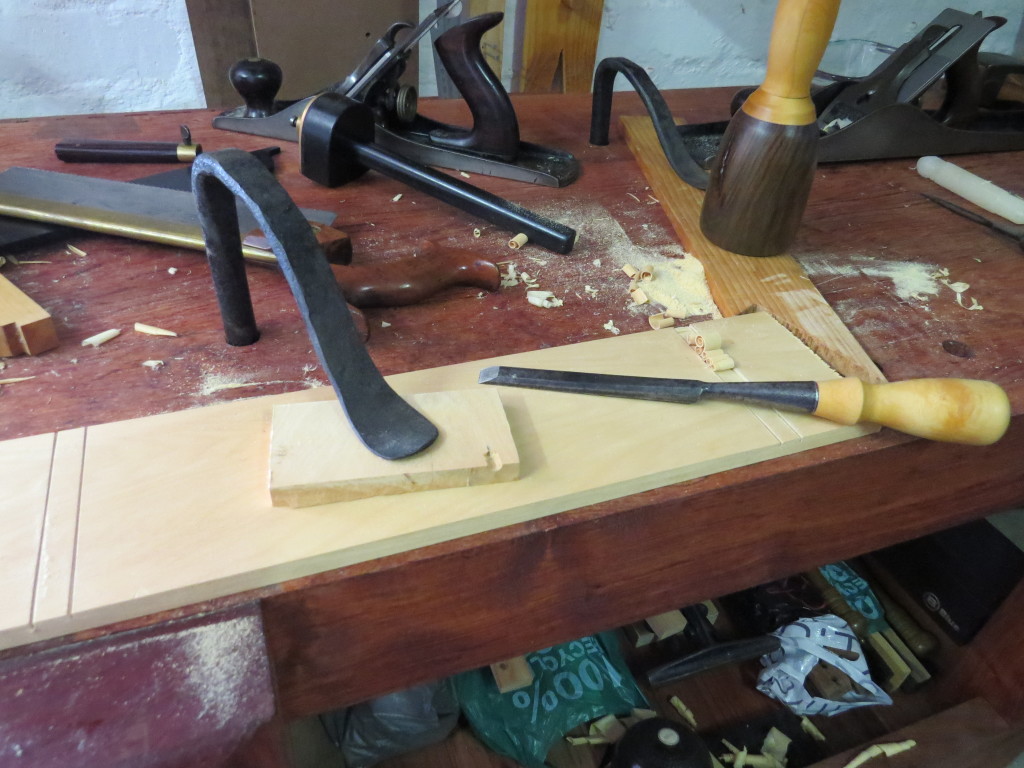
One of the issues (that I constantly complain of) in using such untamed stock is the amount of twist, bowing and cupping. In this particular case it was mostly twist. As you can imagine it is impossible to plane something like this either by hand or machine without destroying it. Yet it is of utmost importance to create two surface in the same plane where the posts of the headboard can be attached. My solution was this. I marked out two strips parallel to each other of exactly the same width as my Stanley no. 78 rabbet plane. Then removed the bulk of the waste by sawing and chiselling.

IMG_6458IMG_6459IMG_6460IMG_6461IMG_6463IMG_6464IMG_6466

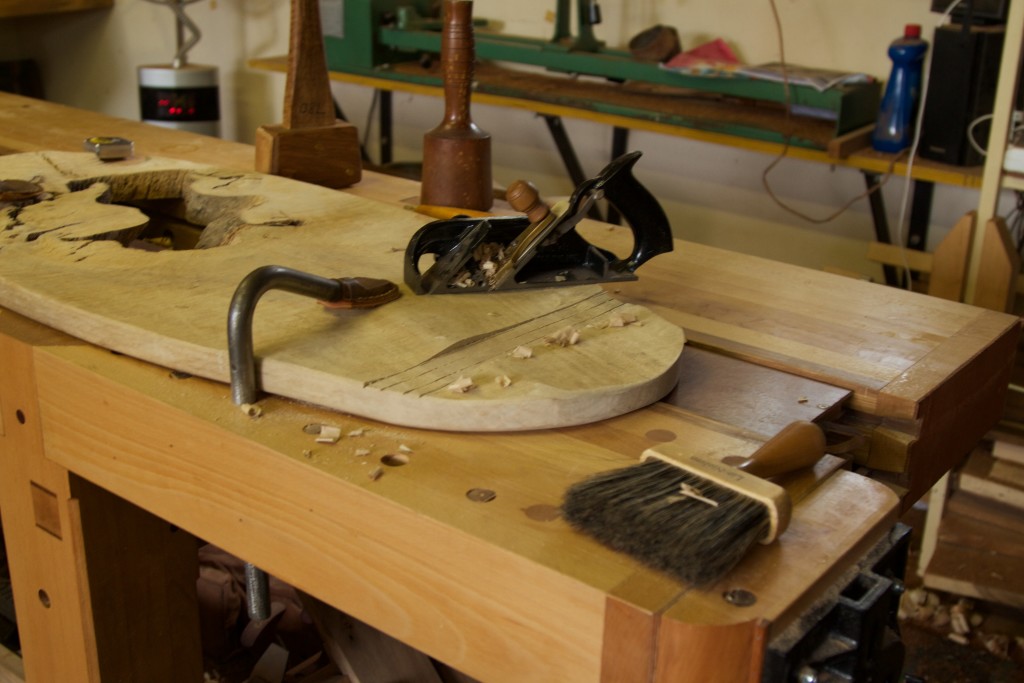
The area was then flattened using the no. 78 to allow an accurate reading with my long winding sticks.

IMG_6467IMG_6470

As you can see in the second picture below the winding sticks revealed quite obvious twist, which was then removed with the help of the no. 78.

IMG_6475IMG_6474

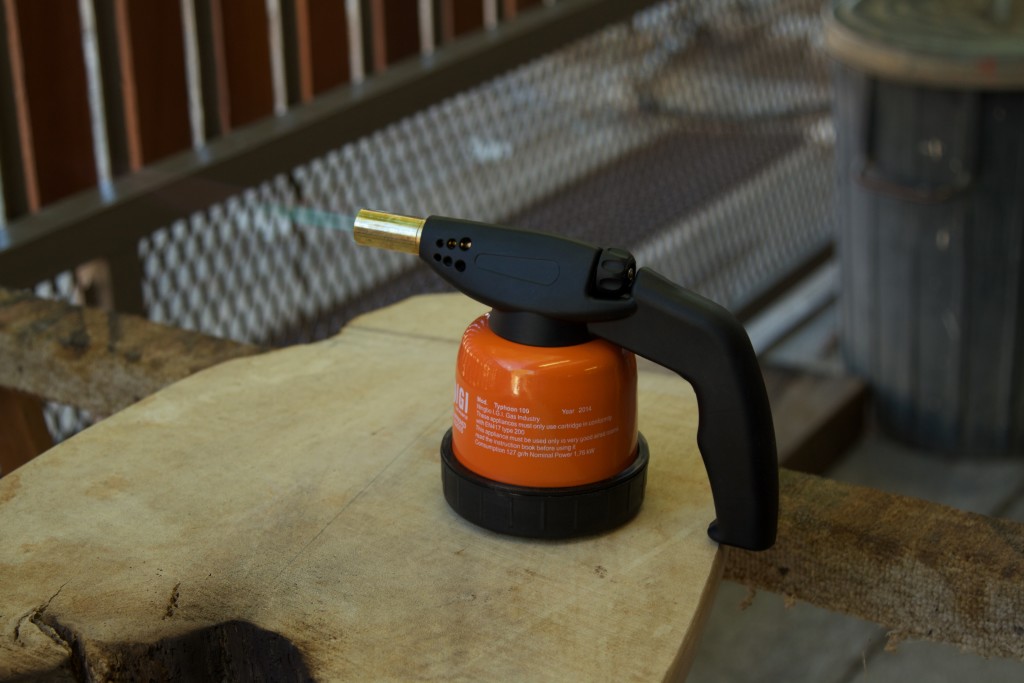
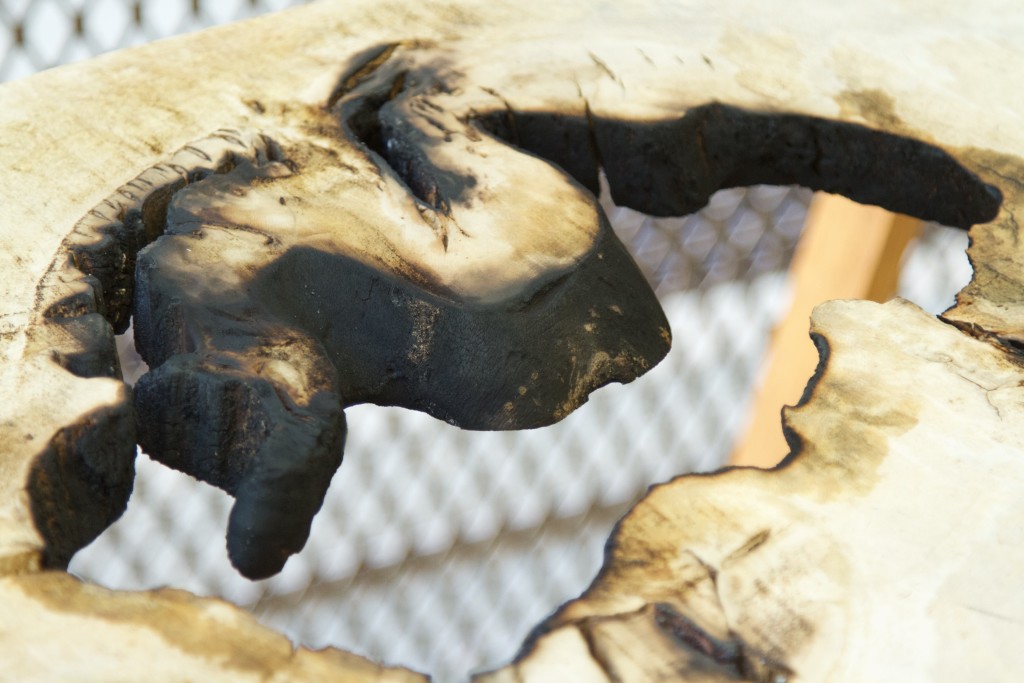
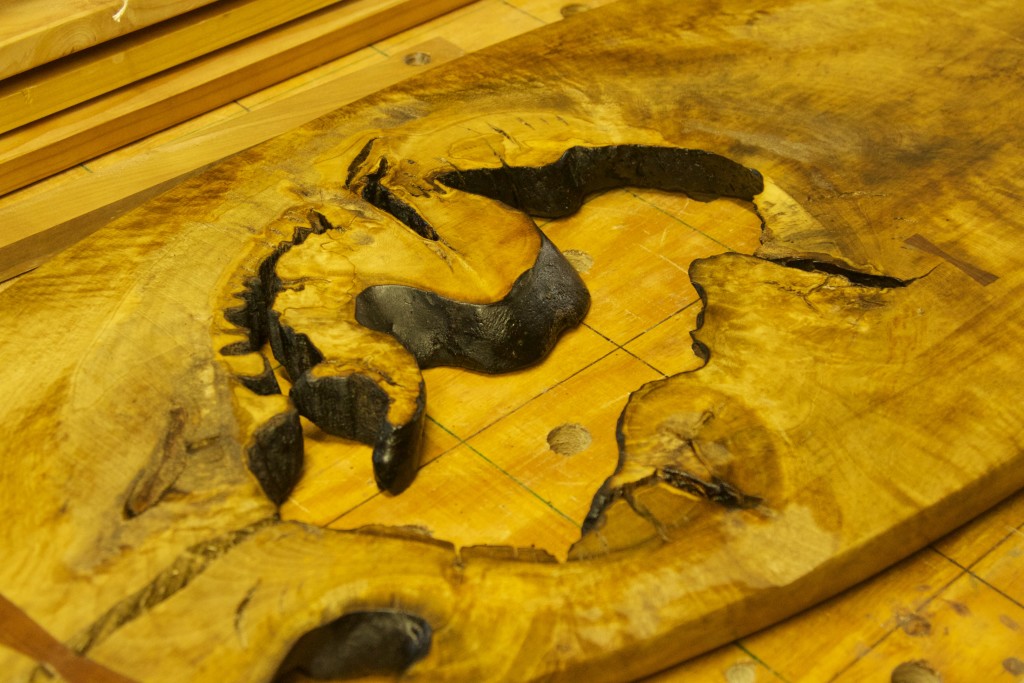
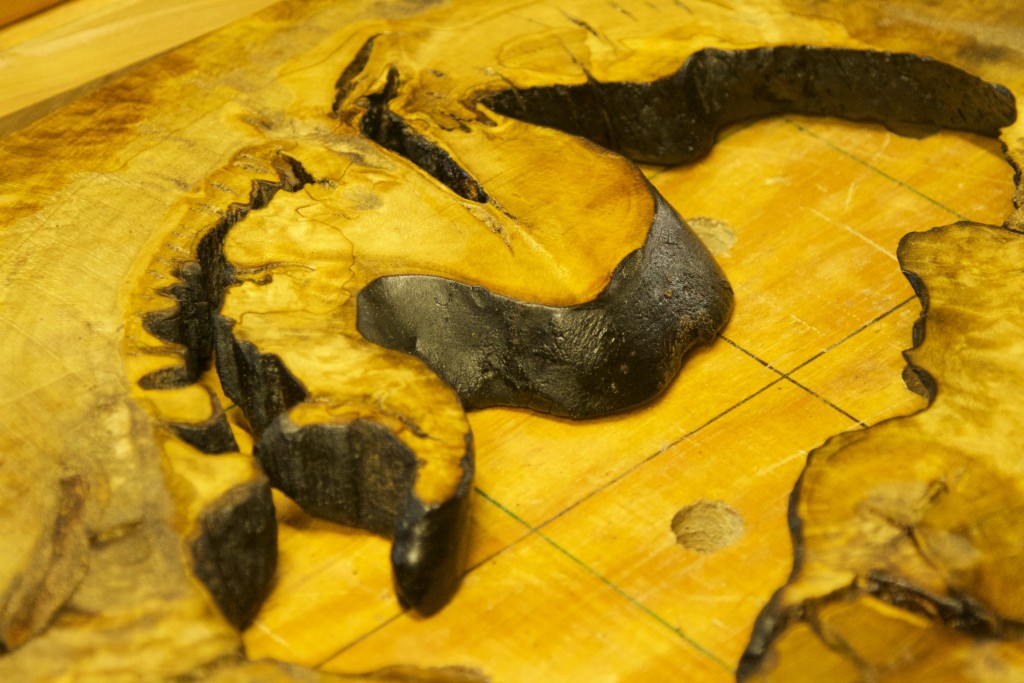
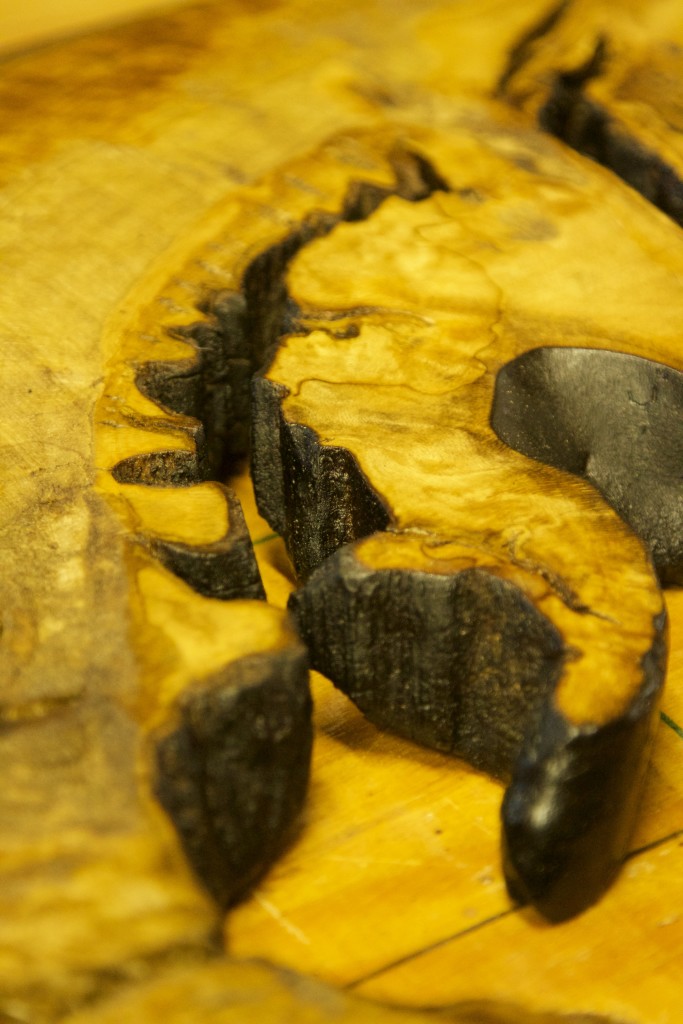
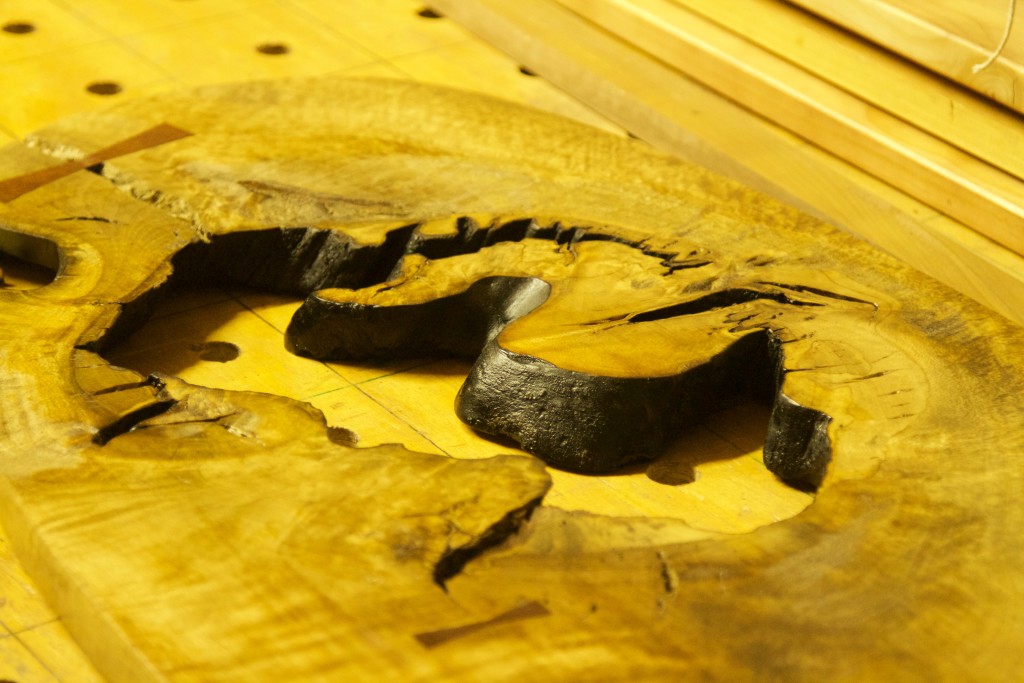
My father was visiting at the time and he had the idea to burn the inside surfaces of the naturally shaped hole in the board to create an attractive colour contrast.

IMG_6483IMG_6484IMG_6485

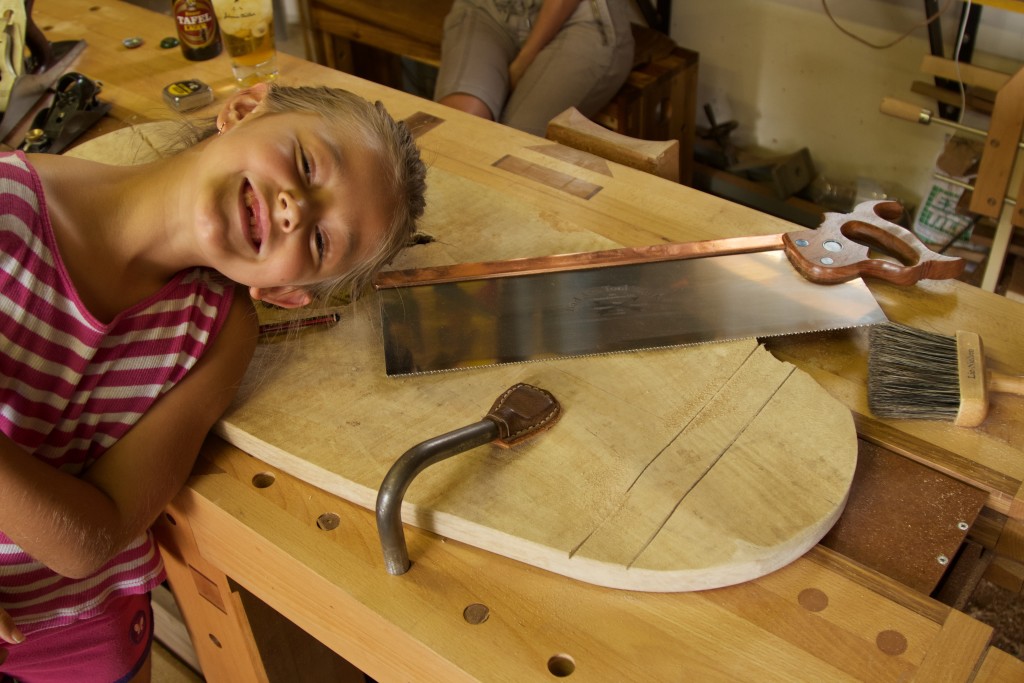
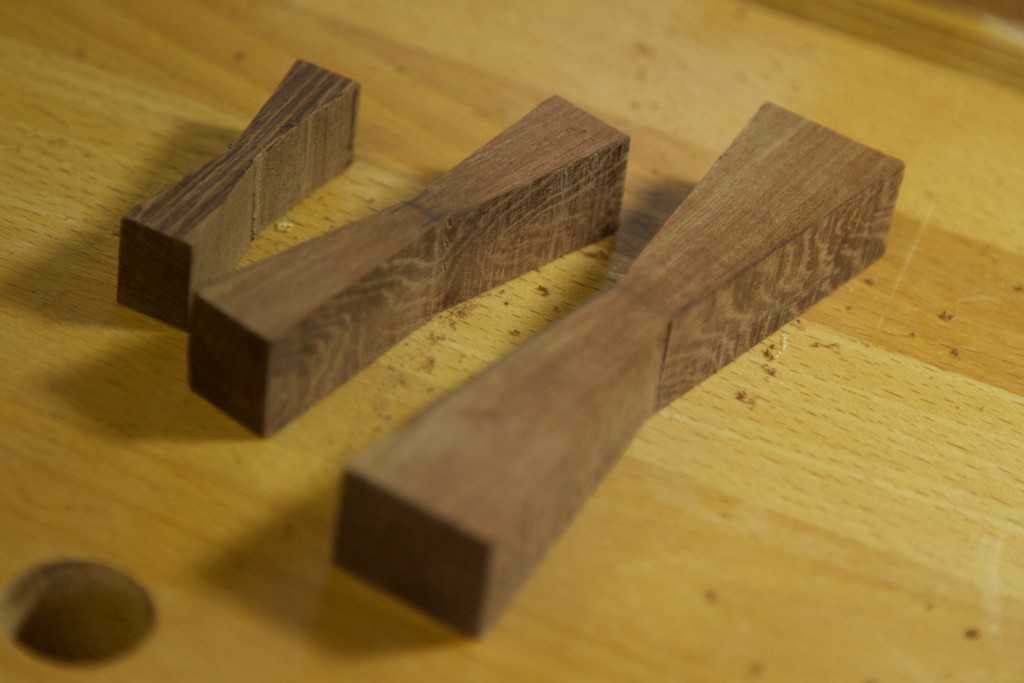
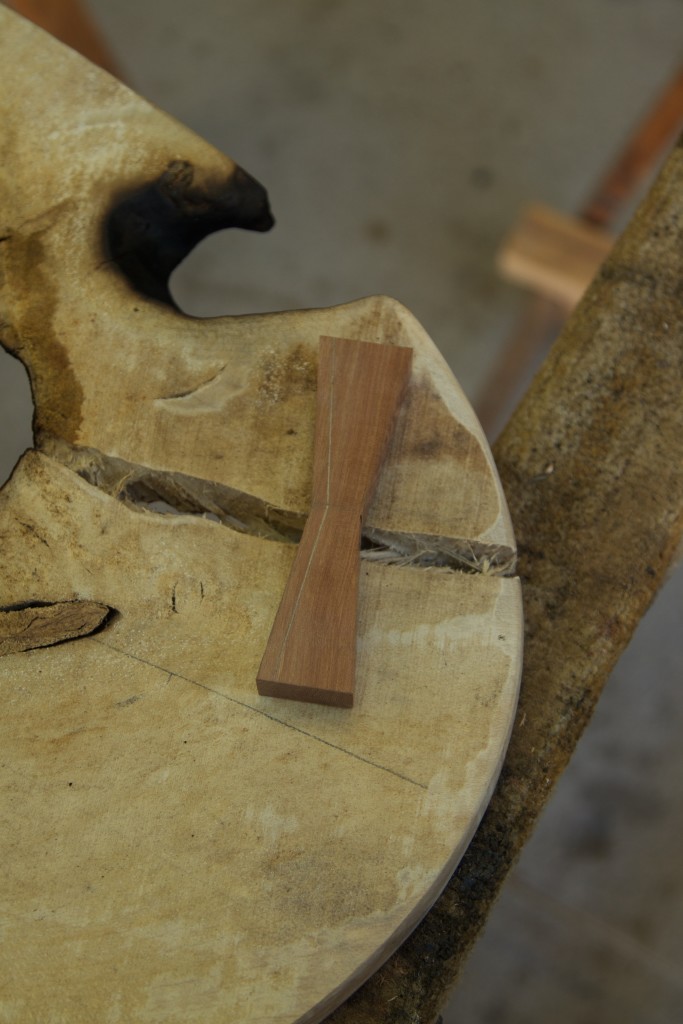
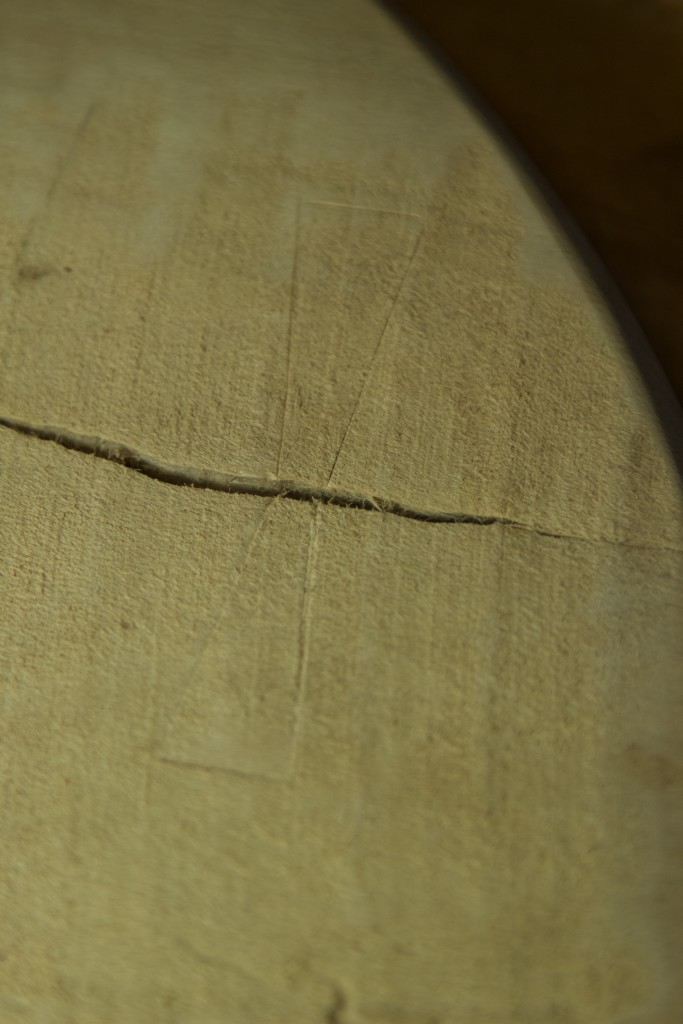
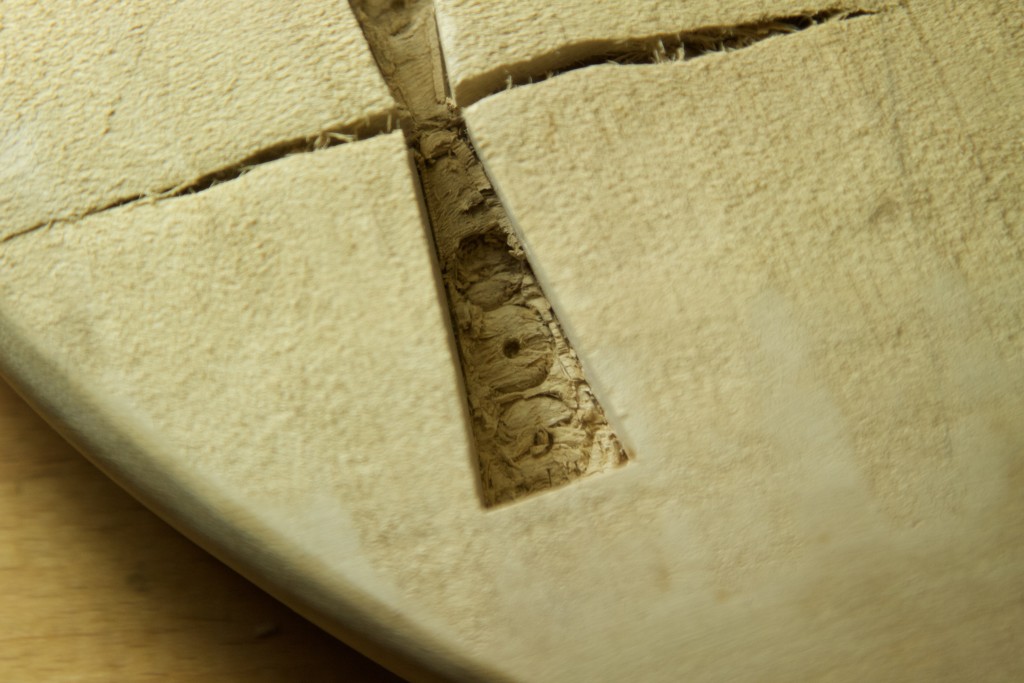
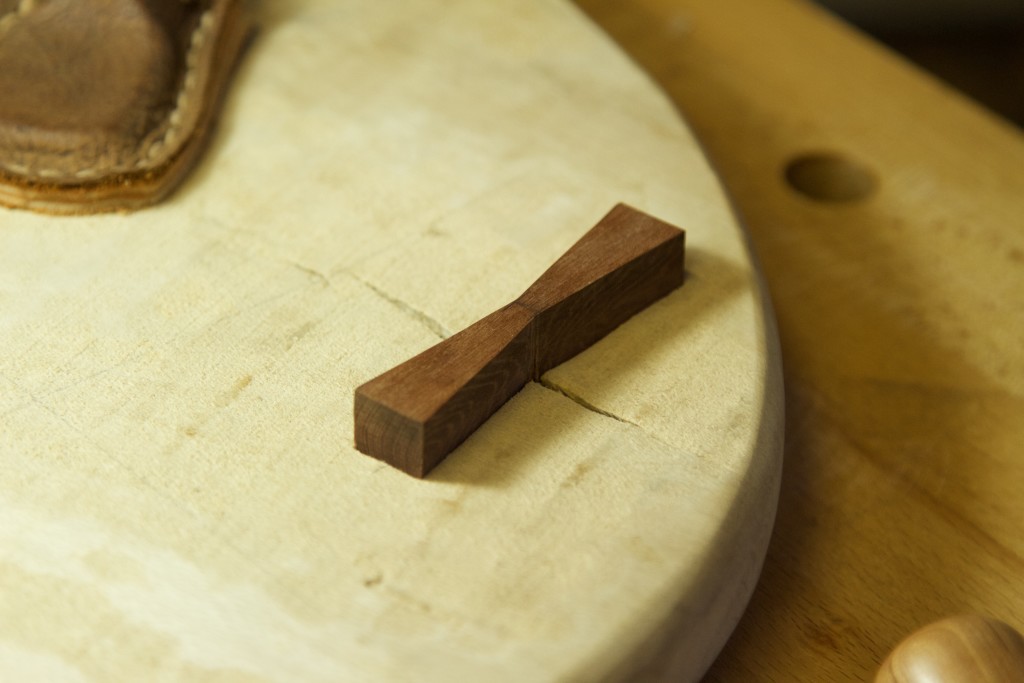
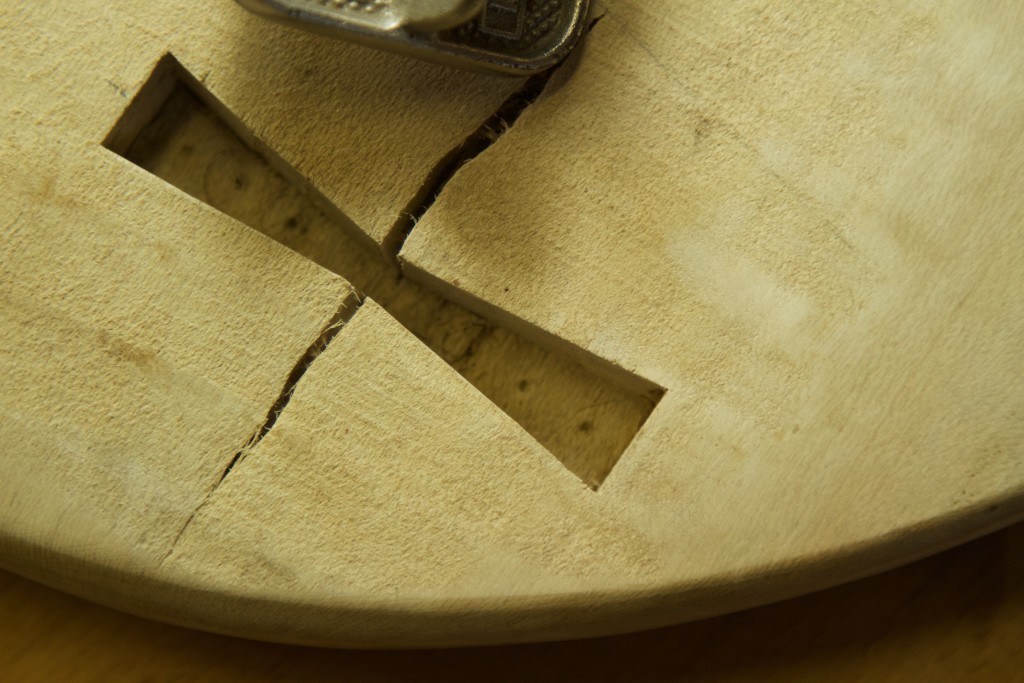
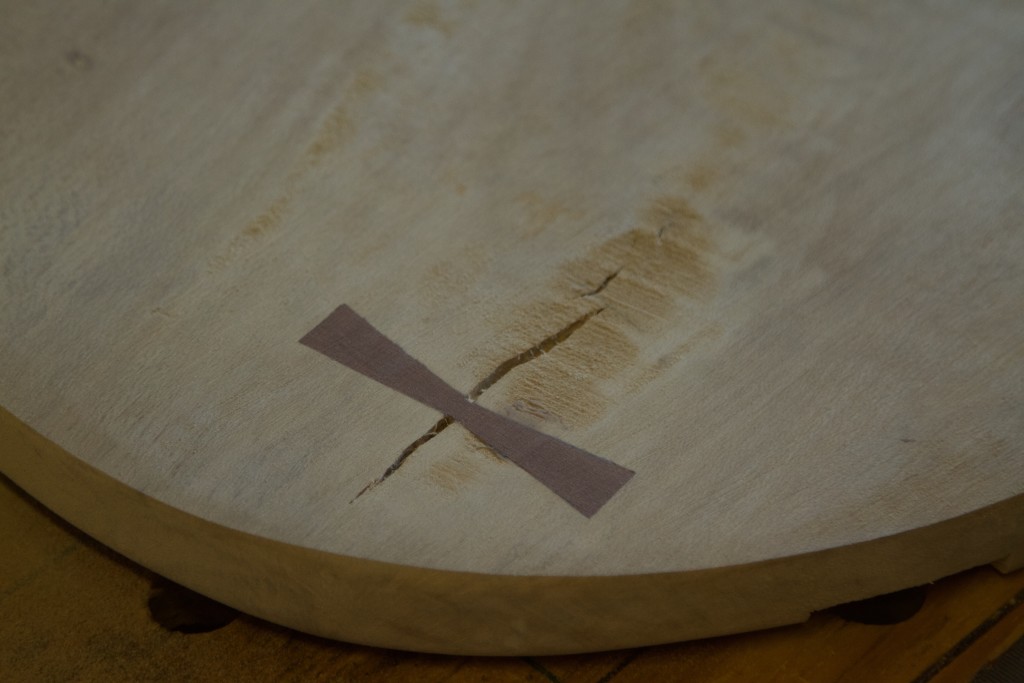
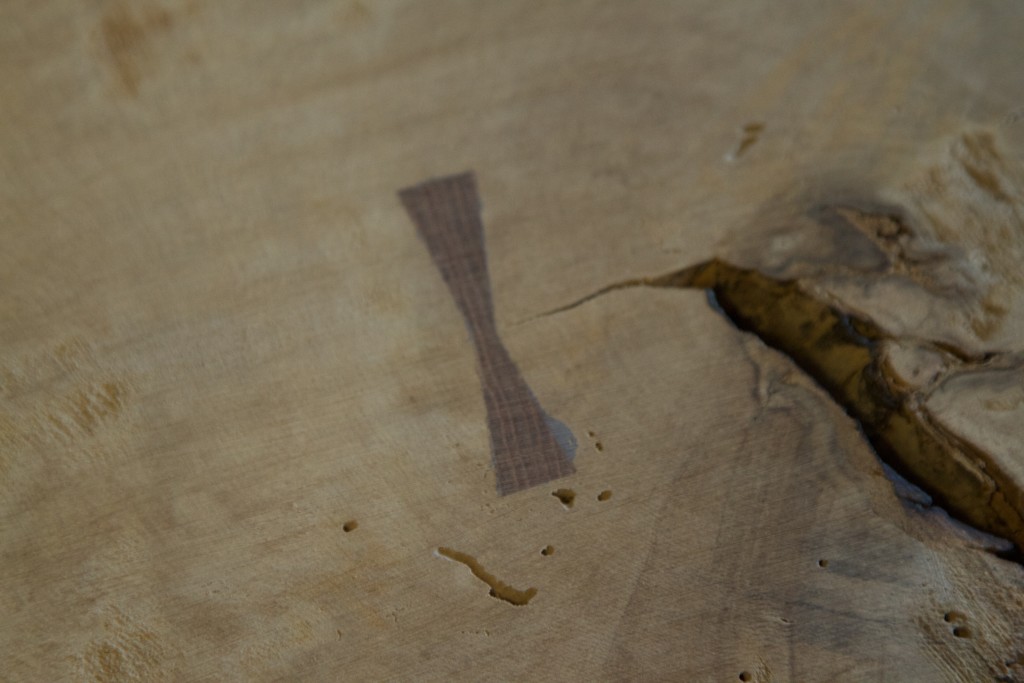
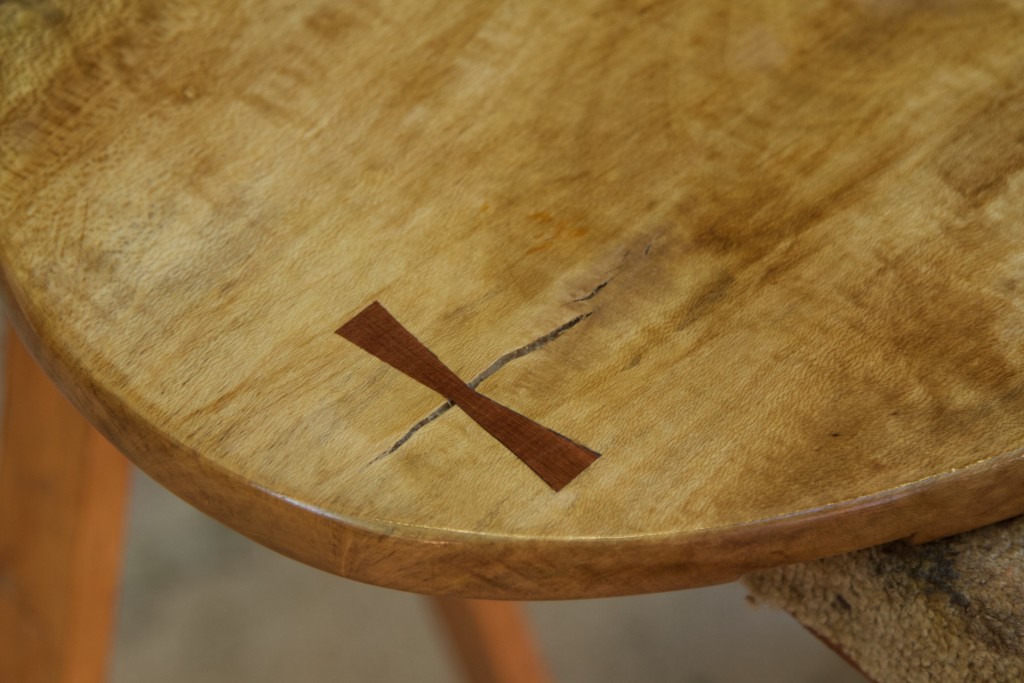
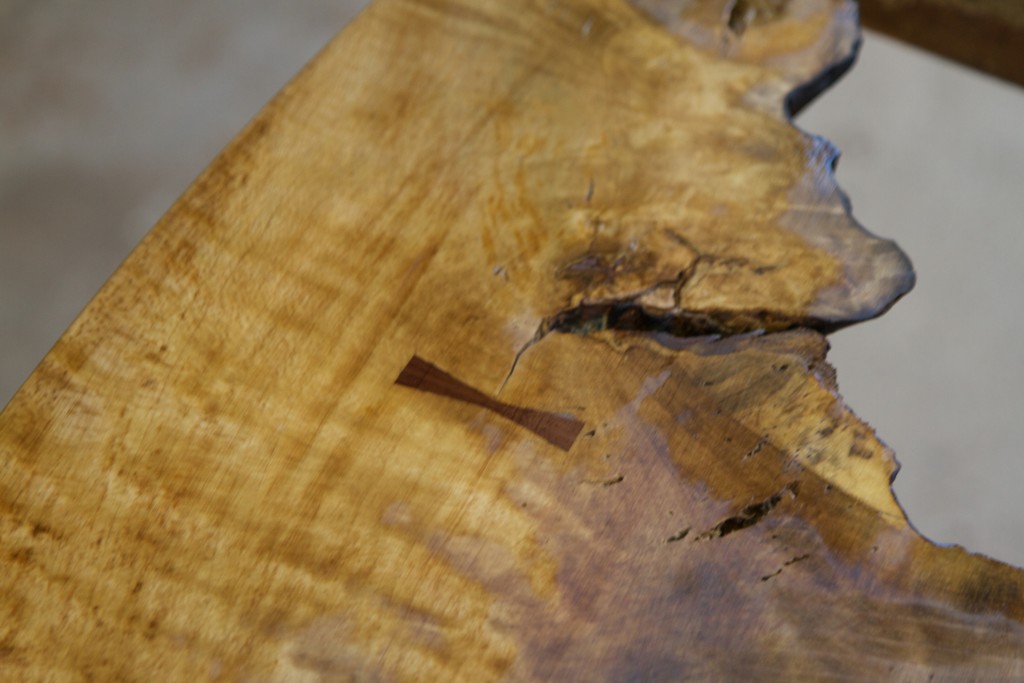
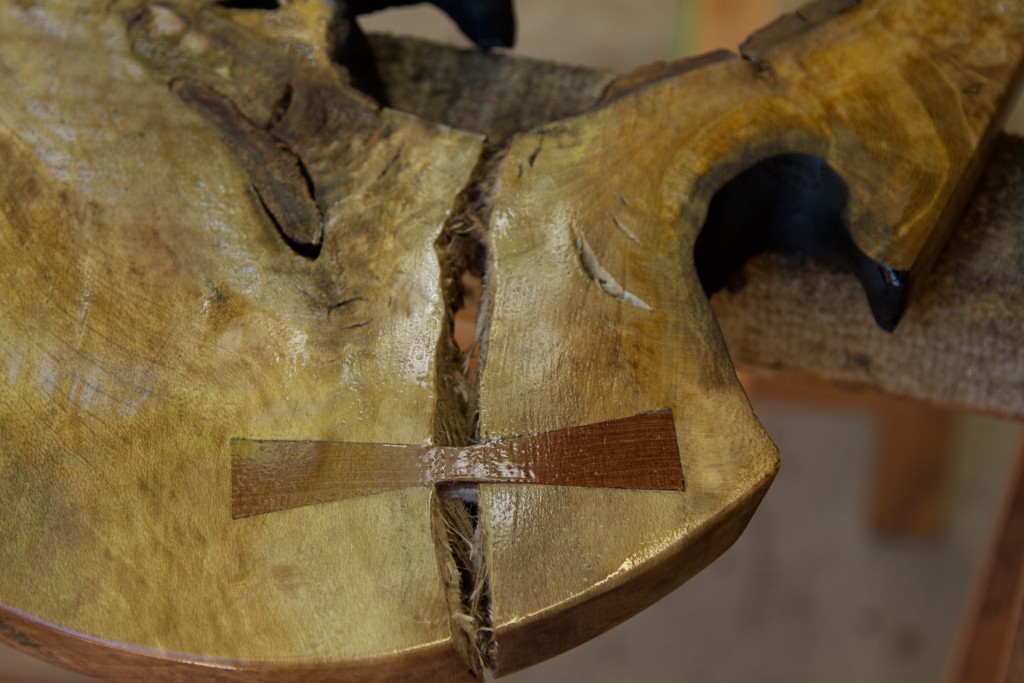
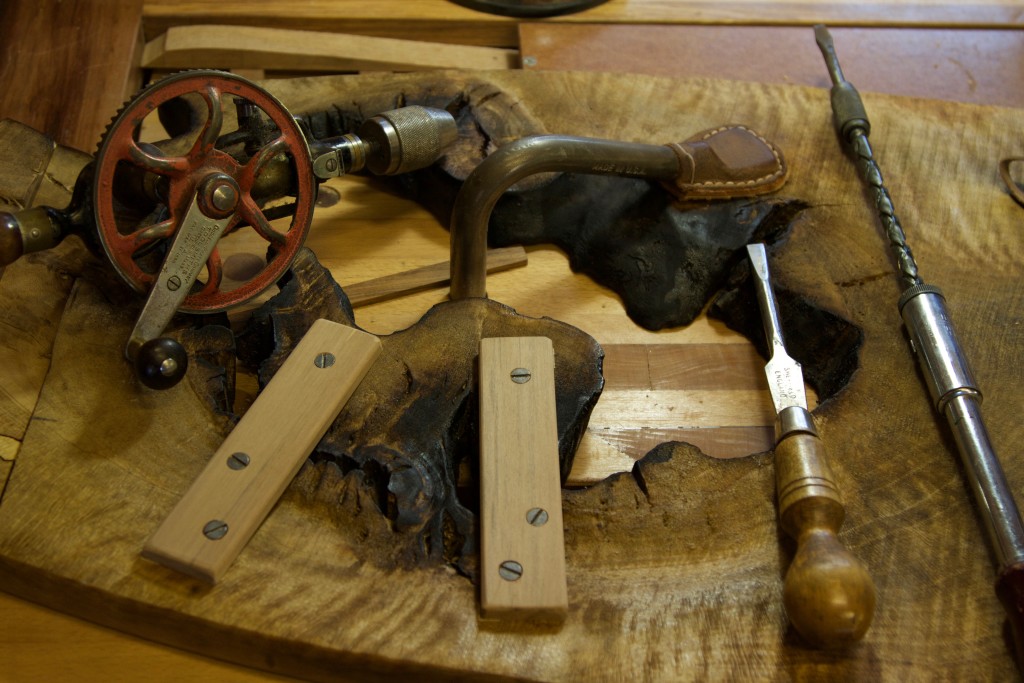
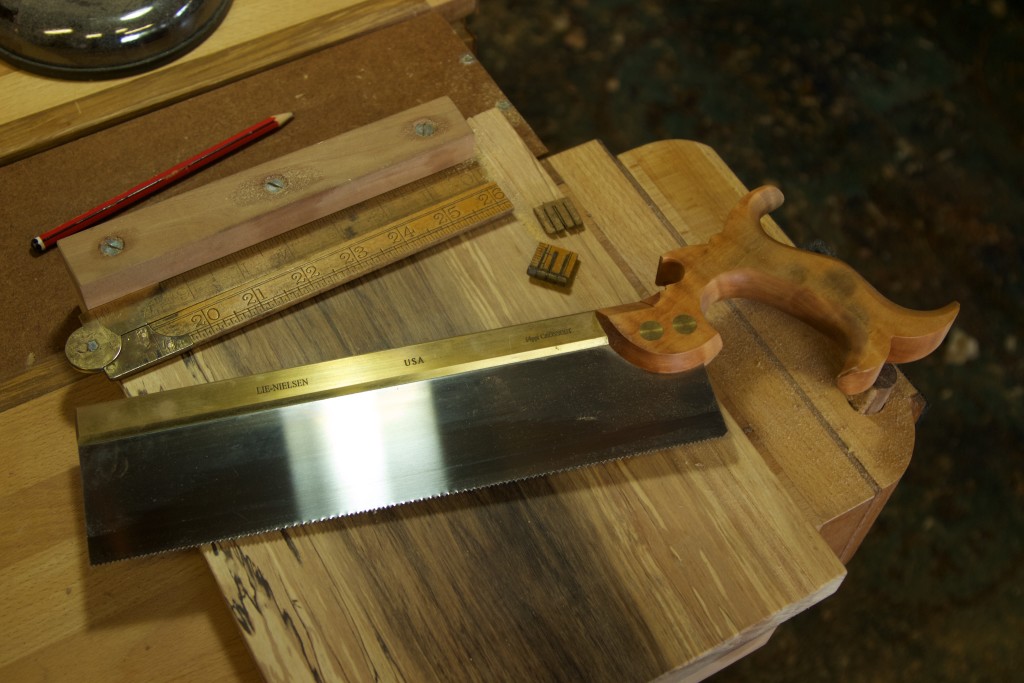
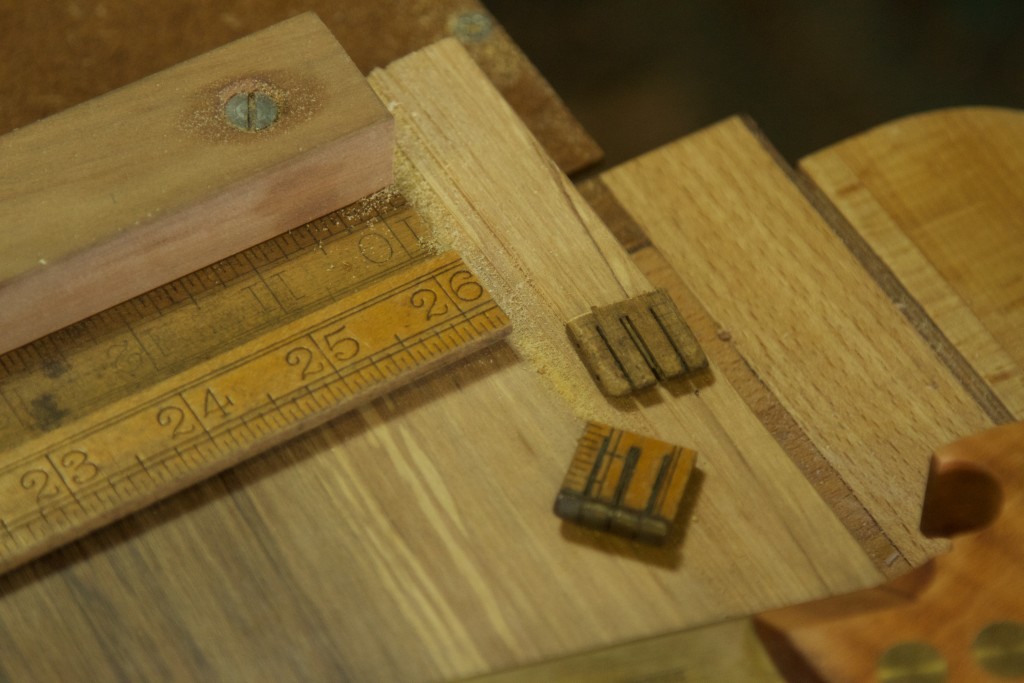
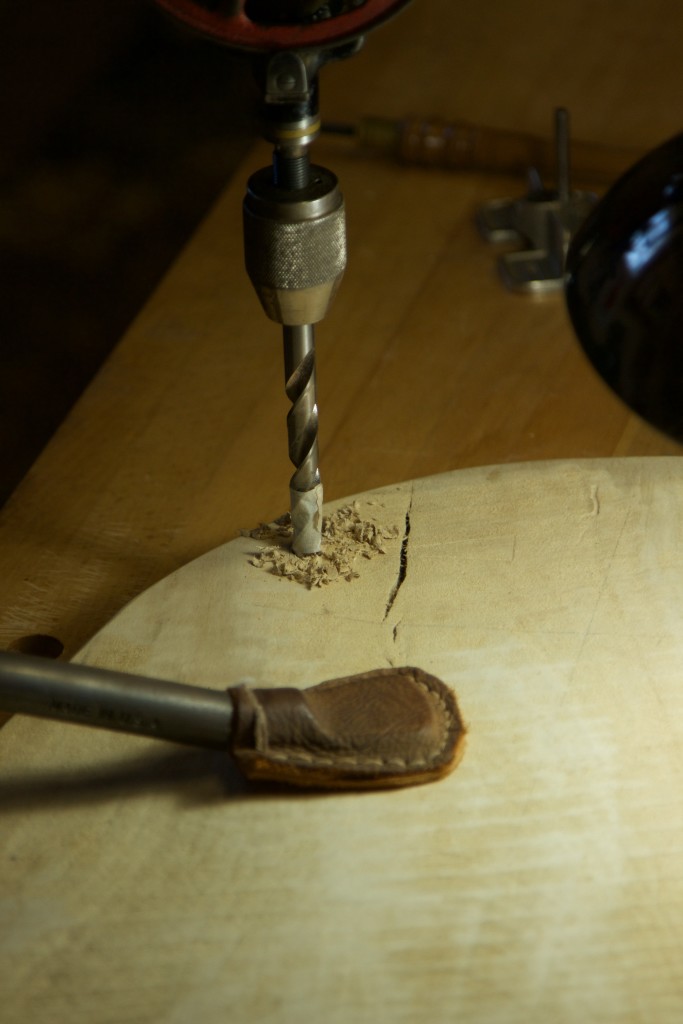
I decided to stabilise the cracks using the famous Nakashima dovetail keys. I used a handsaw to produce these Kershout keys.

IMG_6491

As you can see below, the biggest of the keys looked a smidgen clunky so it was trimmed down a wee bit.

IMG_6487IMG_6488

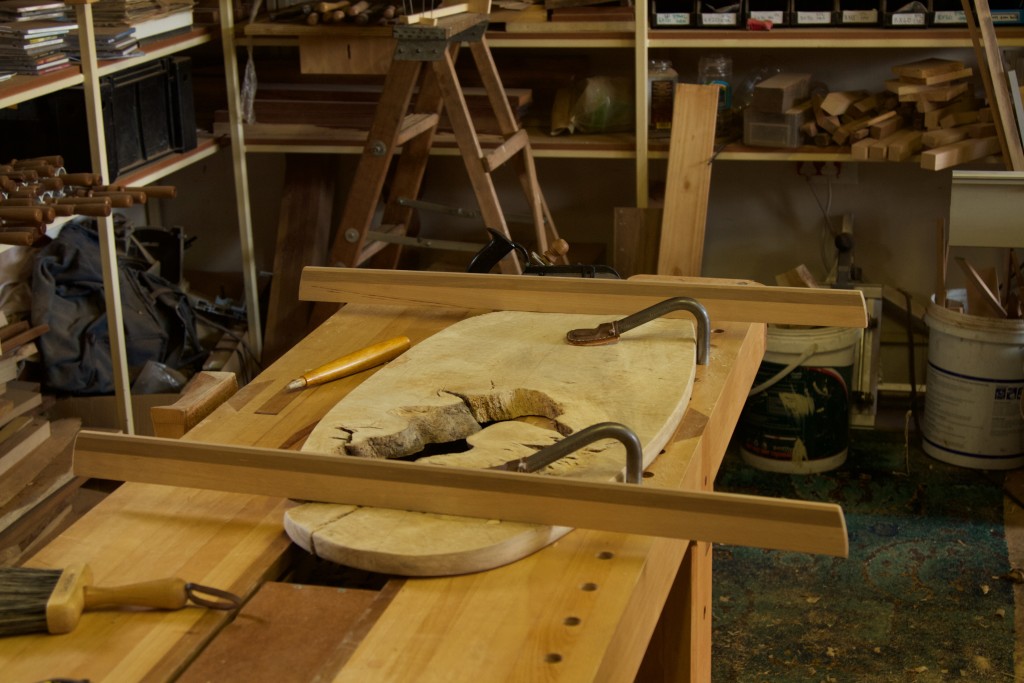
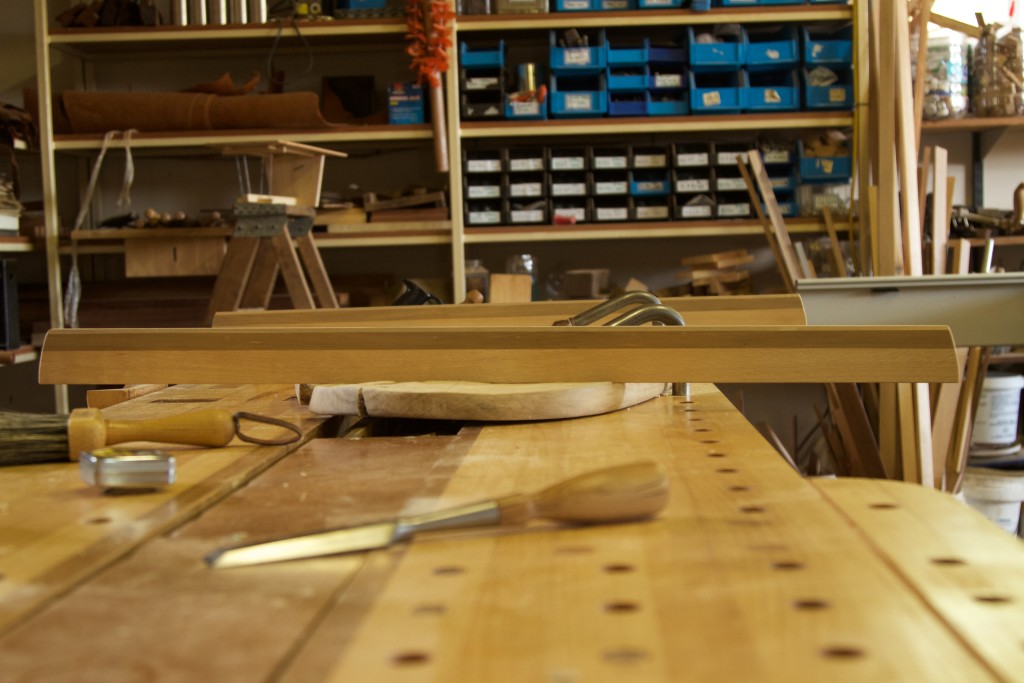
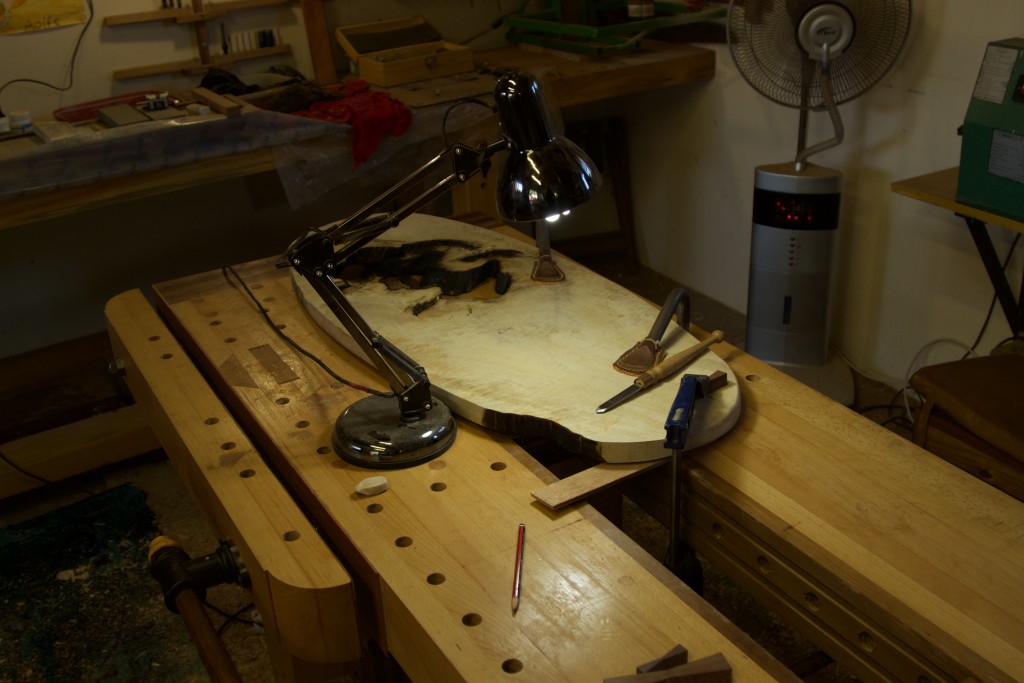
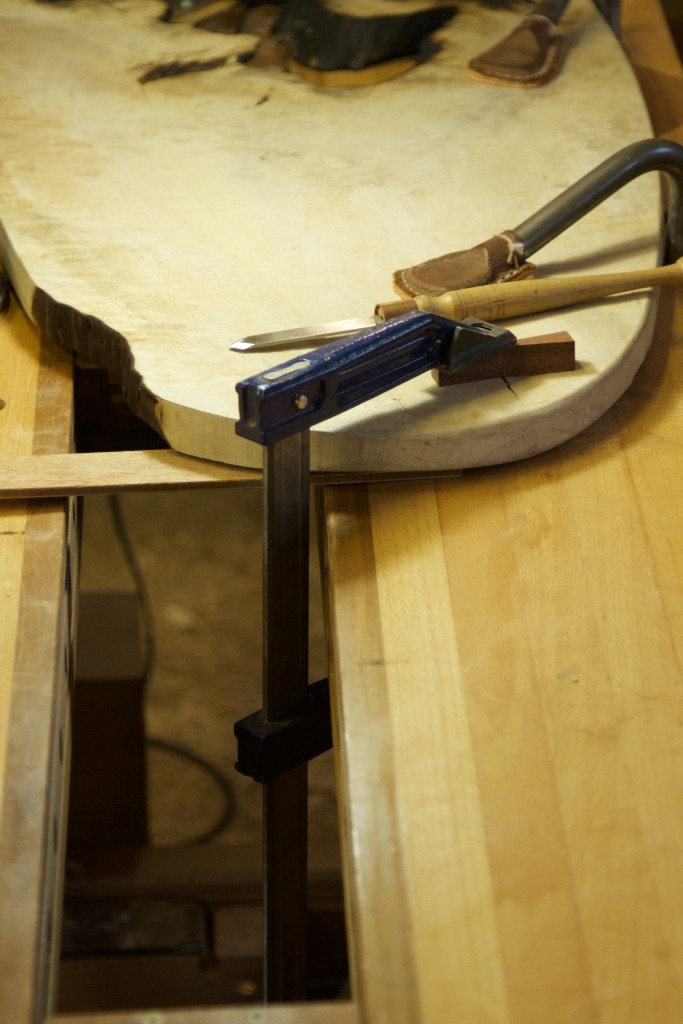
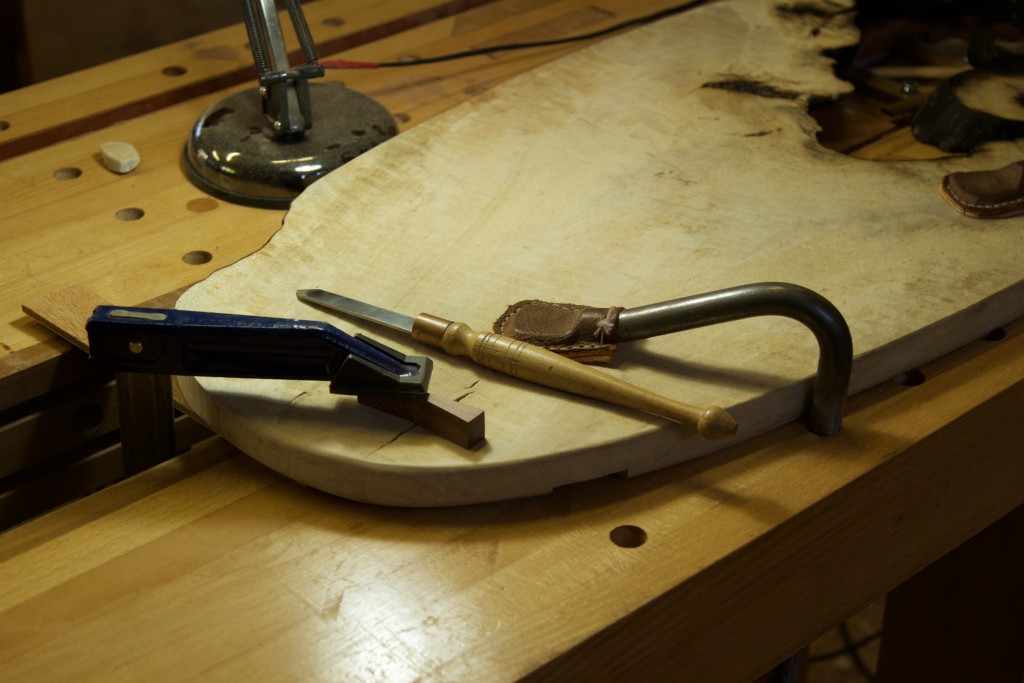
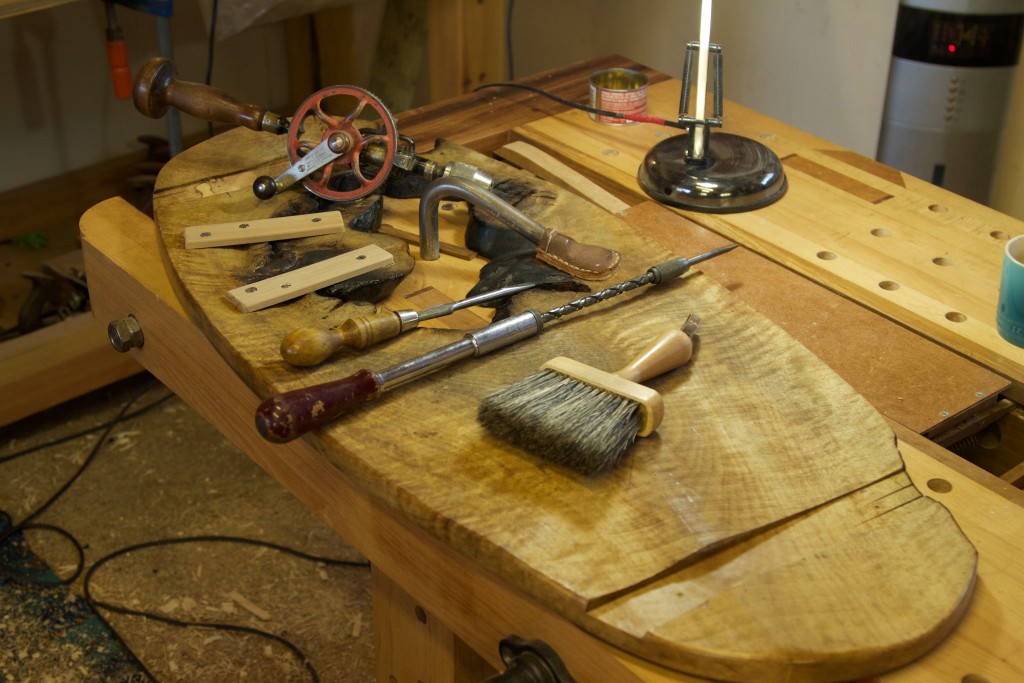
After a quick readjustment of my sliding tool trays (you can read all about it here) the stock was secured to my bench’s chopping area by means of two holdfasts and a F-style clamp. This enabled me to fit the keys.

IMG_6492IMG_6493IMG_6494IMG_6495

Marking out it’s location.

IMG_6496IMG_6498

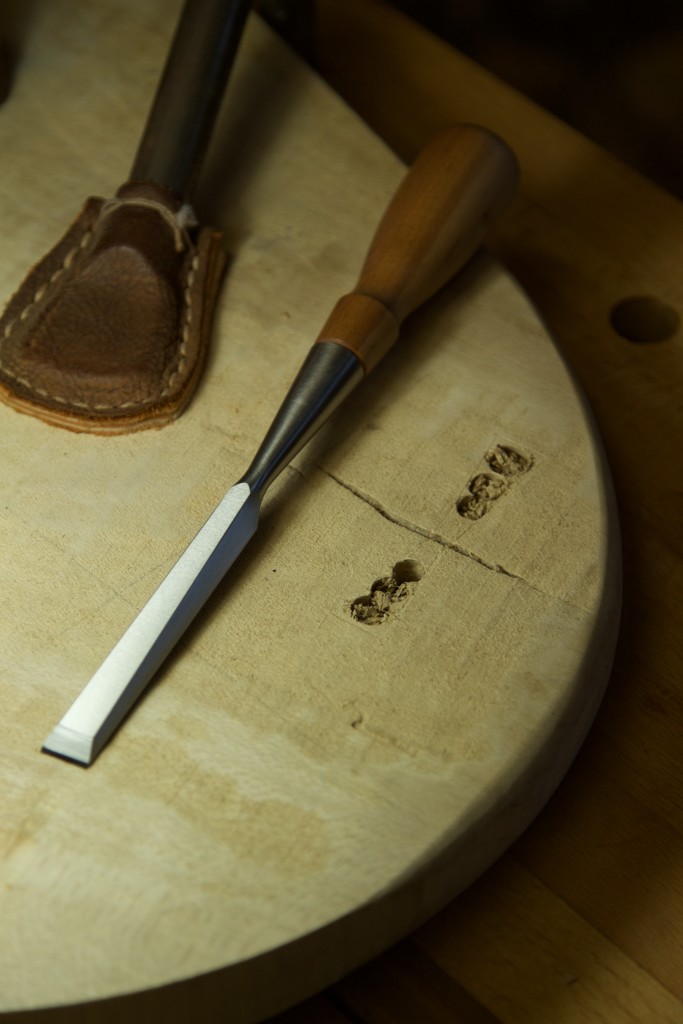
Removing waste.

IMG_6499IMG_6500

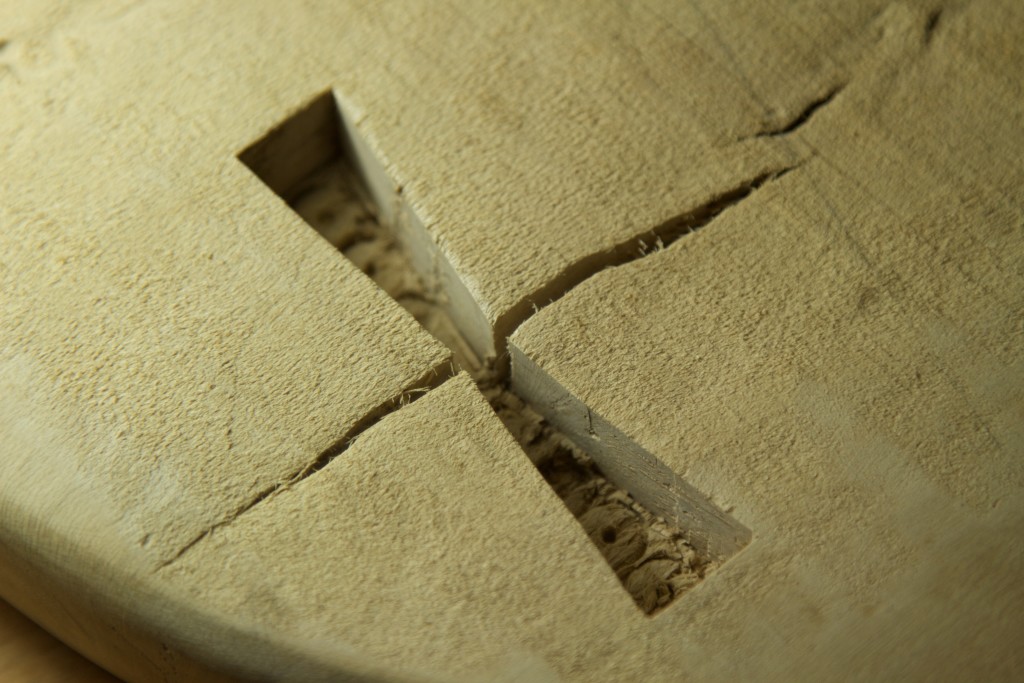
Chopping and detailed fitting.

IMG_6501IMG_6502IMG_6503IMG_6504

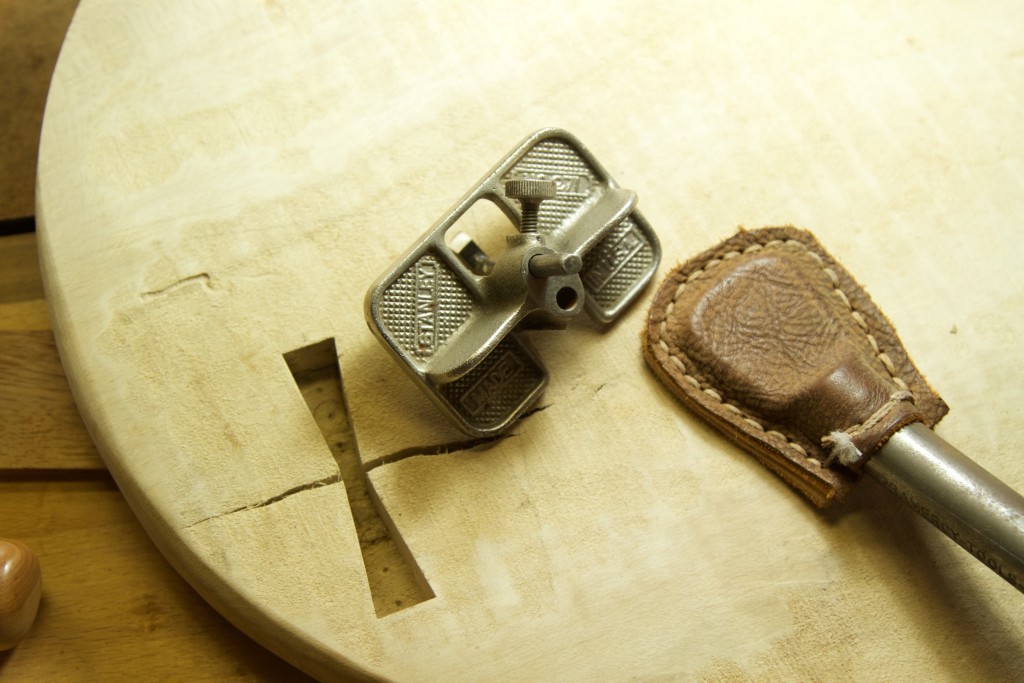
The depth was dialed in using this Stanley no. 271 router plane.

IMG_6507IMG_6508IMG_6509

Because it is literally impossible to plane this board I had to resort to a belt sander to create at least a few polished areas.

IMG_6514IMG_6515IMG_6517

As you can see in the picture below, a small piece of timber broke away (filled in with epoxy) from the side of the “mortise” as a result of the schizophrenogenic grain direction in this part of the board. Certainly not as a result of inferior skill levels, no. Seriously though, what I did learn from it was that this size of key (5 cm long and about 6 mm at it’s widest) is too small and thus difficult to produce an accurate mortise for in inebriated grain.

IMG_6516

A coat of Tung oil and turps brought out the the stunning side of the grain inebriation. The dull areas are those that were left unpolished. I thought these areas would come up much darker as it does with some of the other species I work with. The idea was that it would create more areas of visual interest, but then it only ended up dull. Another lesson for this woodworker.

IMG_6518IMG_6519IMG_6520IMG_6523IMG_6521IMG_6522

27/5/2016

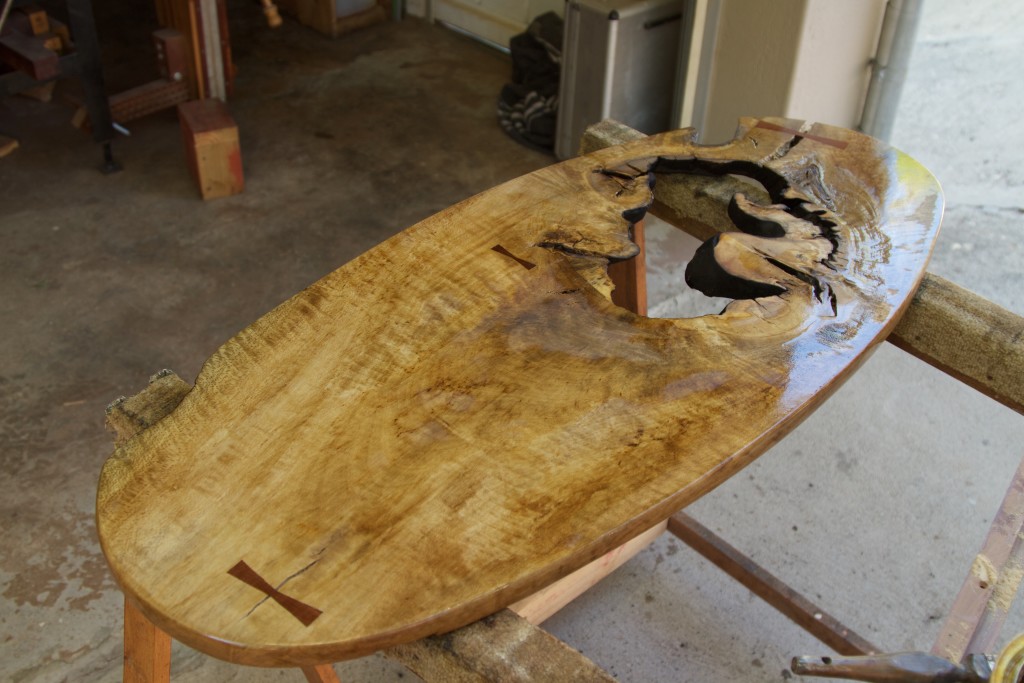
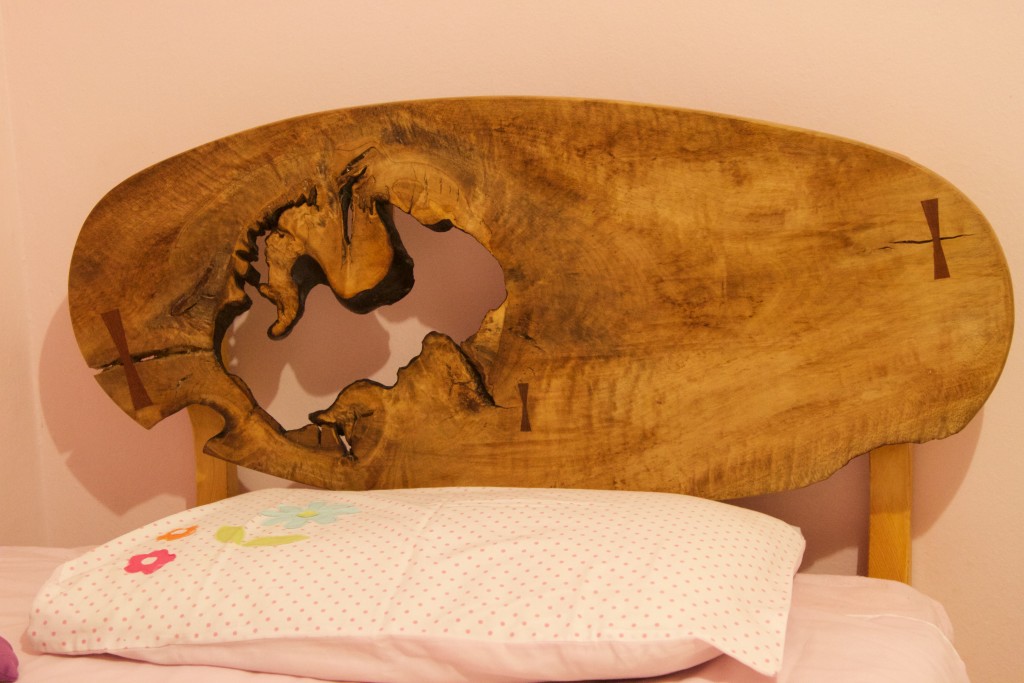
That was followed by three coats of Woodoc. The photos below illustrate the attractive (I thought) colour contrast created by the burnt areas.

IMG_6530IMG_6531IMG_6532IMG_6535IMG_6536

30/5/2016

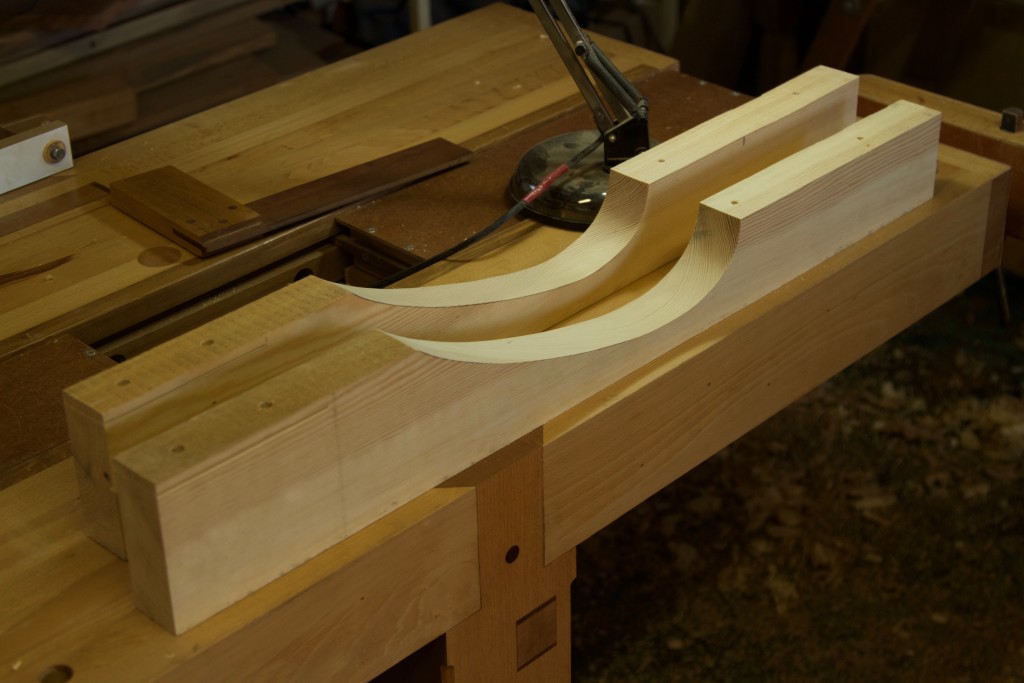
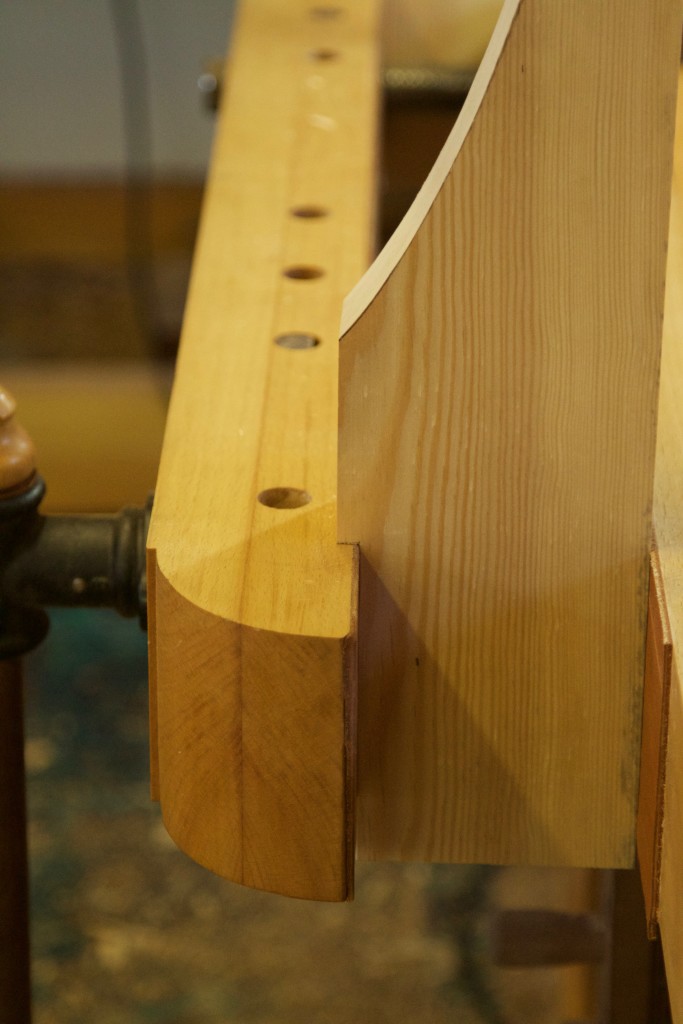
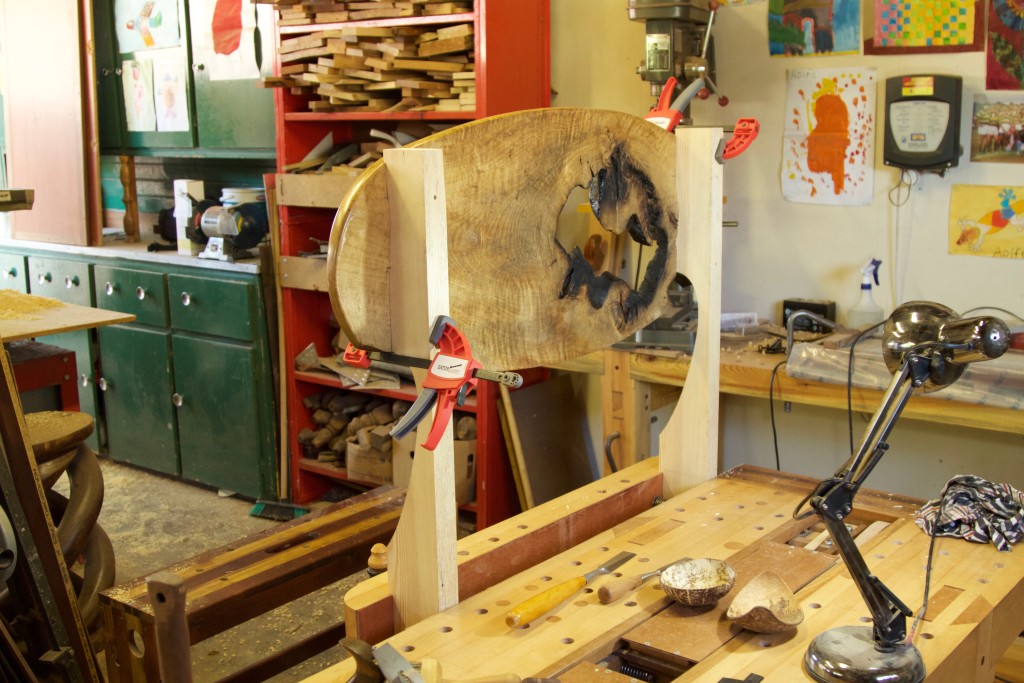
For the posts I milled stock from my stash of Scots pine to fit exactly in the dados at the back of the headboard.

IMG_6889

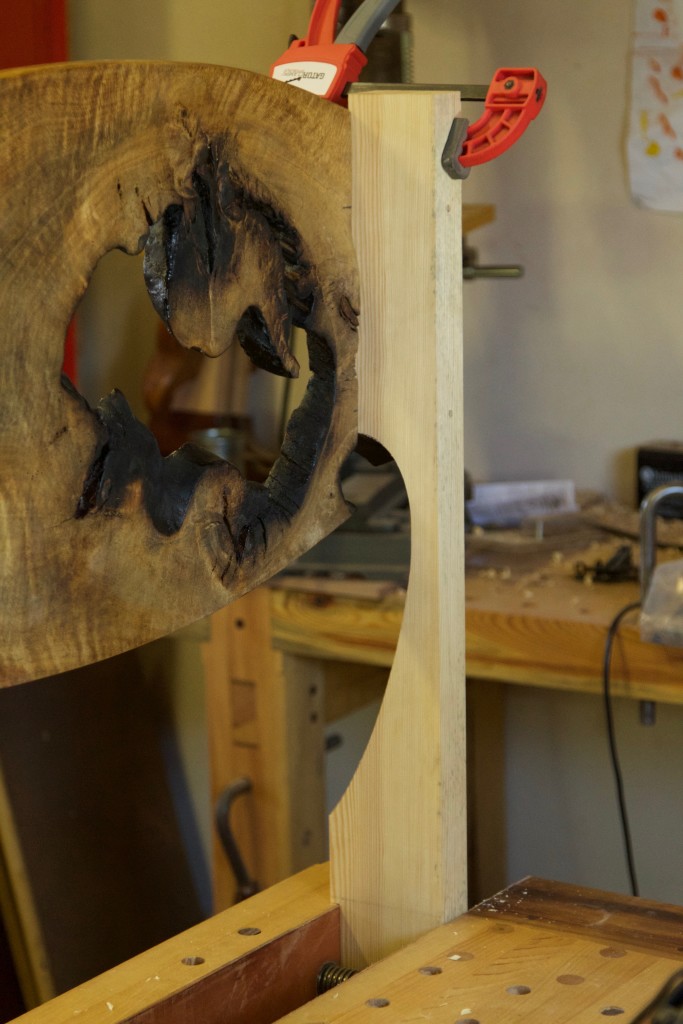
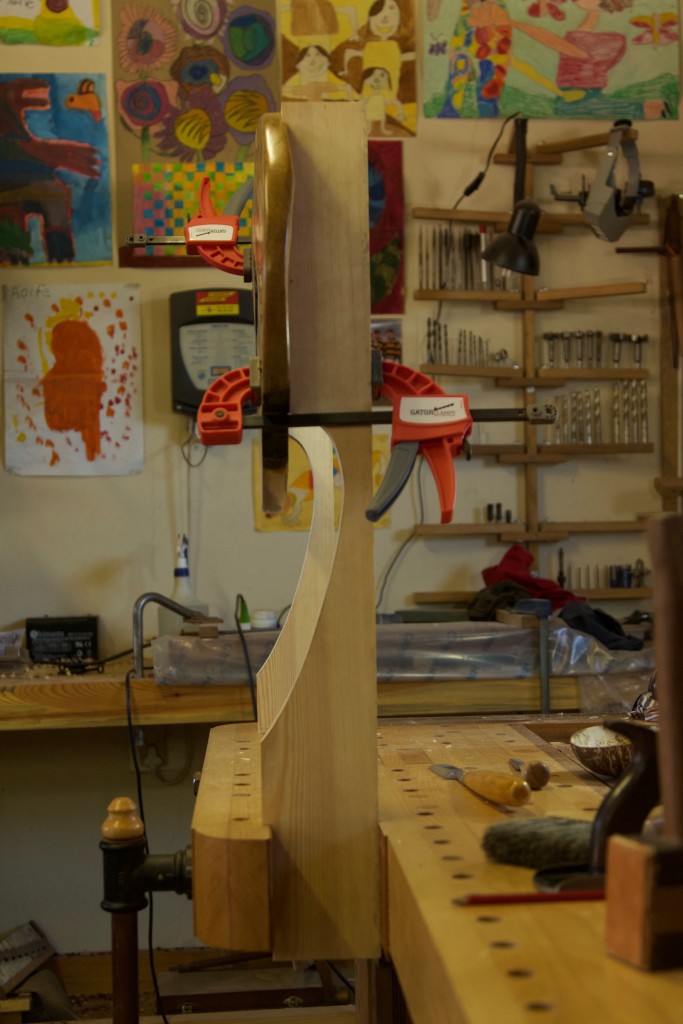
The posts were designed with curves to give the headboard an bit of a floating appearance. You can be the judge whether it worked or not.

IMG_6901IMG_6903IMG_6904IMG_6905IMG_6906

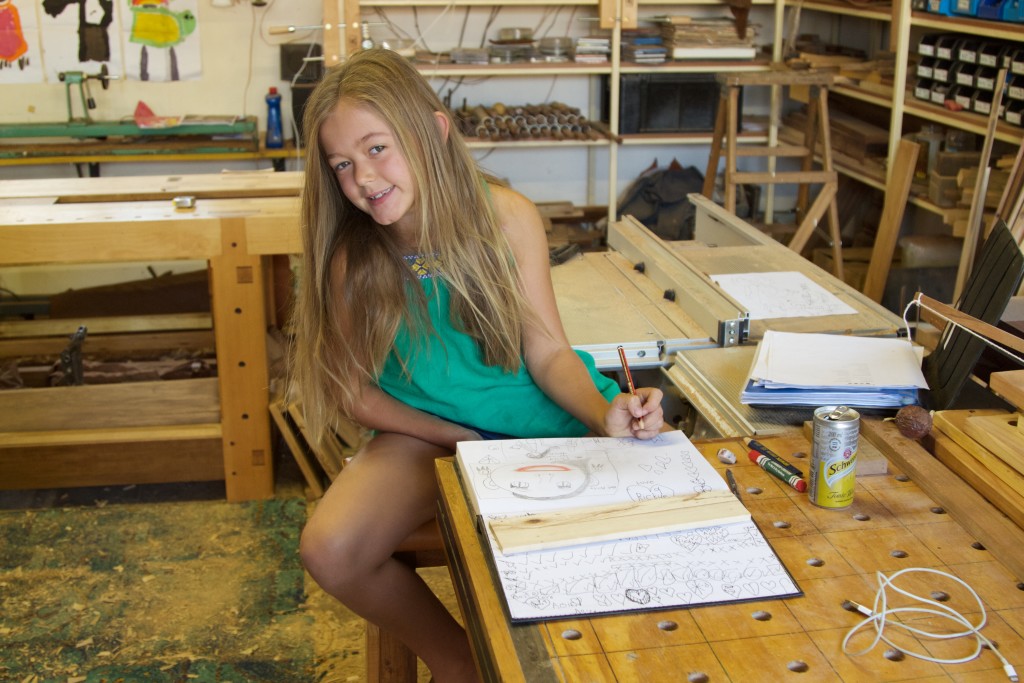
Aoife kept a close eye on proceedings.

IMG_6537

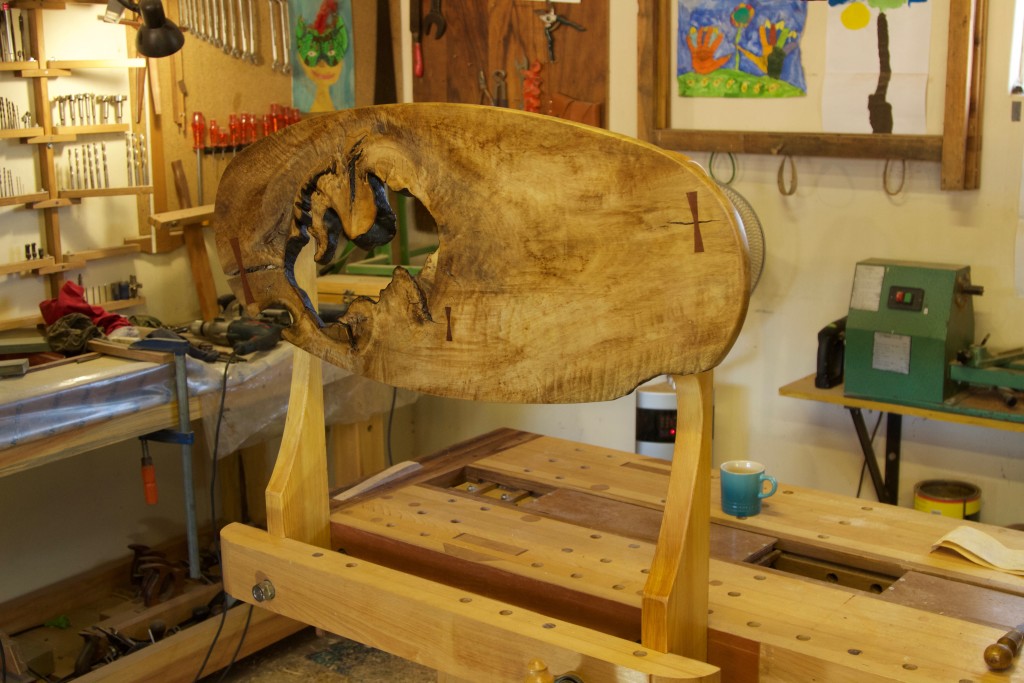
In order to strengthen the area of contorted timber floating inside the irregular hole I added two supports. This looks pretty sloppy although it is admittedly in an area were it should not be seen. However the nature of the grain and fragile connection to the main part of the headboard did not leave me with too many other options. Please let me know it someone has a better idea for future reference.

IMG_6910IMG_6912

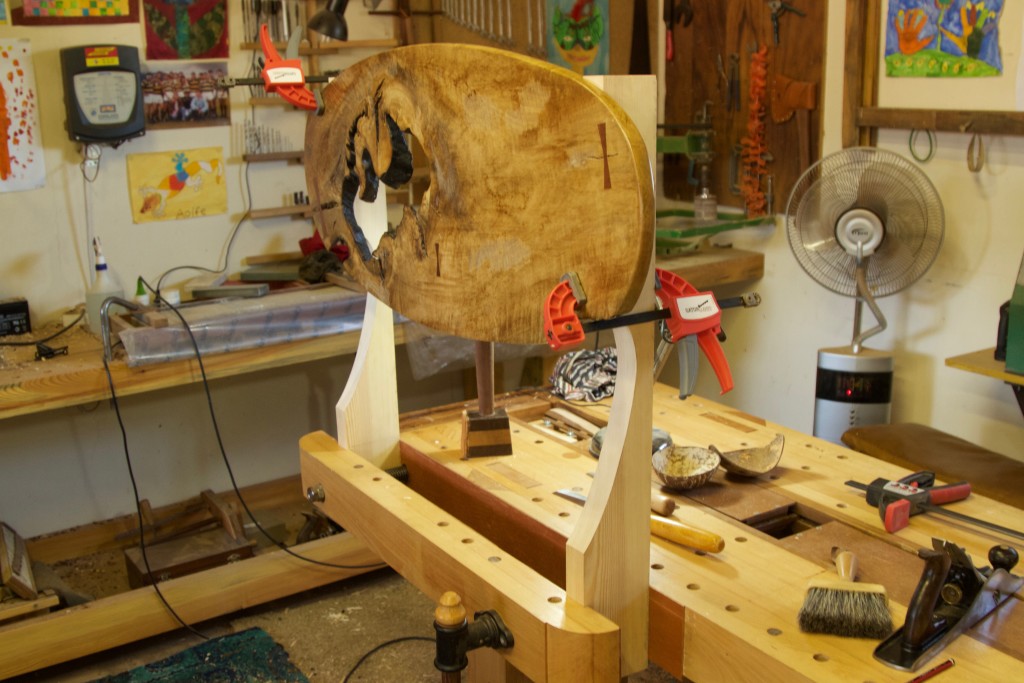
I assembled the three components in the shop and then took it down to the house to fit to the bed.

IMG_6914IMG_6915

Here we go! The first proper piece of furniture for the house from my current shop.

IMG_6943

Aoife seemed fairly impressed.
IMG_6944IMG_6945IMG_6947IMG_6949IMG_6950IMG_6952IMG_6953IMG_6955

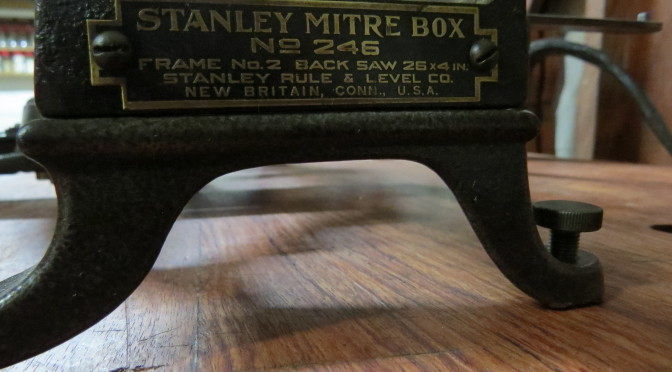
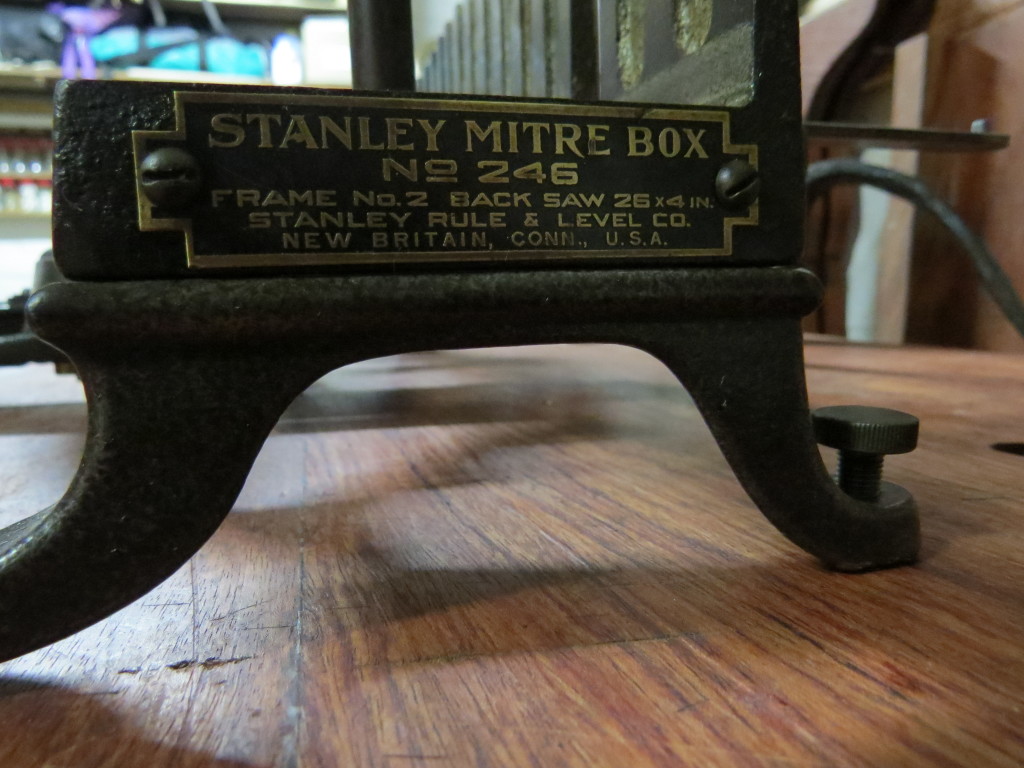
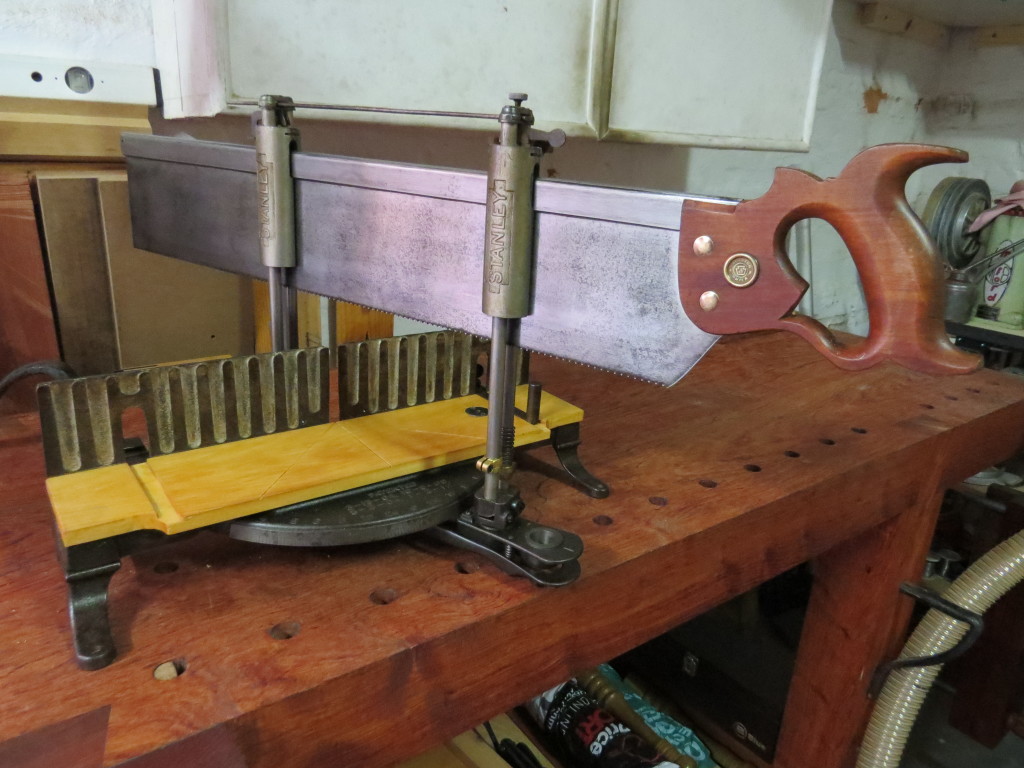
Stanley no. 246 Mitre box/saw restoration

26/5/2016

This is Frank Bartlett’s first post on Je ne sais quoi Woodworking. I hope it is the first of many as he is clearly a very talented woodworker and hand tool encyclopedia. I realise that I have an advantage in making that assessment as I have had the privilege to see some of the other projects he has done. Of course he gave me grief regarding the compliments, but I decided to leave it in the text as it is my honest assessment. So for now just trust me, you will come to enjoy his contribution to this site. Both Frank and I want to encourage other (especially African) woodworkers to become involved in this way. Feel free to contact me if you consider writing up some of your projects.

So without further ado, over to Frank Bartlett from the Cape of Storms:

Looking for an old mitre box had almost been an obsession of mine, for some time now (refer to Gerhard’s blog entry on his Langdon). But being in Africa, that is like looking for a needle in a haystack (suppose that is why Gerhard was (willingly) “forced” to turn to Jim Bode for his beautiful Langdon). I once saw a Stanley advertised up in the Free State, but it was one of those: “I know what its worth, make an offer….” ads, which is a pet hate of mine and which I’m not very good at. Needless to say, the seller didn’t bother to return my urgent emails after my offer! Anyway, that one went down the tubes although I still think my offer was fair given the condition.

So, after Gerhard’s notice that there may be one available on a 160km round trip, I had trouble sleeping that night, after reading through Bob Demers’ (The Valley Woodworker) prep of his box…. Anyway, eventually found the shop and there she was, at the entrance! Without a price…. Now, that could mean a few things, one of which of course, its not for sale. Which it turned out to be. After munchos small talk, the lady indicated she was keeping it as a rarity and furthermore, her son had told her on a previous occasion that he would like to have it. She also added that it “was very expensive anyway”. Turned out to be R900. For its condition I thought “eisch”, but presented the money (in small notes, and lots of them). The eyes lit up but nah, first wanted to contact her son to get his opinion. Fortunately for me, being in Africa, her son was somewhere out of cell phone range.

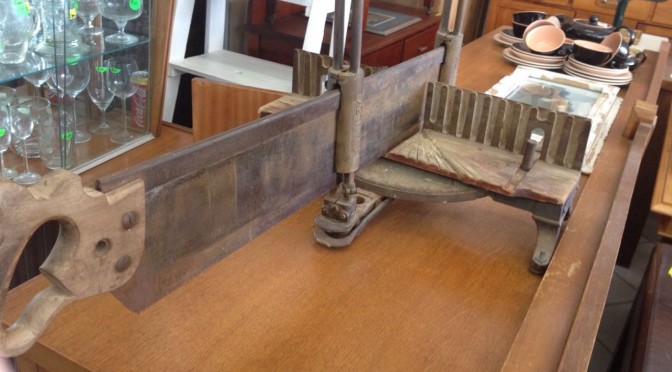
Paid up, grabbed and went for it. Must have been quite a sight walking with this (heavy) old thing merrily the odd six blocks (REALLY been looking for this shop…) because I turned not just a few heads. The photo below was taken in the antiques shop.

Stanley 246 1 (1)

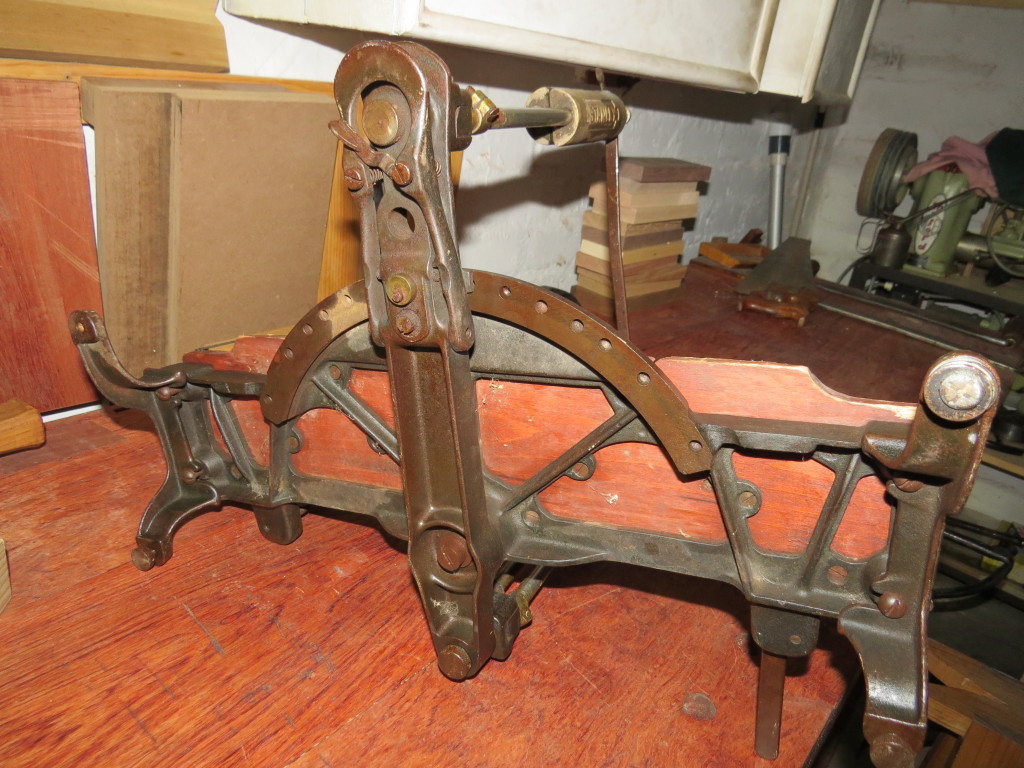
Back at home I was able to scrutinise it thoroughly. Appears to be circa 1912-1916 model (because the length stop was only patented in 1916). Although there were a few parts missing, it was still surprisingly complete (most importantly missing the Disston medallion, trip clamp, one stock guide, one knurled tie bar screw and saw guide stop screw). Now these screws have really weird threads. So, not really critical components that I can get in due course.

Stanley 246 2Stanley 246 3Stanley 246 4

Once it was stripped and it was off to the wire wheel. I recently changed from a 1000rpm 5inch wheel to this 8 incher at 3500rpm on this 1930’s B&D. Whew! My fingers took quite a beating, not wanting to use gloves or pliers or vice grips on tiny (weird) threads… Unnerving experience, but tried to take as much care as I could (except for holding these things with my fingers)!

Stanley 246 5

On larger surface areas I prefer to use wire wool and turps and then clean it afterwards with White Spirit. The screws however, went the wire wheel way and was left bright and shining. To get an artificial patina back, I applied Birchwood Casey Gun Blue paste on the wire wheeled parts. Worked wonders. Afterwards the bottle of Boeshield T-9 was utilised because living in an area (where two oceans meet, nonetheless), rust is never far away. So, I tend to use this on tools or parts that I don’t get to oil regularly. For daily use on saw plates or planes etc, before storing them, I have a can of Jojoba oil handy.

Stanley 246 6Stanley 246 7Stanley 246 8Stanley 246 9

Then to the sacrificial frame board. I chose Cape Yellow wood  (Podocarpus latifolius or Geelhout) because its soft. Cape Yellow wood is probably the second most famous timber from South Africa (second only to Stinkhout or Ocotea bullata or Black Stinkwood). I first flattened the board and then jointed it. The last picture in the below set is a Podocarpus latifolius growing on the slopes of Table Mountain.

Stanley 246 10Stanley 246 10 1

Time then for sawing and pairing the rabbets for the stock guides (what is that Cape Boxwood handled Witherby doing so close to the edge, I’m asking myself now…)

Stanley 246 12Stanley 246 13

Drilling and forming the cutouts

Stanley 246 14

And there you go!

Stanley 246 15

Just some last thoughts on the 11ppi Disston saw. Apologies for not posting pics on the restoration, was just too exiting! Handle is flawless, especially after I doused it with Kramers Antique Improver. Teeth still cuts good but I still want to do the sharpening deed myself, just because..! Very little etch left unfortunately, no matter how careful I removed the rust (with turps, 400grit wet and dry, wrapped around a pad). There was just nothing left (not even the gun blueing/sandpaper trick worked). Very interesting, I saw on an old catalog that the box comes with a 26×4 inch saw, yet mine measures 24,5inches along the teeth. If you extrapolate the cutaway, you measure 26inches and 4 deep. I guess thats how they define the “26×4” on the brass plate.

Just one word of advice, this is a biggy and needs storing space, although it is difficult to store when you just want to look at it all day.

Cape Town greetings!

A new frontier for Je ne sais quoi woodworking

24/5/2016

Back in November 2015 a reader by the name of Frank Bartlett started commenting on my posts. It turns out that he hails from the Kavango in Northern Namibia where our fishing camp is. He currently resides in Cape Town and is an avid old tool collector/user. Since then we started corresponding with regards to good shops to visit to hunt for old tools in the former Cape Colony. He pointed me towards a few good ones in Cape Town and I returned the favour in terms of the same in the Garden Route.

After my post on the Langdon mitre box and saw, Frank indicated that he has long been looking for something similar in Southern Africa. I undertook to let him know if ever I stumble across one. In April of this year friends of mine (yes that is you Heidi) visited a few antique stores in the Cape Town area and took photos of a mitre box and saw, which they sent on to me. I immediately sent it on to Frank who went in search of the shop with very sketchy directions.

I do not want to elaborate too much more as Frank will probably do a better job of documenting the adventure. Anyway that got us thinking about a post on the restoration of this mitre box/saw. As we discussed it more we realised that I could actually create a category on my site where other woodworkers who does not want to blog full time  could post some of their projects.

Frank agreed to be the first guinea pig and has already sent me some photos of very interesting projects that might feature on Je ne sais quoi Woodworking in the near future.

Over to you Frank and watch this space to the rest of you.


Olienhout sector from the Groot Marico

18/4/2016

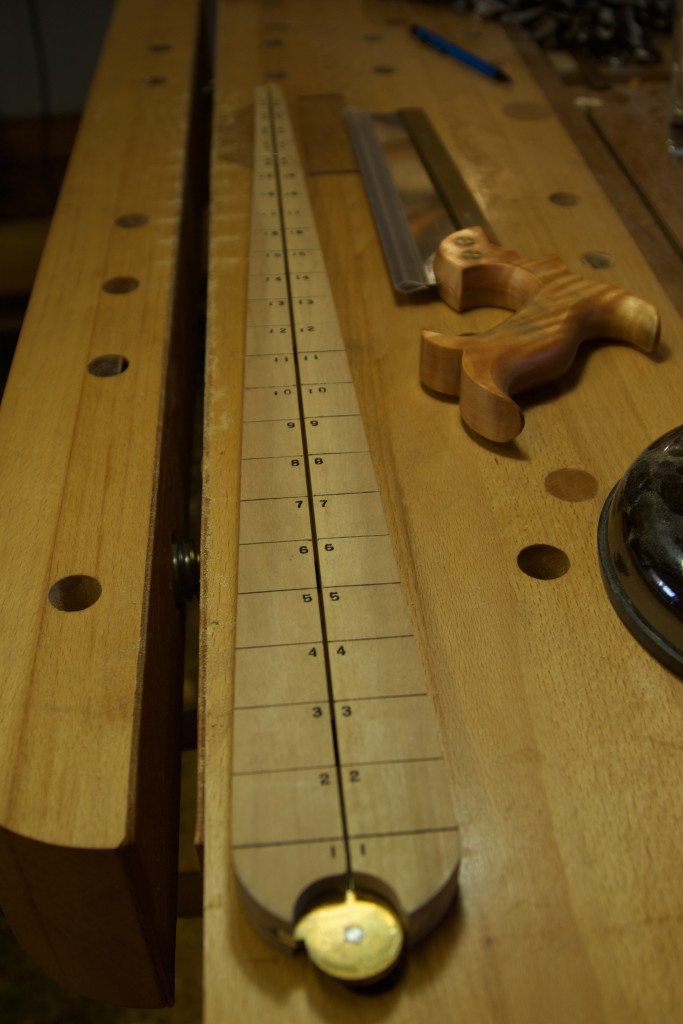
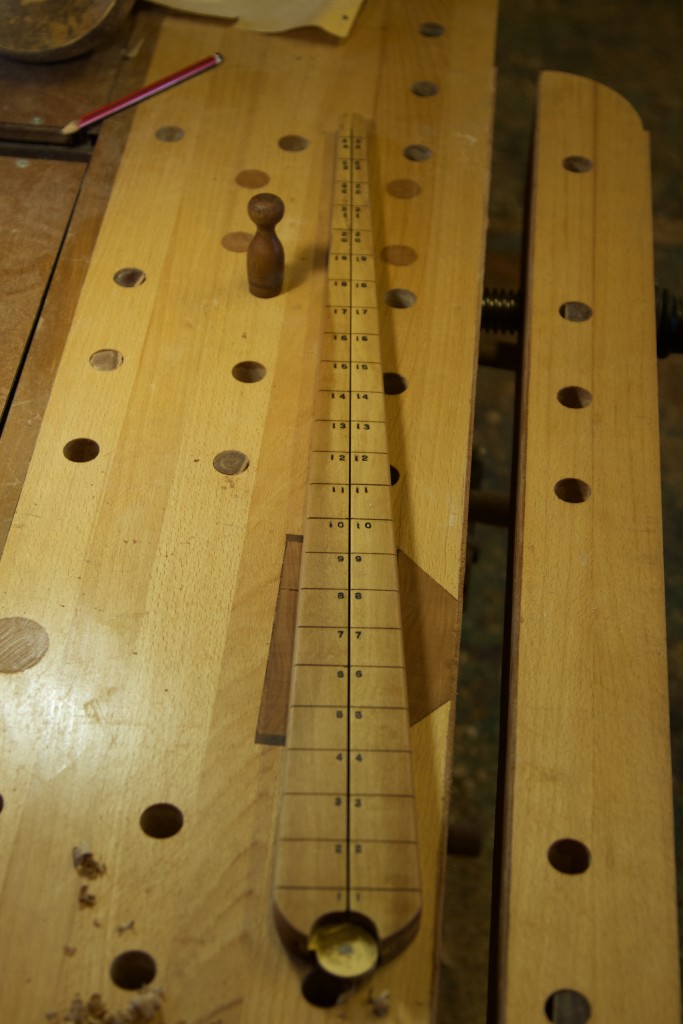
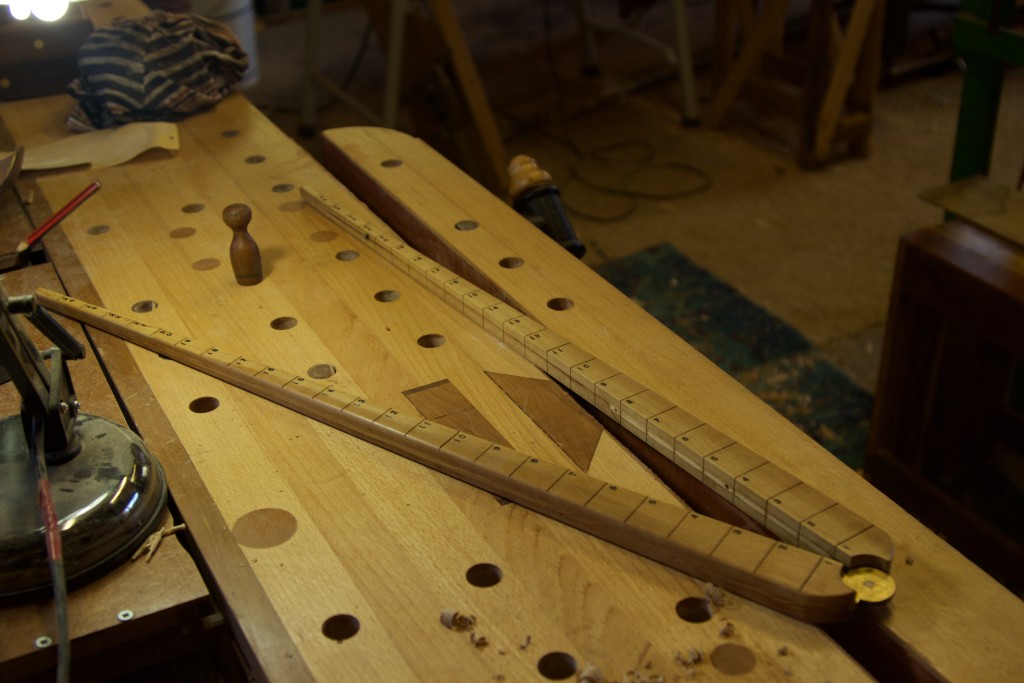
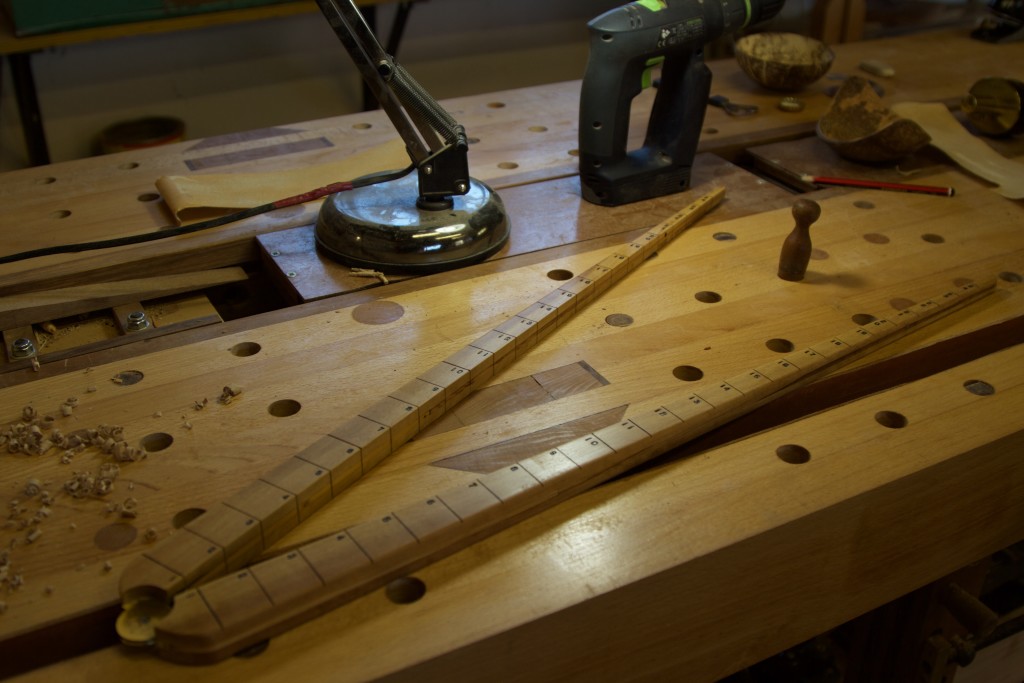
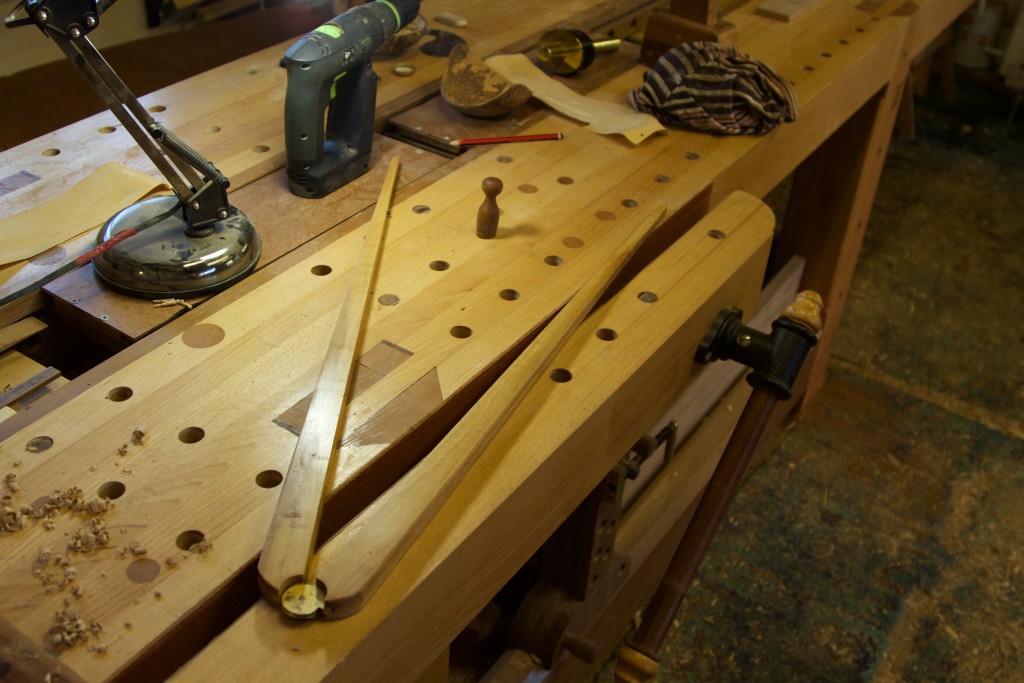
This project has been on my ‘to do’ list for at least two years. Ever since reading the seminal work “By hand & eye”, I just had to build a sector. It really is a magic wand in the shop once you understand a few basics of pre-industrial design methods.

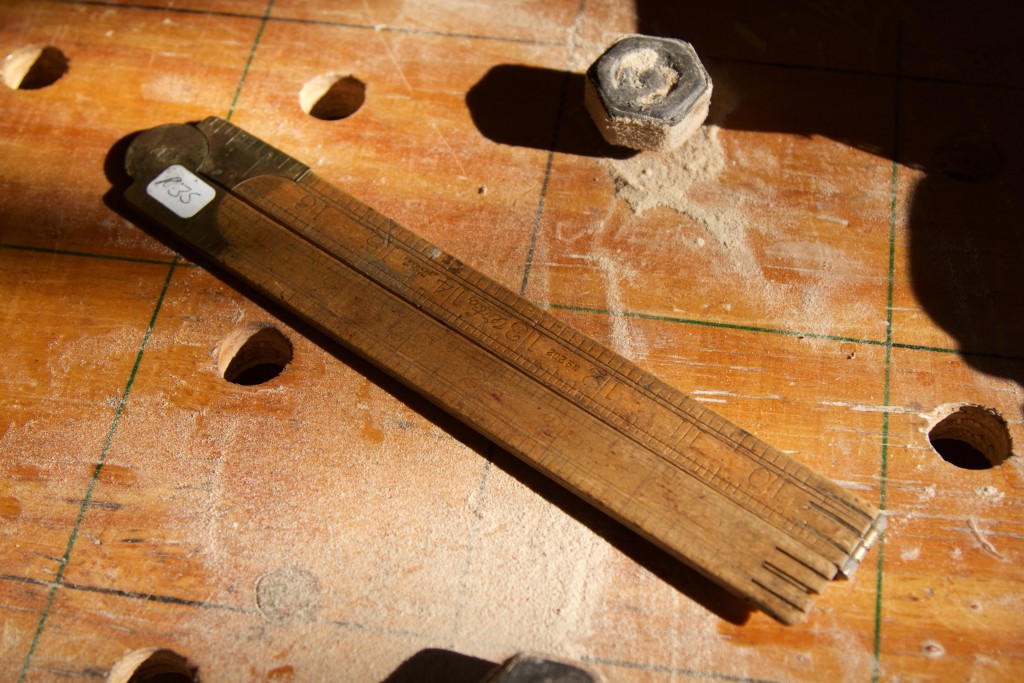
During the Easter break I aquired this broken Danish boxwood rule for R35 (US$2.24) at an antiques shop. I have been looking for something like this for a while, as these rulers have the perfect type of hinge for a shop built sector.

IMG_6510IMG_6511IMG_6512

Seeing that one needs to mark out measurements on the sector, I decided to use a light coloured wood. I found this piece of Olienhout (Olea europaea africana or Wild olive) that would have been harvested between 1988 and 1992 on a farm in the Groot Marico district. My father was building Grandfather Clocks at the time and one of his best clients (as well as a personal friend) supplied him with Olienhout from his farm. This is a piece that was left over from that era.

I can still remember driving to Groot Marico with my father to deliver a Grandfather clock to this guy called Oom Frik. Oom Frik purchased at least four of these clocks over the years and paid for it in part by supplying my father with the most magnificent Olienhout. On the way there we stopped at the Hotel in Groot Marico to sample some of the local mampoer that the area is famous for. When the barman heard that it was my first visit to Groot Marico, he explained that it is custom for first time visitors to be served a glass of the local elixir on the house. Being a student at the time, I needed no further convincing so he proceeded to fill a tumbler with crushed ice followed by more than a sensible amount of mampoer.

That stuff knocked my socks off to say the least, despite being a fairly fit alcohol consumer at the time. As I sat there sipping the poison, I could swear Oom Schalk Lourens wispered something to me. For those of you who do not know the work of the legendary Herman Charles Bosman, do yourself a favour and read (at the very least) “Mafeking Road & other stories” (1947). It is arguably the best literature ever to come out of Southern Africa and it will make Groot Marico and the Afrikaner come alive to you. I digress, but as a last thought on the matter I will leave you with a quote from Bosman where he described Groot Marico “There is no other place I know that is so heavy with atmosphere, so strangely and darkly impregnated with that stuff of life that bears the authentic stamp of South Africa”.

Anyway this piece of wood comes from that area, has been lying around for at least 25 years since being harvested and was most definitely enjoying those beautiful Bosveld sunsets with Oom Schalk Lourence at the time Bosman was writing his epic stories.

IMG_6513IMG_6513

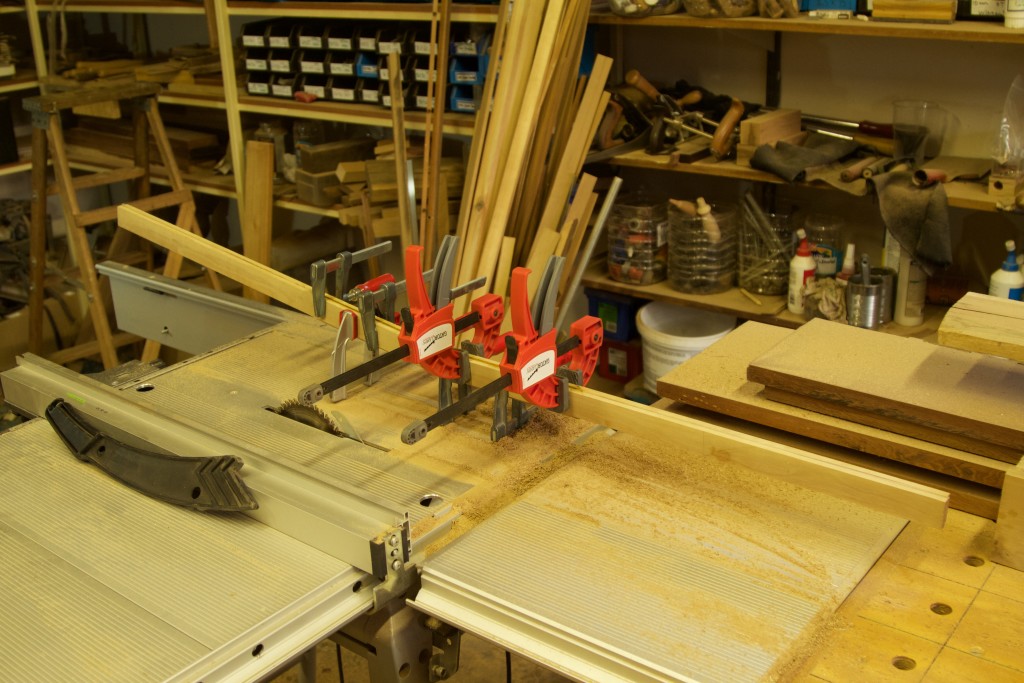
On the table saw I ripped 6 thin strips from the side with the lightest coloured wood. Two of those were milled down to the exact thickness of the boxwood rule.

IMG_6529IMG_6552

I then got rid of the broken hinges.

IMG_6553IMG_6554

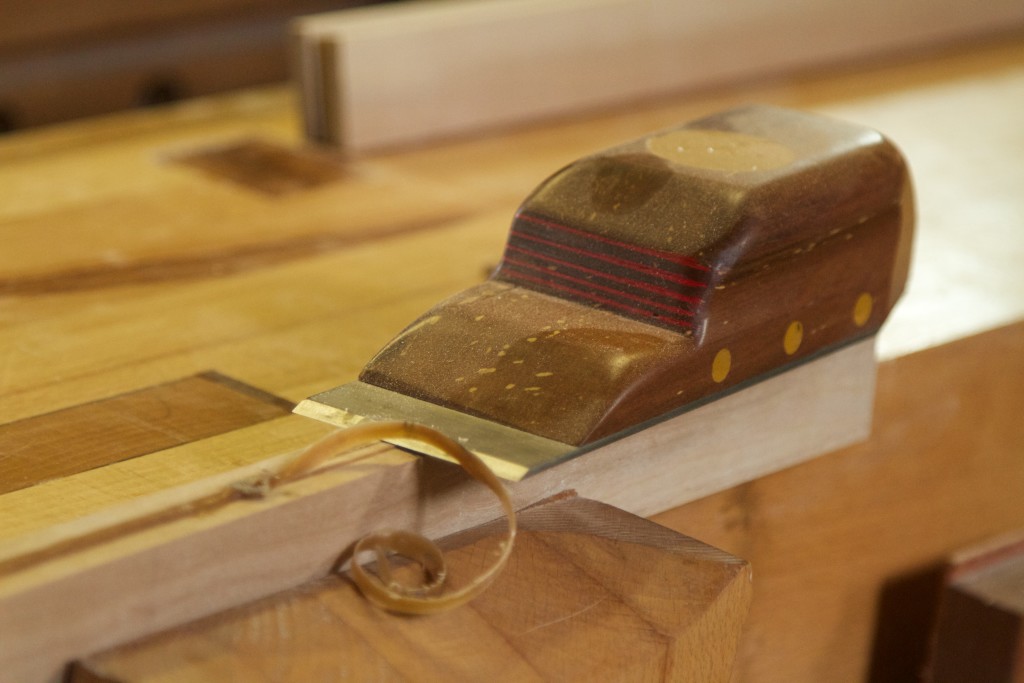
I planed the boxwood very carefully to expose fresh wood for the adhesive to bind to.

IMG_6555IMG_6556IMG_6557

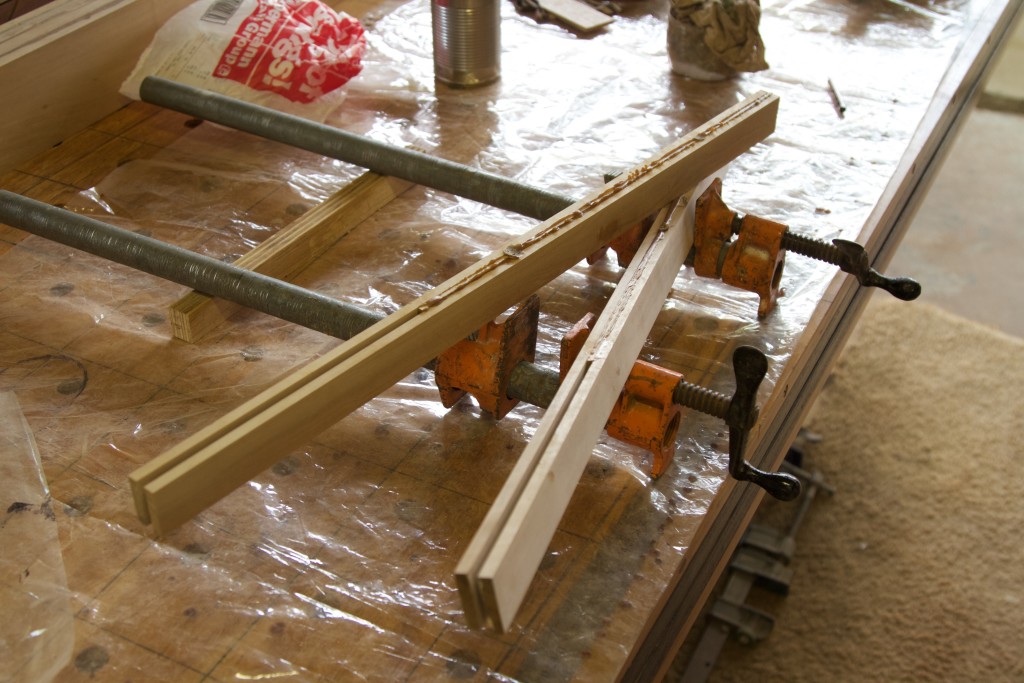
The strips of Olienhout were then glued up as so …

IMG_6558IMG_6559IMG_6560IMG_6561

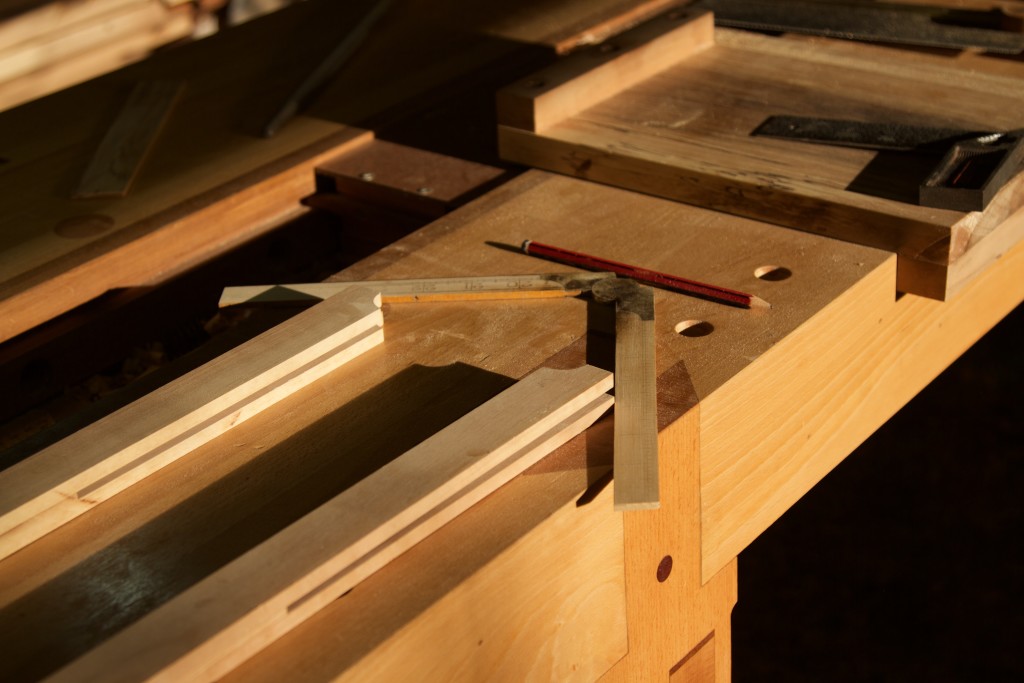
After removing excess glue and squaring up, I had two extensions with perfect slots to accommodate the rule.

IMG_6583IMG_6584

The rule was then epoxied into position.

IMG_6585

16/5/2016

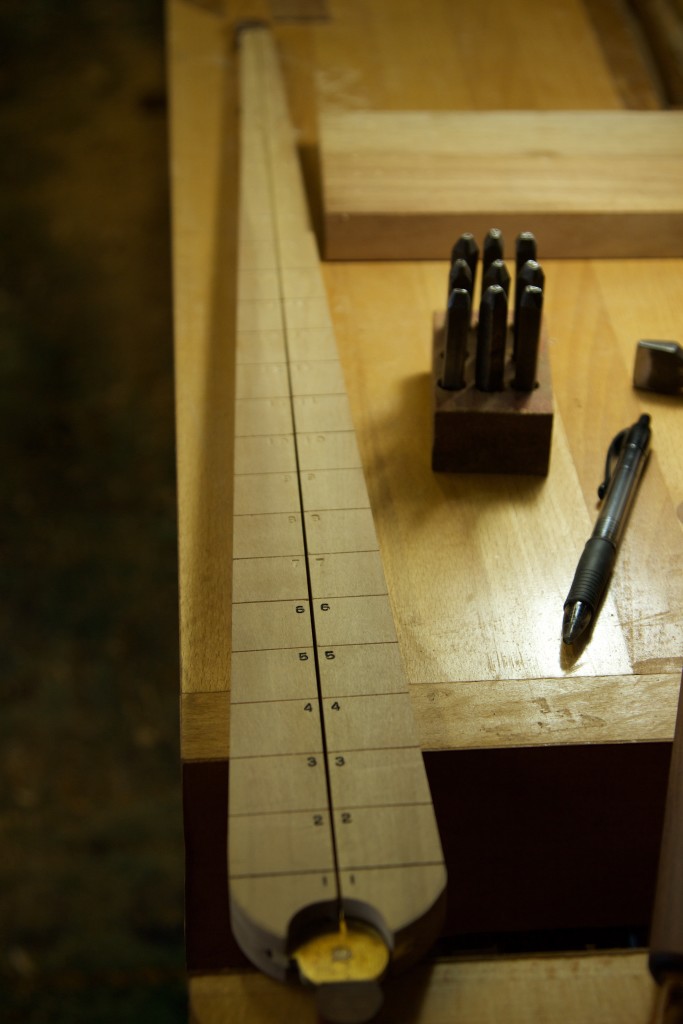
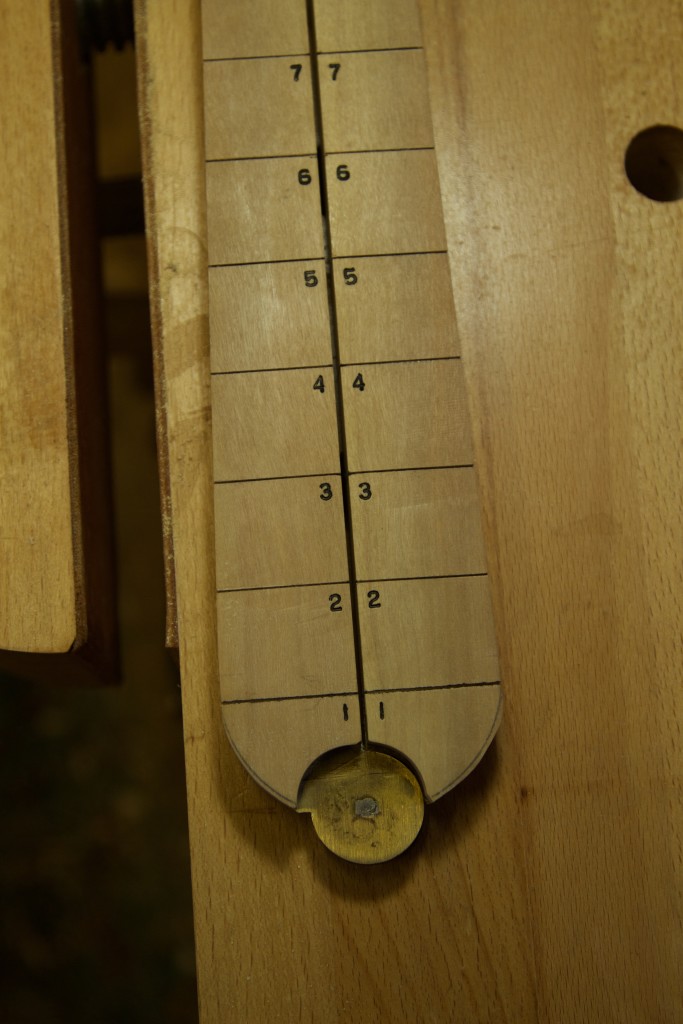
At this stage I first marked out the divisions on the inside surface of the arms. I decided on 25 mm divisions which gave me 24 of them on each arm of this sector.

IMG_6853IMG_6854IMG_6855

I then shaped the arms as shown below to make the sector lighter and enhance it’s visual appeal.

IMG_6856

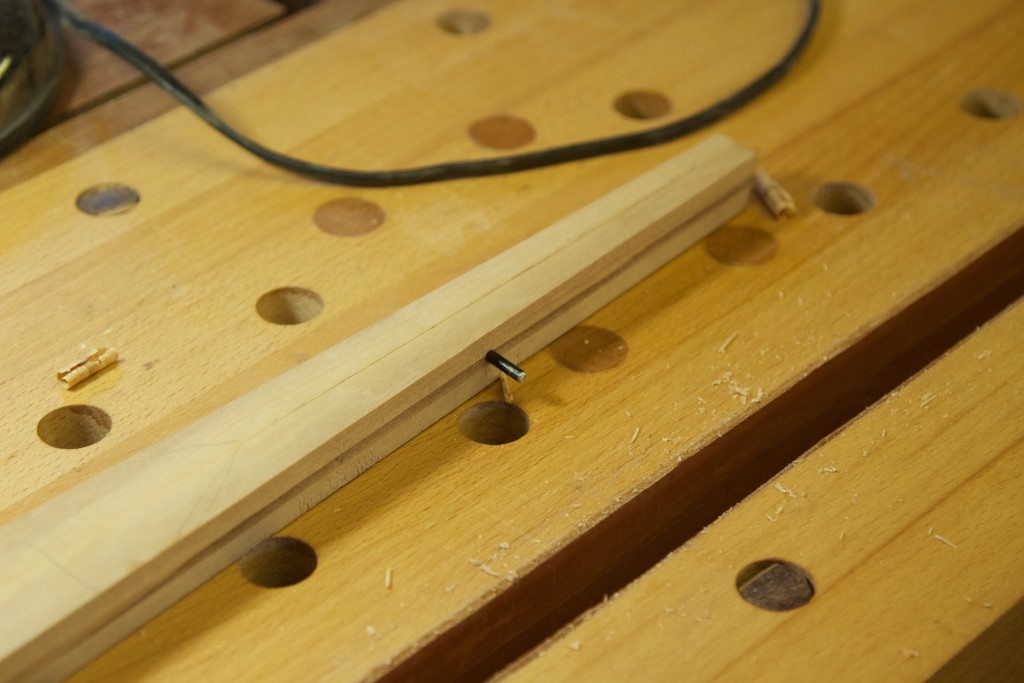
A pin was added to help keep it straight and lined up while stored.
IMG_6857

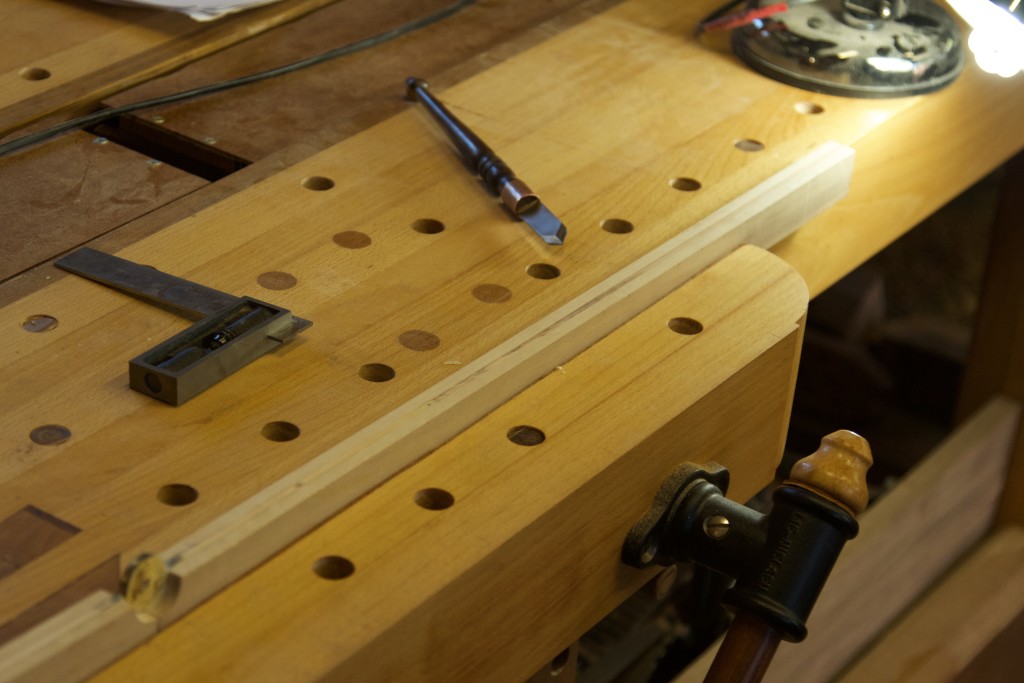
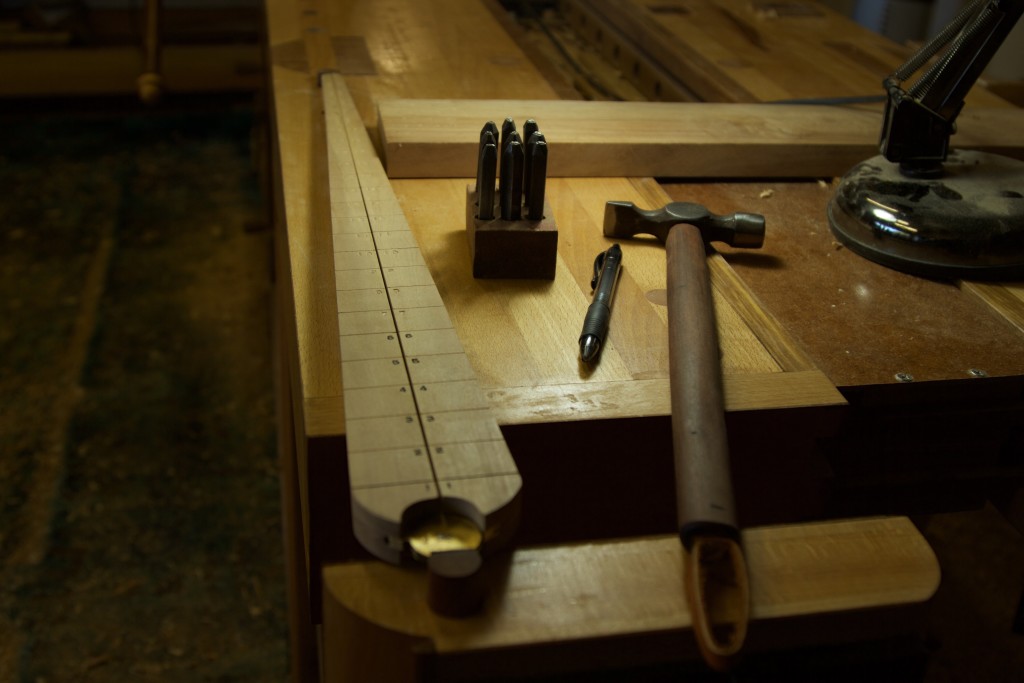
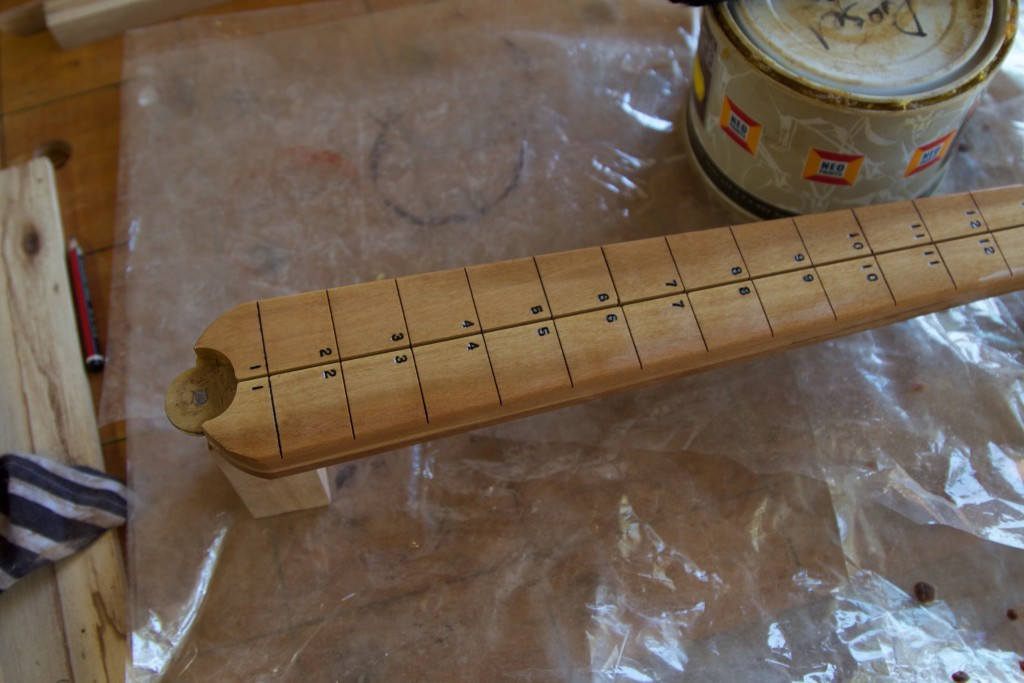
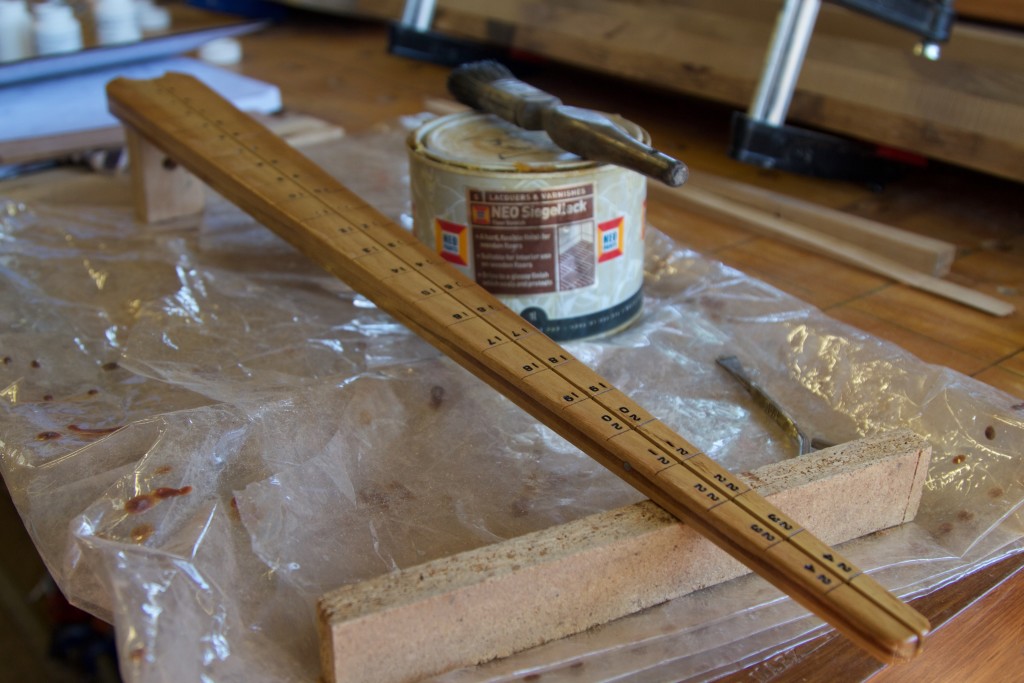
I then marked the front faces using the inside markings as a reference. The numbers were punched in using my number set.

IMG_6858

Once punched I added black ink.

IMG_6860IMG_6861IMG_6862IMG_6863IMG_6864

That was followed by Woodoc finish.

IMG_6865IMG_6866IMG_6868

23/5/2016

There you go, one Olienhout sector from the world of the late great Herman Charles Bosman.

IMG_6874IMG_6875IMG_6876IMG_6877IMG_6878IMG_6879IMG_6880

Jonathan the Great

16/5/2016

We recently returned from a wonderful trip to Thailand and Hong Kong. Upon arrival at my practice I discovered two packages delivered from the US of A. One of them was a Peck, Stow & Wilcox slick that I bought from Jim Bode, so it was expected. The other turned out to be a present from my woodworking friend Jonathan White of the Bench Blog. Jonathan is famous for several things including the neatest shop in the history of woodworking and the so called “White milk bottle trick” (as apposed to the Charlesworth ruler trick).
It was incredibly humbling to receive such a present from a woodworking mate that I have never even met in person. It reminded me once again of the incredible camaraderie amongst the woodworking bloggers and the value of our online community. It is something that I have become increasingly aware of. My exposure to other woodworkers around the globe via their websites has inspired me to push my own boundaries.

Any way this post is not about me, it is about my first blog brother.

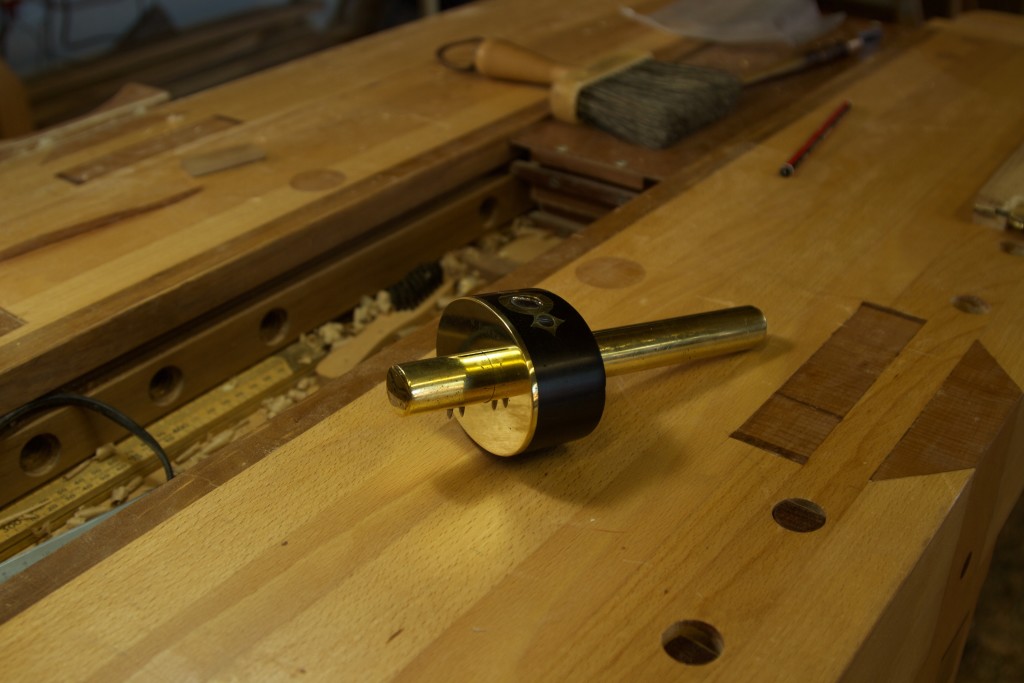
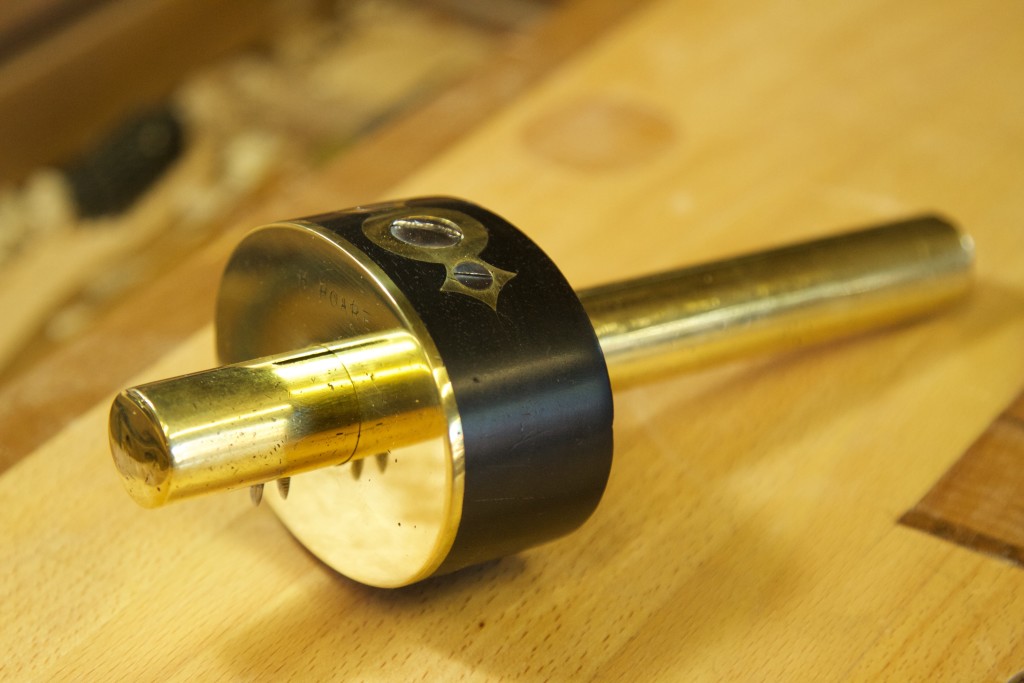
The parcel included this stunning marking gauge which Jonathan reconditioned himself. He wrote a post on the restoration, which is a riveting read. It is the most wonder tool you can ever imagine. The brass gives it that wonderful luxurious weight. The Ebony is absolutely flawless and shiny. Jonathan filed the pins in order for them to cut rather than scrape, which makes a world of difference then using the tool.

IMG_6831IMG_6832IMG_6833IMG_6834IMG_6839

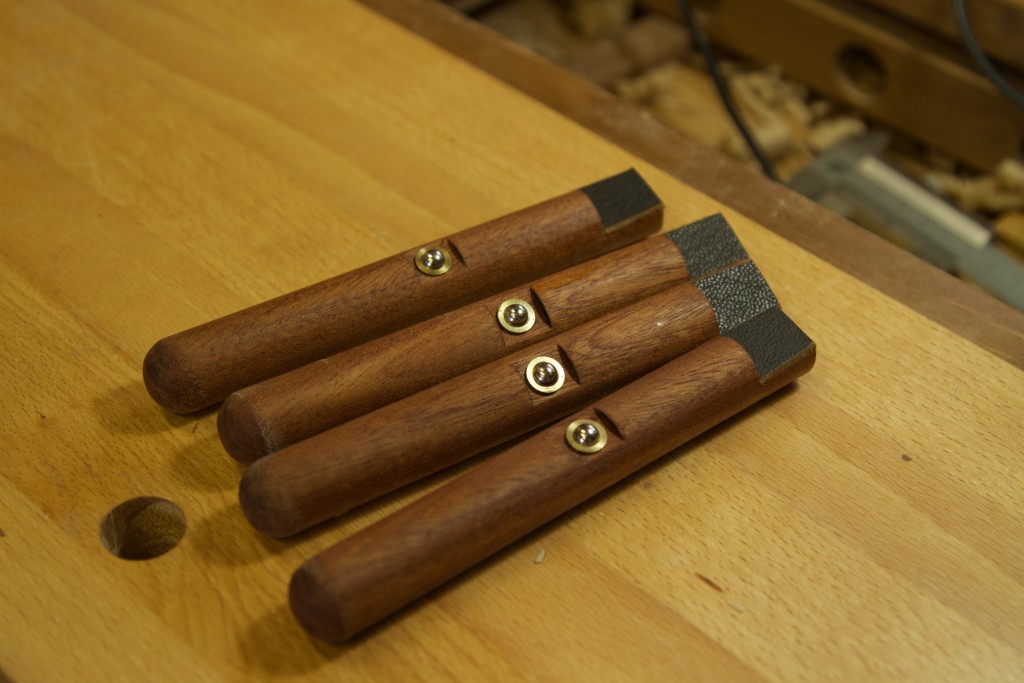
He also sent me this set of bench dogs he made himself. If I am not mistaken it looks like Sapele. This set of dogs is J. White signature work. It is simply perfectly made.

IMG_6840IMG_6841

As you can see the face of the dog was cut at an angle, which is the type of attention to detail that one can expect from a craftsman of his statue. The face also features a perfectly cut piece of leather to improve grip and protect the your work from being marred.

IMG_6842

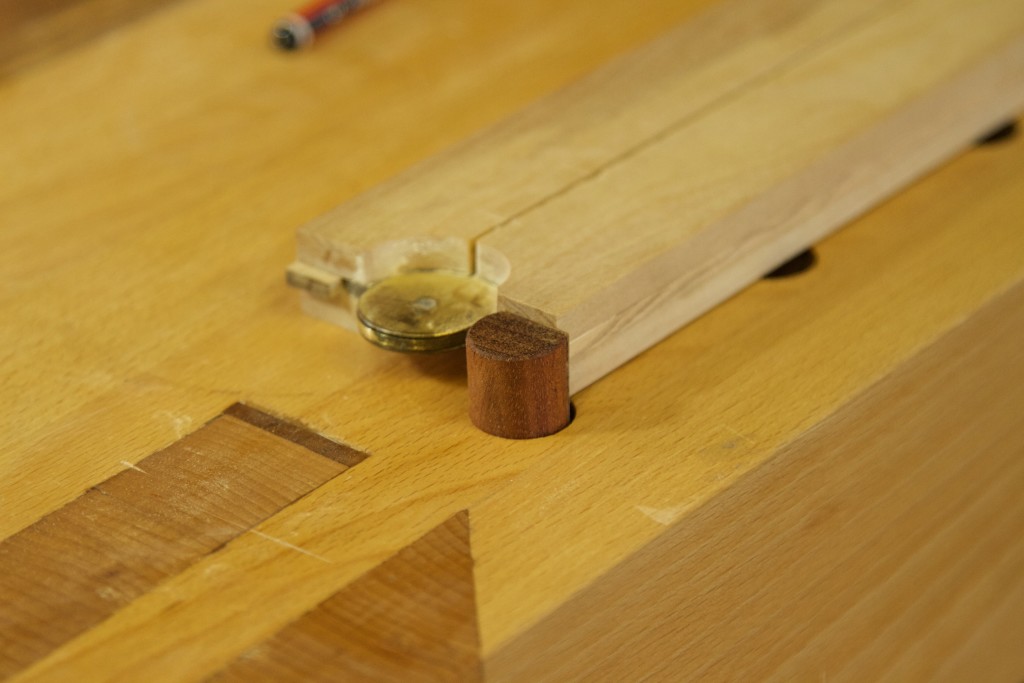
As you can see here they already did duty on my bench while working on a shop made sector (post to follow in the next few weeks). They work like a charm, I can tell.

IMG_6844IMG_6843IMG_6845

Jonathan thank you so very much, you are a legend mate. Thank you also for inspiring me and many other woodworkers to improve our work. It has been and will continue to be an absolute pleasure to correspond with you around this mutual passion of ours.