Project inventory 2016

16/11/2016

It is that time of year once again, to take stock of what happened in the Je ne sais quoi Woodworking shop during the past 11 months. As usual I will add links to the posts I wrote on all the projects in this annual inventory.

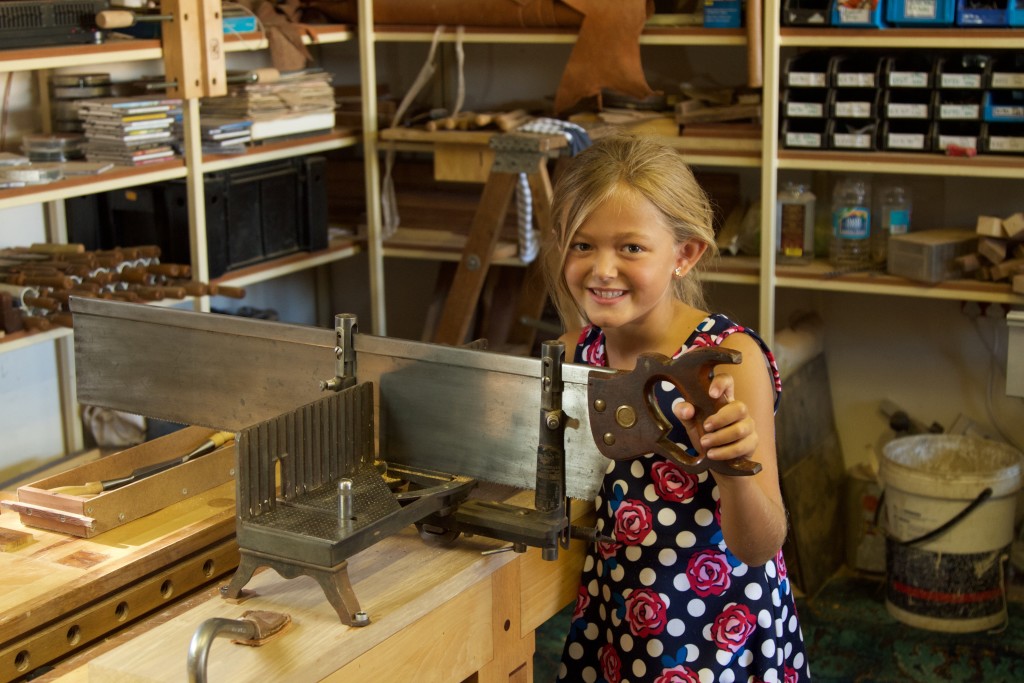
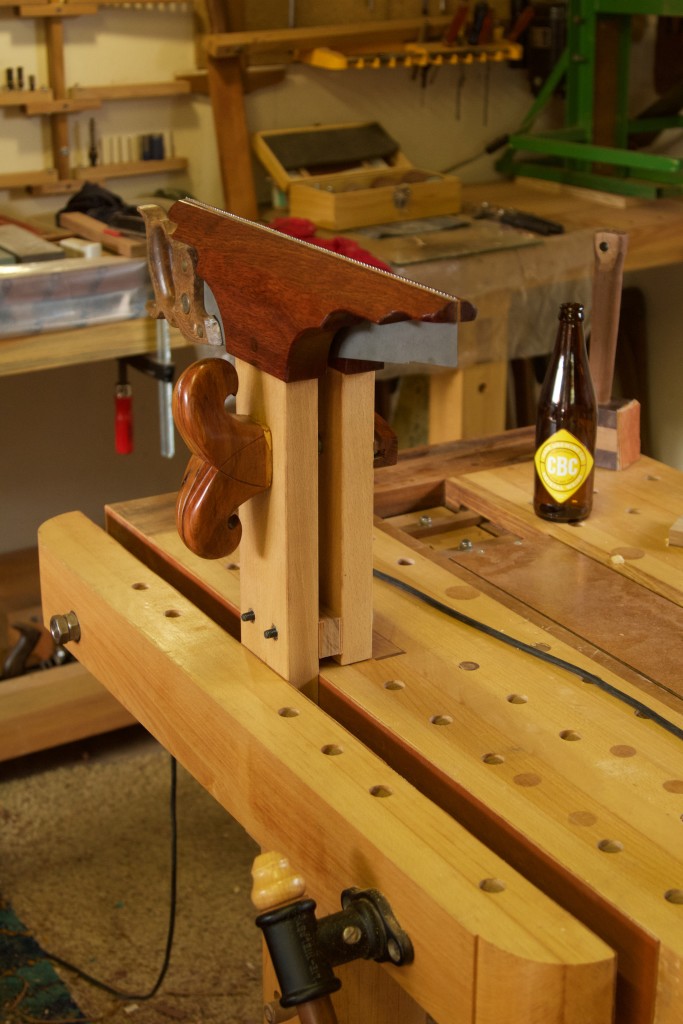
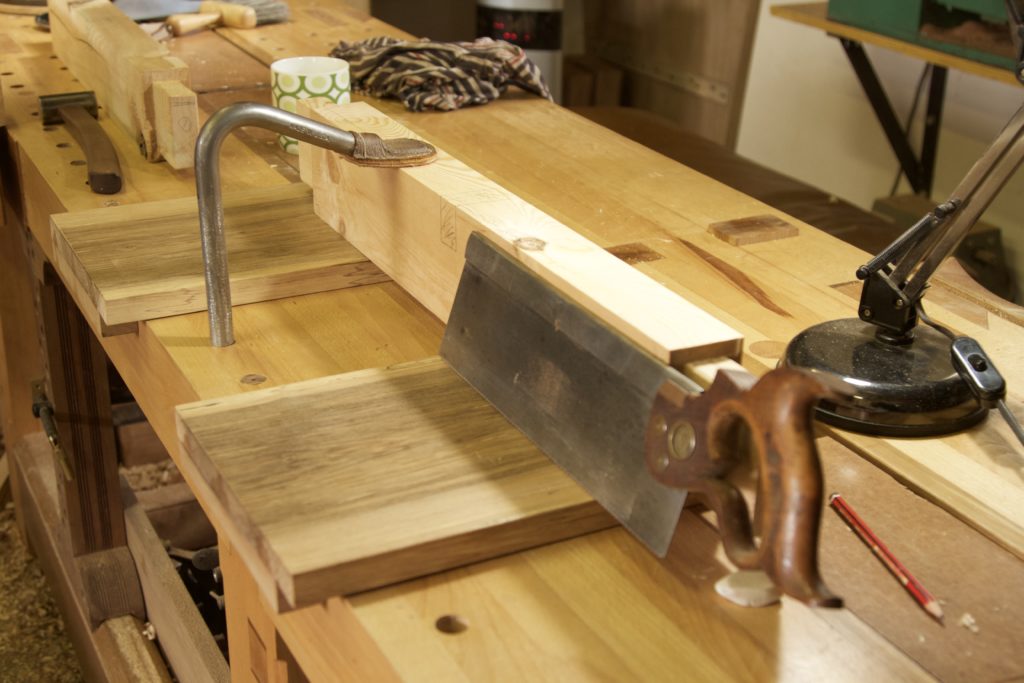
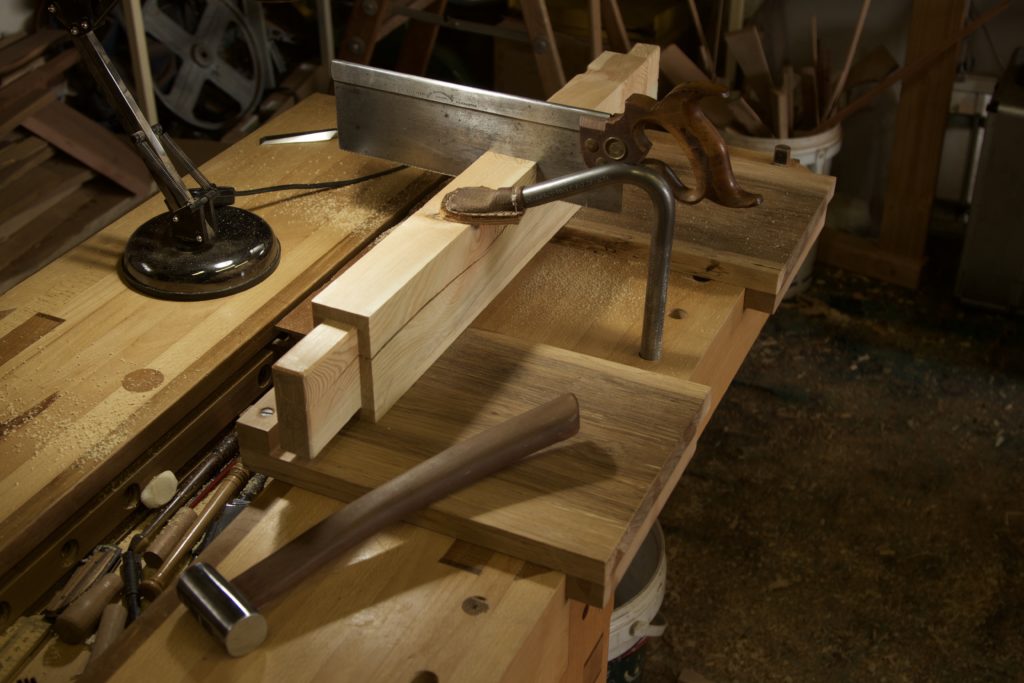
I started off 2016 with small projects to improve the shop and built a few key tools that would come in handy later in the year. This mitre box and saw did not need much rehabilitation, but did suck up a few hours to set up and tune. My good friend Bob Demers guided me through the process of tuning the saw for the mitre box and wrote an epic treatise on the topic. It is as easy as Falling out of a tree, if you know the principles.

Accurate sawing off the grid

IMG_5934IMG_5935

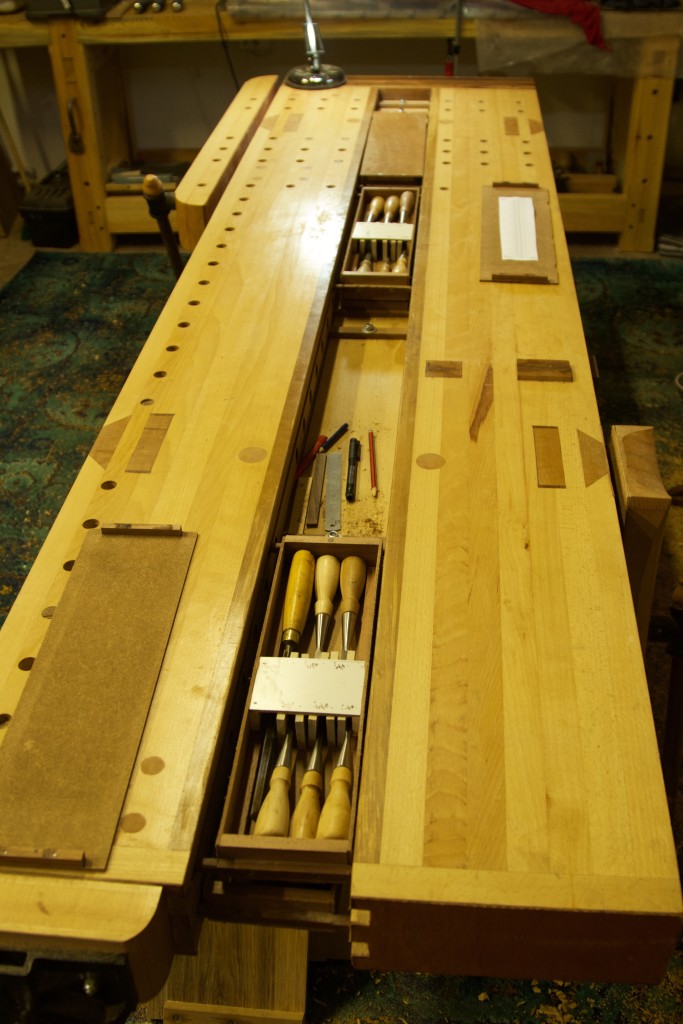
After using my new bench for almost a year by January 2016, I made a few small adjustments. So far the bench is working exactly as I hoped and I am using 95% of the design features. Therefore it seems that the bench fits well with my particular way of working.

Upgrades to my split top Roubo bench

IMG_6011

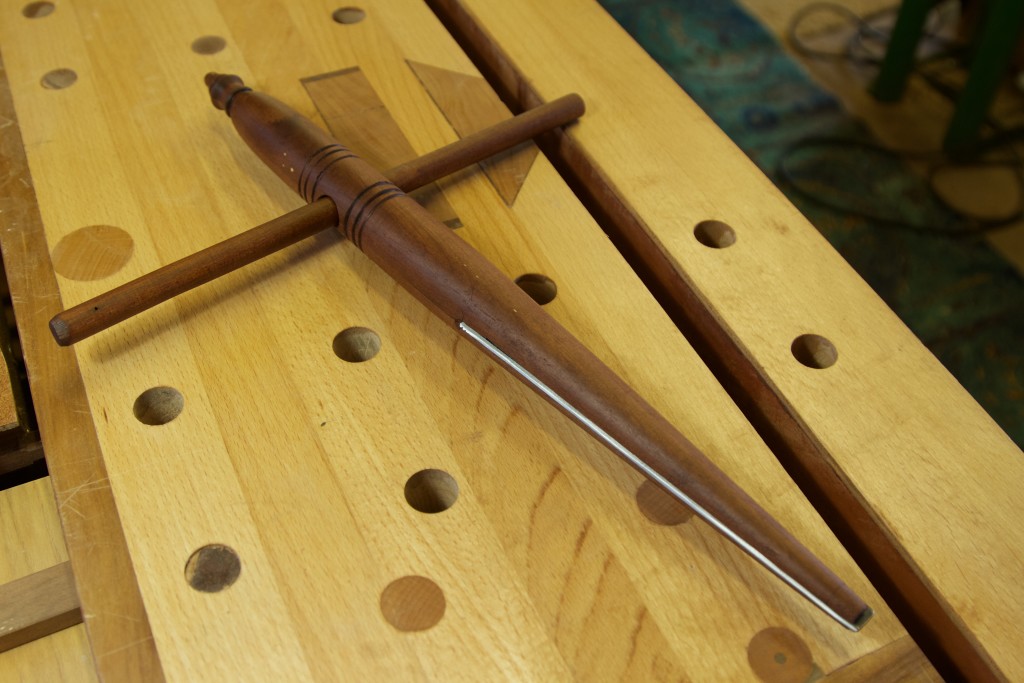
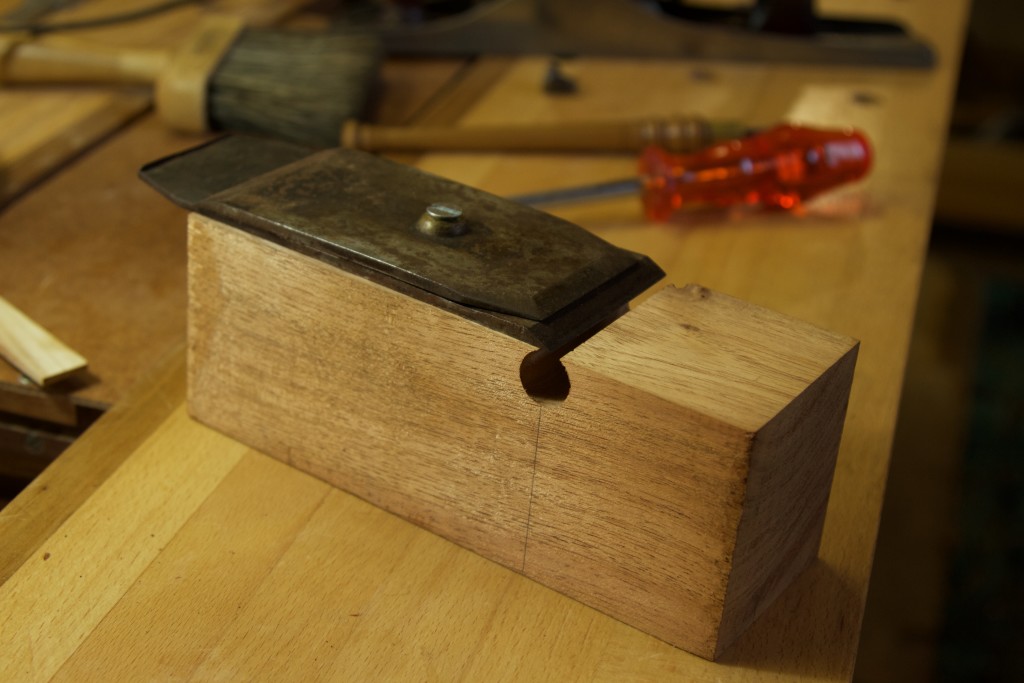
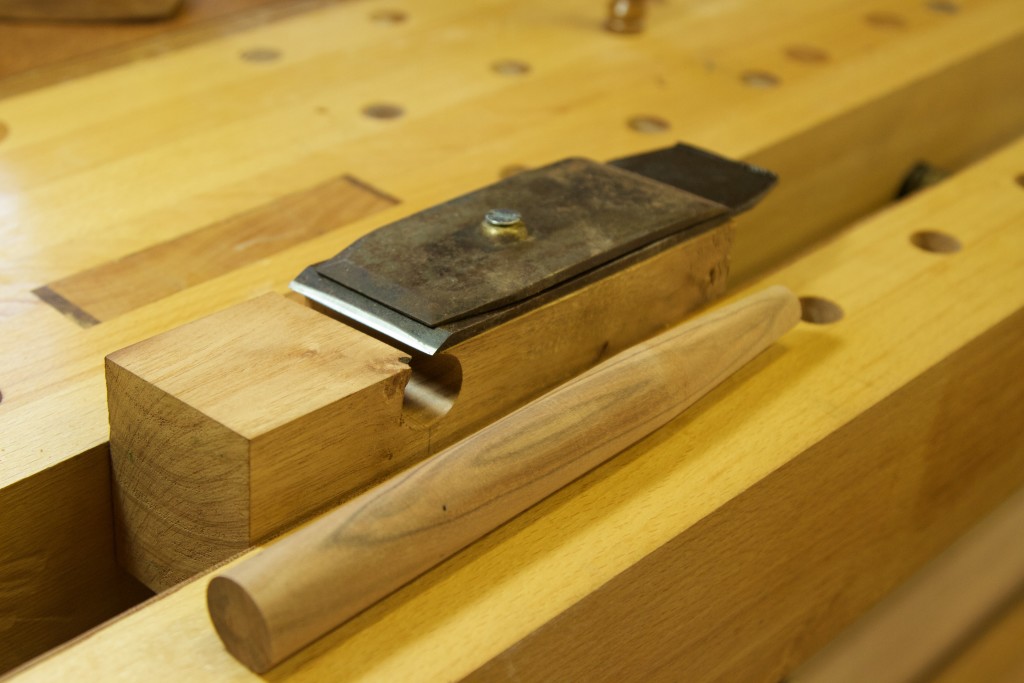
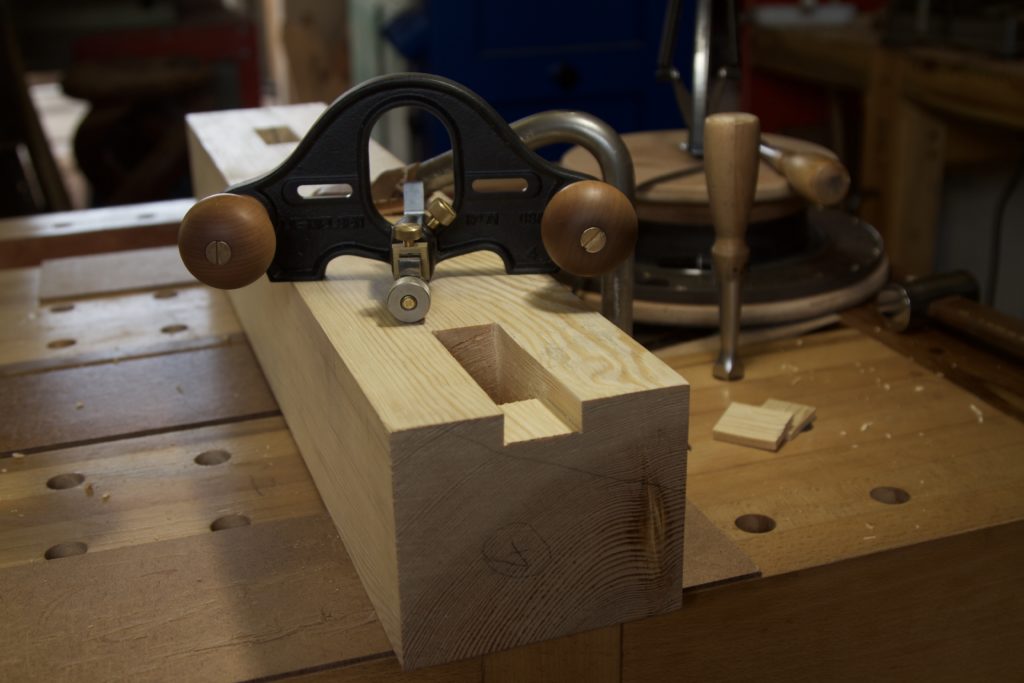
I already knew that a reamer and tenon cutter would be needed later in the year so I got stuck into it early on.

IMG_6056IMG_6060IMG_6090IMG_6105IMG_6103

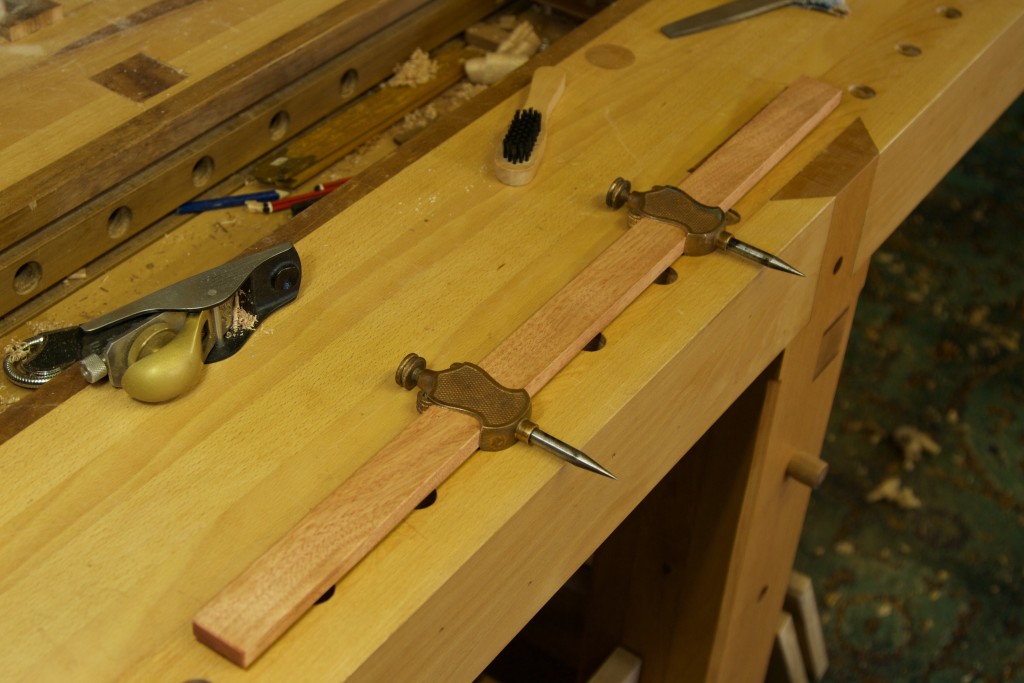
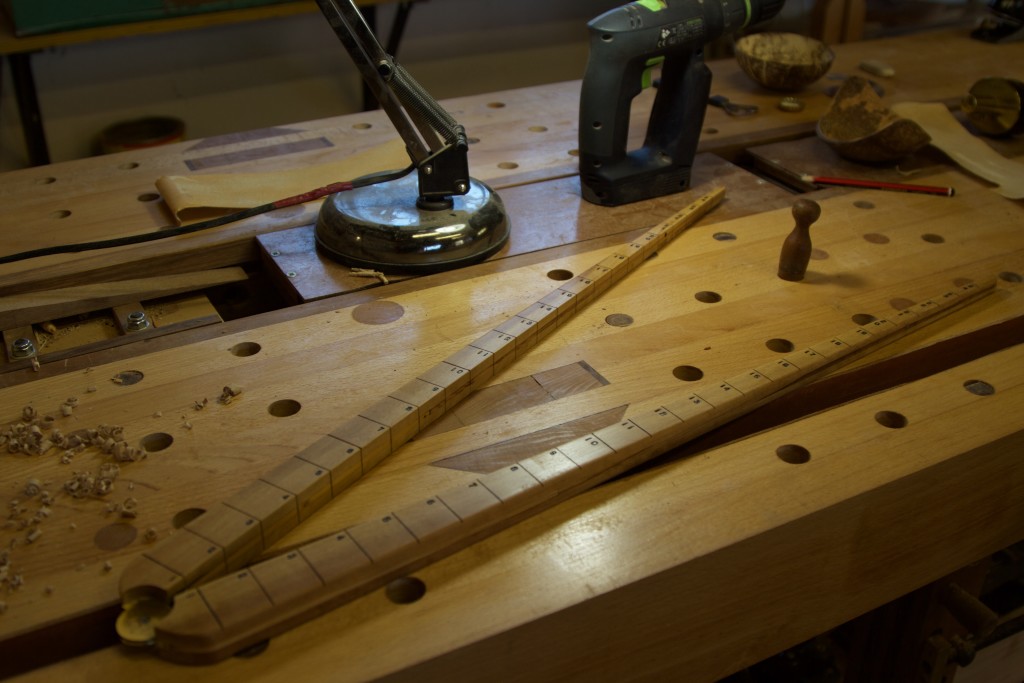
This set of trammel points were joined in holy matrimony.

IMG_6096

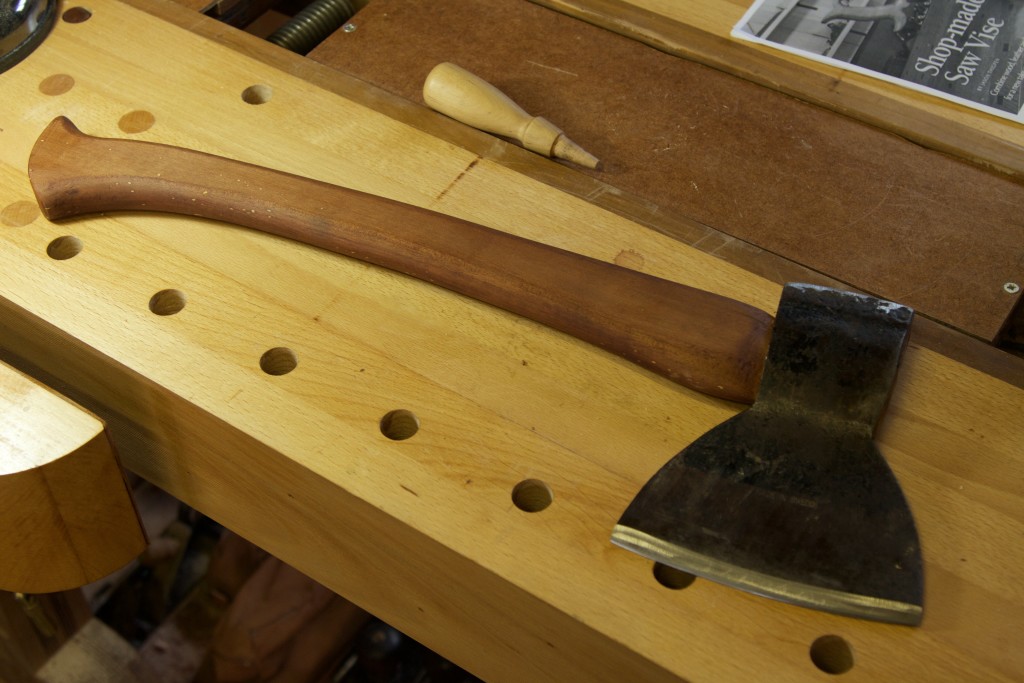
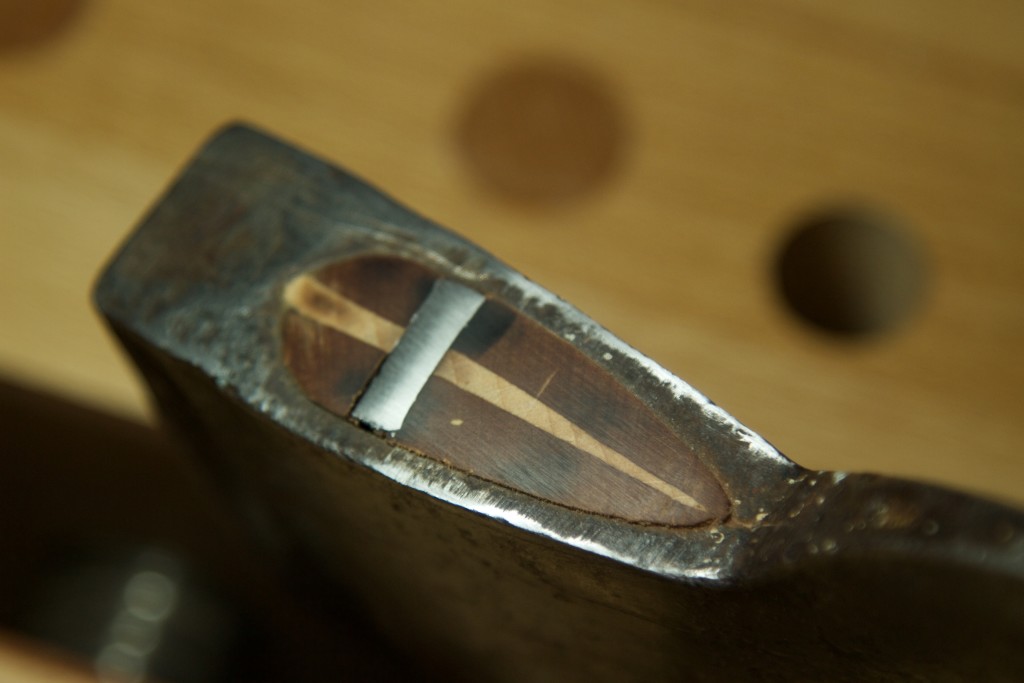
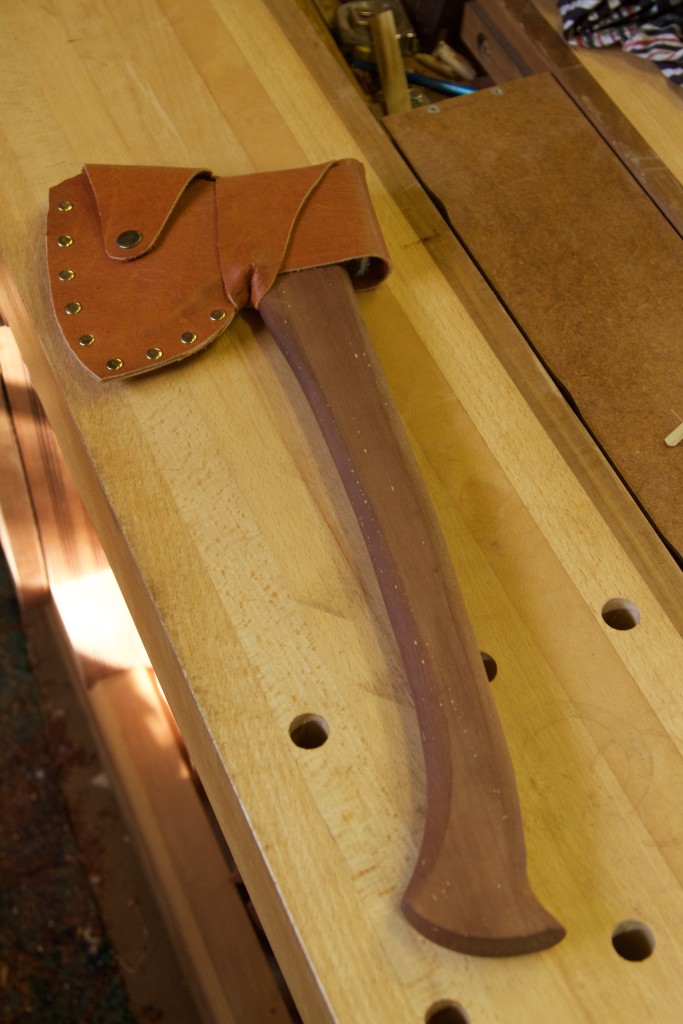
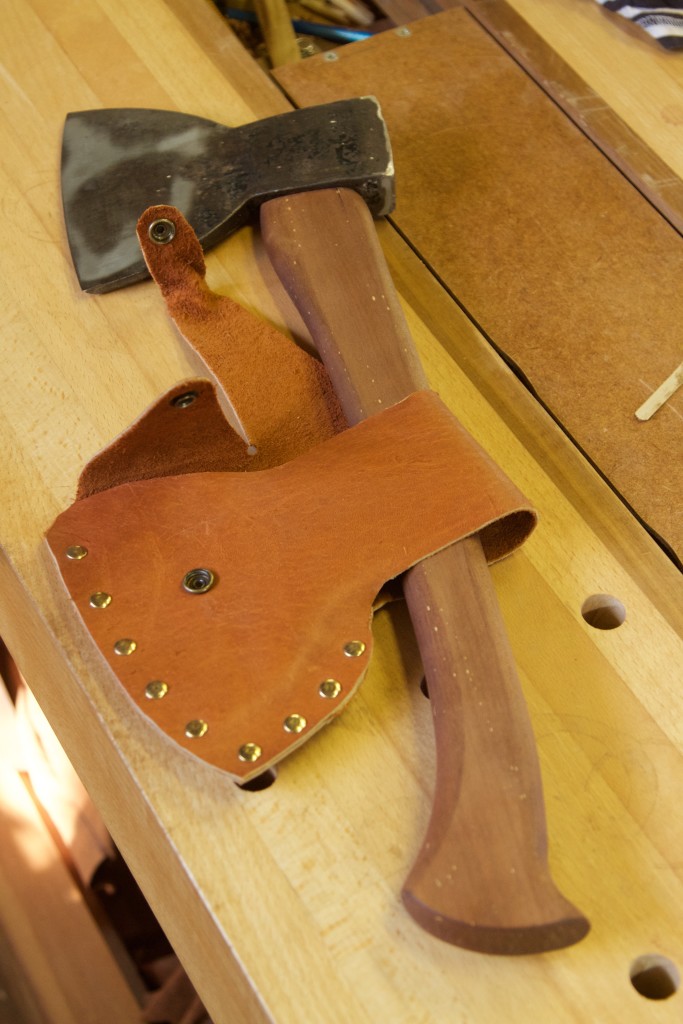
A Swedish side axe head received a handle and sheath.

IMG_6141IMG_6144IMG_6226IMG_6229

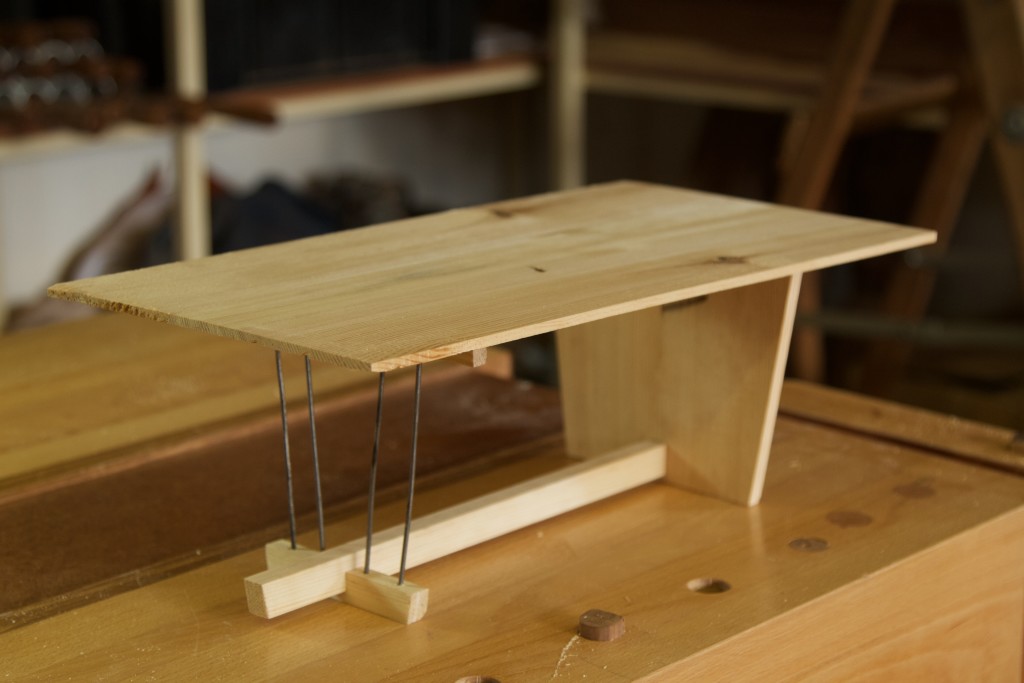
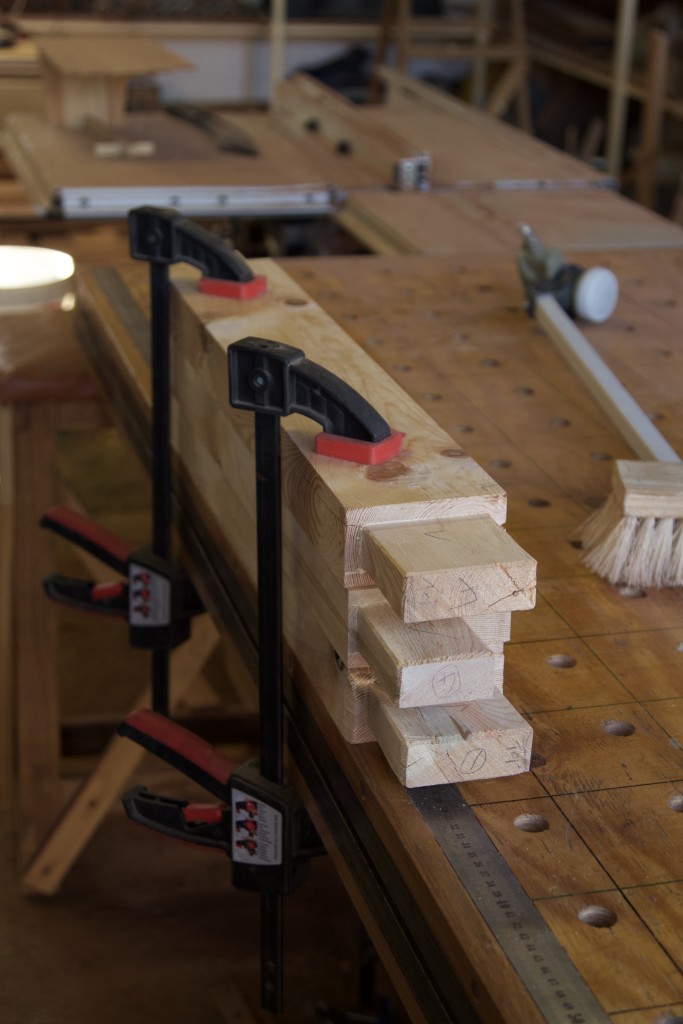
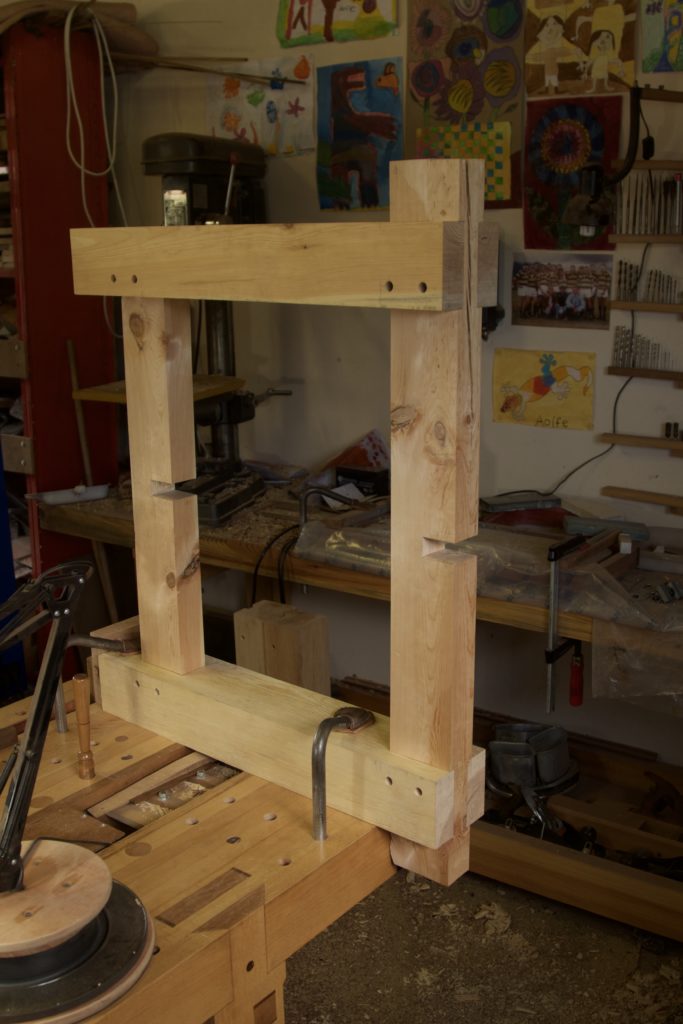
The most important project of the year actually started in 2015 already and will clearly extend into 2017. It is a table for friends of ours. In January I put pen to paper for the first time in terms of formalising the design that evolved during countless hours of reverie since about mid 2015. I applied some of the basic principles employed by artisans from the pre-industrialisation period in terms of ratios and proportion. The design was otherwise inspired by the work of George Nakashima and Japanese joinery in general. I chose this genre as it compliments the the wild nature of the wood I have in my collection. After nutting out the key proportions of the design on paper, I tested the concept design by building a small prototype. This process led to further tweaks to the design, the most drastic of which was a redesign of one of the two legs. I came up with a so called Windsor Leg design.

You can read the series of posts on this project here.

IMG_6164IMG_6281IMG_6282IMG_6279IMG_7271IMG_7344img_7582img_7735img_7738

A saw vise has been on the list of things to buy for a few years by early January 2016. In the process of discussing options with Mark Harrell of Bad Axe Tool Works he advised me to build my own rather than look for a vintage model. He also pointed me towards a design by Jason Thigpen, which became the inspiration for my version.

The Fountainhead

IMG_6288IMG_6290IMG_6294IMG_6295

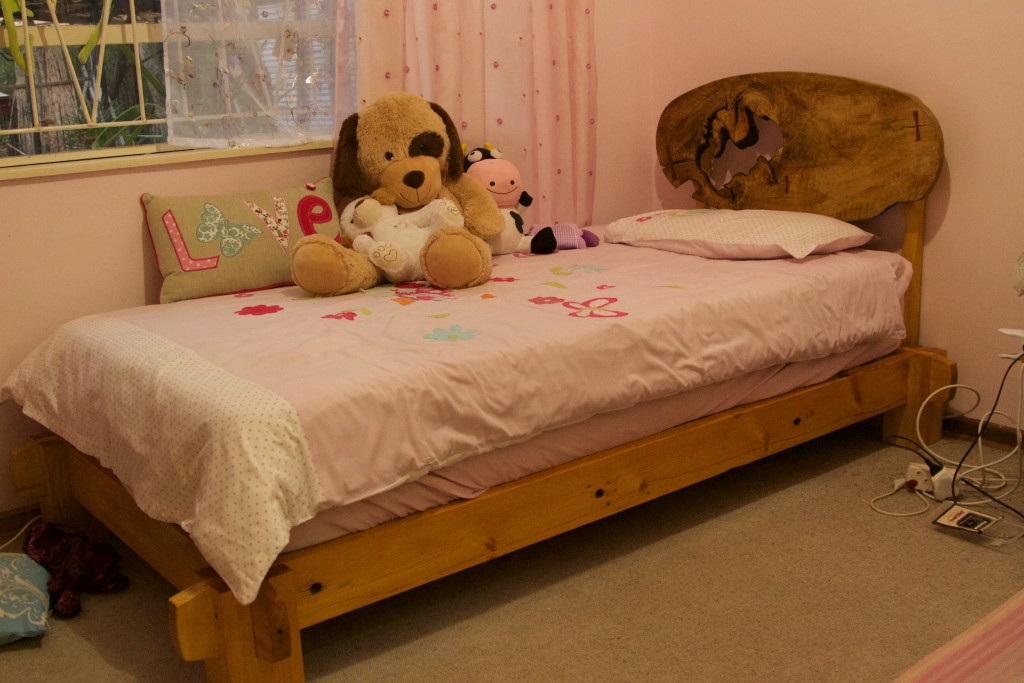
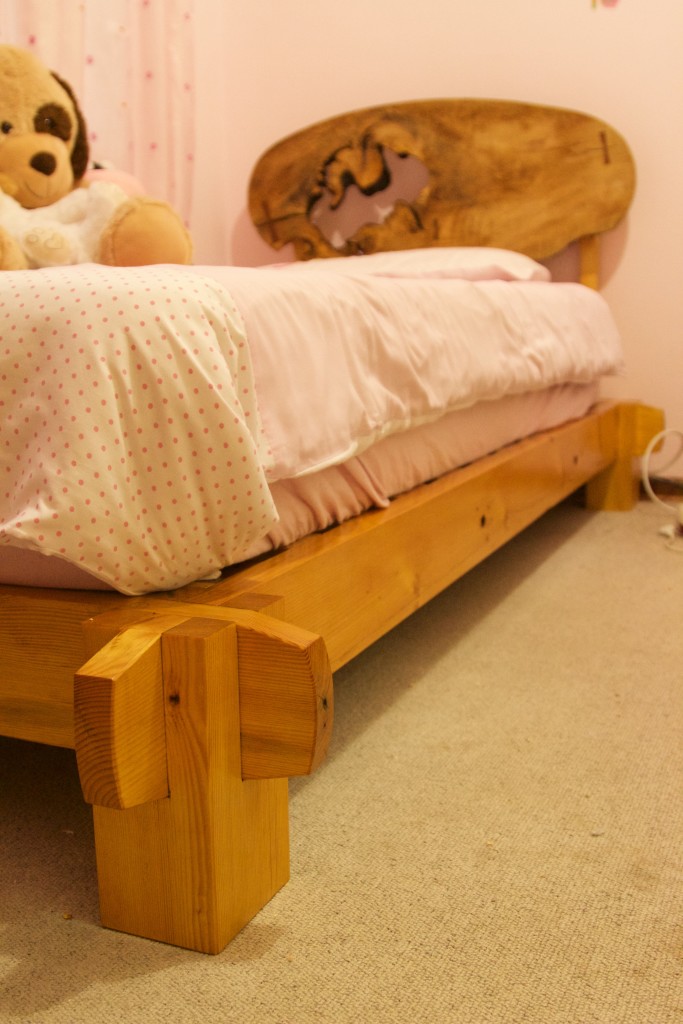
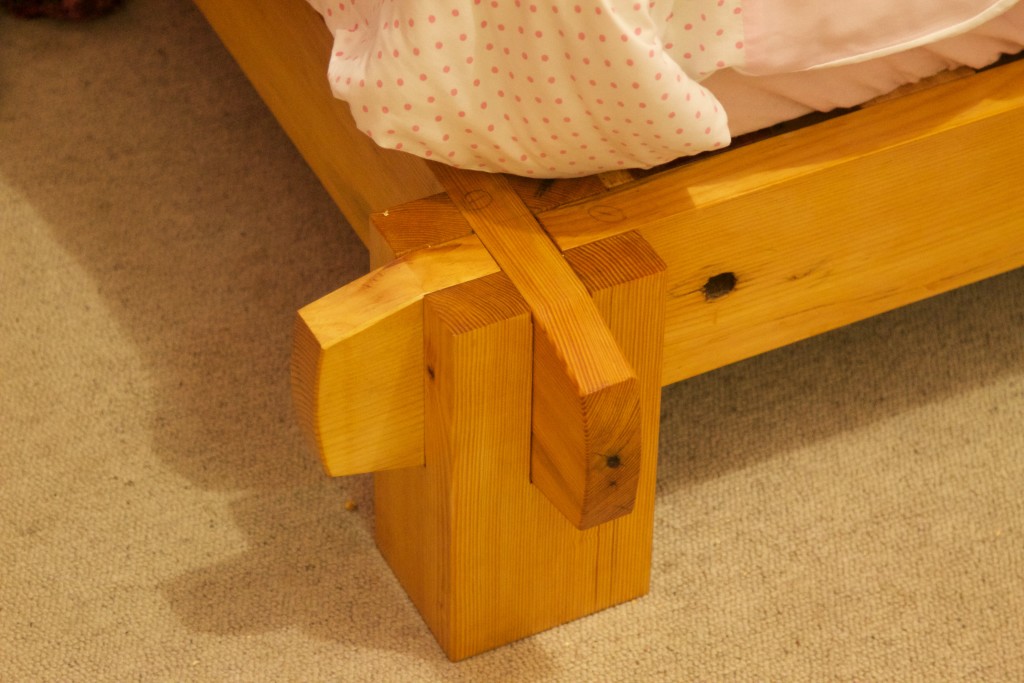
This year I was also very fortunate to be able to work with my father while he visited briefly. We worked on a bed for my daughter.

IMG_6424IMG_6430

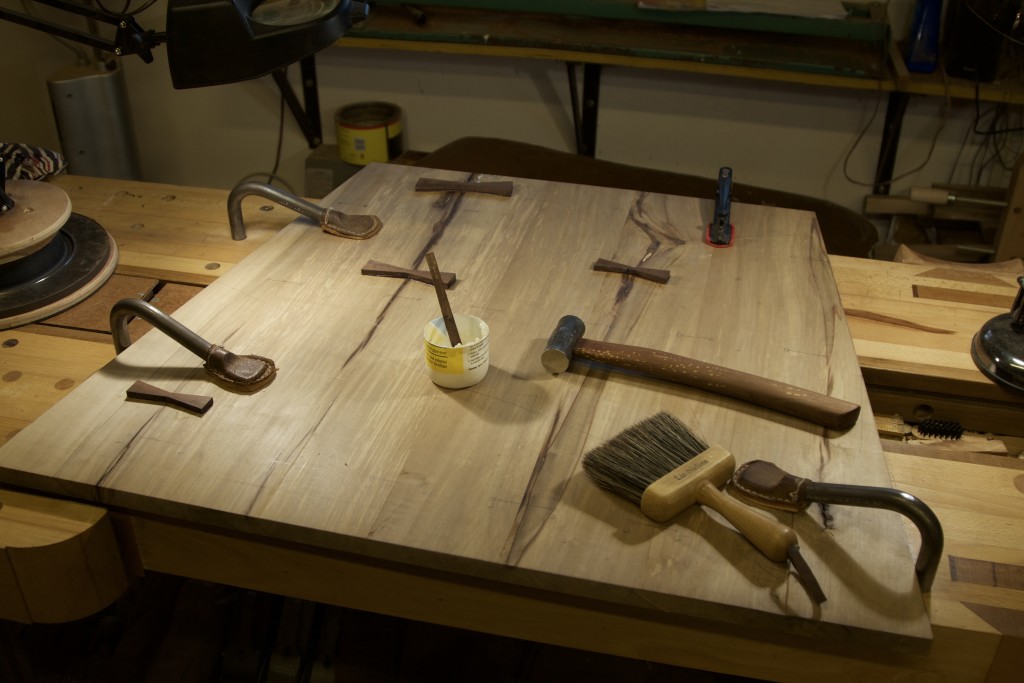
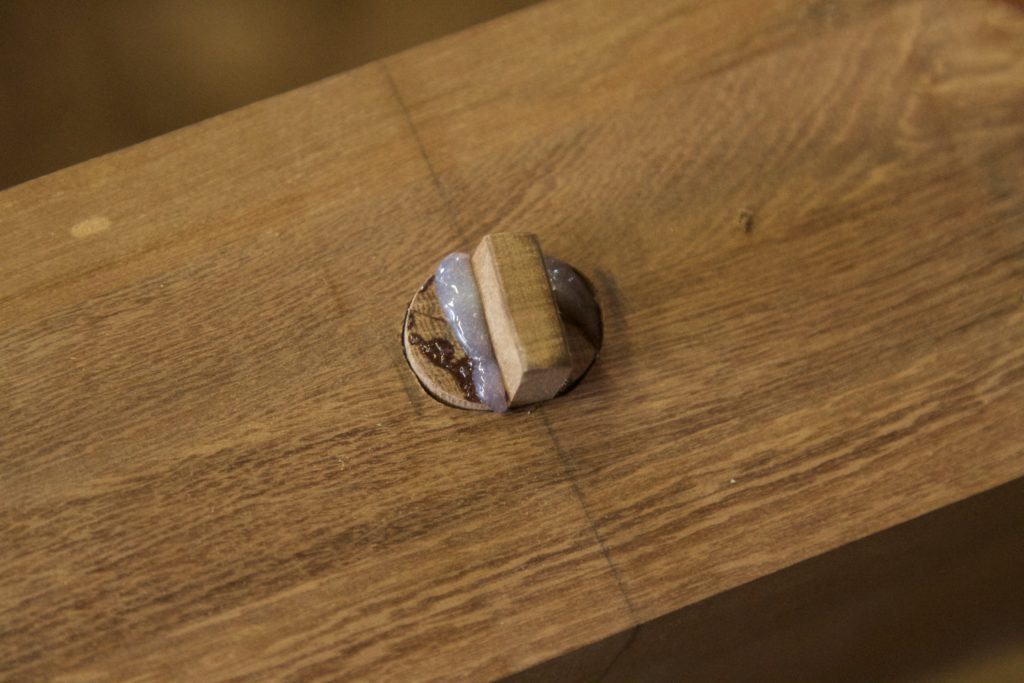
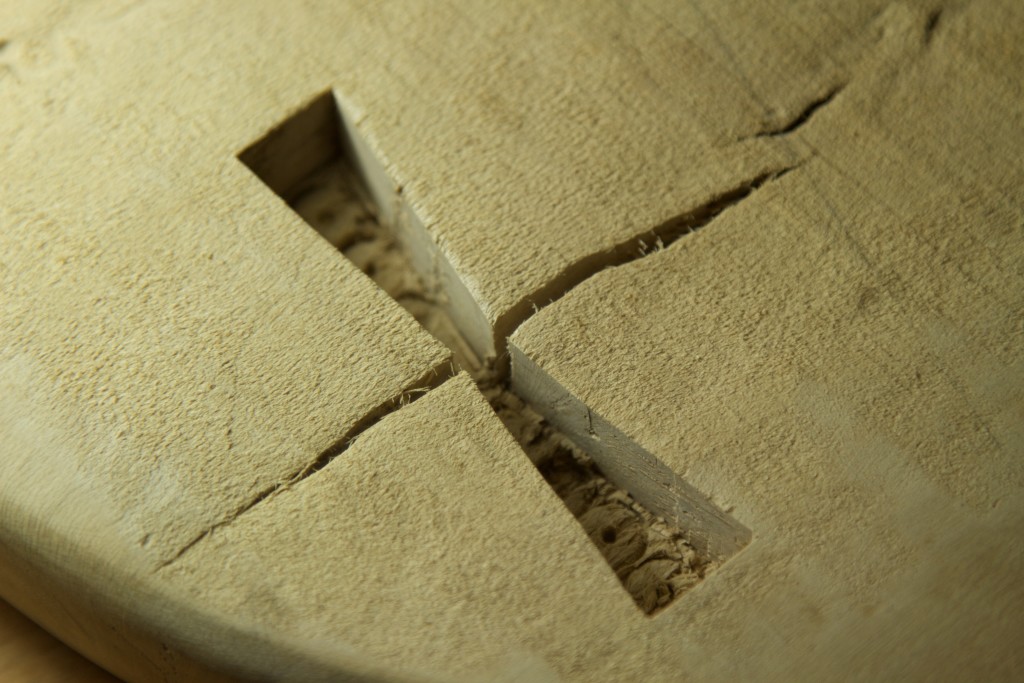
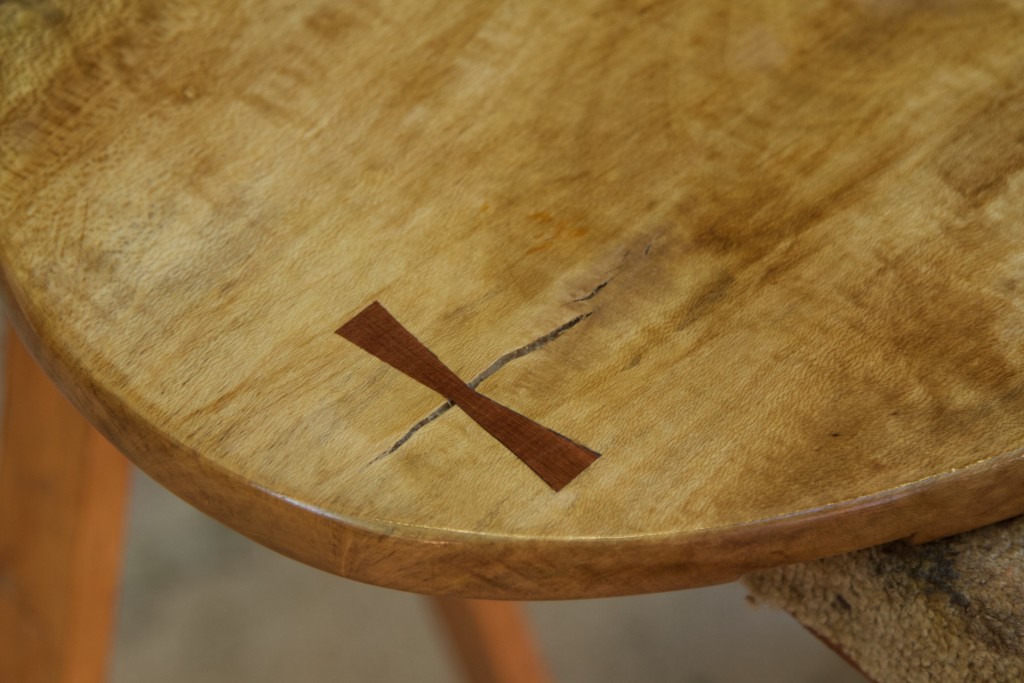
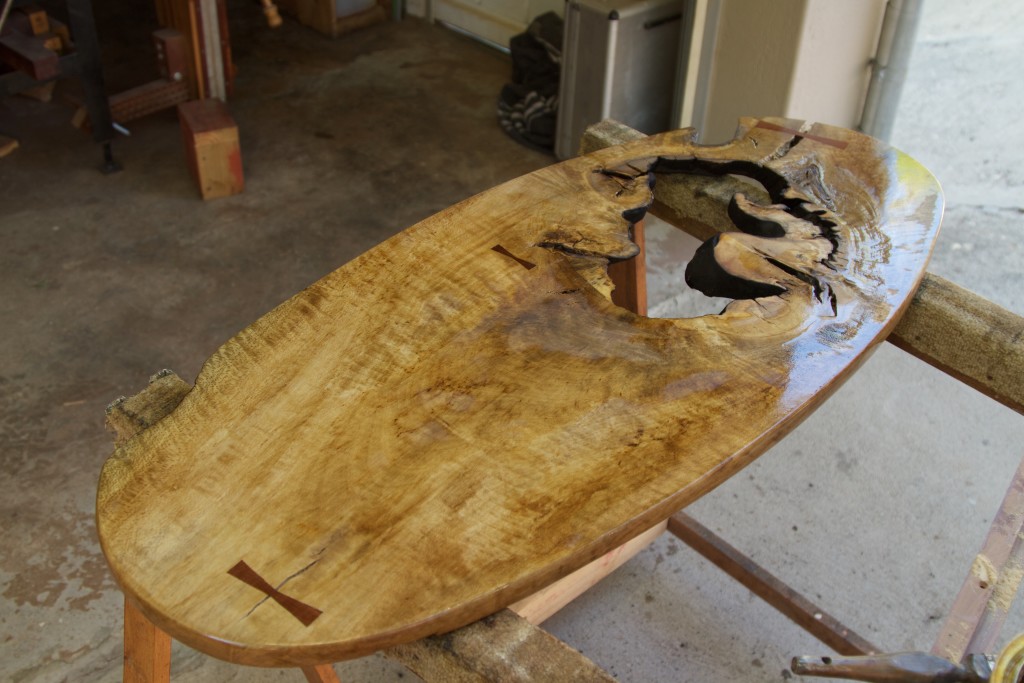
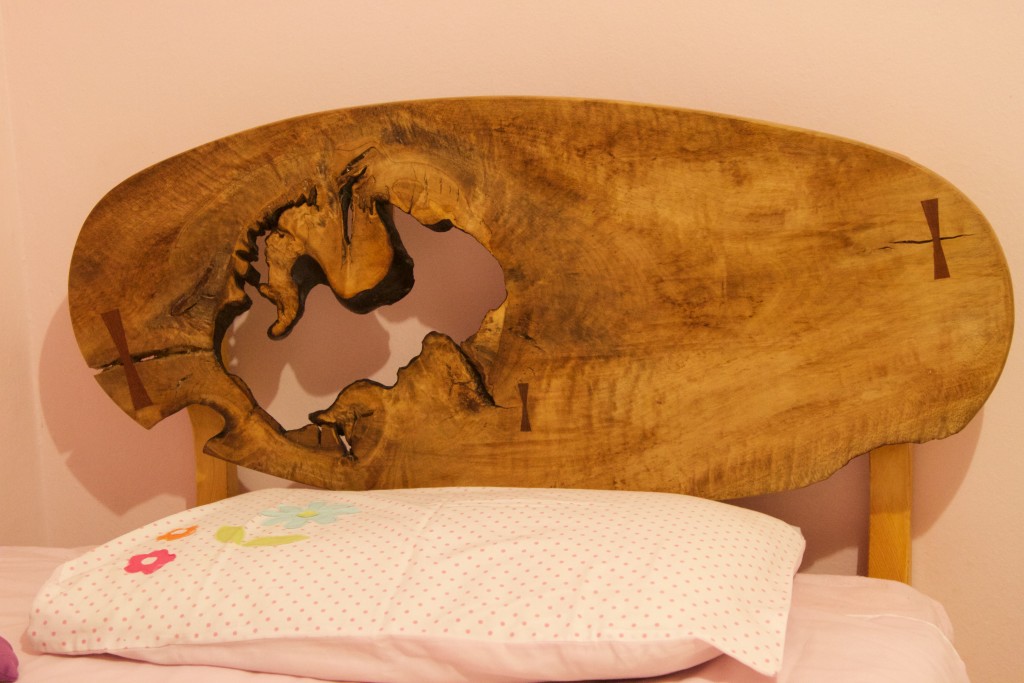
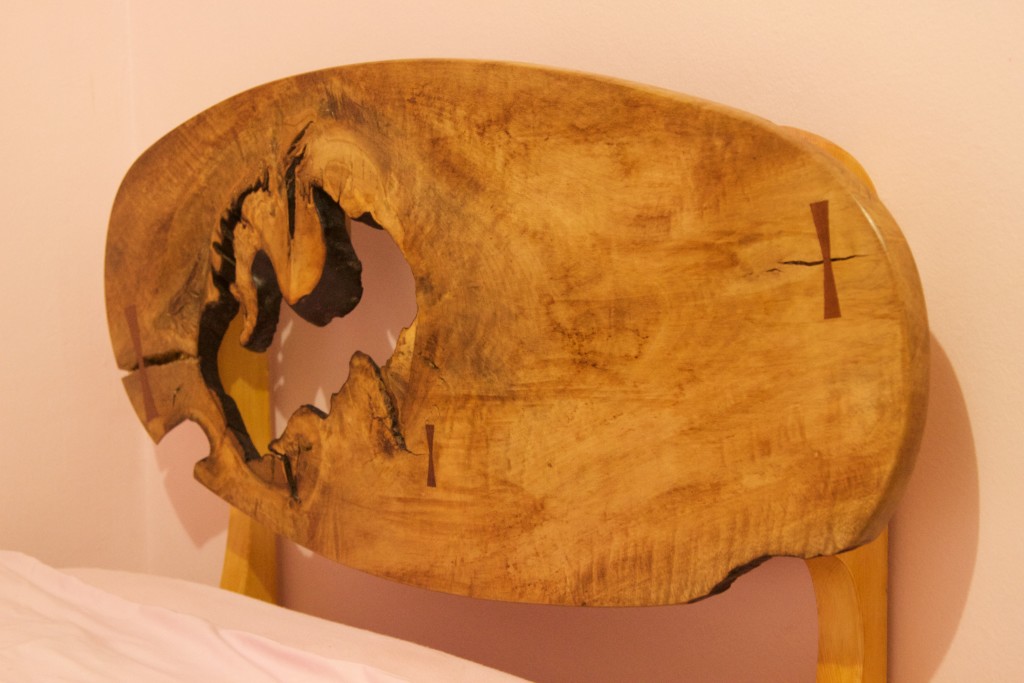
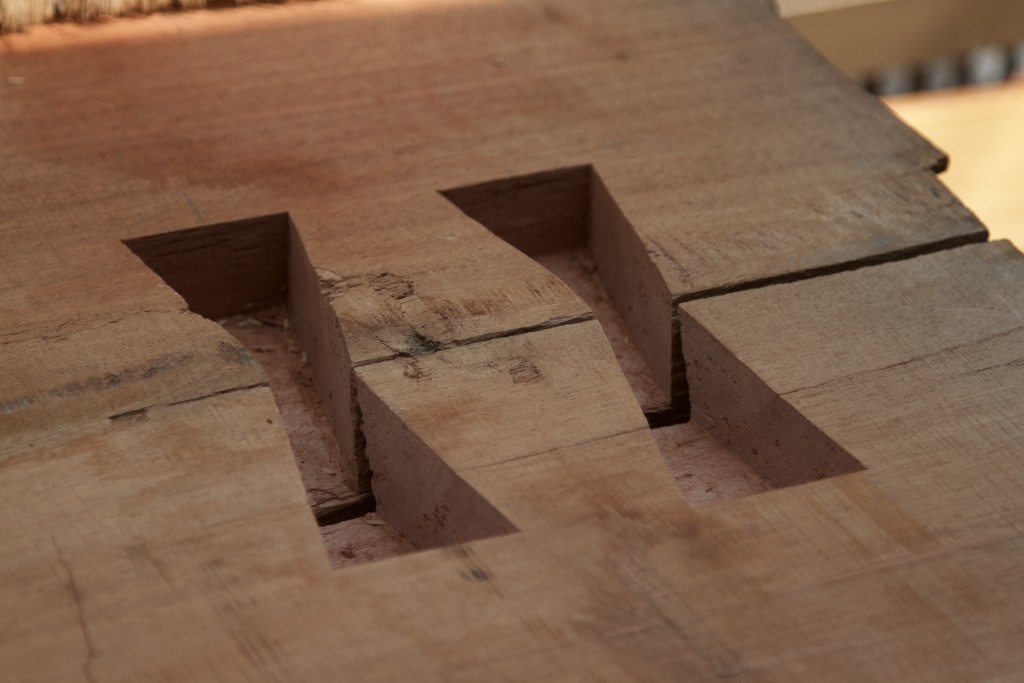
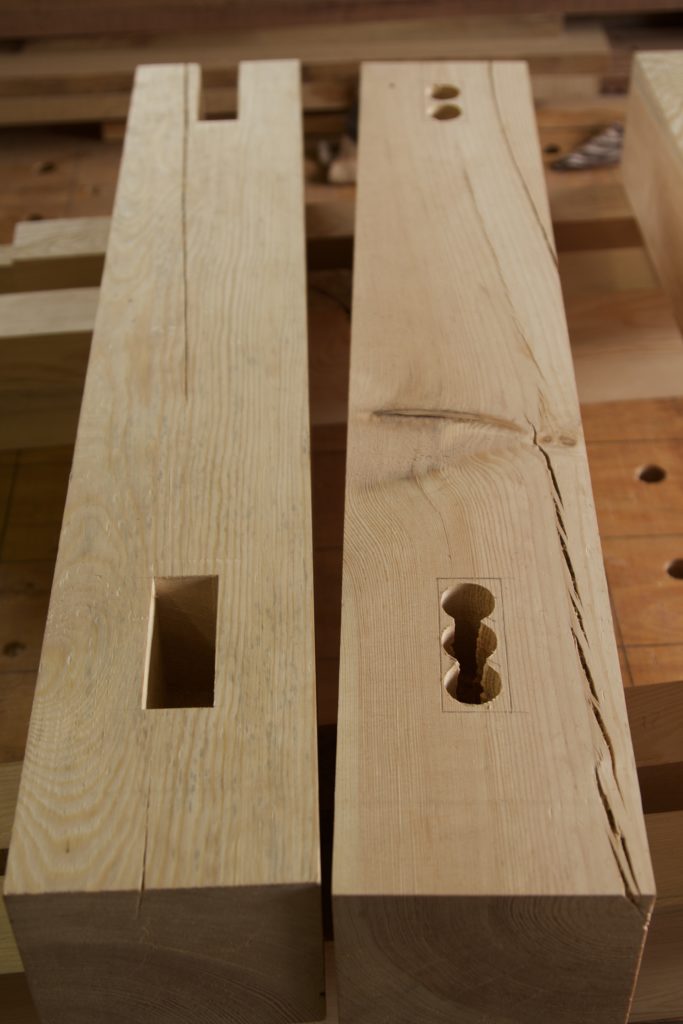
Aoife’s bed is also based on Japanese design and joinery. The main structure was made out of reclaimed Scots Pine and the headboard from Without (Cape Holly or Ilex mitis). This was the first project where I used dovetail keys to stabilise cracks in a feral board.

Aoife’s bed

IMG_6502IMG_6519IMG_6518IMG_6946IMG_6949IMG_6953IMG_6952IMG_6957IMG_6944

I finally got round to building a sector. I made it from scrap Olienhout that has a lot of history behind it.

Olienhout sector from the Groot Marico

IMG_6858IMG_6879

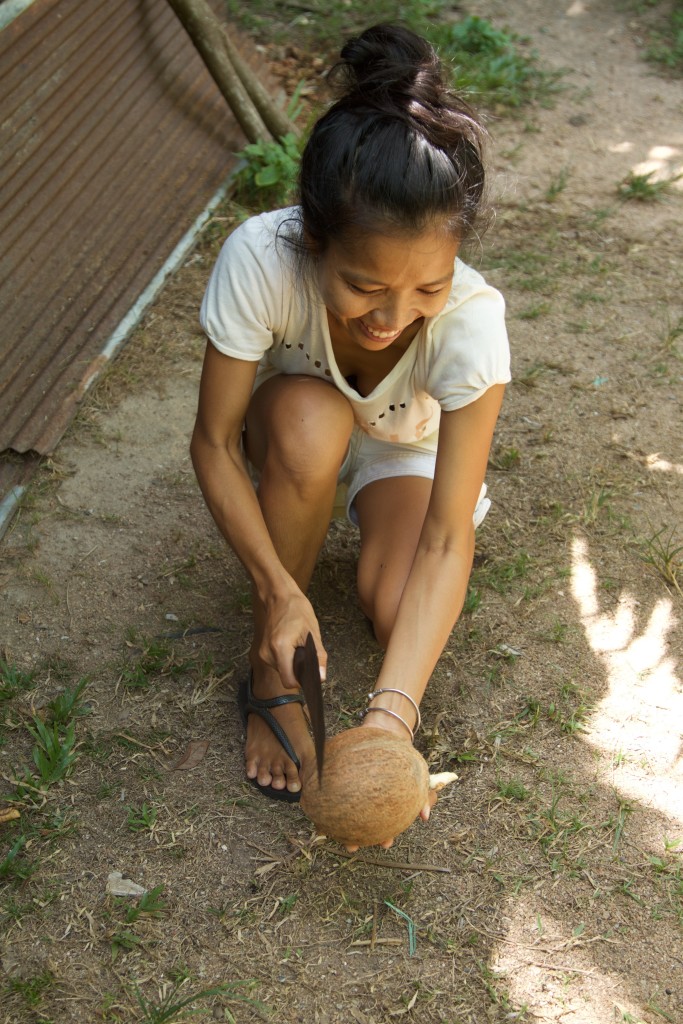
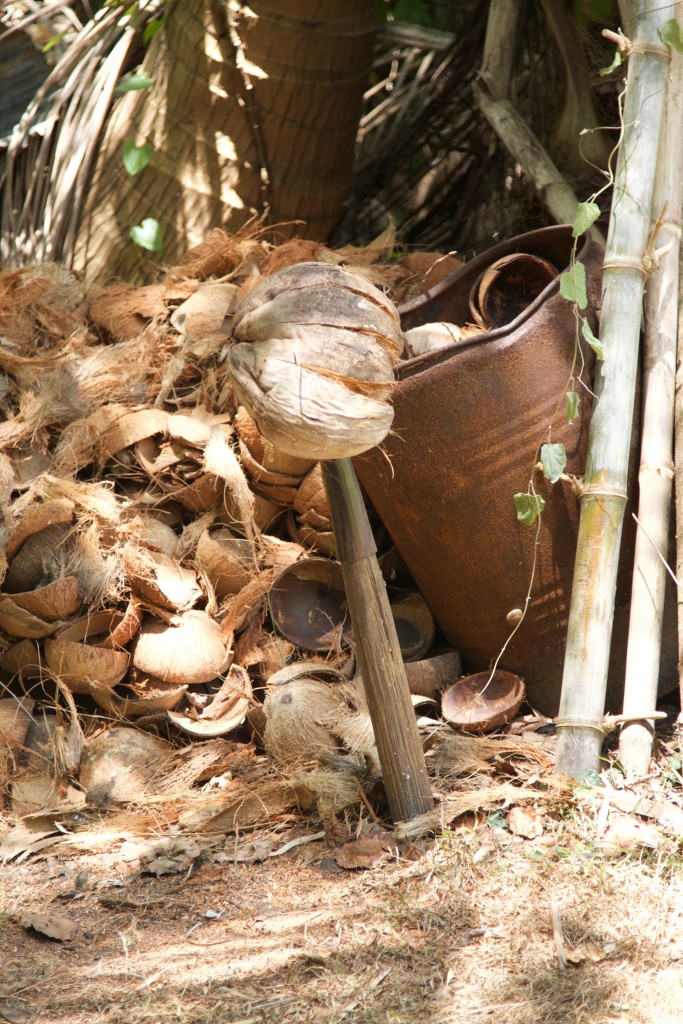
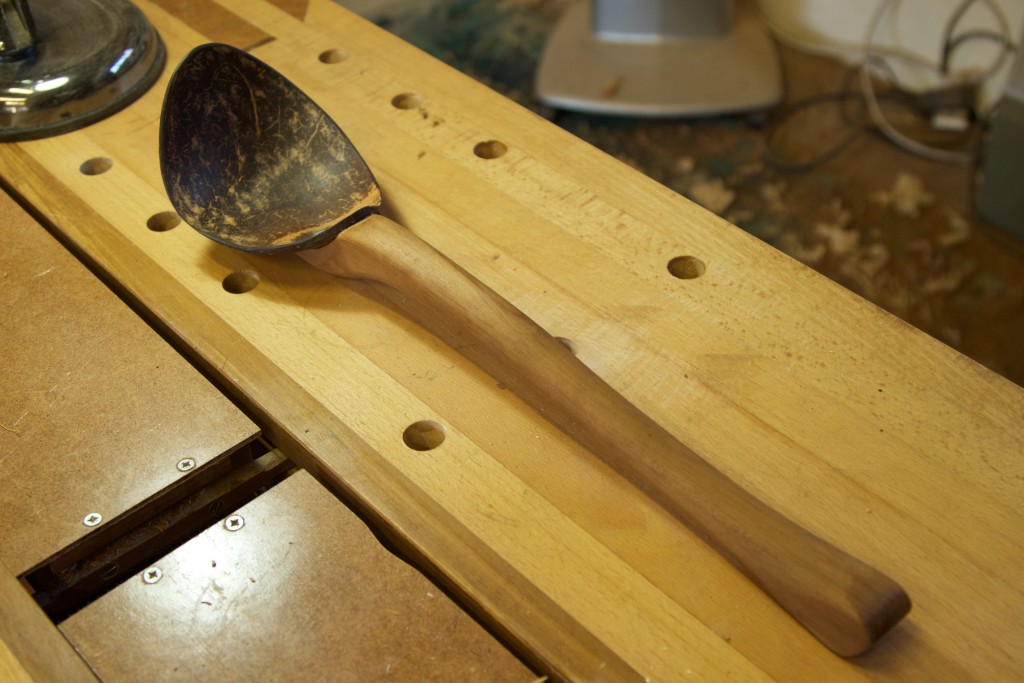
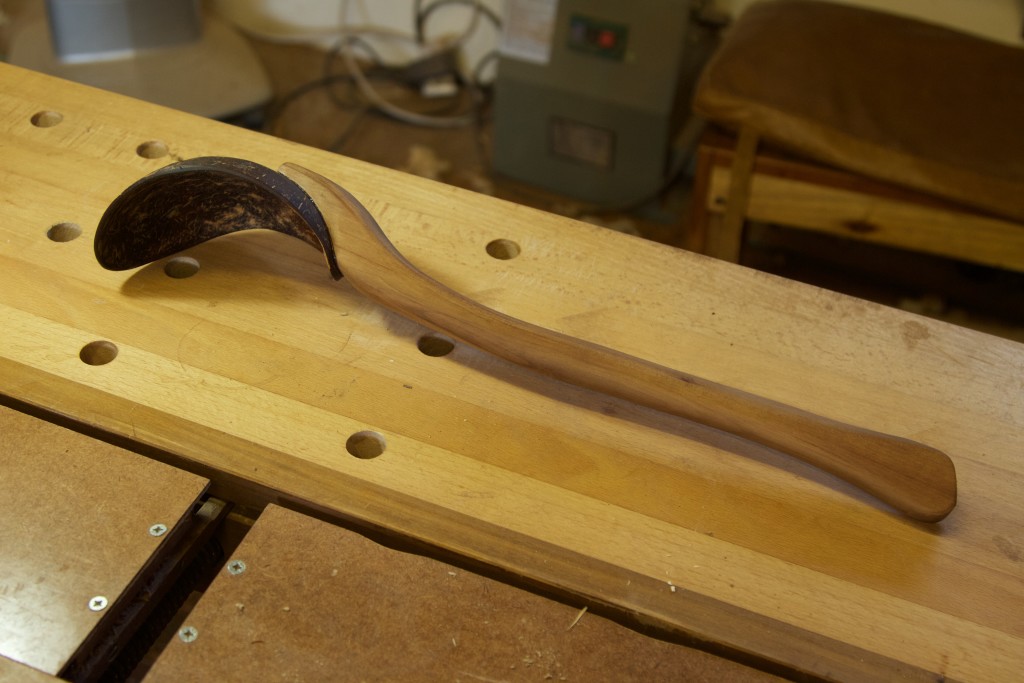
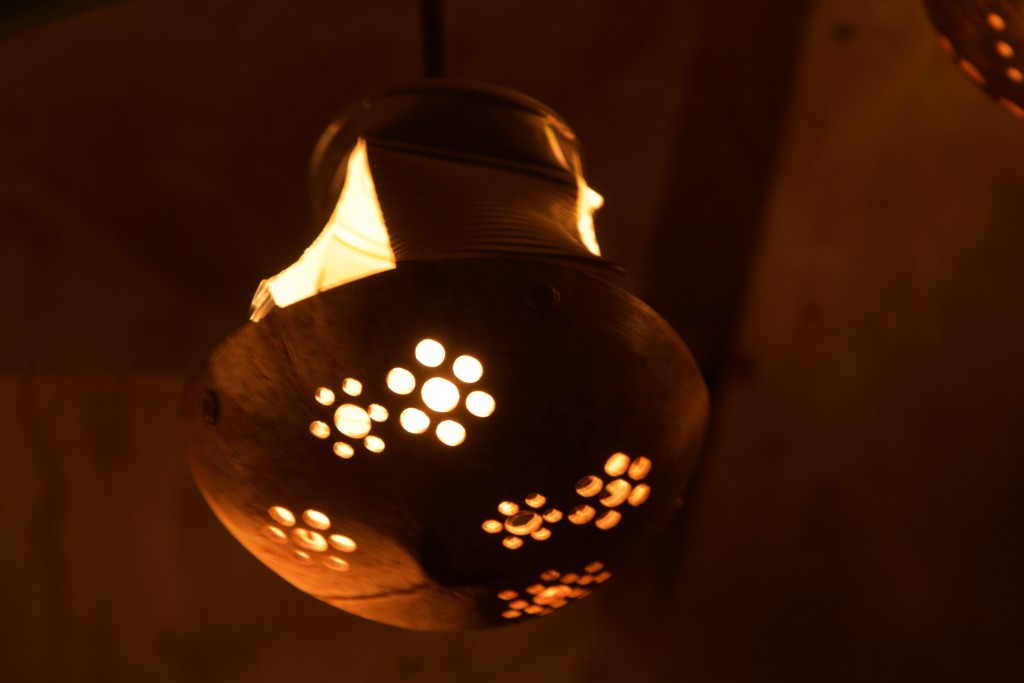
In May we spent a week on the island of Kho Samui in Thailand. While there we did a cooking class with a wonderful lady by the name of Ying. She inspired a few unplanned projects.

A tribute to Ying

Coconut shell lights

IMG_6647IMG_6698IMG_6707IMG_6931IMG_6932IMG_7022IMG_7033IMG_7045IMG_7406IMG_7407

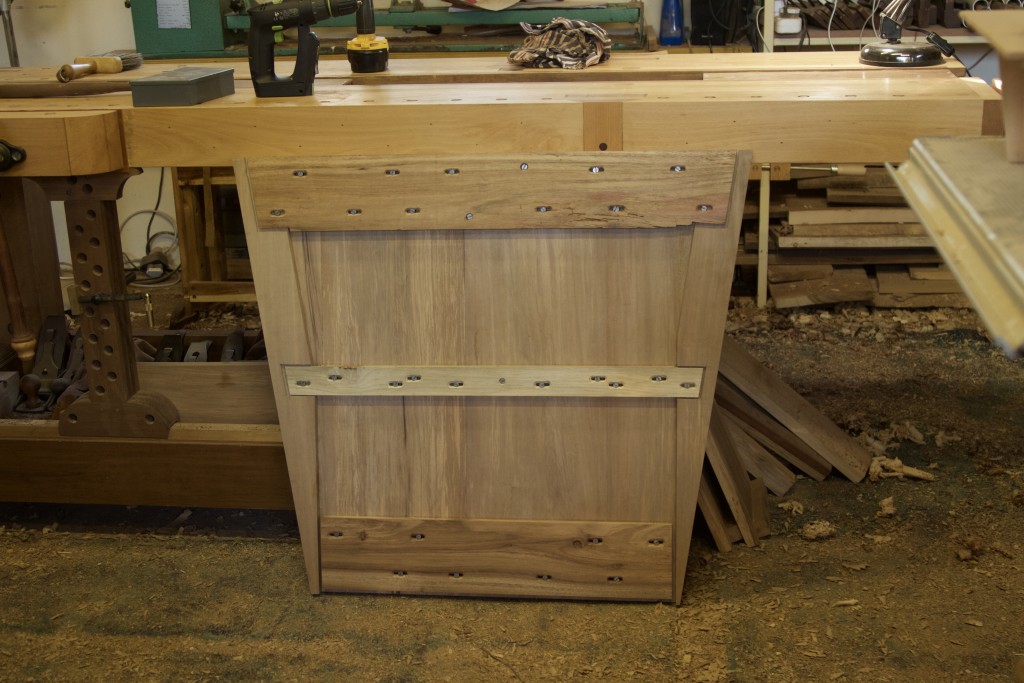
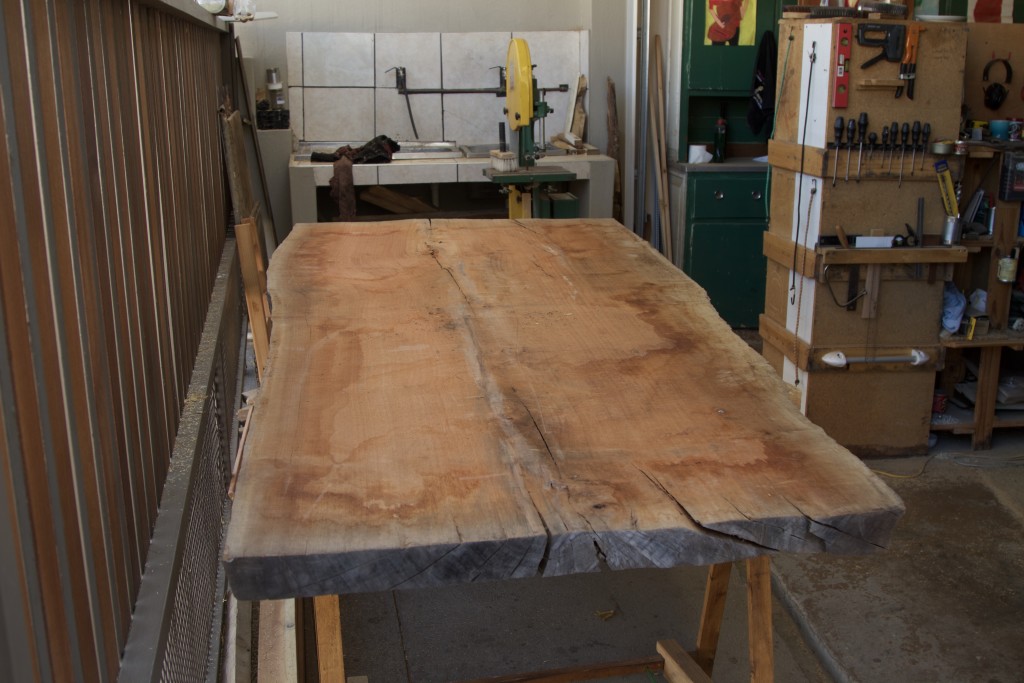
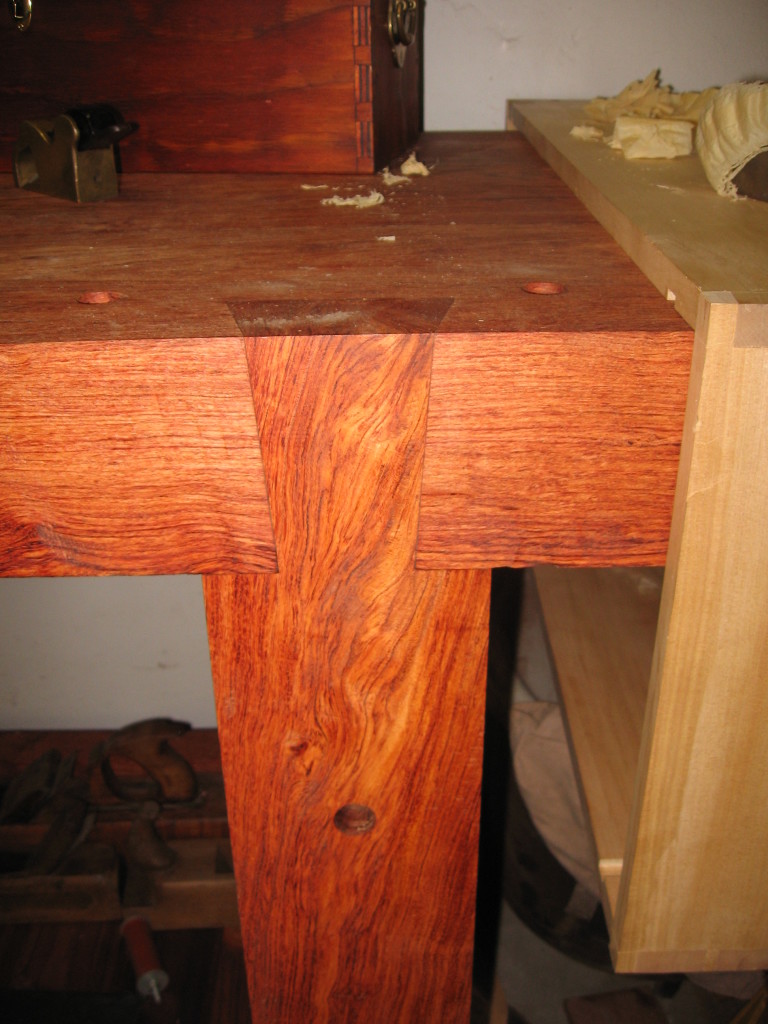
The other major project of 2016 is the table for the shebeen. I am in the process of using a massive slice of Rose Gum for a table top furnished with a heavy reclaimed Scots Pine undercarriage. A few readers have commented on the robustness of this table. The reason for this is that when the brave warriors of this fair land descend on a humble shebeen, they do not tend to take any prisoners. That is why you hardly ever find any furniture in a hundred meter radius from a shebeen. To survive in such a harsh habitat, a table needs to be overbuilt to the extreme.

A table for a shebeen

IMG_7293img_7434img_7440img_7483img_7725

A wonderful 2016 addition to the Je ne sais quoi team came in the form of Cape Town based woodworker Frank Bartlett. Frank started writing on a few of his legendary projects and it has been very well received. I want to thank Frank for his contribution and hope to continue working together for many years. Our aim in this regard is to create a a space where woodworkers from Africa can publish posts and hopefully become a hotspot for networking. In short, we want to put African woodworkers on the map.

We might have a new cadre in the form of another talented Capetonian by the name of Werner Schneeberger in the very near future. I am privileged to have seen some of his work already so can attest to the quality. Werner we look forward to your contributions in 2017 brother.

Cape yellow wood chest

African Rosewood workbench

Mitre box and saw restoration

Toolkis24 (1)Toolkis27Toolkis28Toolkis30Roubo27 (1)Roubo25Stanley 246 15 (1)

The absolute highlight of 2016 was when Je ne sais quoi Woodworking were chosen as one of the five most nominated hand tool orientated blog sites by the Woodworkers Guild of America. It was a huge honour and I would like to thank all our readers who went through the trouble of nominating and voting for us. It realy helps to know that there are people out there who support JNSQ Woodworking.
A Table for a shebeen – part 2

20/10/2016

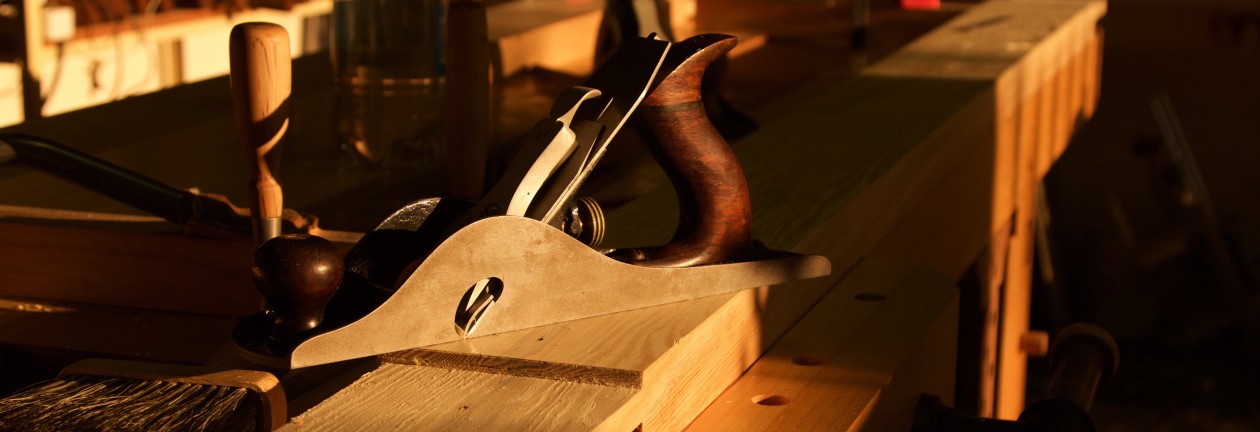
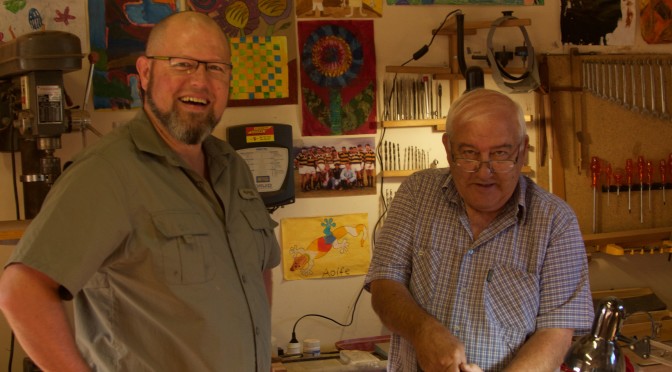
The title picture of this post is meant to remind you of what my shebeen looks like. The beautiful ensemble of chicks in the picture demonstrate how happy they can be around a stove. For fear of mass feminist hysteria, I will leave it at that.

It is a case of onwards and upwards with this project, which reminds me of something I have noticed in terms of my woodworking journey. Since about July this year I seem to have entered the next phase in my woodworking. It took the best part of 5 years to set up my shop in such a way that I can build furniture using a set of tools that suites me. That entailed lots of fairly small projects such as building various hand tools and jigs. There were of course also a smattering of mammoth projects such as building the two Roubo-esque workbenches, but it the predominance of small projects made it easy to blog regularly.
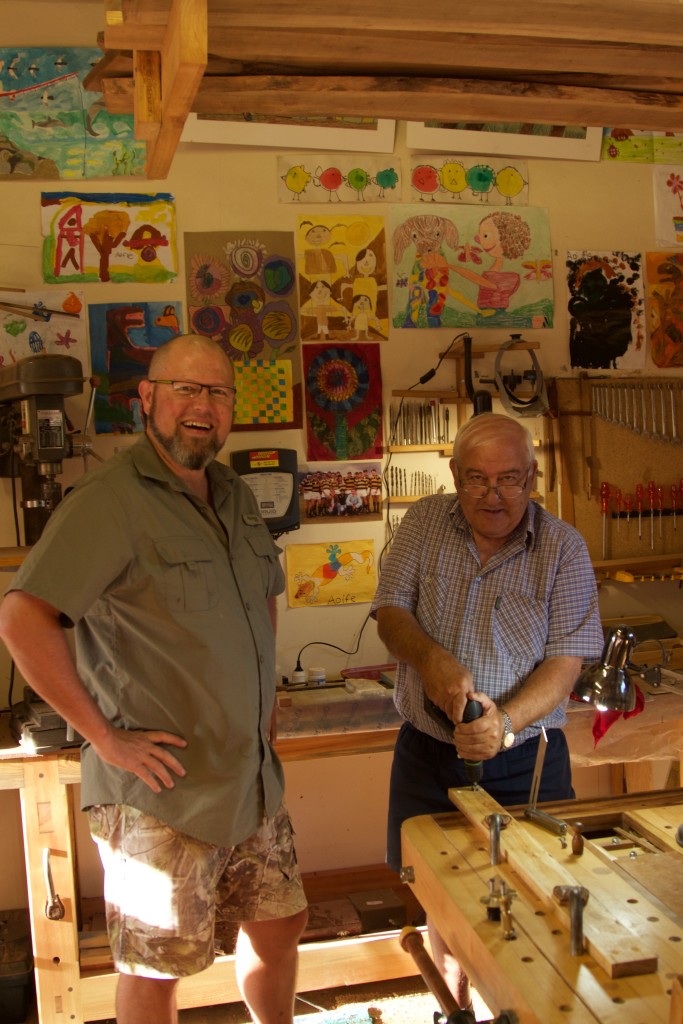

More recently however I have started working on projects that is destined to spread it’s wings and leave the shop for good (once finished of course). These projects seems to be more of a war of attrition than blitzkriegs, which makes it harder to find ways to blog regularly. As my friend Jonathan White (from The Bench Blog) usually say (and I am paraphrasing here),  posts should rather be infrequent than of substandard quality.

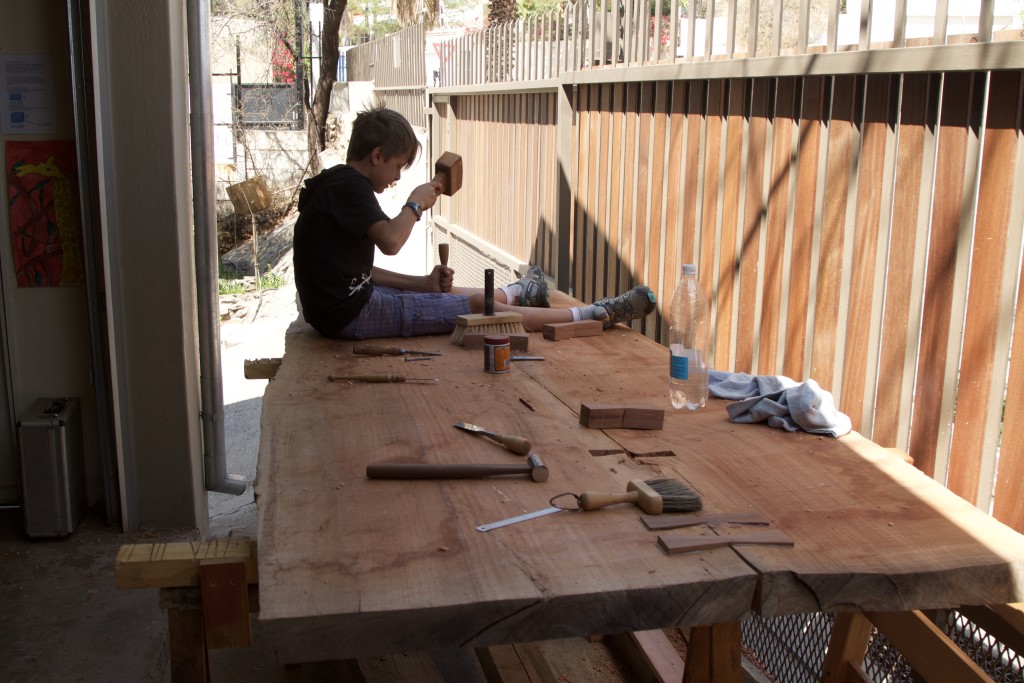
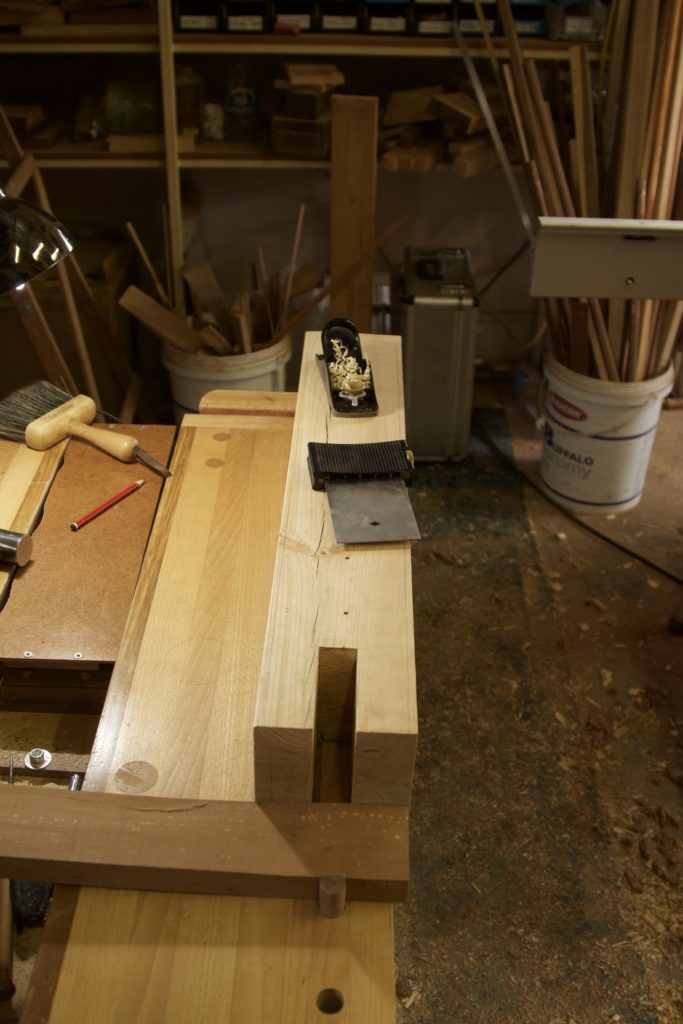
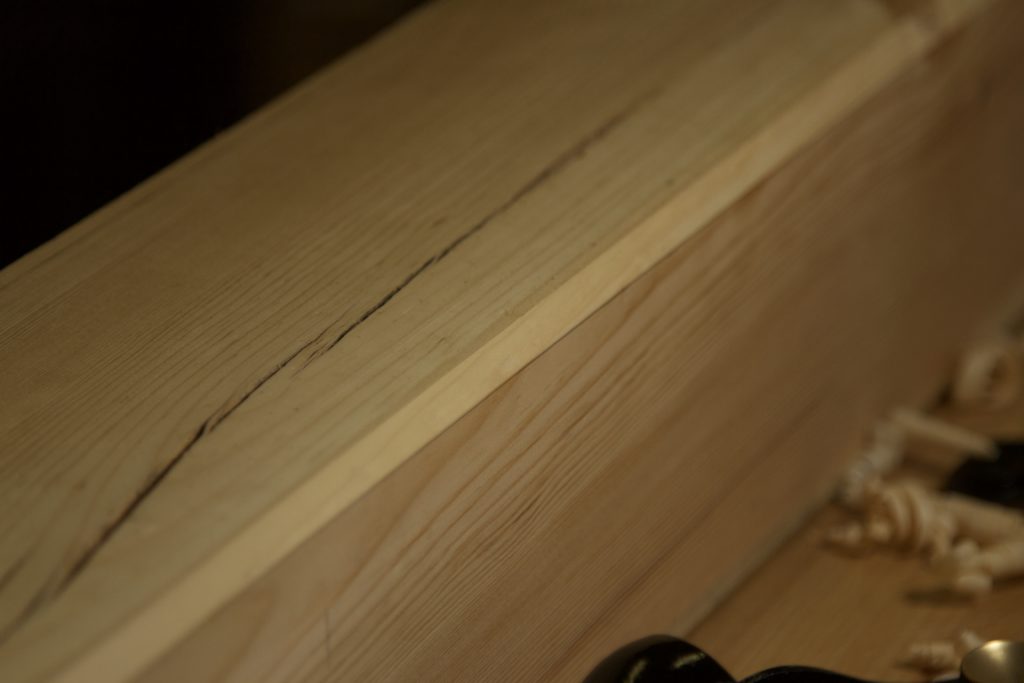
OK enough of my introspective reverie and on with our topic at hand. Didi and I managed to finish the stage of inserting the monstrous Kershout Dutchmen along the crack in the top. They were worked roughly flush with my shop made scrub plane. The top was then moved to the shebeen to keep it from getting wet when the rainy season arrive. I took great care to set up the sawhorses in such a way that the top would stay wind free.

img_7479img_7480img_7482img_7539img_7540

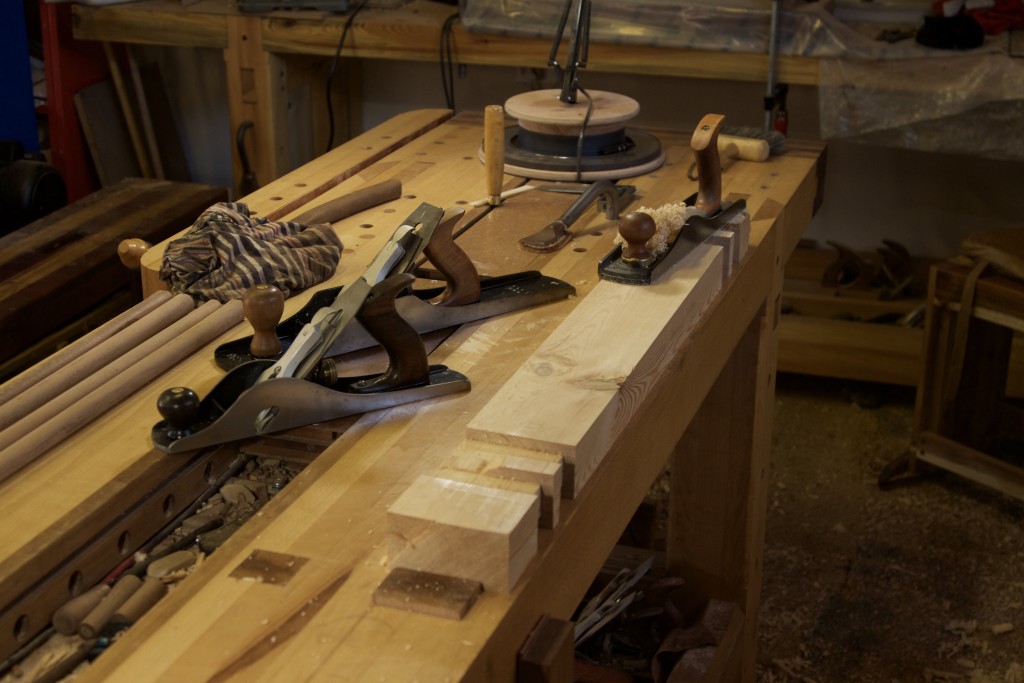
Luckily I checked with my winding sticks whether the aprons and stretchers were still wind free before continuing with the joinery. I found that they twisted slightly since being planed to perfection a few weeks prior. So back to the bench they went for some more remedial action. I find that my Lie-Nielsen low angle Jack plane with it’s toothed blade works well where you encounter significant knots like in this case.

img_7542img_7552img_7554img_7555img_7557

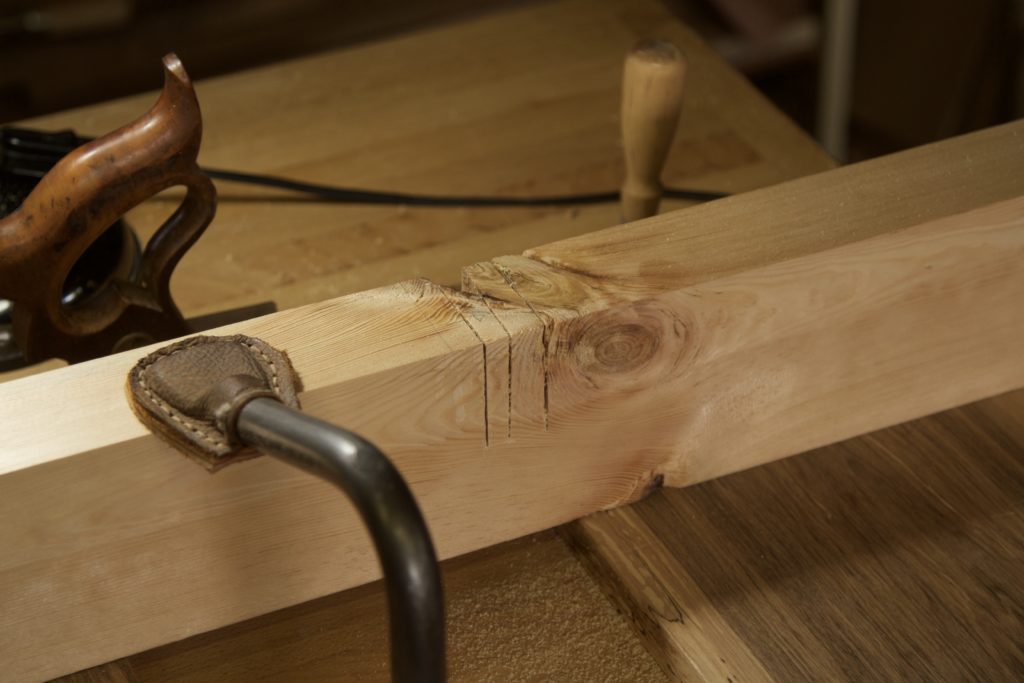
The mortises were then marked out and the waste removed with a spade bit driven by an electrivore.

img_7560

In this case the eletrivore was assisted by a carnivore, which is inevitable being resident in Namibia for several years. Vegetarianism (vegans are already extinct here) appears to be illegal (and omnivorous creatures should not get too cosy either) in this fair land and ‘vegetables‘ is certainly a most deplorable swear word.

img_7563img_7564

25/10/2016

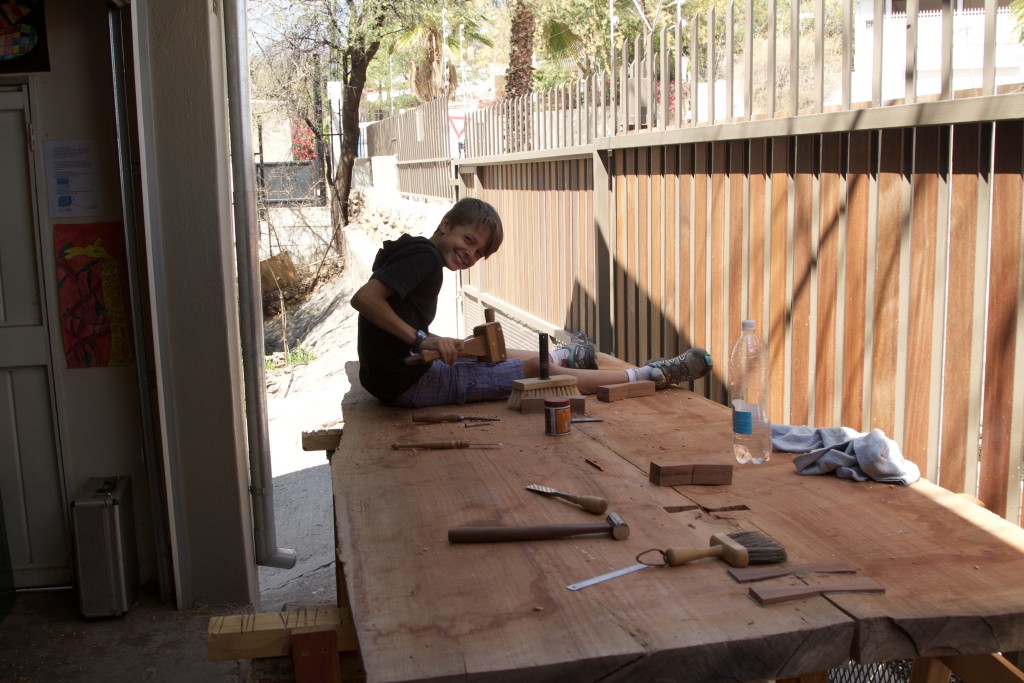
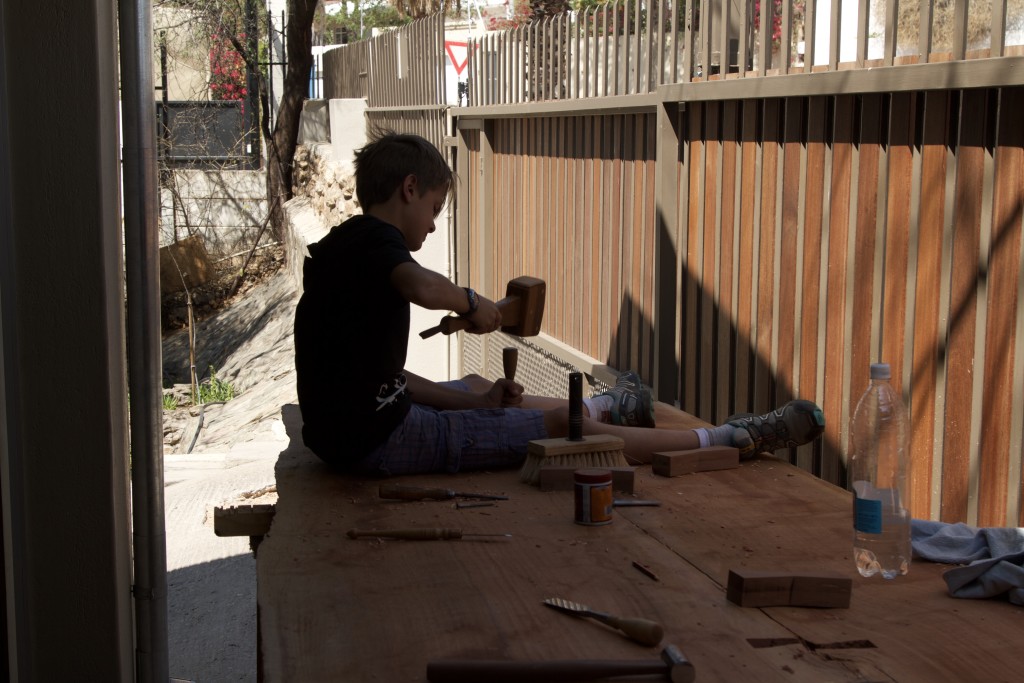
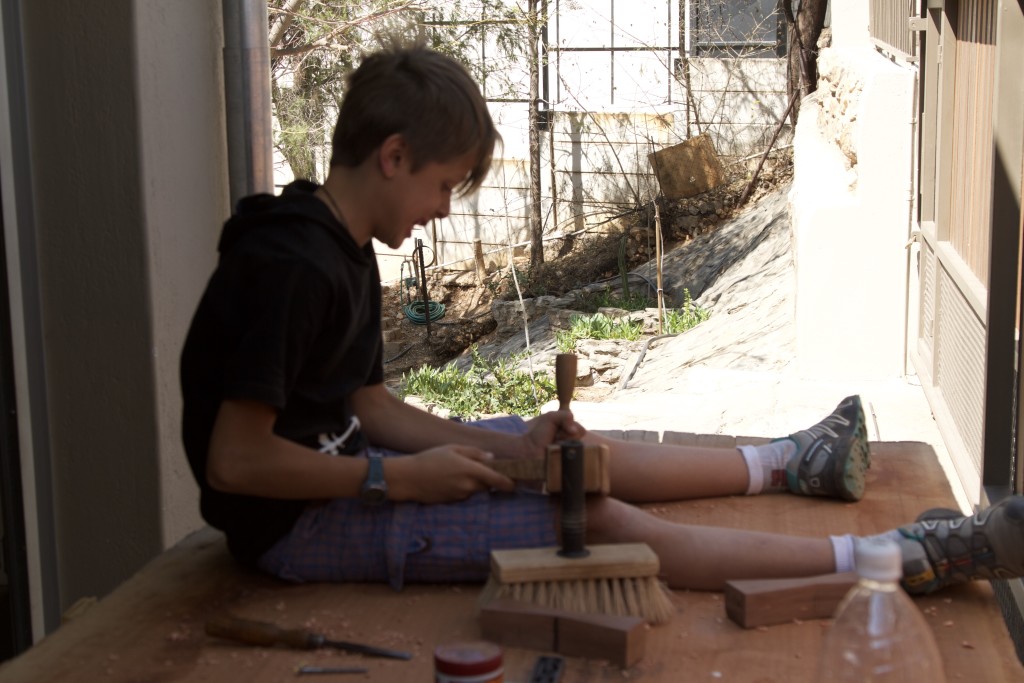
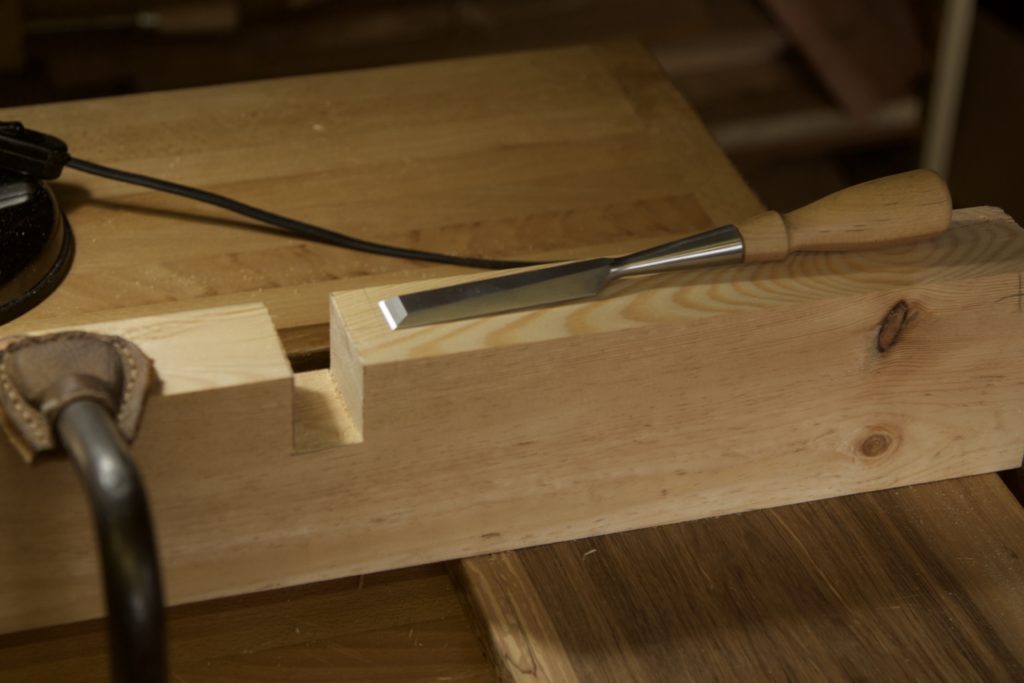
The rest of the waste were chopped out using chisels and a hammer.

img_7572img_7578img_7579img_7580img_7566img_7567img_7568img_7569img_7570img_7571

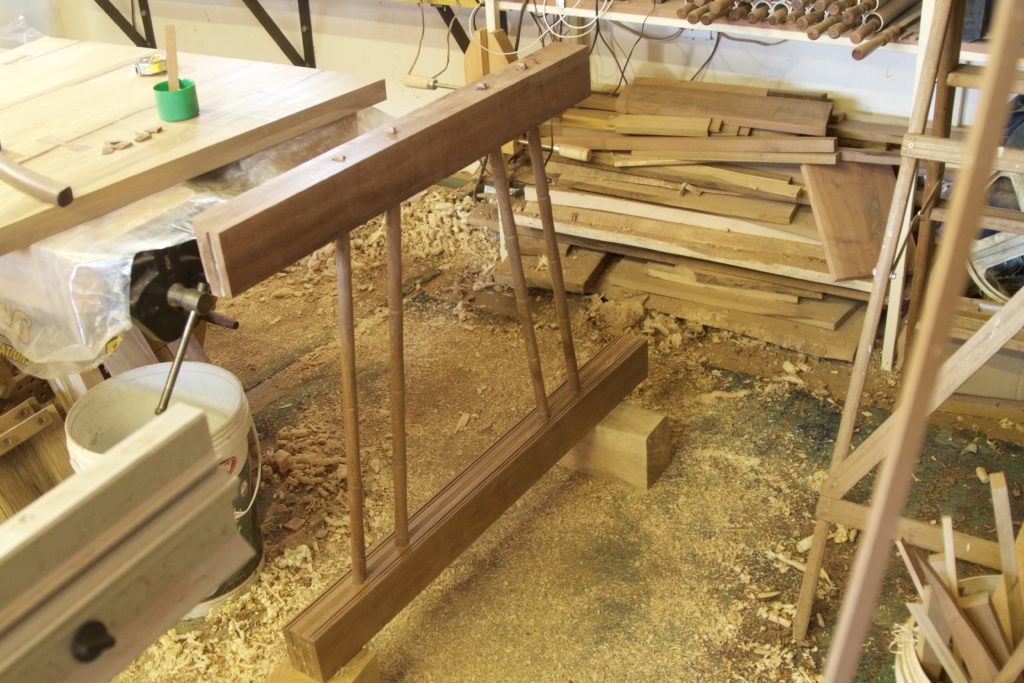
Next up were the two beams that connect the two leg assemblies.

img_7598
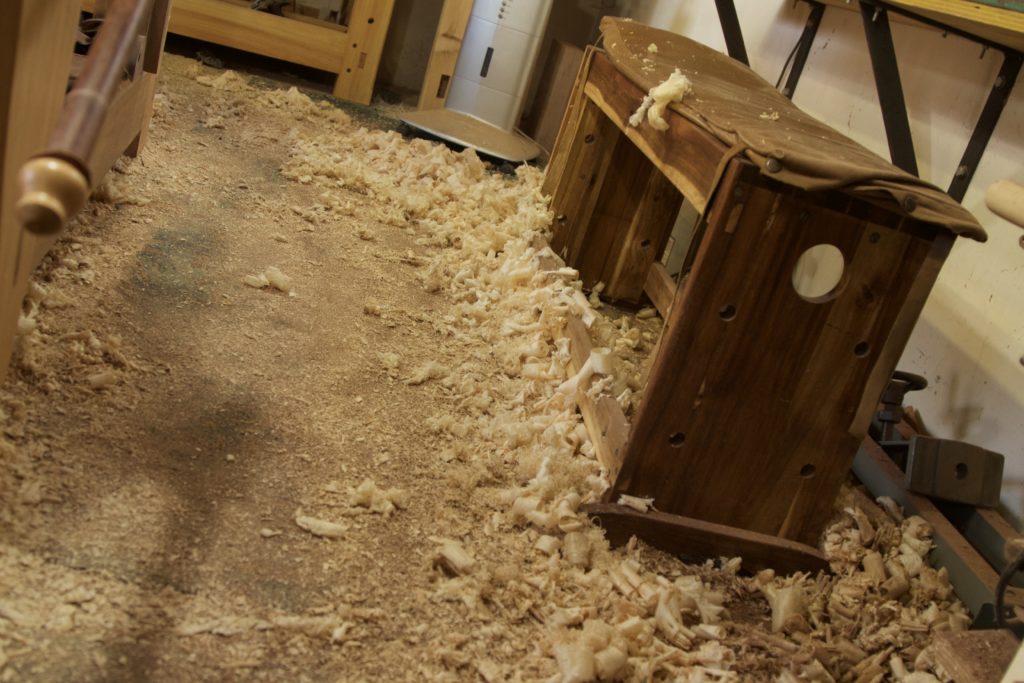
This is what the shop floor looks like after serious hand planing (in 35 degrees celsius weather I might add).

img_7591img_7592img_7601img_7602img_7603img_7605img_7606img_7607img_7608

Aoife came for a visit to the shop and took some photos. Her right hand is not nearly back to normal (after the drama we had in February), but managed to get a few in focus.

img_7646img_7653img_7656img_7659

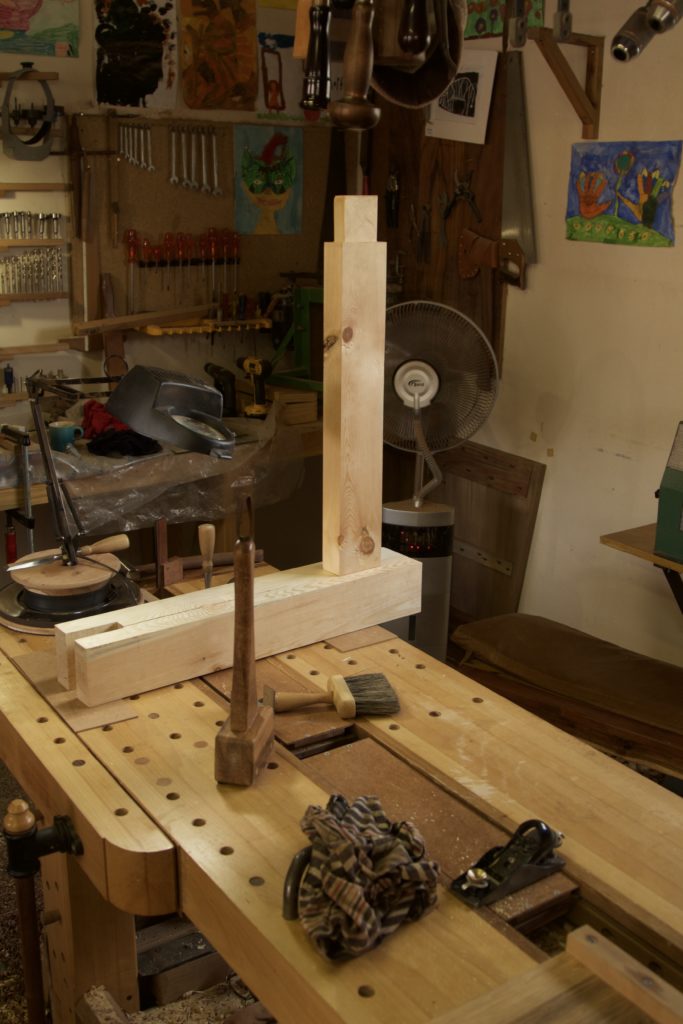
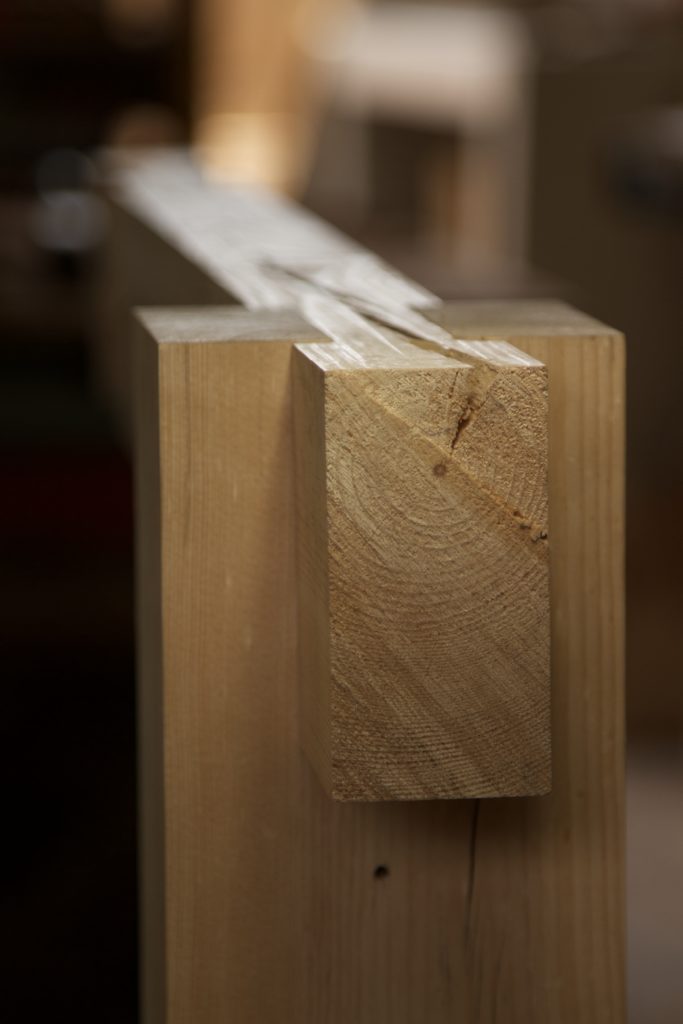
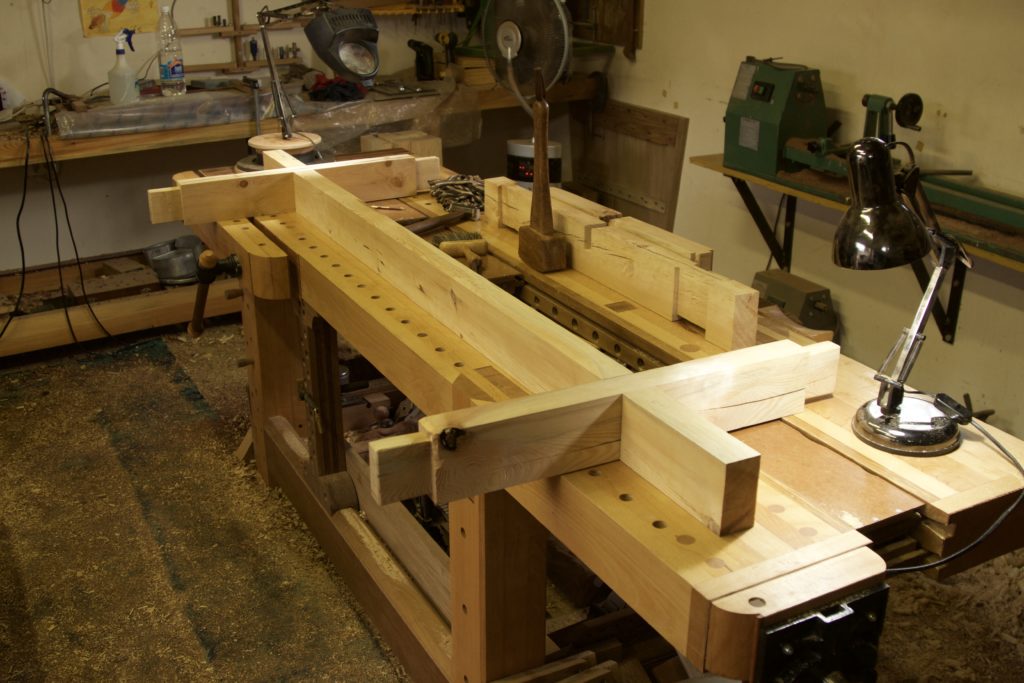
These long beams slot into each apron/stretcher with a type of cross lap joint. In the pictures below I am marking out the exact location of the slot in the stretcher/apron.

img_7660img_7662img_7663img_7664

Followed by cutting the slot, …

img_7669img_7672img_7674img_7675img_7671img_7676

… which allows the two parts to lock together.

img_7678

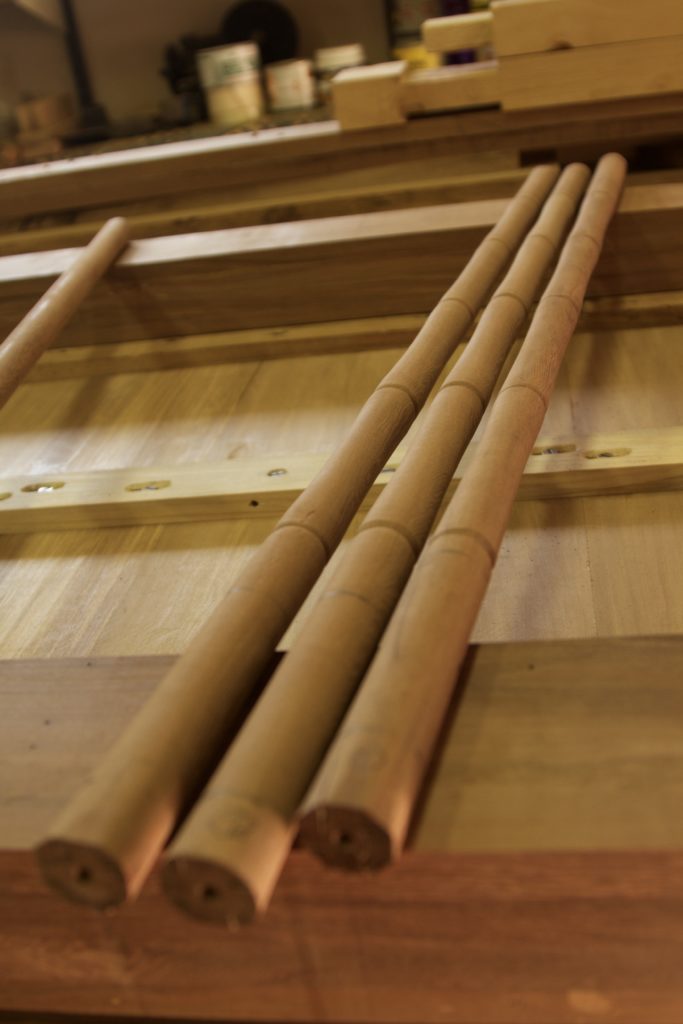
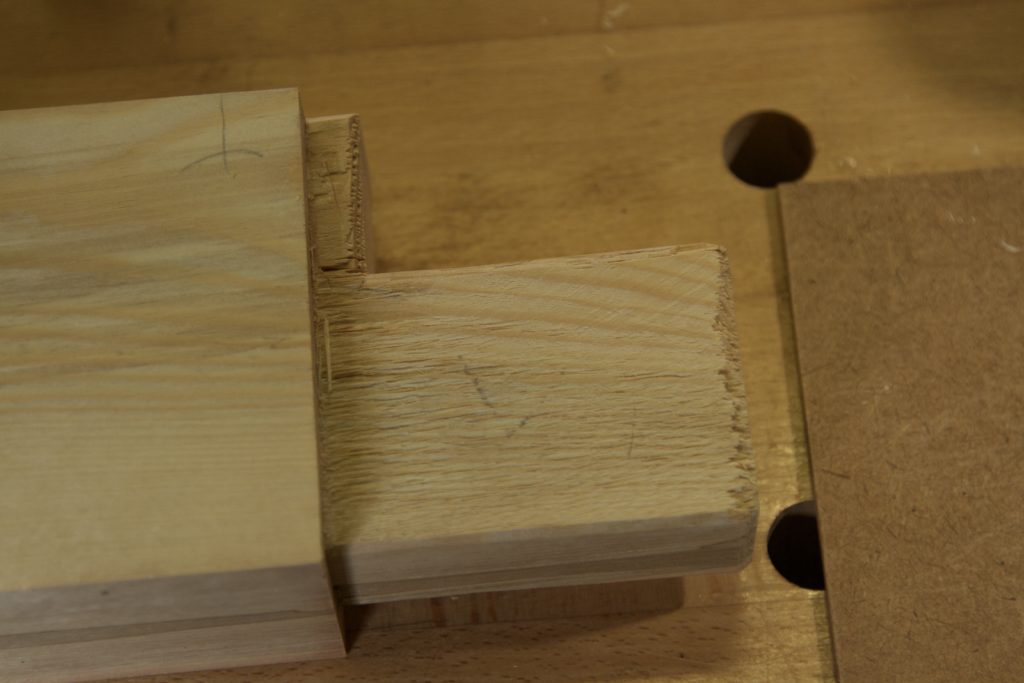
I then drilled the holes for the drawbore pegs. As you might remember I like producing my own custom dowels for this purposed. I prefer using Assegaai (Curtisia dentata) for this as it has all the ideal properties. I use a Stanley no. 77 dowel machine with a ½” cutter head. In the pictures below I am using a ½” brad point drill bit to mark the exact location of the holes in the leg on the tenons of the stretcher/aprons. This mark can then be used to offset the hole through the tenon. Basically you move the hole through the tenon a smidgen closer to the shoulder, which allows the peg to draw the tenon into the mortise when it is driven home.

img_7696img_7697img_7699

In these pictures I am busy chamfering the edges of the legs using two block planes. The one is tune to take heavy shavings and the other for very light shavings. The bulk of the timber is removed with the heavy cuts followed by a few fine cuts to leave a perfect surface. I simply run two lines parallel to the edge and plane to the line. Doing this task by hand is one of the most therapeutic in my experience.

img_7700img_7702img_7706img_7703img_7704

Bosch find

7/11/2016

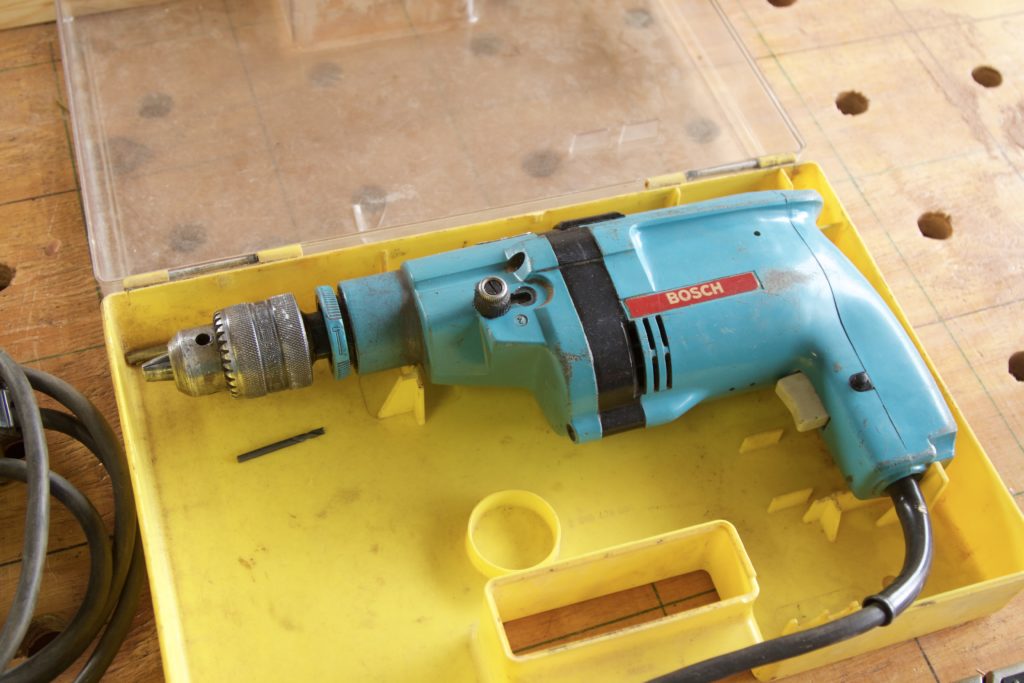
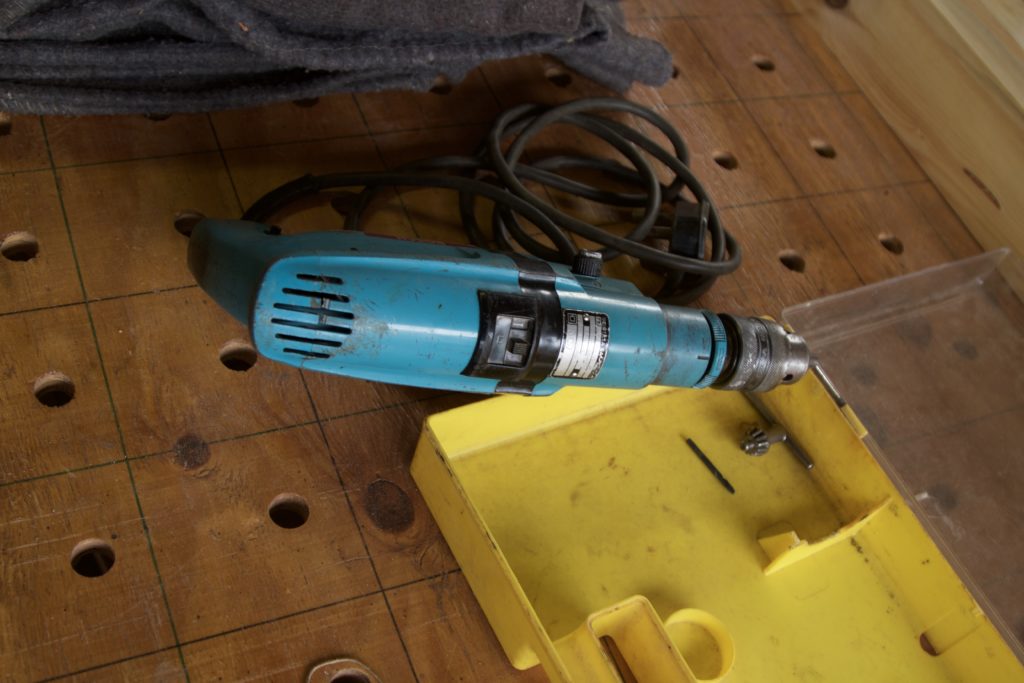
As I have written ad nauseum in the past, Namibia is not a particularly Utopian wasteland for tool collectors. It was thus with some surprise that I found this old Bosch drill in quite an exceptional condition at an Antiques Shop in Swakopmund. I already have two old corded hand drills given to me by my father, but wanted to buy this one for my son. At the equivalent of US$36 it was not going to break the bank either, so why not?

Clearly this drill seems to be from an era prior to the dark blue and green colours used by Bosch in more recent years. What I want to find out from all you tool aficionados is, how old is this drill and would it be considered to be any good? Yes Bob I am referring to people like you who has an embarrassing amount of knowledge on tools of any description.

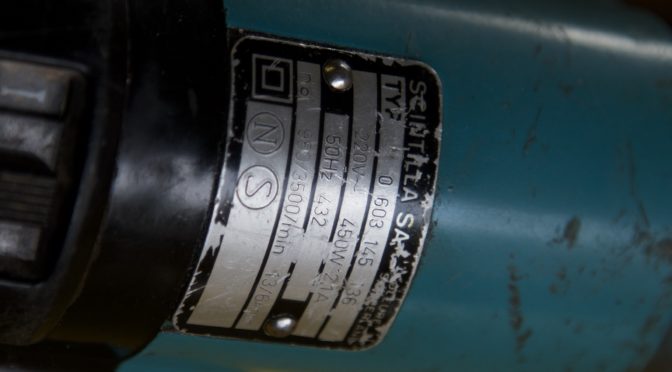
It has “Scintilla SA” and “Switzerland” on the metal label. Maybe that helps.

I would appreciate any info to help know a bit more about the history of these drills.

img_7633img_7637img_7636img_7635