Upgrades to my split-top Roubo bench

21/1/2016

It is almost a year since I finished my first Rouboesque bench, which gave me ample opportunity to see which design features works for me and which does not. One of several reasons (discussed in detail in this post) why I decided to go with a split-top design was to be able to have easy access to clamp work using f-style clamps along the centre of the bench. I therefore sized the sliding tool trays in such a way that there would always be gaps between them for the above mentioned clamping activities.

What has become apparent over the past year is that although this is a very handy feature I do not need it all that often due to the number and positioning of the holdfast/dog holes. I am able to use holdfasts for 95% of that type of work holding. To add to that, the gaps between the sliding tool trays constantly threaten to swallow tools which the end up crashing into the planes on the shelve below the bench top.

For these reasons I came up with a fairly easy solution. I made two gap fillers that can easily be removed. The pictures should make it clear how it works. The bigger one of the two now act as a more traditional type tool tray that can hold plenty of tools below the surface of the bench top. These gap-fillers do not interfere with the sliding tool trays at the top, which can still slide to expose the tool trays below them.

I hope that the series of photos that follows will make it clear how these minor tweaks prevent the bench from swallowing tools yet retains easy access for clamps when needed.

IMG_6007IMG_6008IMG_6009IMG_6010IMG_6011IMG_6012IMG_6014IMG_6015IMG_6016IMG_6017IMG_6019IMG_6020IMG_6022IMG_6024

Shop made reamer and tenon cutter

25/1/2016

I am currently  in an unwanted limbo phase in my shop. My electrical planer was sent to a workshop to get fixed end of last year with the idea that they can get it sorted while I am away on holiday. Unfortunately the curse of Namibia has befallen the planer. They are waiting for parts from some other godforsaken place before they can finish the job. That has forced me to keep myself busy with some of those little jobs that you keep on putting off while working on bigger projects.

One of the fairly quick projects I got stuck into on the weekend was to build a reamer and tenon cutter set. I bought an electronic version of Christopher Schwarz’s new book “The Anarchist Design Book” (highly recommended by the way) last week, which reminded me that I wanted to build such a set. A few people have already written stuff on the detail of how to build such a reamer so I will not repeat all that. Here are a few links that I found helpful.

Greenwoodworking

Peter Galbert

Tim Manney

Gluing Assegaai (Curtisia dentata) for the reamer.

IMG_6026

While that was curing, I used a piece of hacksaw blade to shape the blade. It seems that most of the authorities (including the Schwarz) prefer a 6° angle for the blade. That is exactly what I decided on. It took ages to shape this blade as it is ridiculously hard and I did not want to ruin the temper.

IMG_6035IMG_6036IMG_6037IMG_6050

The next day the Assegaai shaft was turned on the lathe.

IMG_6051

The most frightening thing about making one of these reamers is cutting the kerf to accommodate the blade. The only handsaw I own that would be able to cut such a deep rip is my humungous Disston no. 12 26″ 6 tpi. Now imagine cutting such a precise kerf in a relatively delicate piece of wood with a saw like that. I had to first consume a few drops of usquebaugh before making the cut.

IMG_6052IMG_6053

… and Bob’s your uncle!

IMG_6060IMG_6057

Then the idea is to use your new reamer to produce a perfectly matched conical tenon cutter. For this purpose I went foraging for a suitable blade. Was I not over the moon to find this beauty. One of the dilapidated old wooden planes I bought some time ago for decorative purposes happened to sport this blade/chipbreaker combination. As you can see we have a Robt Sorby blade with a A. Mathieson & Son chipbreaker.  As far as I know, this is seriously good stuff.

IMG_6038IMG_6039IMG_6042IMG_6040IMG_6041

Scrap piece of Tasmanian Blackwood.

IMG_6063

5/8″ hole drilled through it.

IMG_6064

Reamed out to the point where the blade is only just touching the edges of the far side of the hole.

IMG_6065

Despite cutting a type of escape rout for the shavings in front of the blade (as recommended by the gurus), I found that you have to stop quite often to remove clogged up debris.  Despite that it is a legend of a tool to use. You have perfect control and no loud noise or dust to contend with.

IMG_6068IMG_6067

I think I need to get a few more pointers from Jonathan White (The Bench Blog) on photography, because I could for the life of me not capture this nicely. The reamer managed to ream out a hole that has sidewalls as smooth as the usquebaugh I consumed earlier. I had to put on sunglasses to deal with the glare of the midsummer sun rays bouncing off of it.

IMG_6072

Opening up the hole carefully by planing away the waste. Initially quite aggressively so.

IMG_6073IMG_6074IMG_6075

Then quite carefully with my David Charlesworth powered no 5½.

IMG_6076IMG_6078IMG_6081IMG_6082

I used the following methode to secure the blade into position.

IMG_6087IMG_6088IMG_6089IMG_6090

Then you only need to turn a dummy tenon as close to the correct size/shape as possible on your lathe. The dummy becomes the first victim of your tenon cutter and can be used as a guide to check your progress while reaming mortises in future.

OK, time for some more usquebaugh.

IMG_6103IMG_6104IMG_6105IMG_6106

Holiday tool finds

11/1/2016

After my (by now) usual antique shop rounds in the Garden Route area  during December, these are the fruits of my looting.

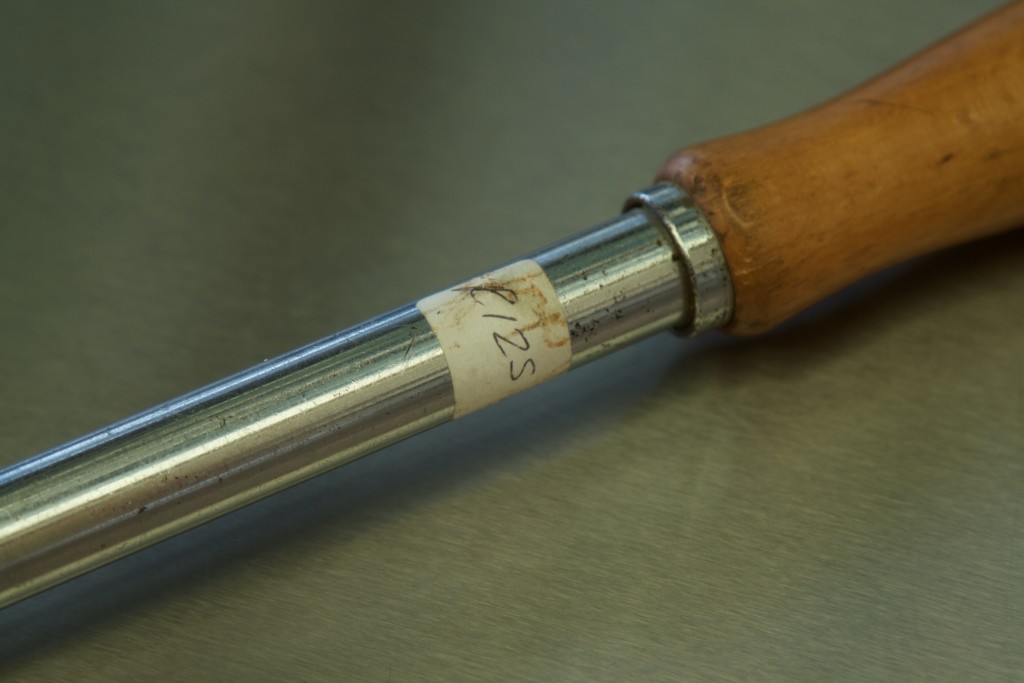
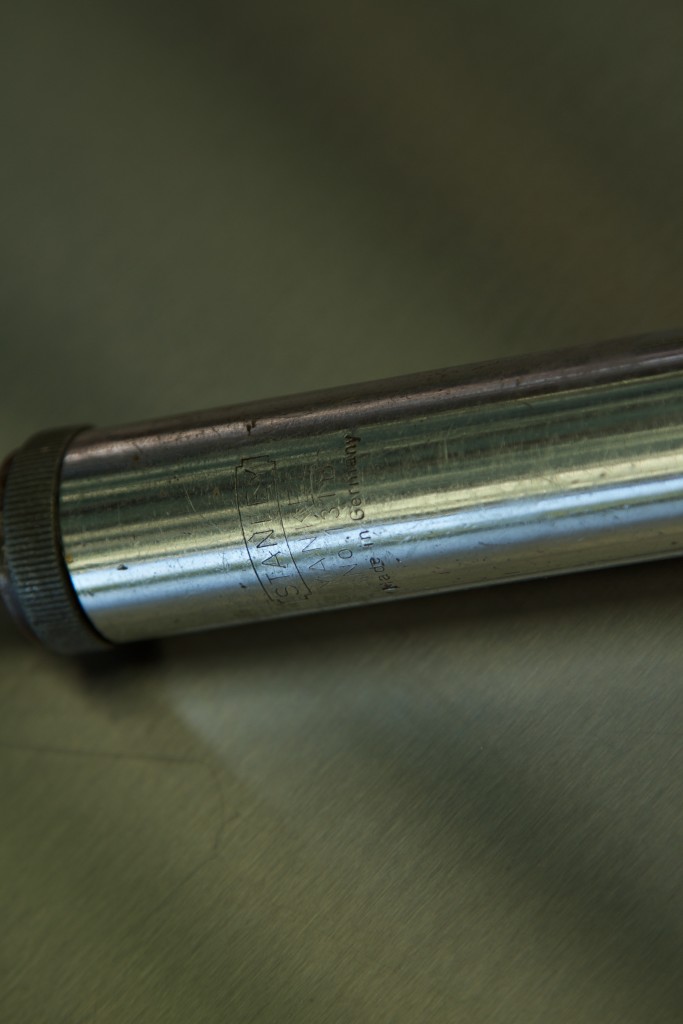
A no. 131B Yankee ratcheting screwdriver.

I already have two of these so this one will probably become the property of one of my young apprentices, Connor Burmeister-Nel. It has both the Stanley and Yankee brandnames on it and was made in Germany, which means that it was definitely made after 1946 when Stanley bought out North Brothers. It is the first one I see that was made in Germany, so I asked Robert Demers of The Valley Woodworker to investigate what that means in terms of it’s age. (Bob has subsequently published this excellent article on the topic)

The other no.131’s I own were both made in the UK. One of those also sport both brand names and the other has only the Stanley brand name. The latter screwdriver also has a plastic handle which is not nearly as nice to work with as the wooden handles on the other two. What that one has going for it however is that it was bought new by my father-in-law back in 1978. It will therefore become my son Didi’s “Yankee”. I bought the pictured Yankee for US$ 7.41 on todays exchange rate.
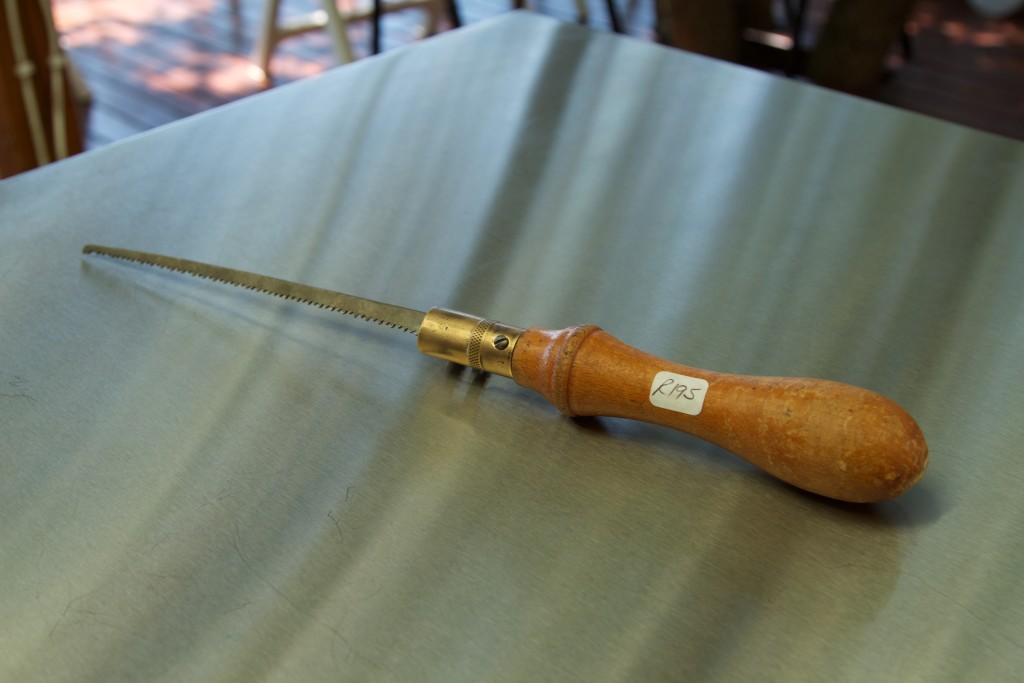
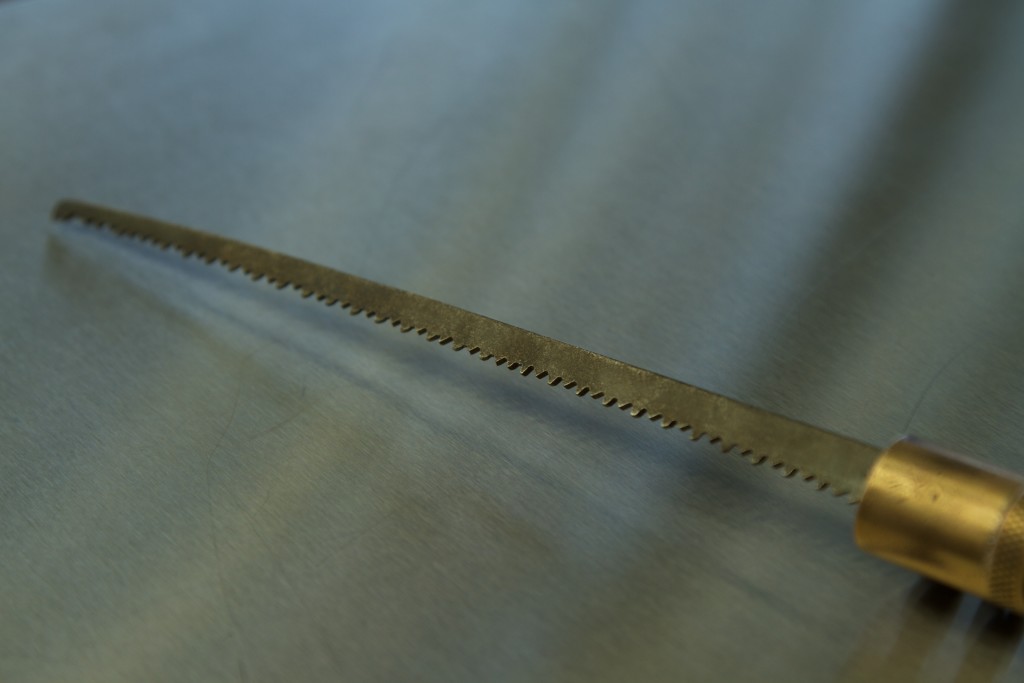
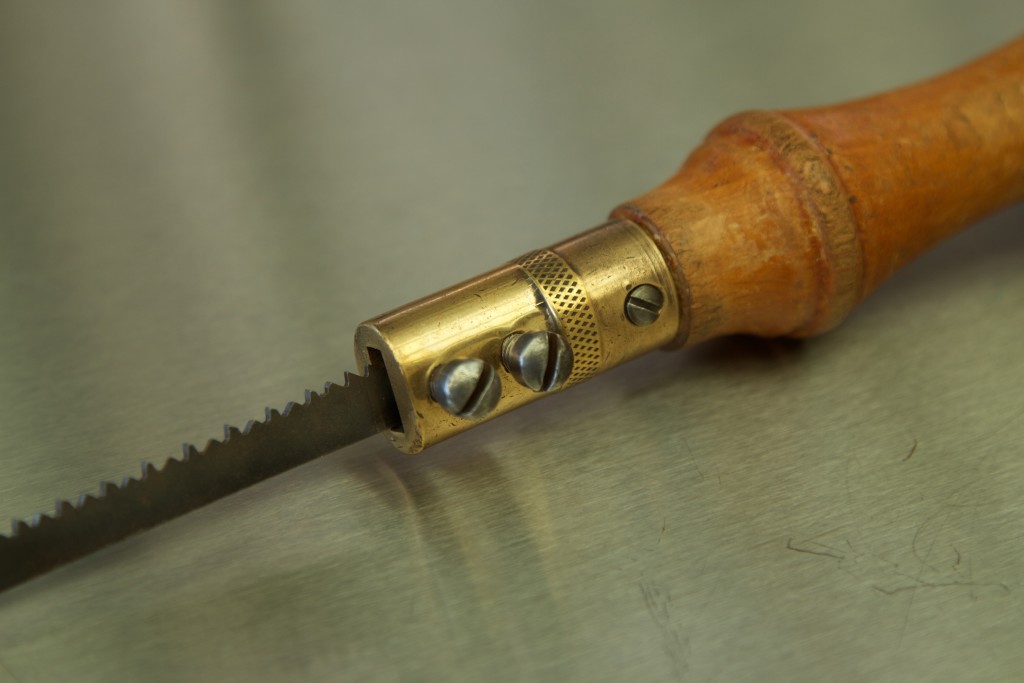
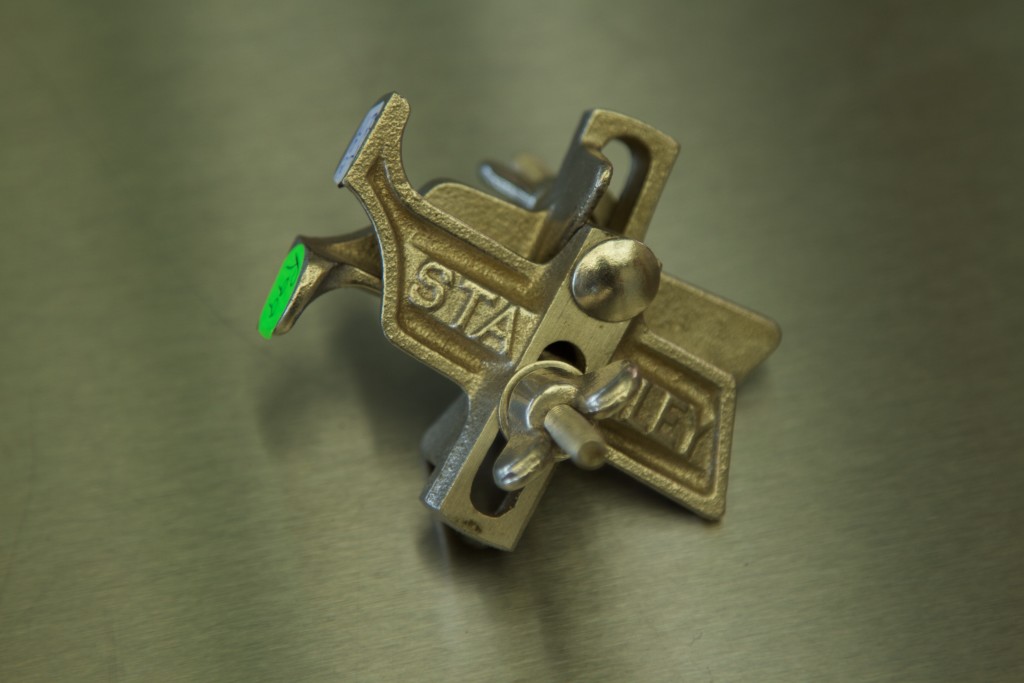
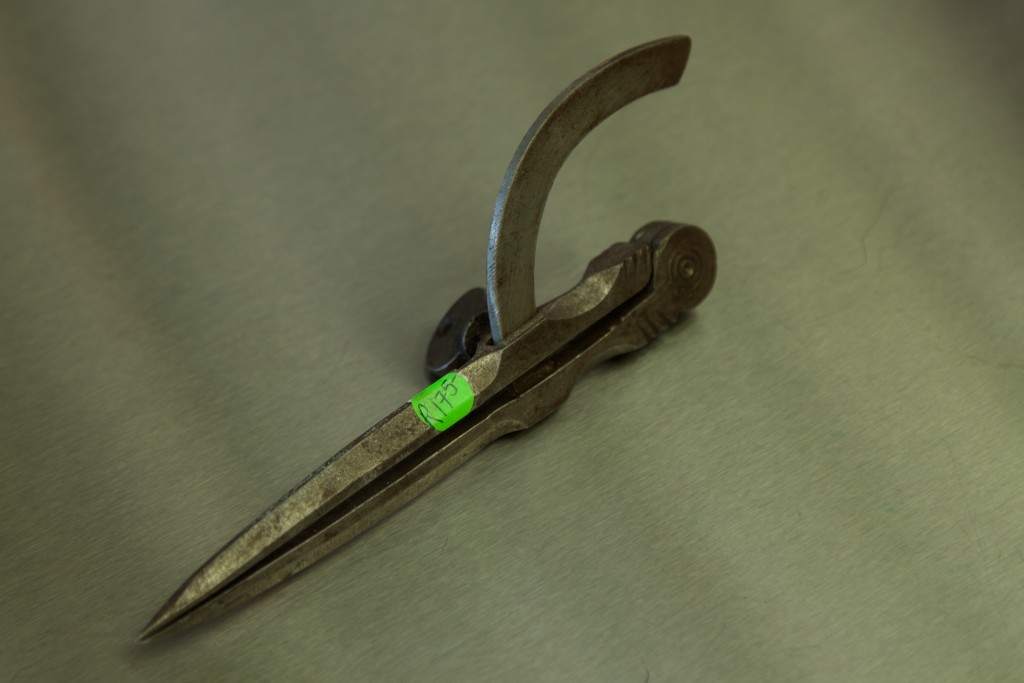
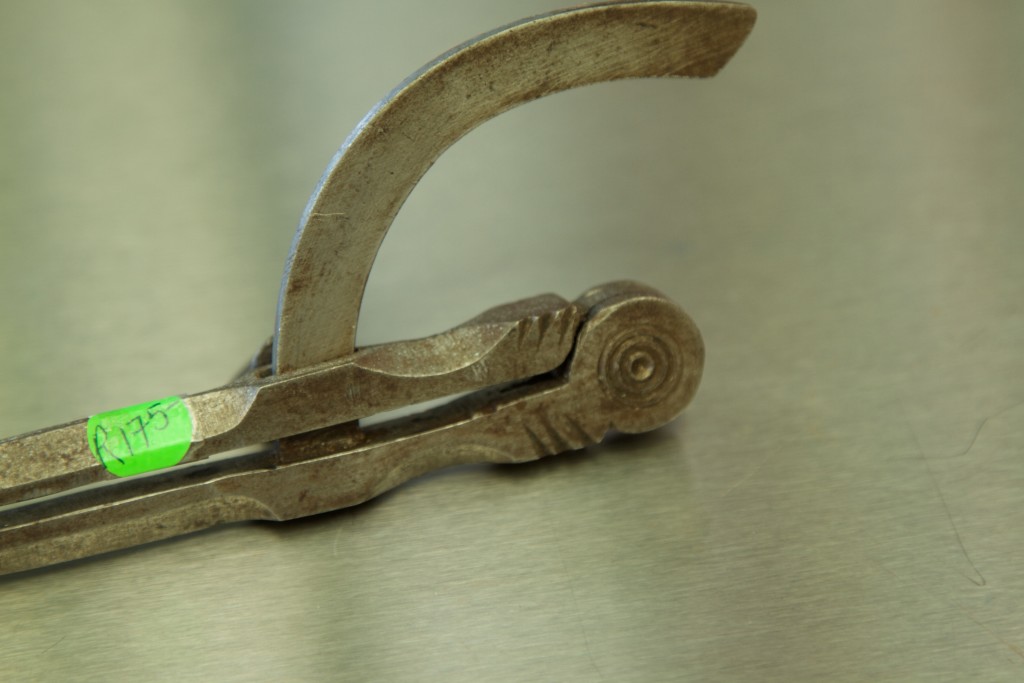
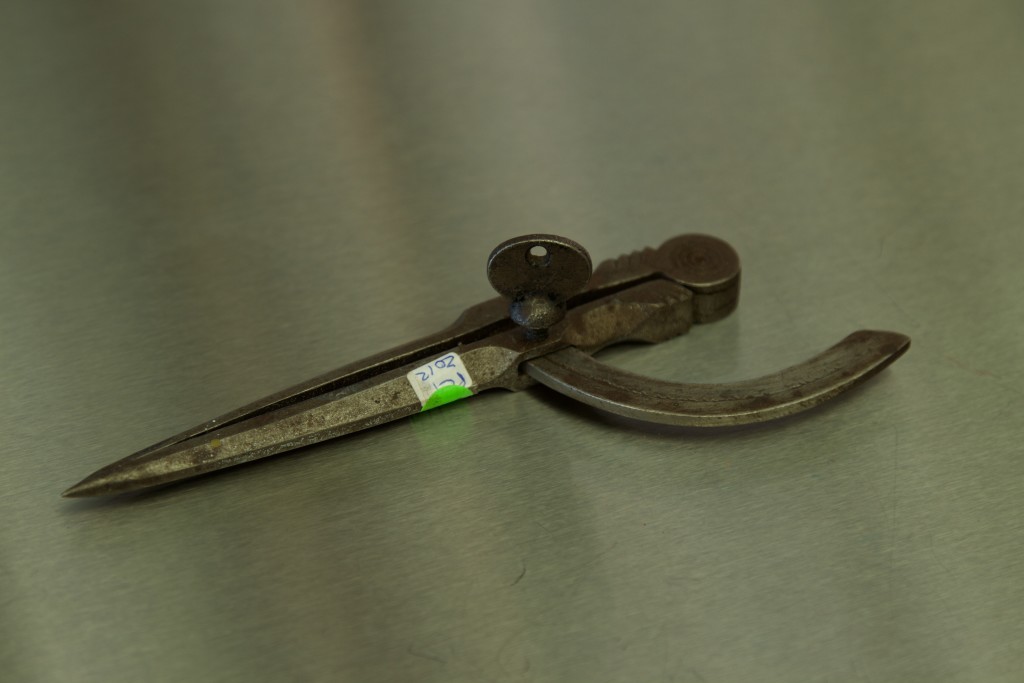
IMG_5758IMG_5760IMG_5761IMG_5762

A key hole saw

At least that is what I think it is called. It has no makers mark, a very nice brass thingy (once again JNSQ woodworking delivers cutting edge technical terminology)  that holds the blade and a Beech handle. My guess is that it is British in origin. (US$ 10,38)

IMG_5763IMG_5764IMG_5765IMG_5766IMG_5767IMG_5768IMG_5769IMG_5770

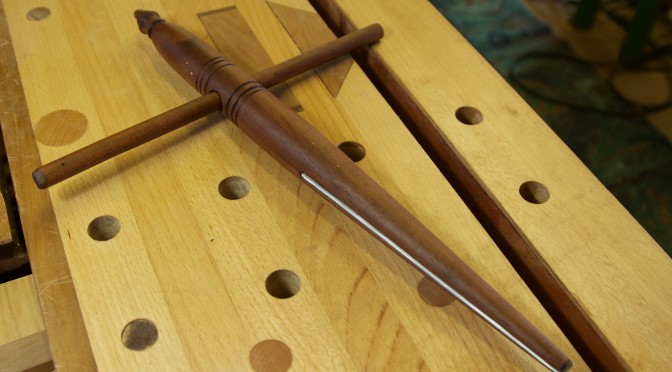
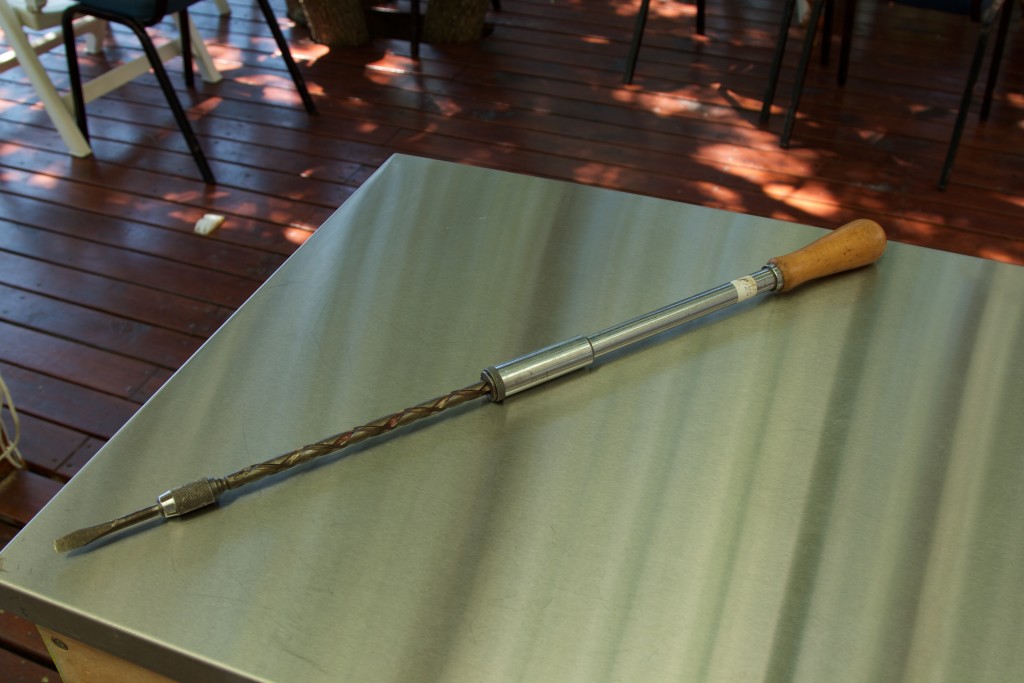
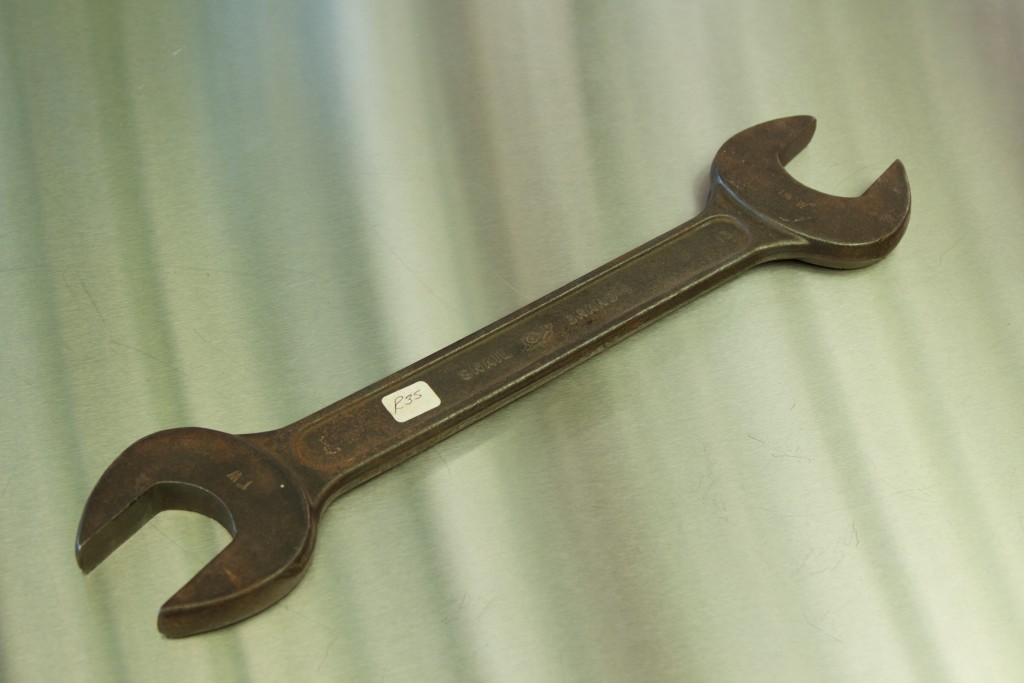
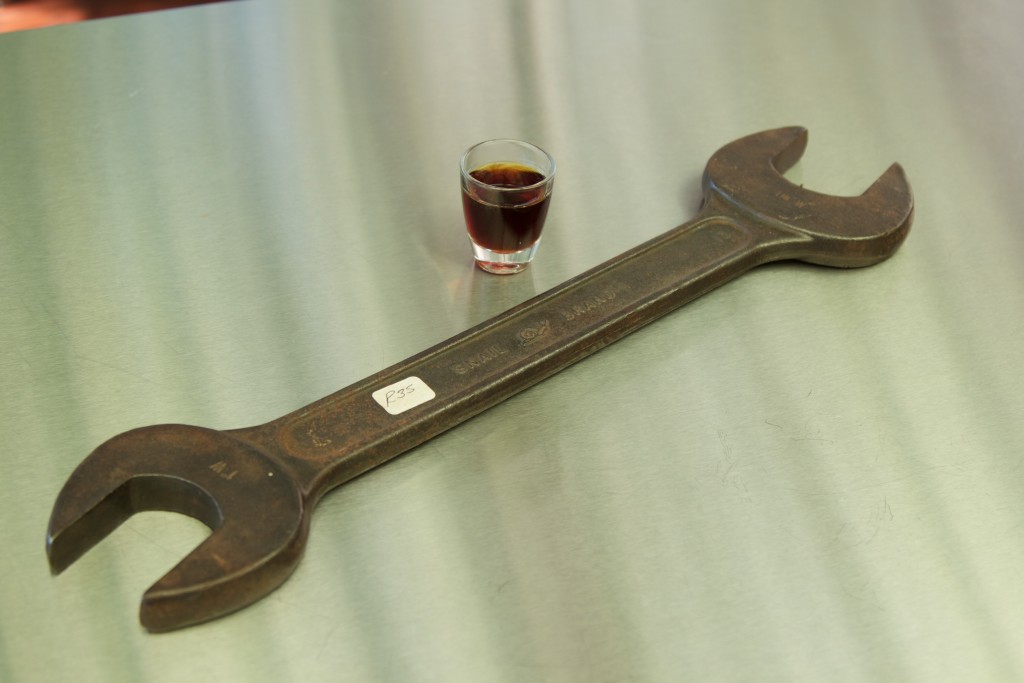
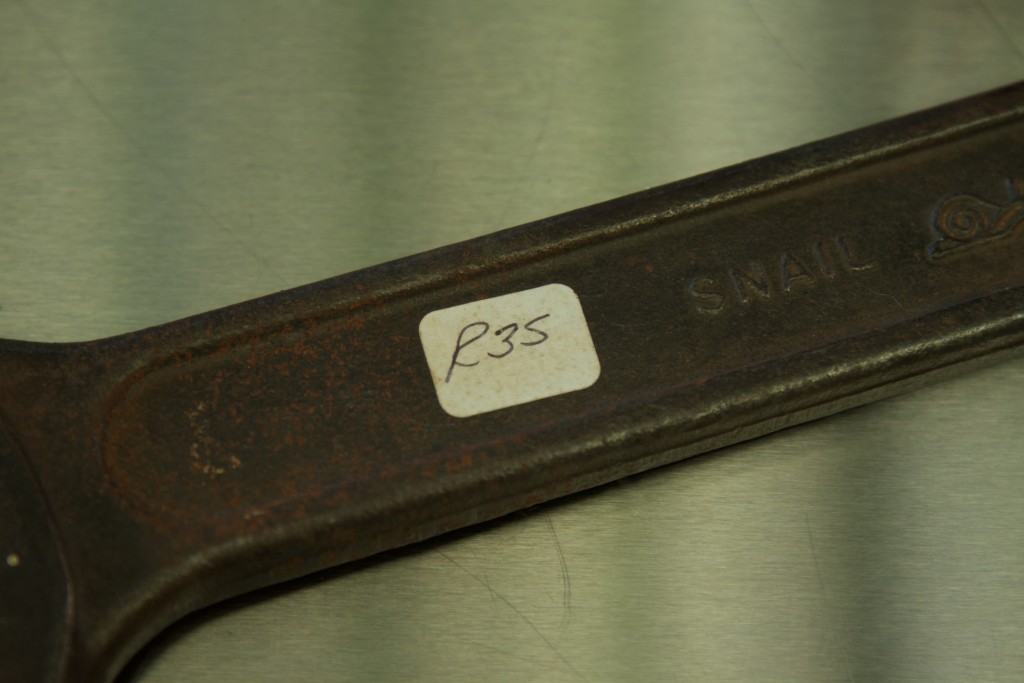
I bought this spanner for decoration purposes only. It is massive to say the least. It is striking a pose with a shot glass loaded with Jaegermeister. (US$ 2,08 The metal must be worth more than that)

IMG_5771IMG_5772IMG_5773IMG_5774IMG_5775

Rabone 3′ two fold boxwood rule

It looks to be pretty much unused. (US$ 11.56)

IMG_5779IMG_5781IMG_5780

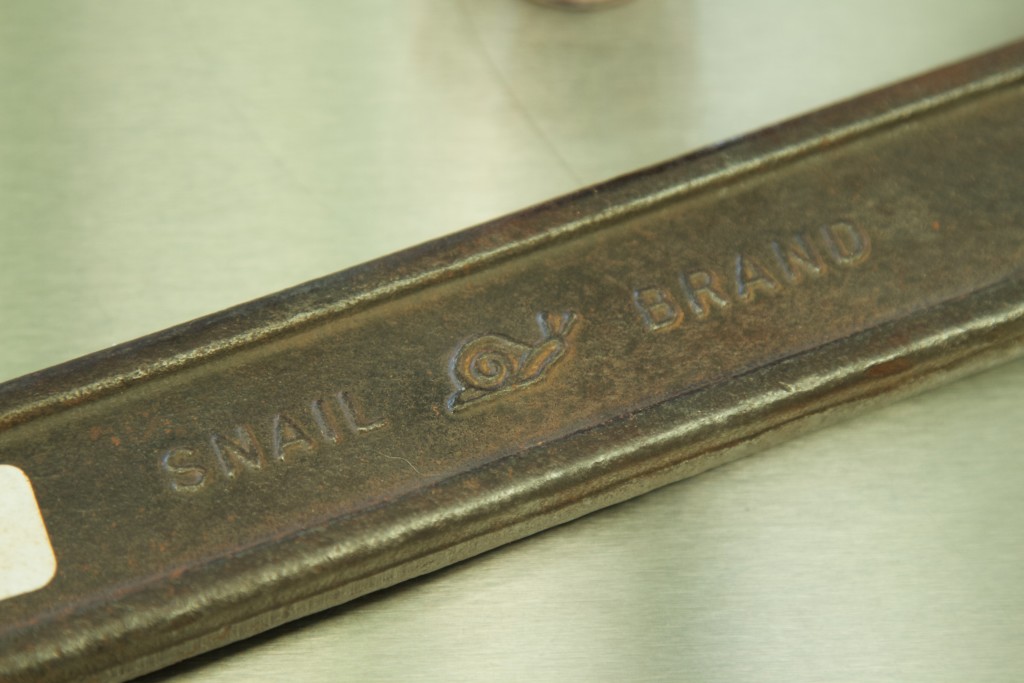
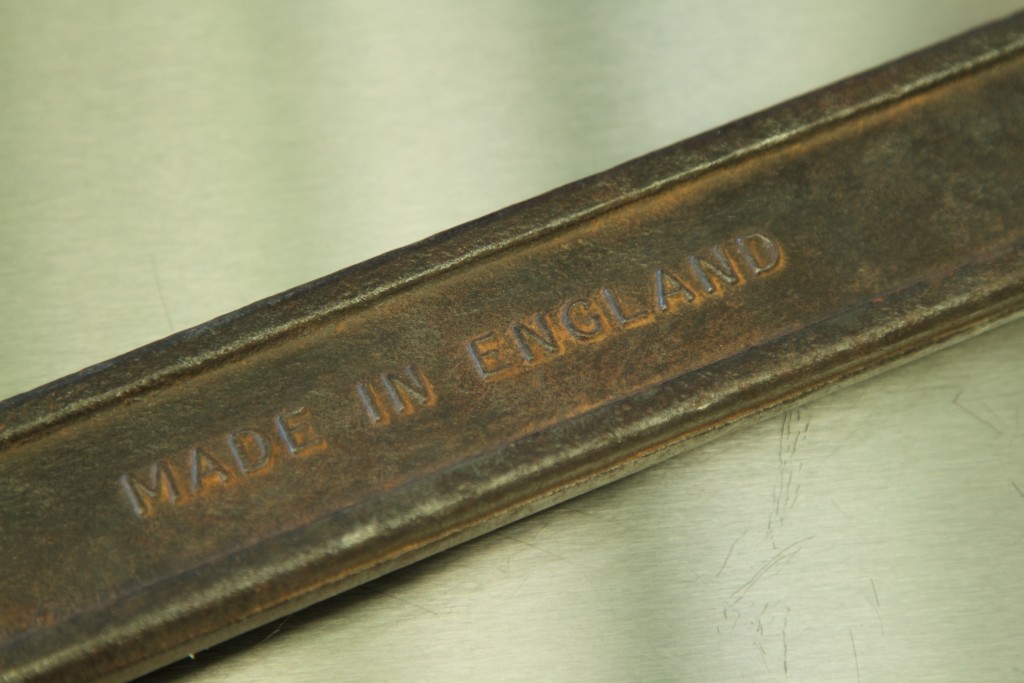
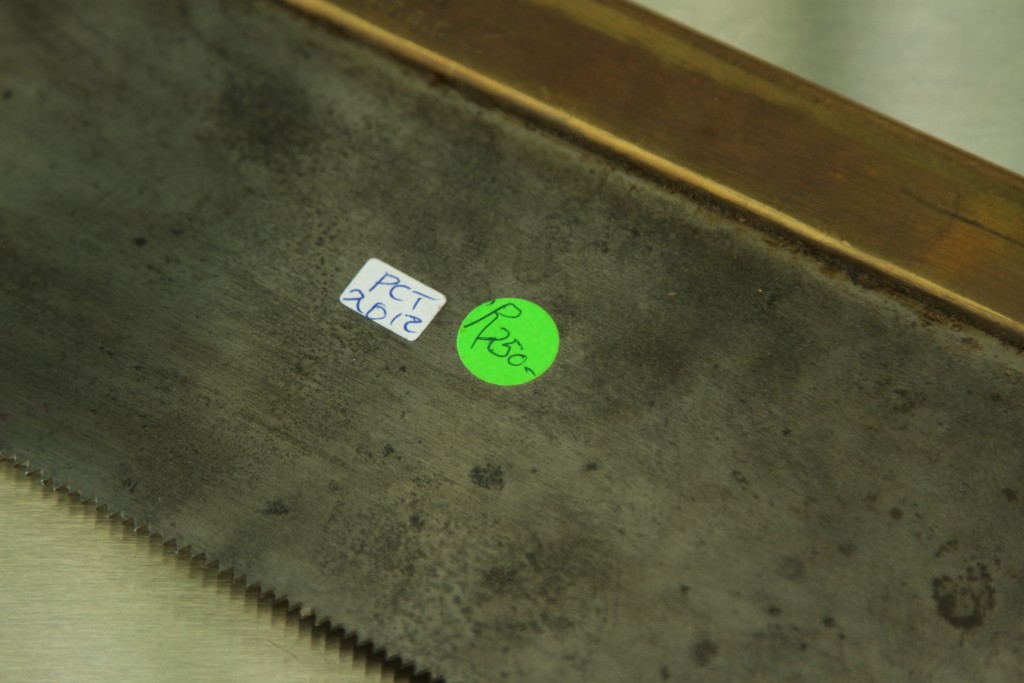
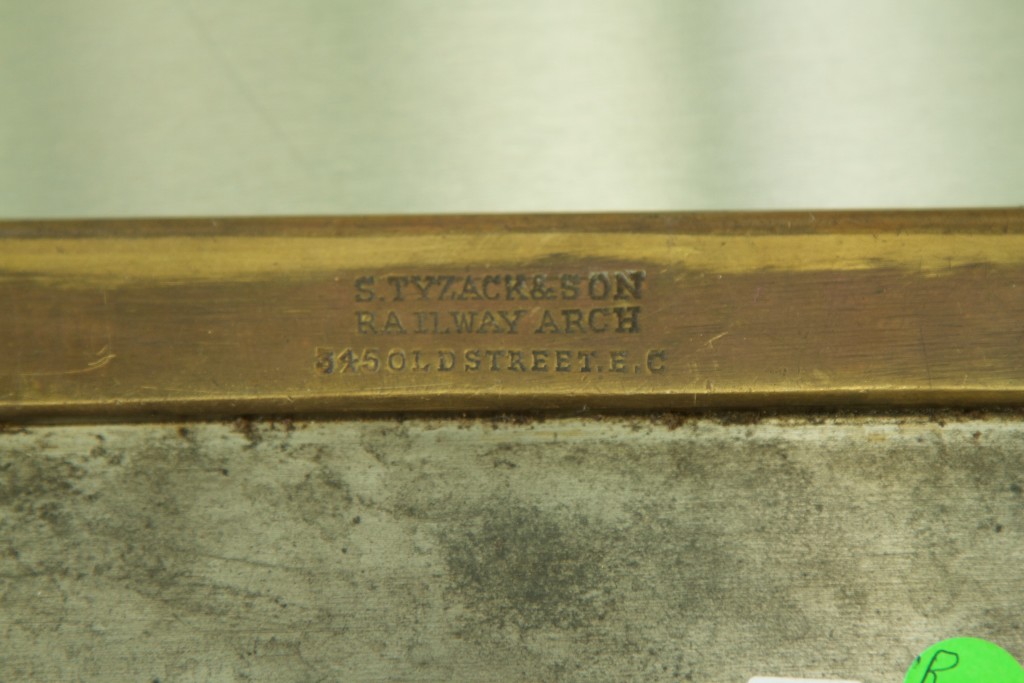
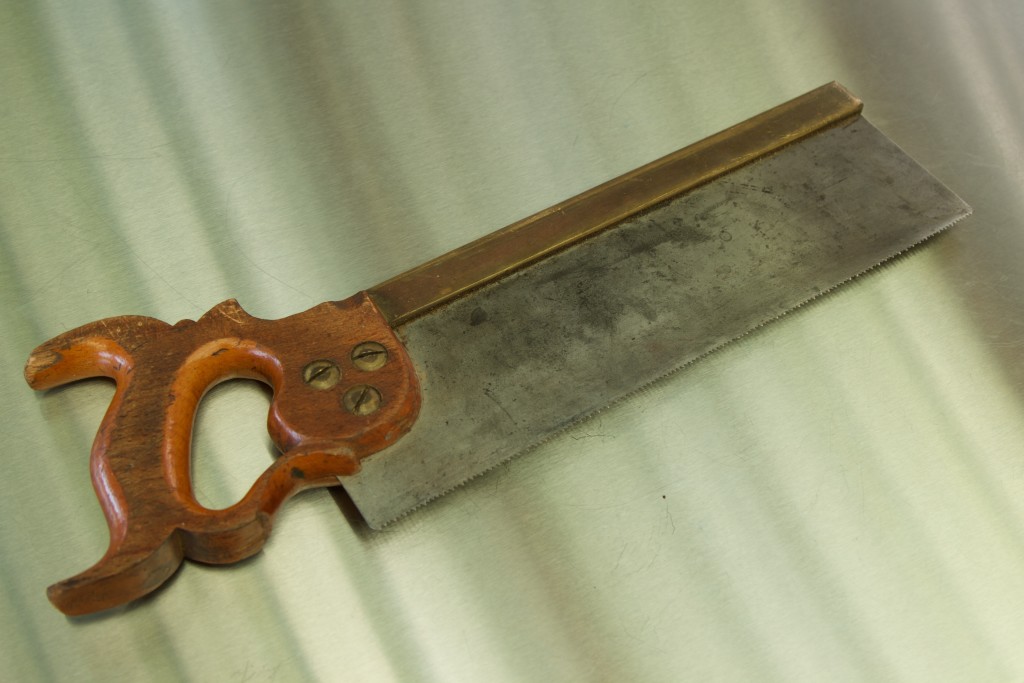
S. Tyzack & Son back saw

It is in a very good condition and will make a very fine user after some minor rehab. I plan to joint and resharpen. I paid US14,82 and from the looks of it, it must be worth at least US$ 100. If anyone has more intimate knowledge of these saws and their history I would love to hear from them.

IMG_5782IMG_5783IMG_5784IMG_5785IMG_5786IMG_5787

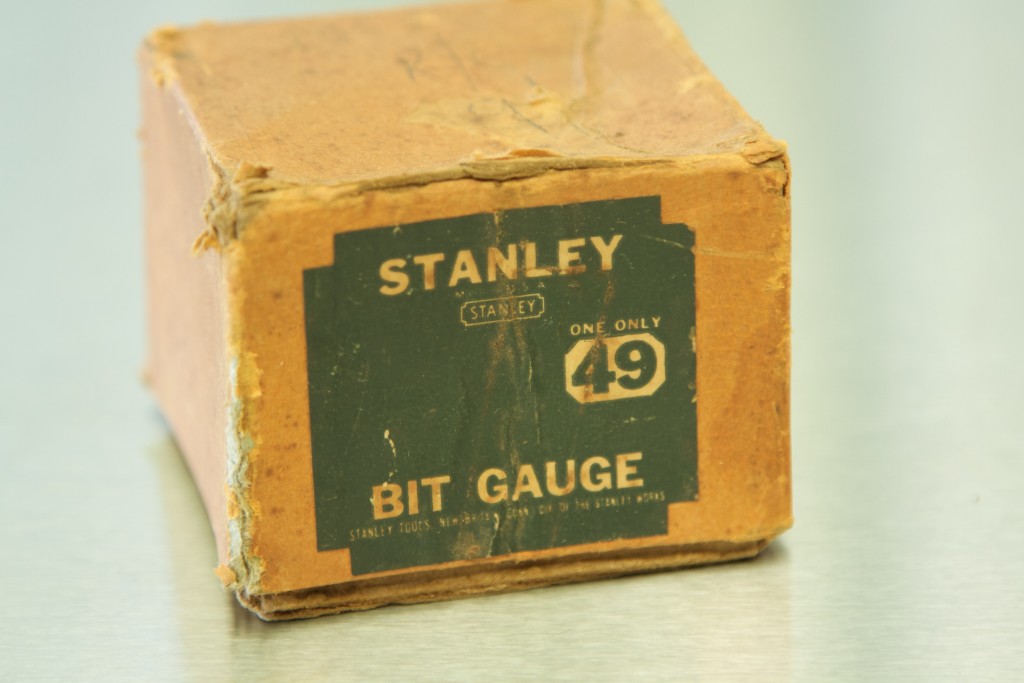
Stanley no. 49 bit gauge in original box

It is clearly brand new/unused. They are used a stop gauge on one’s auger bits. (US$ 5,87)

IMG_5788IMG_5789IMG_5790IMG_5791

Handmade 6″ dividers (US$ 10,38)

IMG_5792IMG_5793IMG_5794

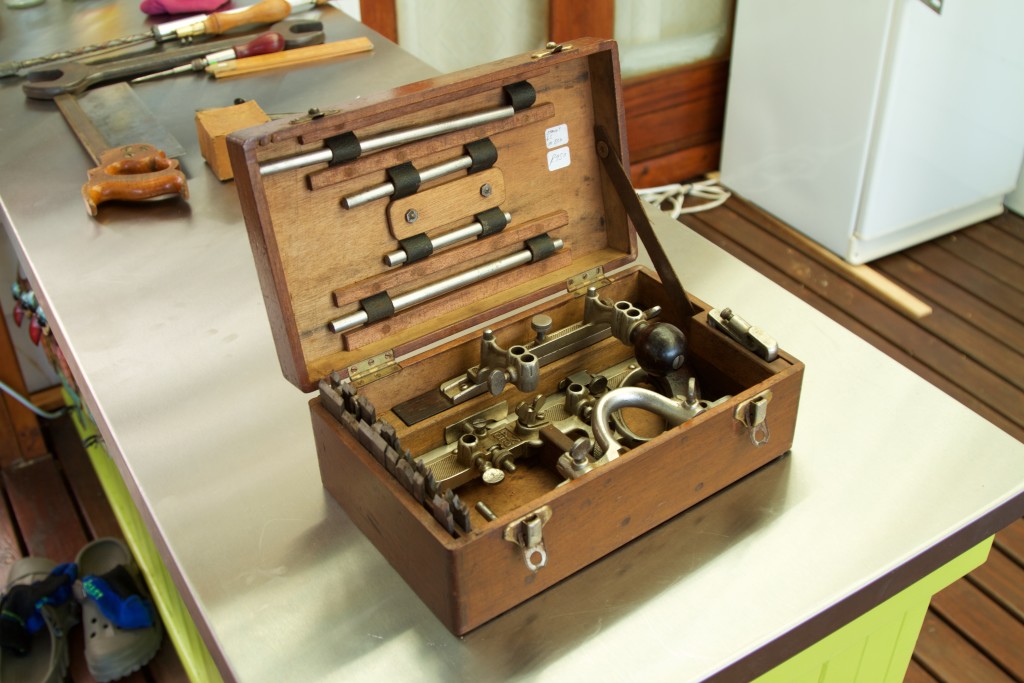
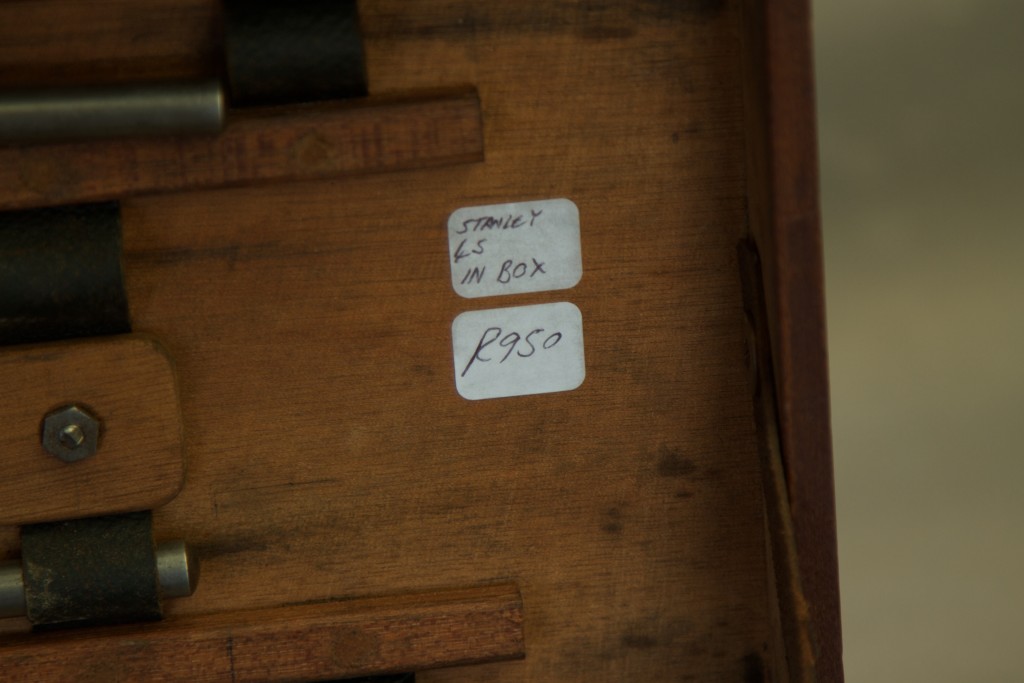
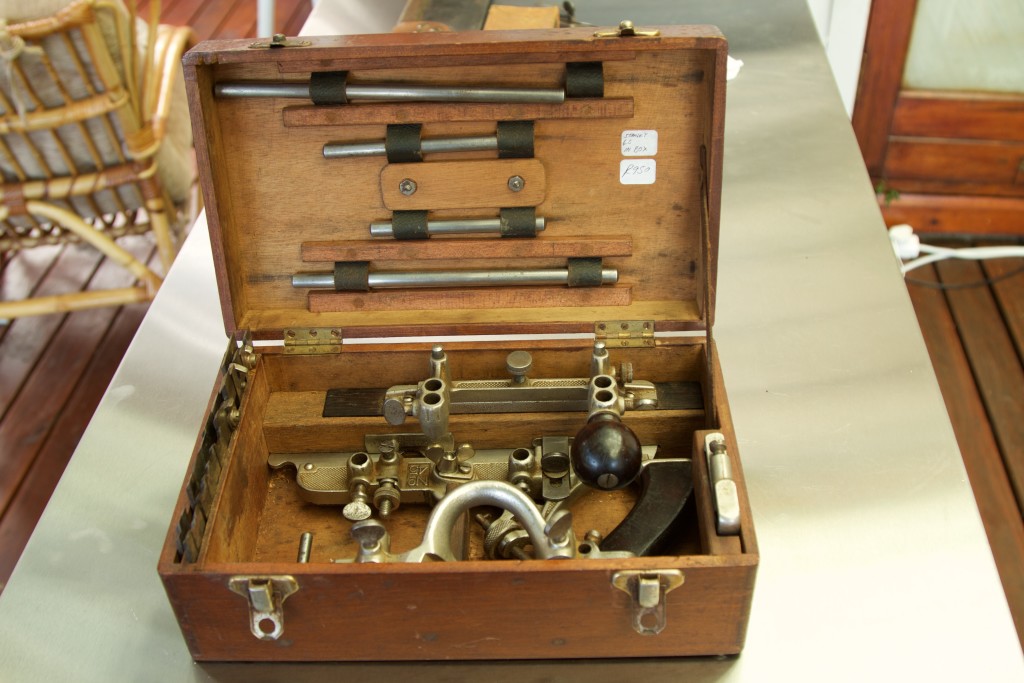
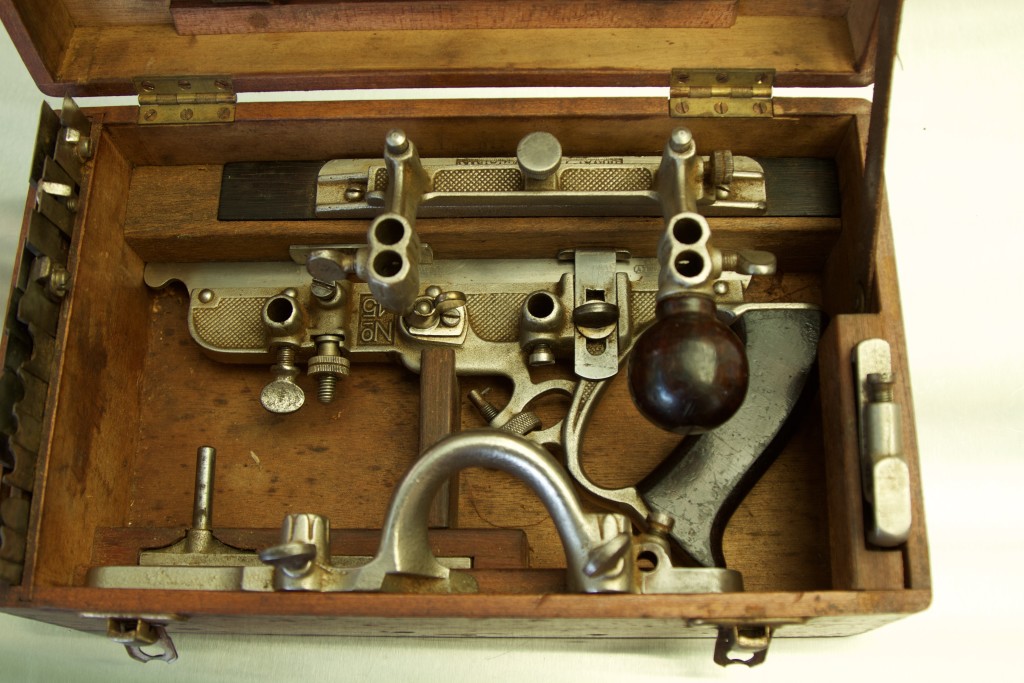
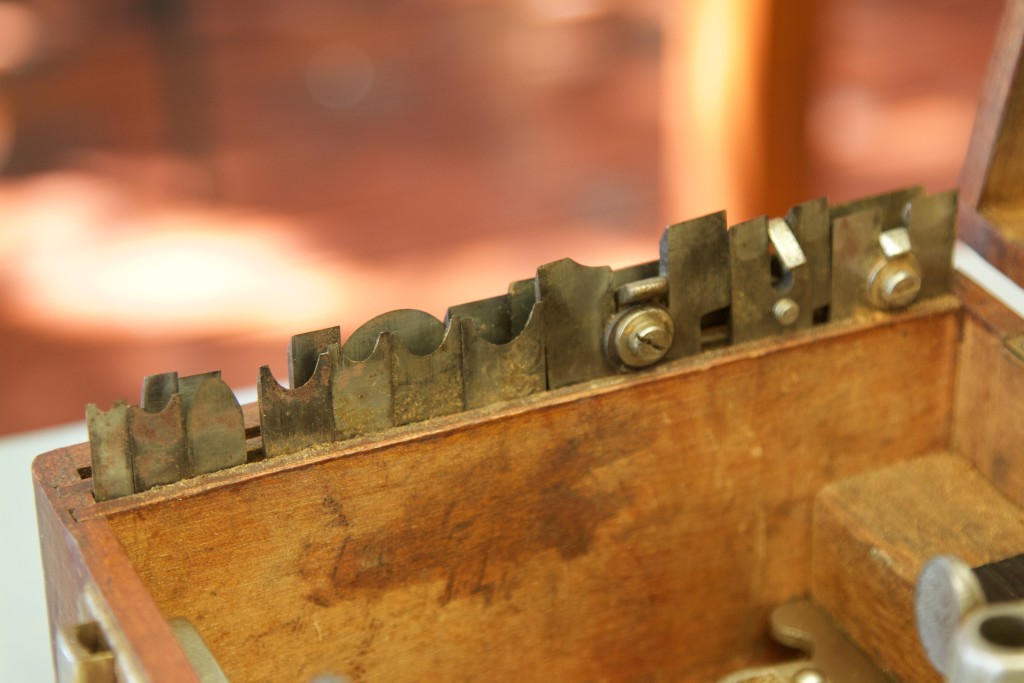
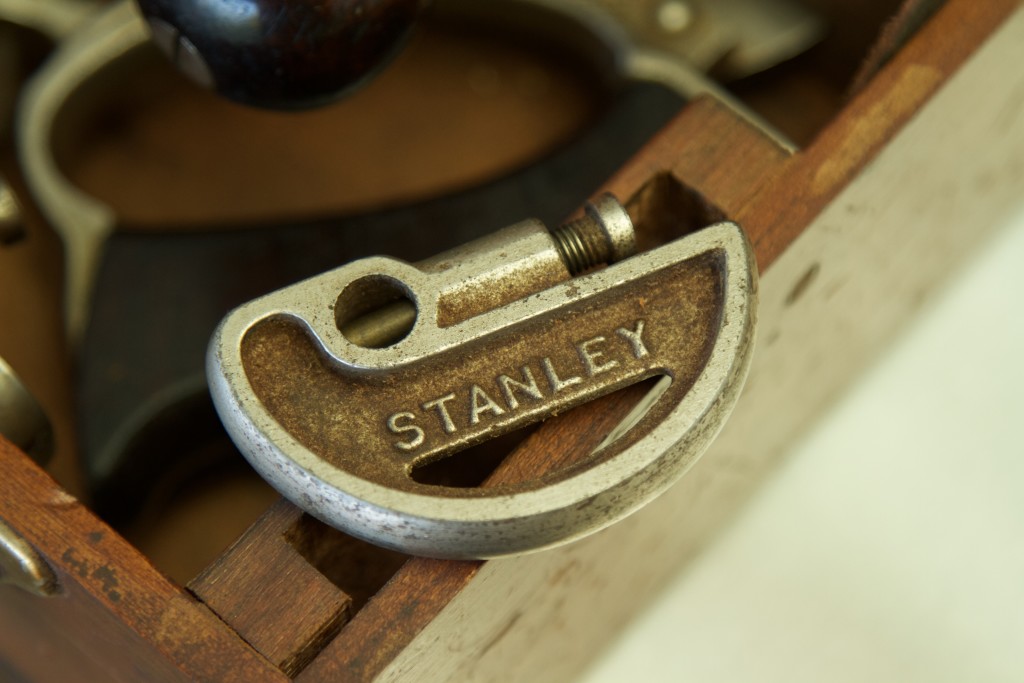
Unused Stanley no. 45 combination plane in wooden box

All the parts are present apart from possibly the screwdriver that came with some of these sets. It is clear from looking at the fence and blades that it has never tasted any wood. I paid US$ 56. Similar sets usually cost between US$250 -300 from Jim Bode.
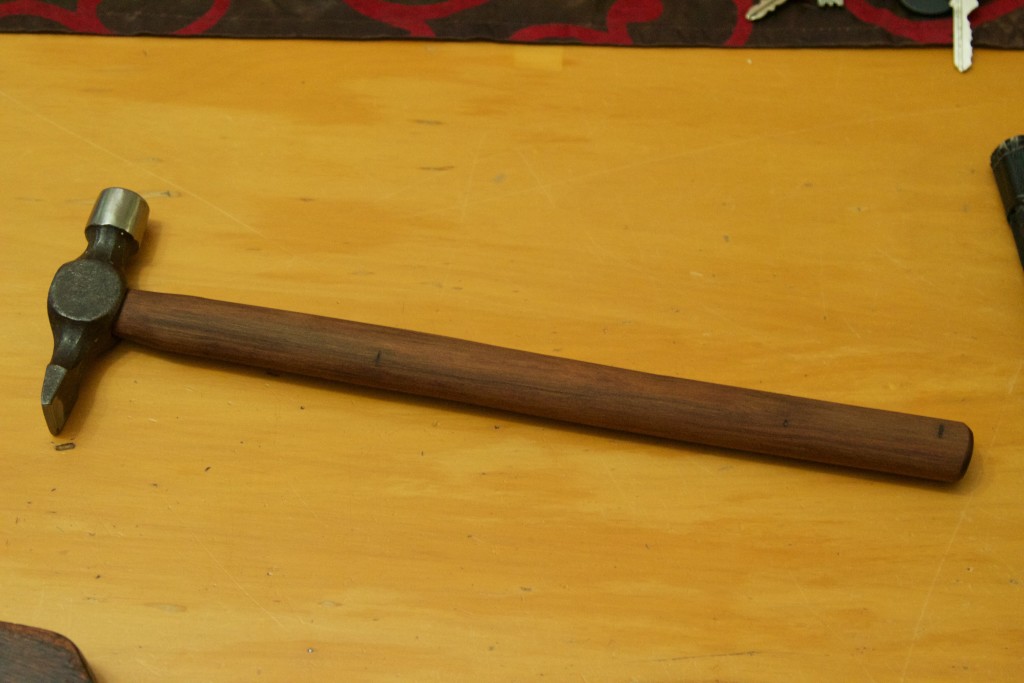
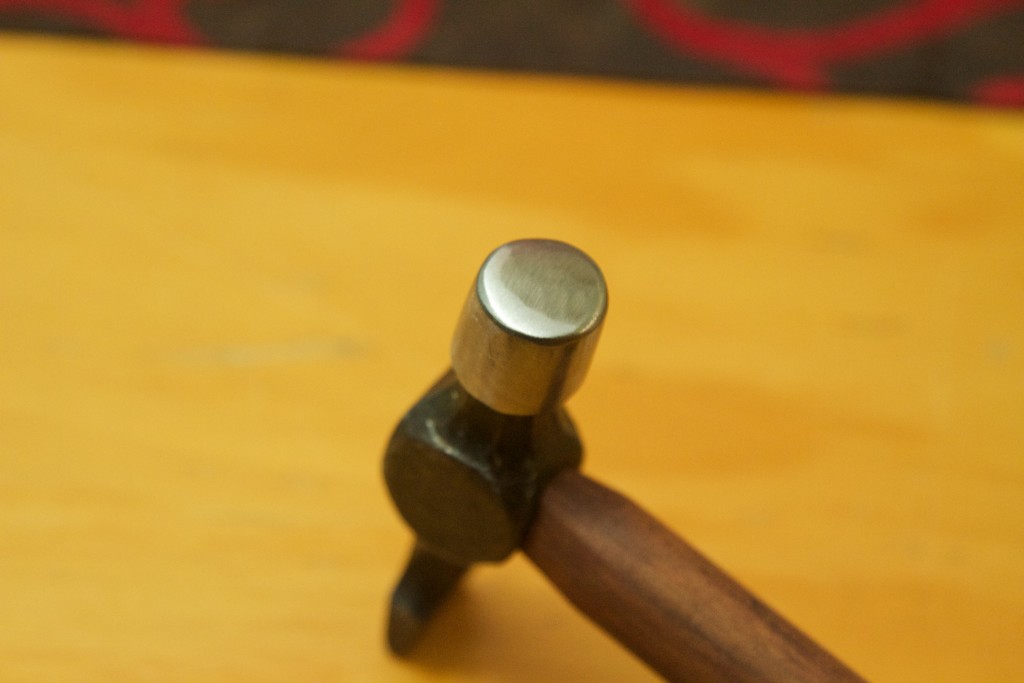
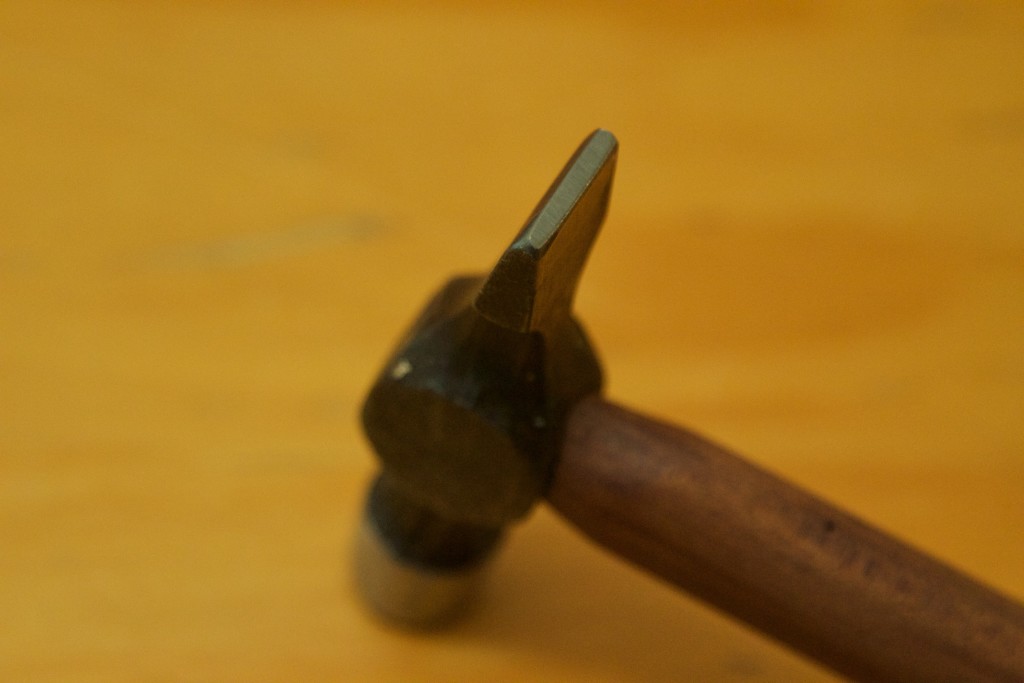
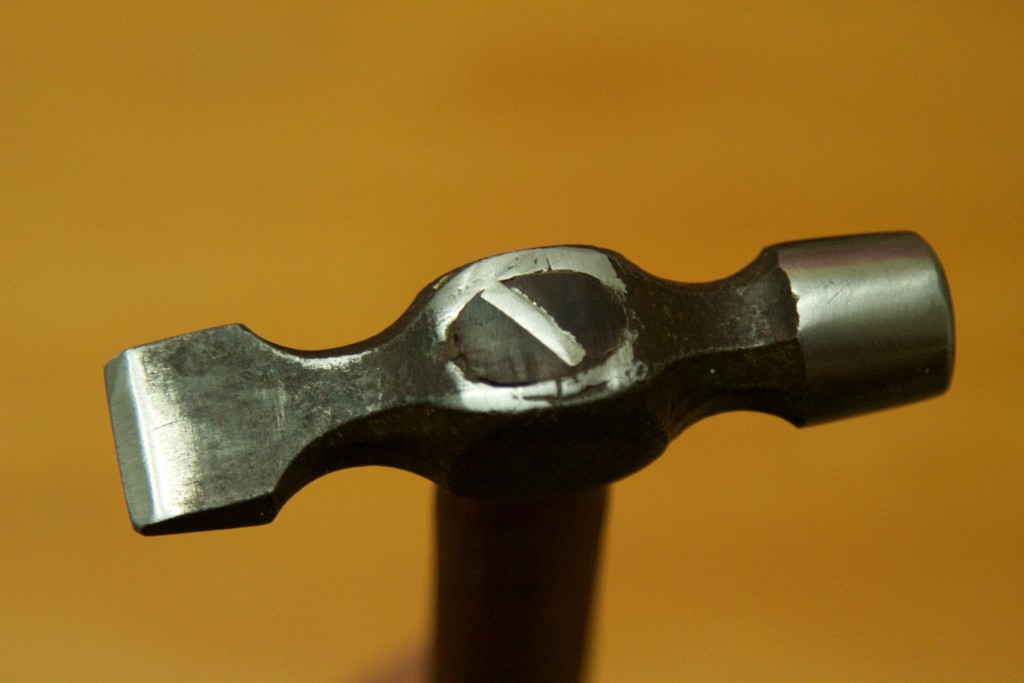
IMG_5798IMG_5799IMG_5800IMG_5801IMG_5802IMG_5803

Cross peen hammer

Unfortunately I did not take a picture of this little hammer before replacing it’s handle and doing some cosmetic/functional reshaping of the head. I furnished it with a Assegaai handle, which was shaped using a drawknife and card scraper. It was wedged using a wooden and a metal wedge. I bought it for US$ 1,48 in a pretty dreadful state. It had a metal pipe for a handle that looked like it was fitted by a backyard butcher.

IMG_5929IMG_5930IMG_5931IMG_5932

A no. 130A Stanley Yankee ratcheting screwdriver with three bits

The is the medium sized model in a superb working condition. It was given to me by my cousin (once removed) the Urologist. I am not sure whether there might be some Freudian subliminal meaning to his gesture (coming from a Urologist??), but it was much appreciated. This screwdriver originally belonged to his uncle who died some years ago. I already had one of this particular size, which I will now be passed on to my son. Then I can use this one given it’s history.(US$ 0)

IMG_5923

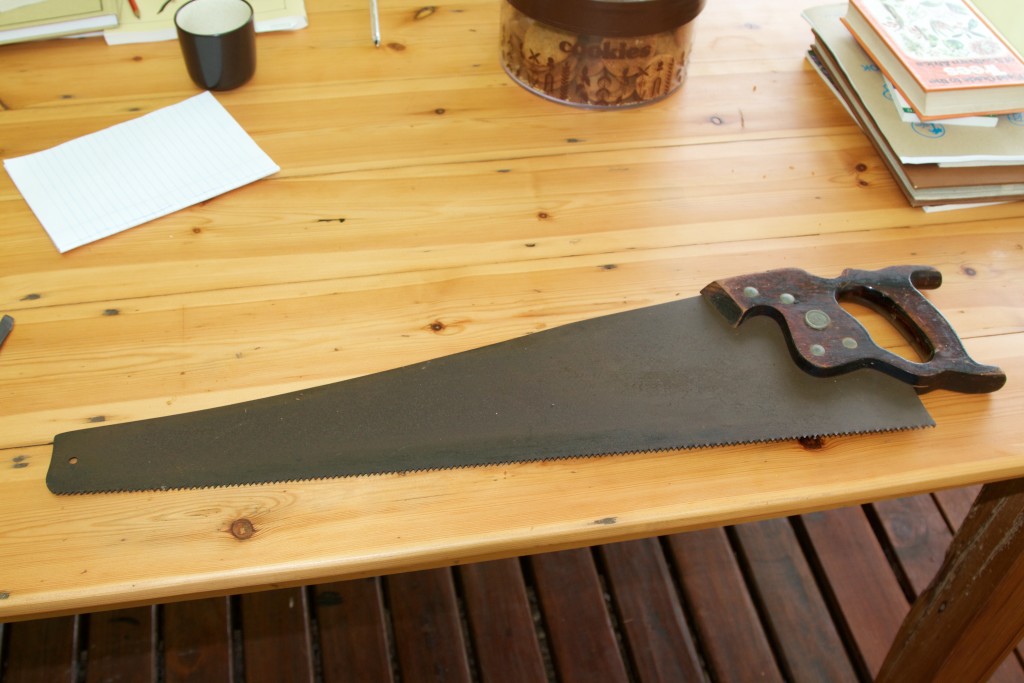
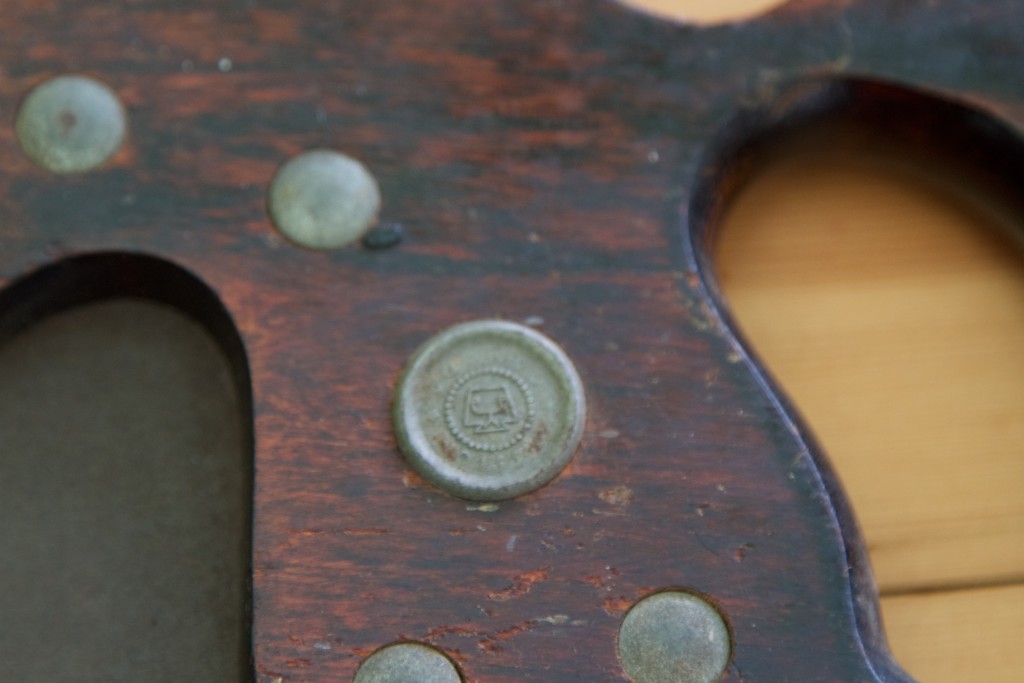
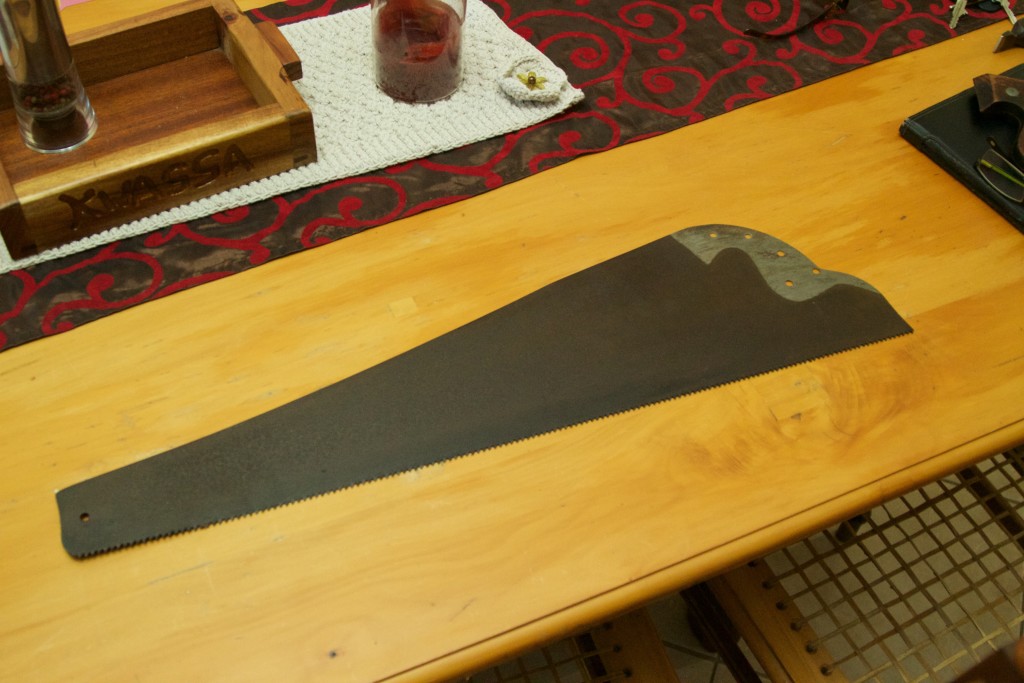
Disston D-8 (26″ 7 tpi) circa 1947-53 (based on the medallion) and made in Canada

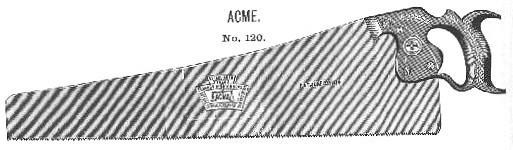
This saw was also a present from my cousin. It belonged to the same uncle. I plan to straighten the blade, make a new handle (based on a Disston no. 120 from the 1876 catalogue) and sharpen it for my apprentices. Comparing it to my two pre-1900 Disston no. 12s, it is shocking to see how the saws of this iconic company deteriorated over a 50 year period. The handle is can only be described as inferior in every aspect to the earlier offerings by Disston.

Mark Harrell of Bad Axe advised me not to waste the time and effort, but it will not cost me any dough and you always learn something from a restoration project even if it is that you should not have bothered. He did however say that the quality of the blade should be top notch, but had some concern regarding the amount of rust.

IMG_5920IMG_5922IMG_5926acmecat1876a

I would appreciate more information on any of these tools, so to all those tool geeks out there, go mental.

26/1/2016

Here is some feedback I got from my friend Bob Demers (aka The Valley Woodworker). He is such an expert on this topic that I though everyone could benefit from reading this:

BTW here are some things I noticed in your last post on your loot 🙂

That Disston saw is from the 50s judging by the poor resemblance of a once gracefully shaped handle, sad isn’t …

If you do make a new handle, and I encourage you to do so, pay close attention the holes locations, and the orientation of the existing hand hold on the handle

Because that is what determined this saw hang angle

http://thevalleywoodworker.blogspot.ca/2015/06/part-2-mysterious-saw-hang-angle.html

I would not be too concerned with the blackened appearance of the saw blade. Although I understand why Harrell says you should not bother too much with it (because they are plentiful and better ones can easily be found, around here in NA anyway), as long as there is not tooo much pitting, all is fine.

Yes, normally a shiny plate work to our advantage, since it glide easier and by watching the wood reflection on the blade you can see easily when you are at 90 degrees

BUT, no big deal (Sandvik even made saws with a black Teflon like coating on some of their saws, what is more important in this case is the reduced friction.

That even blackish coating is often a layer of oxidation that prevent further rusting by making a barrier.

I would simply scrape gently the blade surface with razor blades and some sort of penetrating oil like WD40 (very messy uses lots of paper towels or rags)

It should smooth out the blade, remove any rust incrustation and protect the maker etching on the blade.

If you were to sand it, you would probably obliterated quickly.

I would finished the job with a light sanding using a flat solid block (piece of wood, no sponge, cork or other flexy bit, in order to protect the ewtching.

Finished the job with a light wax and buffing application and voila, one slick blade gliding in the wood regardless of blade color 🙂

It would also make a great candidate for practicing saw sharpening and setting.

Your so called keyhole saw is known as a Pad Saw, and you are correct in saying that it looks English, cause it is. Often the only markings to be found are on the blade itself

And yes, it can be used as a keyhole or small compass saw.

http://thevalleywoodworker.blogspot.ca/2015/06/specialty-saws-cutting-curves.html

Firewood trays

9/11/2015

This project is really not much to write home about, but the reason why it is significant to me is that it is the first that my son and I worked on together. He seemed to enjoy it and managed to stay interested and focused on the task for quite a few hours at a time. What surprised me was how much it sped up the progress as I have been working all by myself for so many years now. What would have taken me a whole day were polished off in an afternoon.

Anyway, back to the actual project. I wanted to build two monster trays to house the firewood at our beach house. It used to be a constant pain in the butt, having to crawl underneath the braai to grab more wood for the fire. I used two sheets of plywood and recycled Meranti for 90% of the project.

IMG_5441IMG_5442

This is what the Meranti looked like before we got stuck into it. There is an interesting story around this Meranti, which is one of the reason why I chose to use it for this project. A good friend of mine works as a contrator in the building industry here in Windhoek. He was doing some work for a government department renovating/refurbishing a house just around the corner from us. According to the officials the house was being renovated to act as an official abode to the Father of the Nation himself, during times he decides to spend time in the capital. For those of you who are unfamiliar with Namibian Politics, I am referring to Sam Nujoma.

Seeing that it was a fairly comprehensive refurbishment, all the old fixed cabinetry were removed. The Meranti used to serve as the framework of some of the original built in cupboards. The house was probably built some time during the late 1960’s or early 1970’s, which means that it is pretty stable by now and is quite clearly of a much higher quality than what we can buy around here these days.

As you can see it was painted, which I removed by planing it after all the screws etc were removed.

IMG_5456IMG_5457

16/11/2015

My Lie-Nielsen twin screw vise came in very handy while cutting a few wide (or possibly ‘lazy’) finger joints.

IMG_5458IMG_5459IMG_5460IMG_5461IMG_5462IMG_5463IMG_5464IMG_5465IMG_5467

30/11/2015

Here we are doing the first assembly.

IMG_5497IMG_5498

One thing that is now well and truly part of my essential woodworking paraphernalia is this Tomato paste tin. I always keep some oil in there to dip wood screws in before driving (cleverly avoiding the alternative way of expression which would not be acceptable on a ‘family website’ like this) them home with a Yankee ratcheting screwdriver. It makes a world of a difference as a result of the lubricating qualities (treading on thin ice here) and probably has some beneficial effect in preventing corrosion.

IMG_5500IMG_5499IMG_5495IMG_5494IMG_5496IMG_5536IMG_5537

The wife (you see, it really is a ‘family site’) chipped in by helping to apply a layer or two of Woodock.

IMG_5538IMG_5539

7/12/2015

IMG_5574IMG_5575

8/12/2015

The boat acted as our trailer on the 1860 km journey south. The parts were packed after it received two layers of finish.

IMG_5594IMG_5596

11/1/2016

Once at our destination, Didi and I reassembled the trays and rolled then into position underneath the fireplace.

IMG_5737IMG_5738IMG_5739IMG_5740IMG_5741

I hope this is the first of many projects I have the privilege to work on with the kids.

The carver in me

11/1/2016

During the December holidays I did pretty much no woodwork. I spent some time trying to find old tools (which is the topic of an upcoming post), but that was about it. That is apart from finding my inner carver, for lack of a better term. One day I decided to take this piece of Kaapse Swarthout (also known as Cape Blackwood or Maytenus peduncularis) down from where it was hanging above the little bar. I took a crappy Eclipse chisel and carved out the new name of the bar.

One of my all-time favourite All Blacks is Jerry Collins. He sadly died last year. I decided to name the bar after him as a final tribute, because he personifies lots of values I hold dearly. Translated into English it goes “The Jerry Collins Bar” The Afrikaans word I chose for bar is a tribute to an aunt of mine. “Kantien” is an old word that is not used very much at all anymore. She used to get very upset with her son and I for going out to drinking spots on a regular basis while on holiday from medical school. She would berate us for our immoral behaviour and always added that she and her husband have never even been to a “Kantien”. Today he is a Consultant Urologist and I am a Psychiatrist as you know. Tannie Kowie is a real legend in her own right and exhibits many of the same ethics and values that I admire in Jerry Collins.

IMG_5734IMG_5735IMG_5736

It just so happened that my best mate from school pitched up with his family on the day I finished the carving. It was an ideal way to inaugurate the bar as Gerdie Smook has a lot to do with my former love for the game of rugby. I say former because the way the Springboks play has finally caused a major allergy for the game in my particular case.

IMG_5747

The reason why I have so much respect for Jerry Collins is due to the way he approached the game. He played and approached the game with a set of ethics that reminds of the spirit of the game I fell in love with as a young boy. Unfortunately that spirit has almost completely disappeared from the professional version of it over the past 10 years. If anything remains of it, it is in Aotearoa the Land of the Long White Cloud.

What follows is a short tribute to the late great Jerry Collins.

Here you can see “Topdeck” doing the Haka. Do you see any resemblance.

1022.6666666666666x767__origin__0x0_Jerry_Collins_Haka1380276561268

Apparently Jerry was told by Sir Greame Henry at some stage that he would struggle to keep his spot in the All Blacks team if he does not improve his distribution skills. Jerry went away, worked very hard at it and became so good at it that the AB’s won two tests in the dying seconds off the back of an exquisite Collins last pass.

1845304-jerry-collins-avec-le-maillot-des-all-950x0-3

With Richie Mccaw he formed arguably one of the best (if not the best) 6-7 combination in the history of the game.

1433608748164collinsmccaw-cropped_12c3tkgfa16211kbe6tb5dddc2

One of my favourite Jerry stories is that he (apparently) continued his day job as a rubbish collector well into his very well paid professional rugby career. He did that because he wanted to keep the fitness it gave him. In New Zealand those guys run all day. That is the sign of a man who has his feet firmly on the ground, not allowing fame to change who he is. (The pictures below was take in Wales while he was playing there, not in Wellington NZ where the above story transpired)

102158422816522

For the next story I will cut and paste from an article in the Telegraph.

Collins was in Devon on holiday after the New Zealand’s surprise quarter-final defeat at the hands of France at the 2007 World Cup. Strolling down the high street, the flanker was spotted by Barnstaple’s then director of rugby Kevin Squire. A photo opportunity turned into a conversation and then an invitation to come down to watch the club in action.

“I said it would be lovely if he could come down to the club and thought nothing of it,” Squire told Telegraph Sport. “Unexpectedly there he was three days later. He watched a first team game and then I introduced him to all the players.

“One of the guys I introduced him to was the Under-13 coach at the club. Consequently in that conversation he was invited to do a training session for the kids, which he astonishingly agreed to do. The following Friday night I went down to watch the training session and the kids obviously were in heaven.”

Then came perhaps the most bizarre debut in rugby history when just a couple of weeks after playing in a World Cup quarter-final, the back-row forward turned out for Barnstaple second XV against Newton Abbott in a Devon Merit Table clash. Collins had asked Squires for run-out but registration regulations prohibited the then Hurricane from appearing for the first XV.

“Again, I never thought he would actually turn up, but there we were waiting for the bus and Jerry shows up after going into town to buy a pair of boots,” Squire said. “By the time we had got to Newton Abbott there had been all sorts of messages between the players and they thought we were bringing a lookalike down with his distinctive white top. It didn’t take long for everyone to realise that it was the real deal. Then their jaws hit the floor.”

As befitting a man with the alternate nicknames of “the Hitman” and “the Terminator”, Collins was renowned for the force of his tackles and even playing at half speed still rattled the bones of a few Newton Abbott players as well as scoring a try.

“He was terrific,” Squire said. “He made everyone in that team feel like they were on the same level as him. The guys from Newton Abbott enjoyed it just as much as our guys did.”

News quickly spread of Collins’ appearance and he would face a disciplinary panel and a fine when he returned to New Zealand for playing without his employers’ permission. He later told Squire that it was worth every dollar.

Nor was the end of the association between Collins and “Barum”. A few weeks later Collins turned out for the Barbarians against South Africa, the world champions, wearing Barnstaple socks. “That was his idea,” Squire said. “Everyone in the club had a lump in their throat when he ran out at Twickenham wearing our socks, particularly when the commentator said ‘there’s Jerry Collins, New Zealand and Barnstable Rugby Football Club.’ ”

On Boxing Day 2007, Collins, now playing for Toulon, returned to watch the annual derby against Bideford. “Jerry said he’d be there for the game,” Squire said. “He was in France at the time but he honoured his promise to come over for the game.

“That led to another great night out. Irrespective of the rugby, he was a fun guy who was so down to earth. The world of rugby has not just lost a great player but a great person. It is as simple as that. What he did for Barnstaple will never be forgotten.”

Here are a few pictures of the Barnstaple tale.

????????????????????????????

download

download (1)

images

Proudly wearing his Barnstaple socks, while playing for the Barbarians against the Springboks.

Jerry Collins of the Barbarians. Barbarians v South Africa, Twickenham, Rugby Union, 1/12/2007. © Matthew Impey / Wiredphotos.co.uk . tel: 07789 130 347 e: matt@wiredphotos.co.uk

One night I will never forget was when I took my father-in-law who was visiting from South Africa to a game at the Cake Tin in Wellington NZ. The Hurricanes was playing the Sharks and Jerry was coming back from injury. He therefore only featured for 40 odd minutes before being replaced. The Hurricanes thrashed the Sharks by quite an embarrassing margin. While hanging around the stadium waiting for the worst of the spectator traffic to ease, out came Jerry with the rest of the team back onto the park. It was raining as only Wellington can, but Jerry led a brutal fitness session running his teammates until they dropped.  This is absolutely unheard of in professional rugby.

Jerry also got into trouble on more than one occasion with the All Black management for rocking up and playing club games on a Sunday after playing a test for the All Black on the Saturday. Now that is the spirit the game has lost.

20150605T054647Z_1_LYNXMPEB5406Q_RTROPTP_3_RUGBYSUPER

What would I have given to see him playing in this jersey. I would actually settle for seeing a different player with the same attitude and spirit, but no such thing exists in South Africa anymore.

TL_652674

So that is why the bar received the name it did. Thanks Bro, your example continues to inspire.

Jerry-Collins-1