20/10/2016
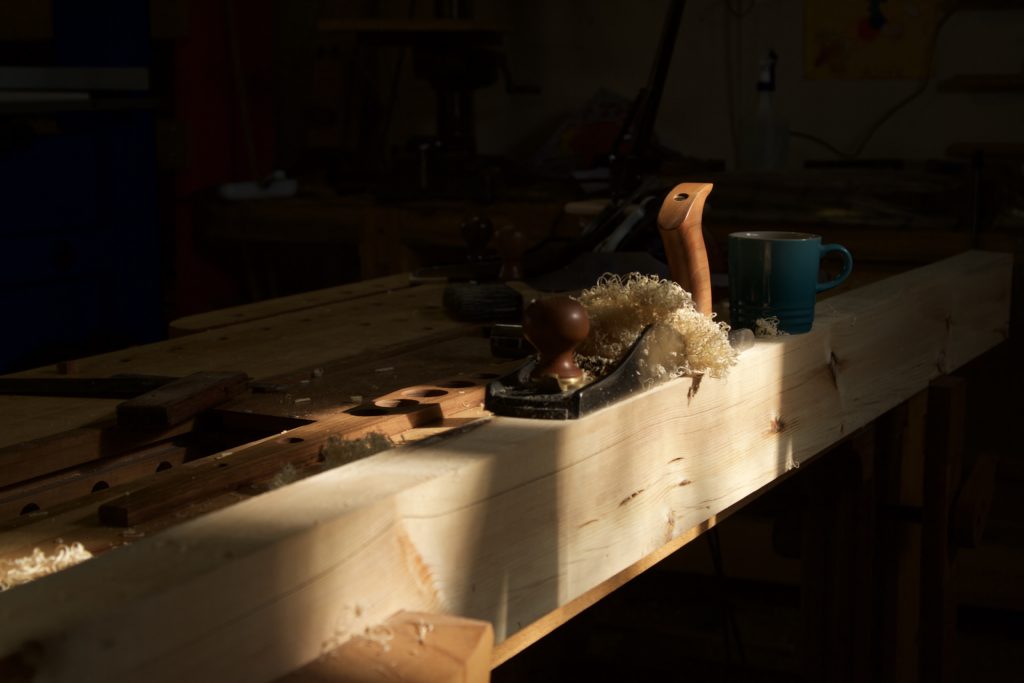
The title picture of this post is meant to remind you of what my shebeen looks like. The beautiful ensemble of chicks in the picture demonstrate how happy they can be around a stove. For fear of mass feminist hysteria, I will leave it at that.
It is a case of onwards and upwards with this project, which reminds me of something I have noticed in terms of my woodworking journey. Since about July this year I seem to have entered the next phase in my woodworking. It took the best part of 5 years to set up my shop in such a way that I can build furniture using a set of tools that suites me. That entailed lots of fairly small projects such as building various hand tools and jigs. There were of course also a smattering of mammoth projects such as building the two Roubo-esque workbenches, but it the predominance of small projects made it easy to blog regularly.
More recently however I have started working on projects that is destined to spread it’s wings and leave the shop for good (once finished of course). These projects seems to be more of a war of attrition than blitzkriegs, which makes it harder to find ways to blog regularly. As my friend Jonathan White (from The Bench Blog) usually say (and I am paraphrasing here), posts should rather be infrequent than of substandard quality.
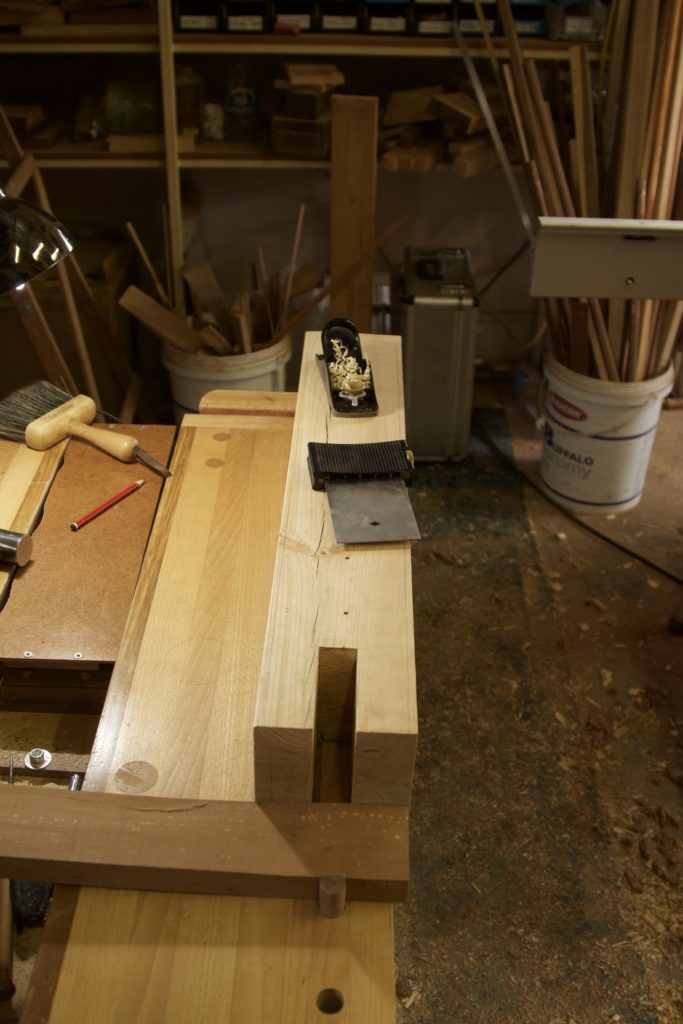
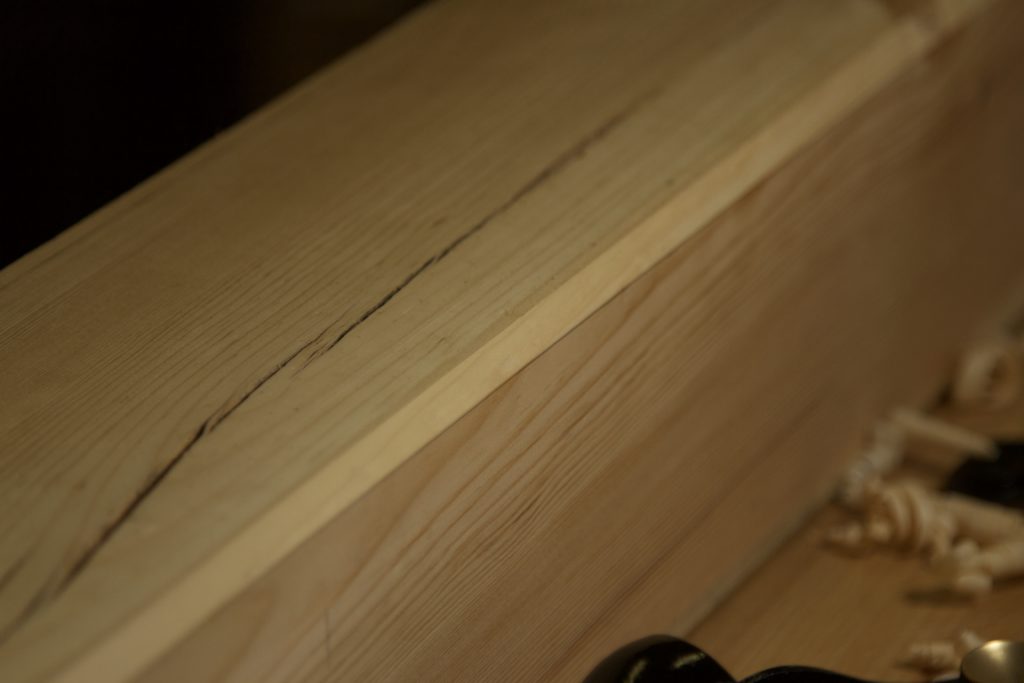
OK enough of my introspective reverie and on with our topic at hand. Didi and I managed to finish the stage of inserting the monstrous Kershout Dutchmen along the crack in the top. They were worked roughly flush with my shop made scrub plane. The top was then moved to the shebeen to keep it from getting wet when the rainy season arrive. I took great care to set up the sawhorses in such a way that the top would stay wind free.
Luckily I checked with my winding sticks whether the aprons and stretchers were still wind free before continuing with the joinery. I found that they twisted slightly since being planed to perfection a few weeks prior. So back to the bench they went for some more remedial action. I find that my Lie-Nielsen low angle Jack plane with it’s toothed blade works well where you encounter significant knots like in this case.
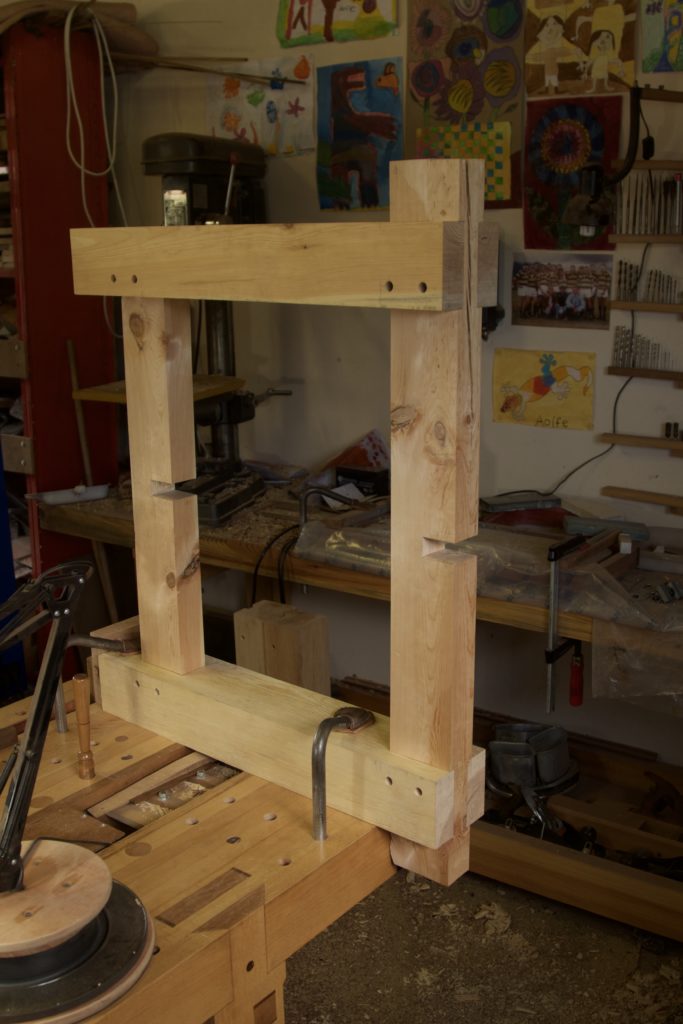
The mortises were then marked out and the waste removed with a spade bit driven by an electrivore.
In this case the eletrivore was assisted by a carnivore, which is inevitable being resident in Namibia for several years. Vegetarianism (vegans are already extinct here) appears to be illegal (and omnivorous creatures should not get too cosy either) in this fair land and ‘vegetables‘ is certainly a most deplorable swear word.
25/10/2016
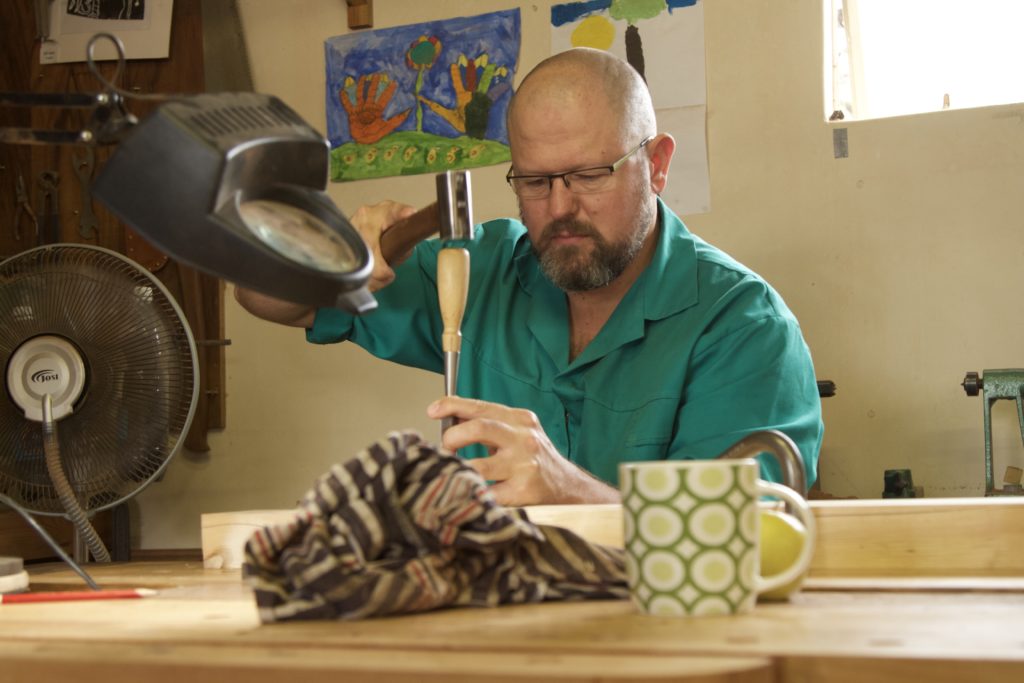
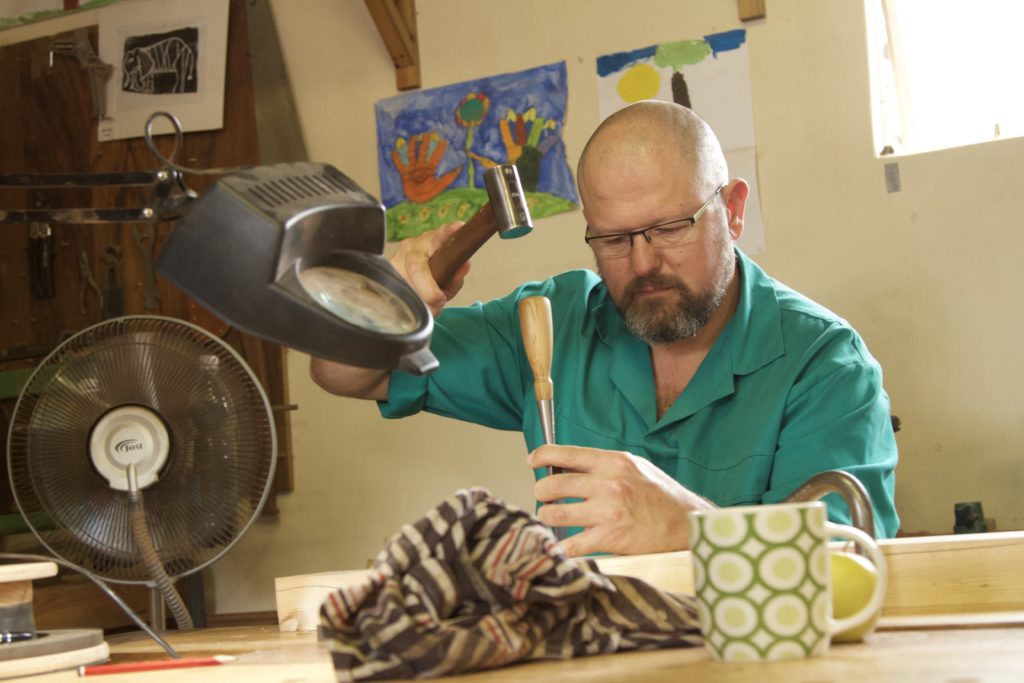
The rest of the waste were chopped out using chisels and a hammer.
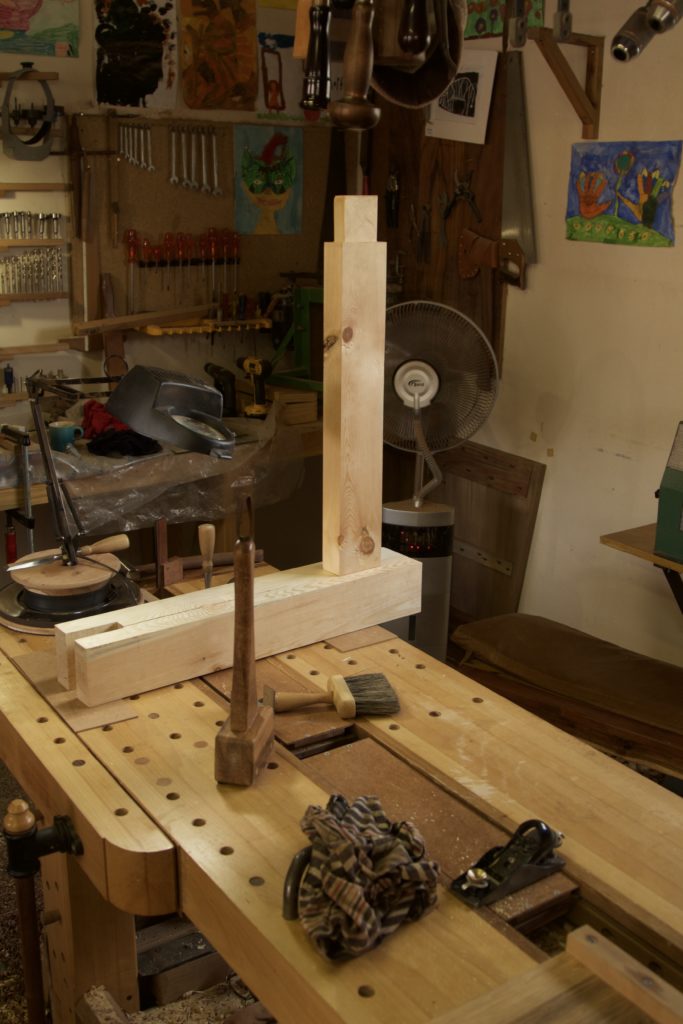
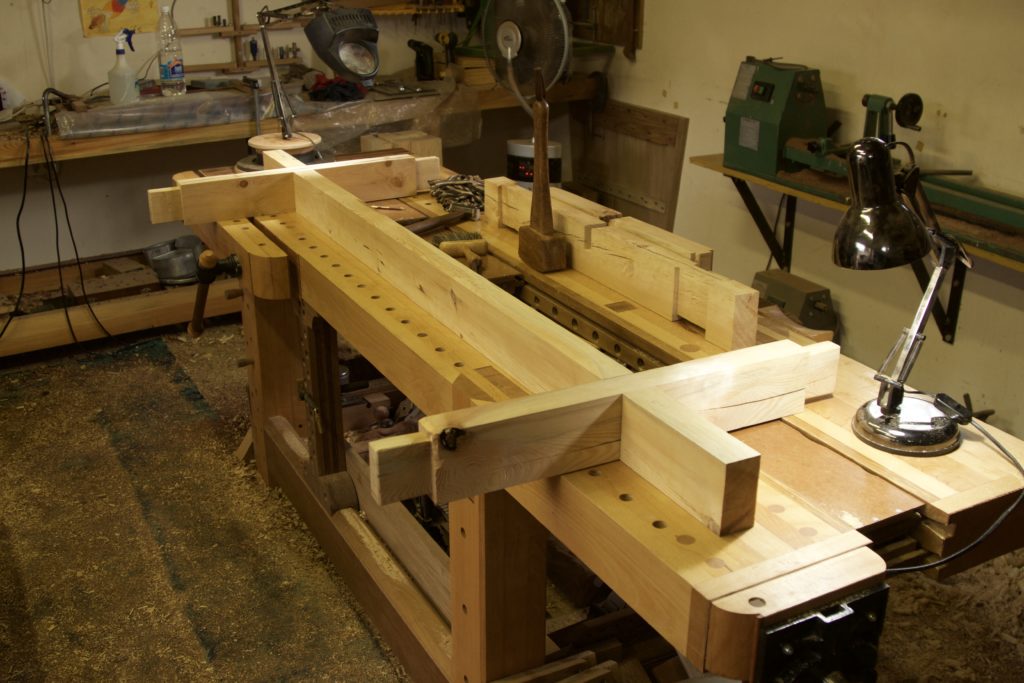
Next up were the two beams that connect the two leg assemblies.
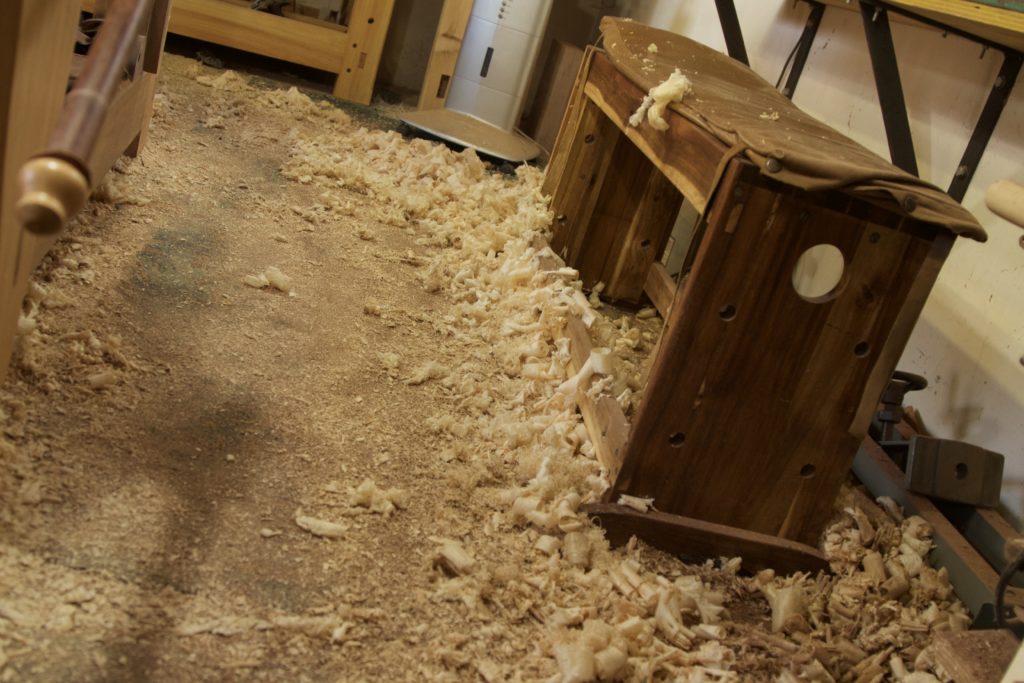
Aoife came for a visit to the shop and took some photos. Her right hand is not nearly back to normal (after the drama we had in February), but managed to get a few in focus.
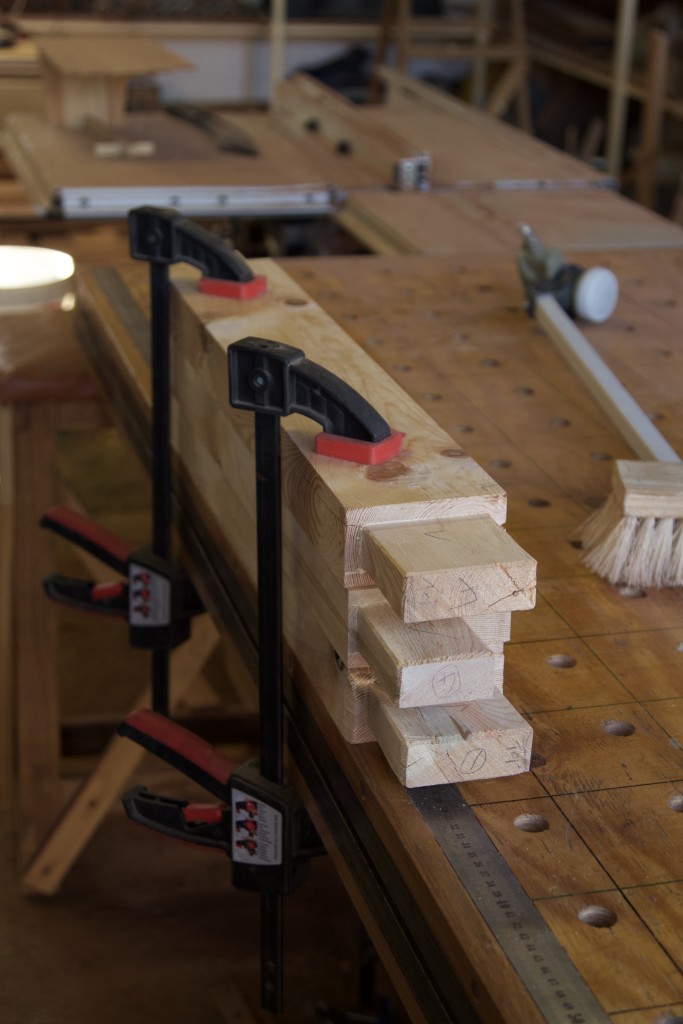
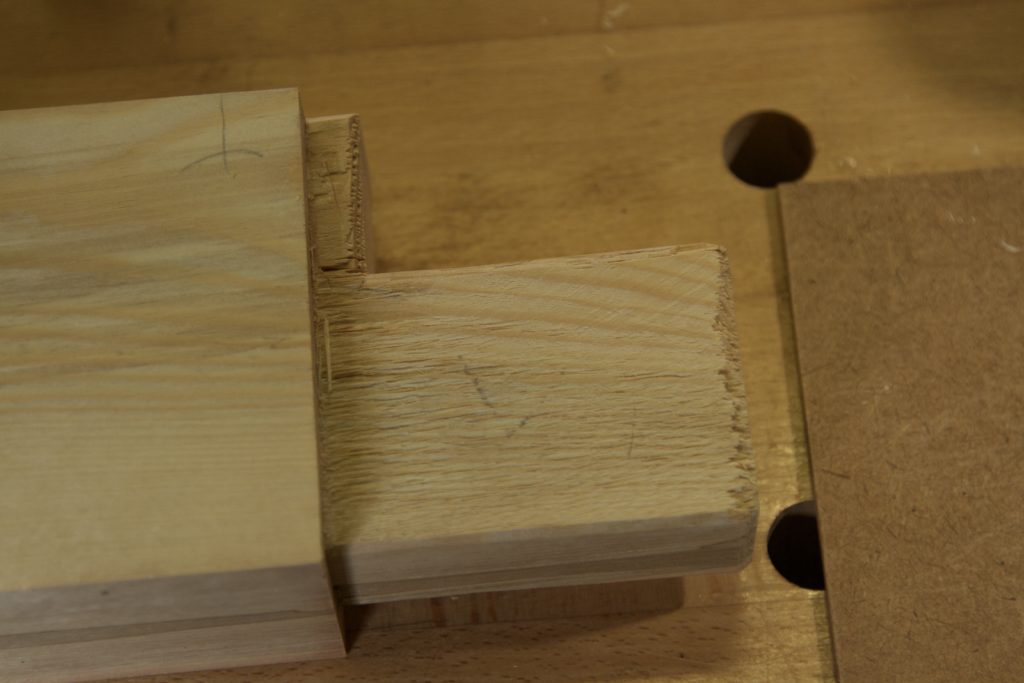
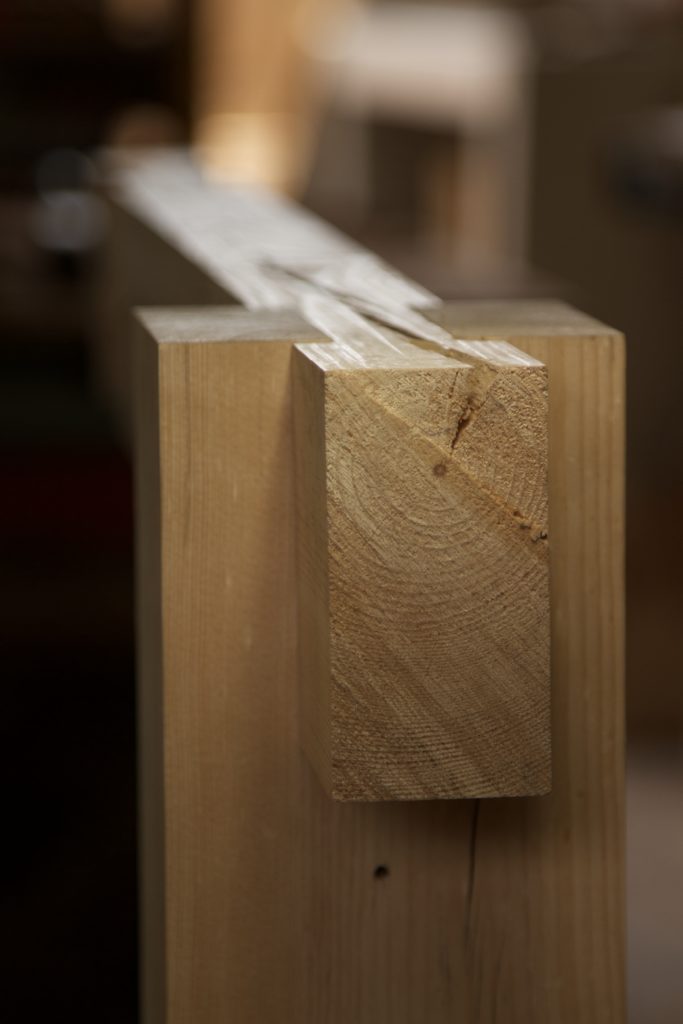
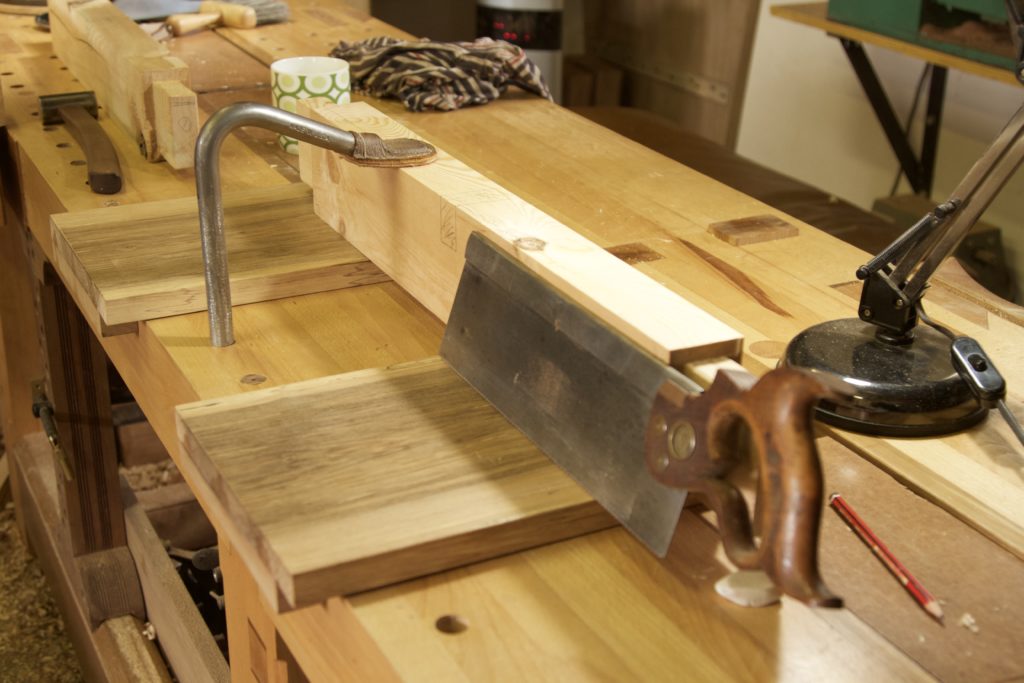
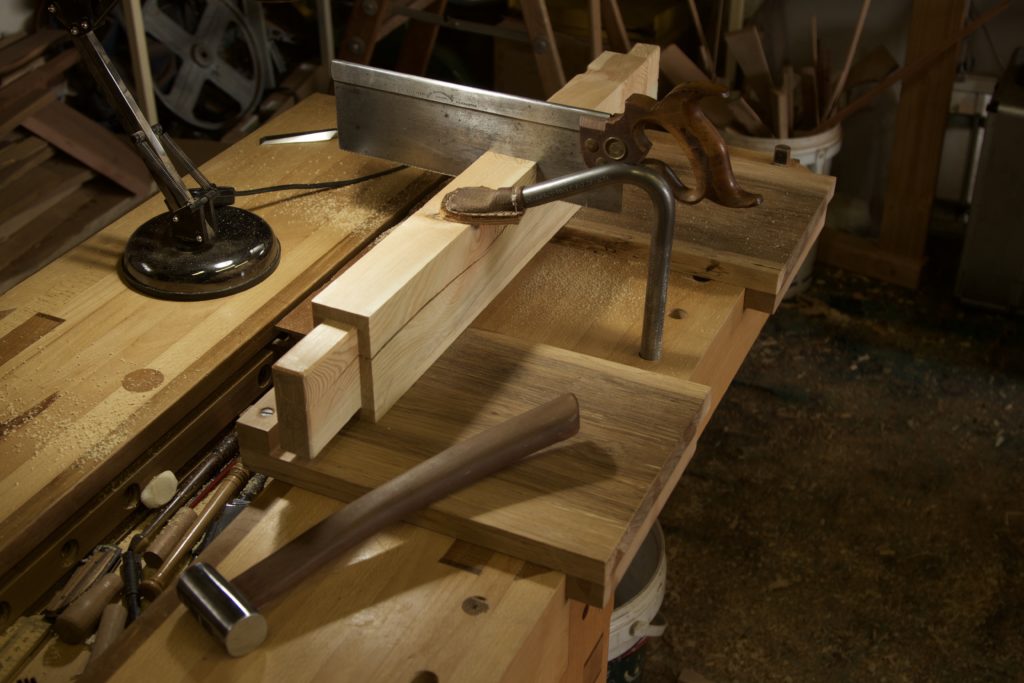
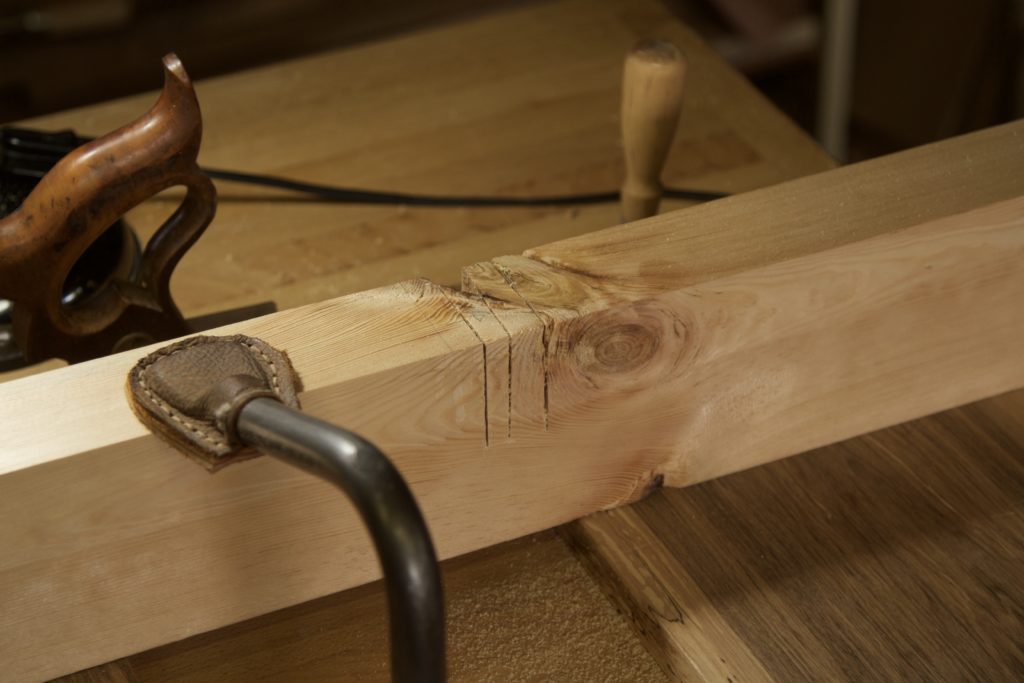
These long beams slot into each apron/stretcher with a type of cross lap joint. In the pictures below I am marking out the exact location of the slot in the stretcher/apron.
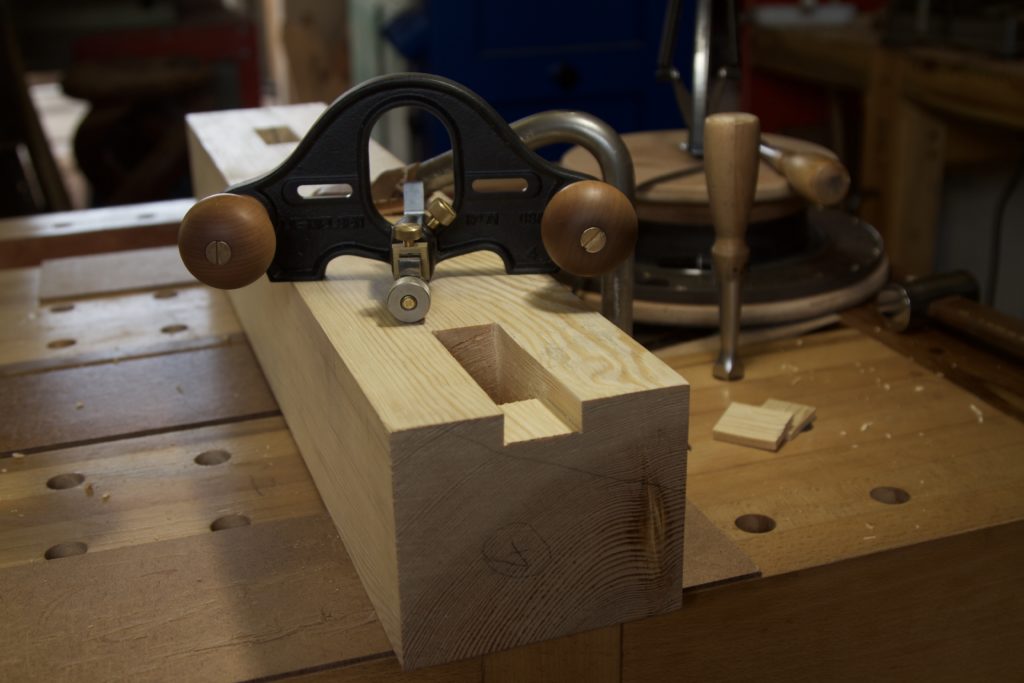
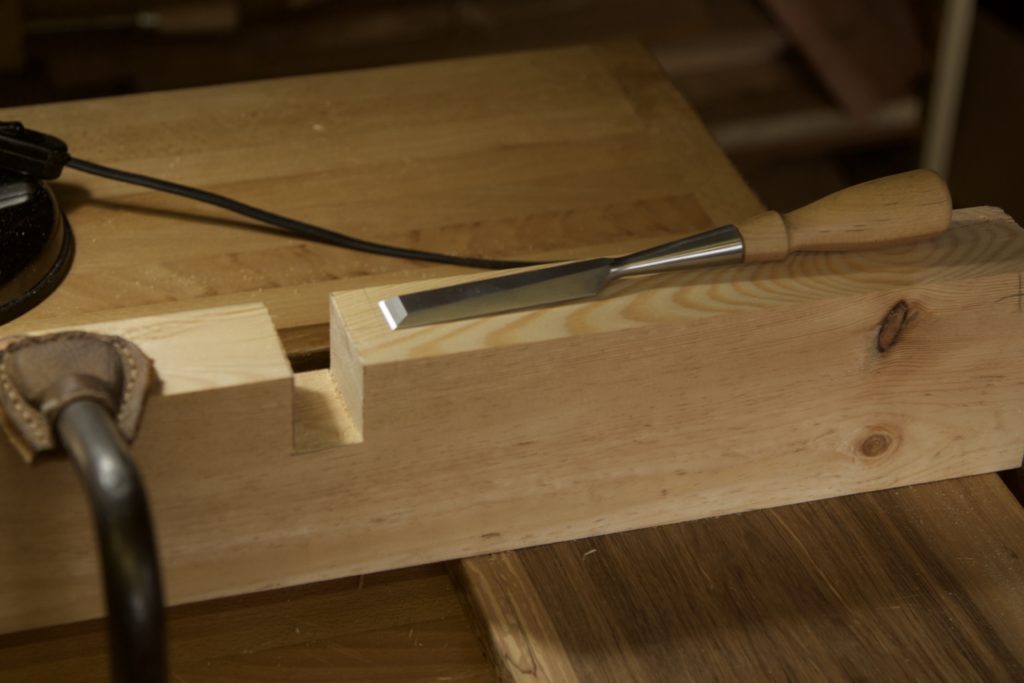
Followed by cutting the slot, …
… which allows the two parts to lock together.
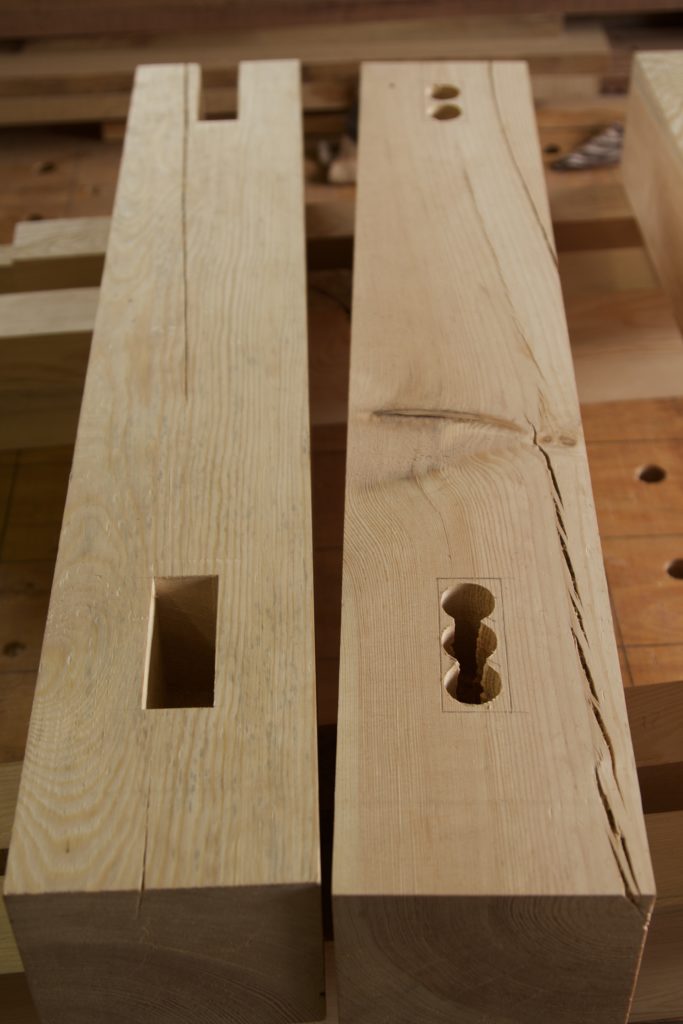
I then drilled the holes for the drawbore pegs. As you might remember I like producing my own custom dowels for this purposed. I prefer using Assegaai (Curtisia dentata) for this as it has all the ideal properties. I use a Stanley no. 77 dowel machine with a ½” cutter head. In the pictures below I am using a ½” brad point drill bit to mark the exact location of the holes in the leg on the tenons of the stretcher/aprons. This mark can then be used to offset the hole through the tenon. Basically you move the hole through the tenon a smidgen closer to the shoulder, which allows the peg to draw the tenon into the mortise when it is driven home.
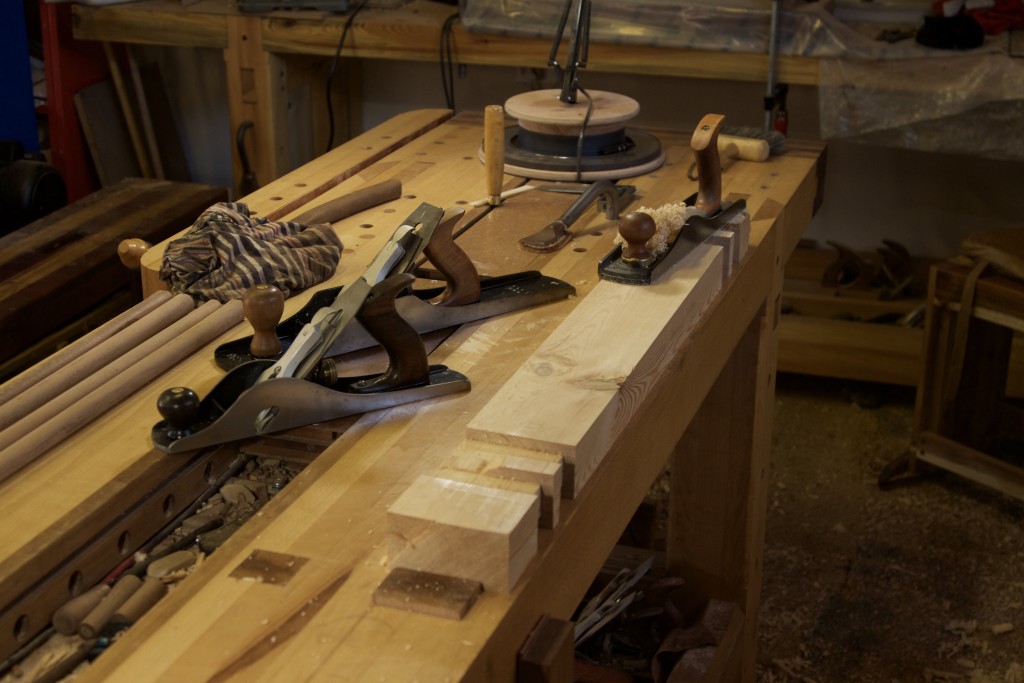
In these pictures I am busy chamfering the edges of the legs using two block planes. The one is tune to take heavy shavings and the other for very light shavings. The bulk of the timber is removed with the heavy cuts followed by a few fine cuts to leave a perfect surface. I simply run two lines parallel to the edge and plane to the line. Doing this task by hand is one of the most therapeutic in my experience.
