28/4/2014
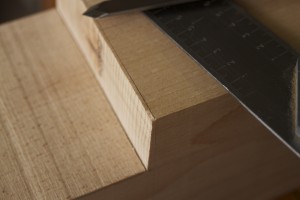
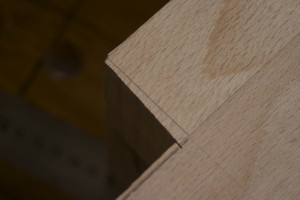
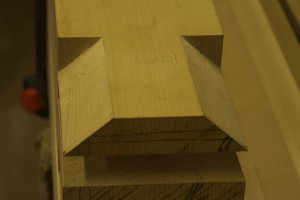
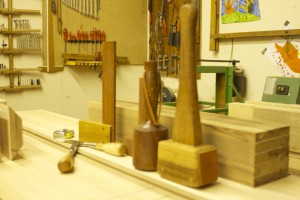
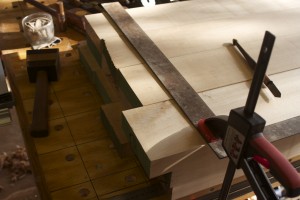
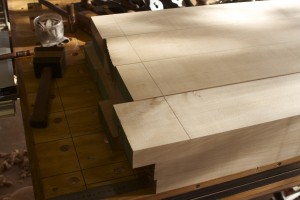
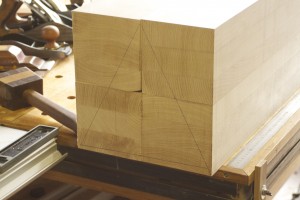
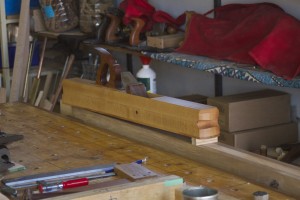
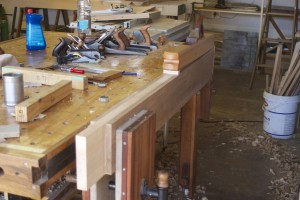
After removing the bulk of the waste from the male parts of the joinery, I used my shop made marking knife to mark out the exact lines to work to. In the pictures you can see how I used a whole range of tools to do the precise cleanup work.
In these pictures you can see how I used a very simple jig to get the shoulders of the tenon exactly 90º.
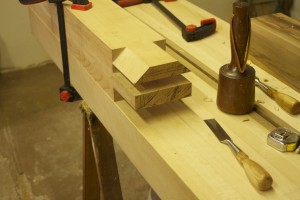
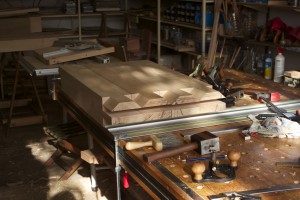
Again the assembly table came in handy to set up the leg for some precision pairing.
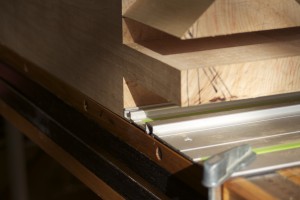
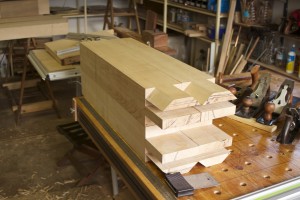
I then used the setup as illustrated below (referencing off the shoulder lines of all the legs) to identify the final length of the legs. The bench will be 82,5cm high (32.48″). Replaced the carpenter’s triangle at the bottom of the the legs after chopping off the waste with the bandsaw.
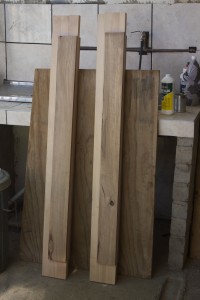
Here I took on another arduous planing task by preparing the two reference surfaces of the two sets of stretchers. After lots of deliberation, rereading Chris Schwarz’s book and even the translation of the first chapter Andre Roubo’s 18th century book “L’Art Du Menuisier” (on the Lost Art website), I decided that my stretchers might be a bit of an overkill at 170 mm (about 6½”). Therefore I shaved off 40 mm to bring it back to 130 mm. The final product will in the end be back at 150 mm after adding some Witpeer to make the stretcher appear as if it consists of only Witpeer, but we will get back to that later.
