10/6/2014
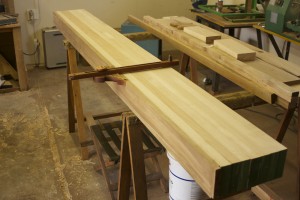
‘Makeshift’, in this particular case, means I ‘made’ it myself and the fence can ‘shift’ to the appropriate position needed. Of course it also alludes to the fact that the original idea was to fashion a ‘proper’ makeshift (as in temporary substitute) panel gauge as I needed one for the next phase of hand planing the twin-top of the 18th century workbench I am in the process of building (to the correct width) and did not want to waste too much time in building it. The problem is, as soon as I start thinking about an easy way to produce a makeshift tool, my obsessive compulsive urge to overdo it, kicks in. In the end, it becomes a major mission to design the best looking je ne sais quoi-esque panel gauge the world has ever seen. I rarely (if ever) succeed in this quest, but it does not stop me trying, as it usually turns out to be an enjoyable challenge.
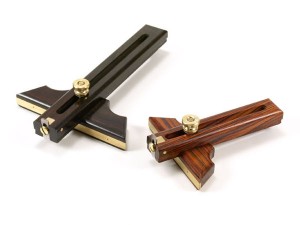
In the end I consulted the file where I saved quite a few pictures of different panel gauge designs and articles on how to build one. I ended up picking the design seen in the picture below as a starting point. I found the picture on the internet ages ago and unfortunately did not make any notes on the company or person who designed and made them.
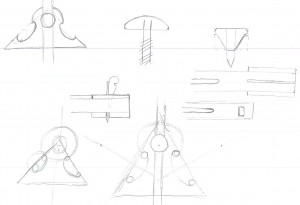
With this mechanism in mind I started playing around with a few ideas (freehand) on paper as you can see below. The shape I felt could work (if explored a bit more) was the one in the top left hand corner.
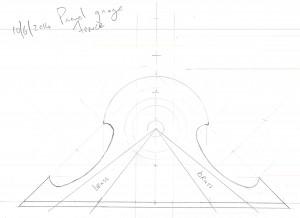
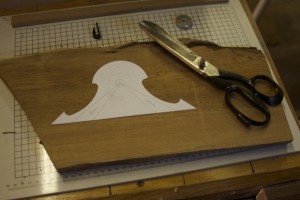
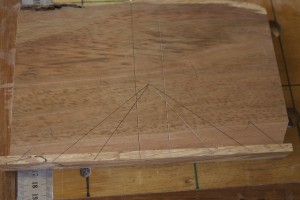
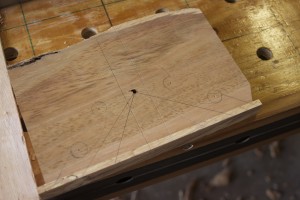
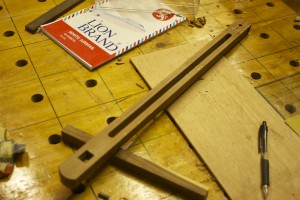
That night I sat down with a few drawing aids and explored the options thoroughly by using quite a few of the new skills I learned from the brilliant Lost Art Press book entitled By hand & eye (George R. Walker & Jim Tolpin). I finally settled on the shape below.
16/6/2014
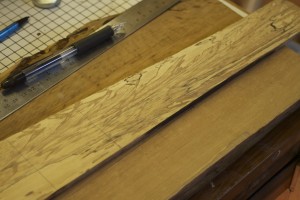
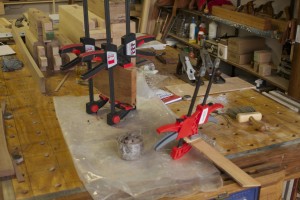
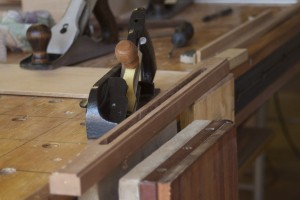
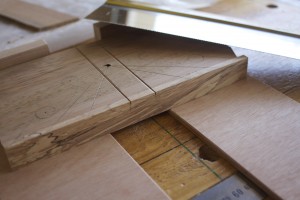
On Friday afternoon I managed to find a Piece of Kaapse Swarthout (main body of the fence) and 5mm (thick) strip of Ysterhout (for the surface that slides against the work piece). I also combined these two for the adjustment knob. These parts were glued up over night.
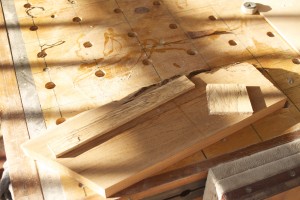
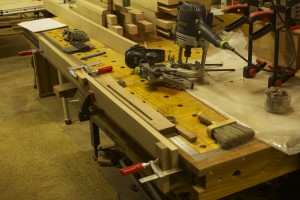
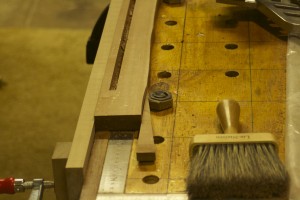
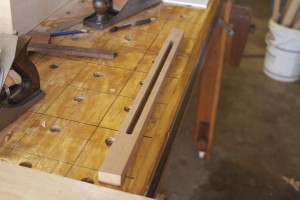
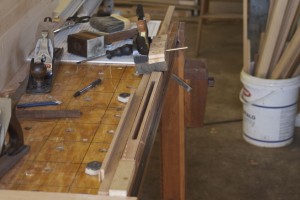
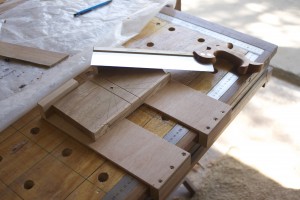
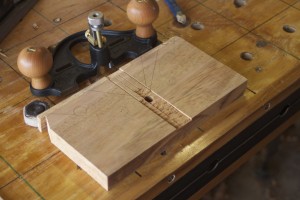
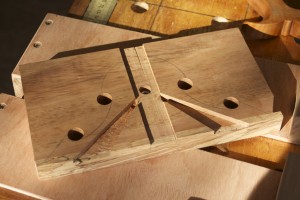
Next I found a nice straight grained piece of Assegaai for the stem. Some fiddling with a couple of off-cut wedges provided a safe way to fix the small piece to the assembly table before cutting the groove with the router.
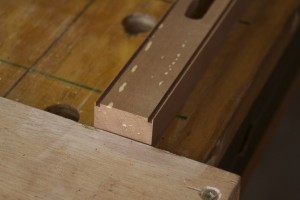
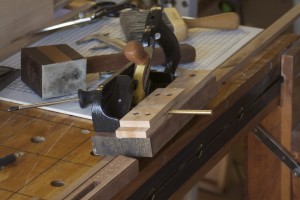
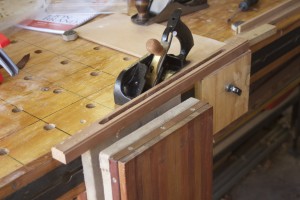
It was then sized on the table saw, hand planed to near perfection and fed to the table saw again to cut the bulk two small rabbits. The rabbits were finished off (3 mm x 3 mm) by hand using the my rehabilitated #78 rabbit plane.
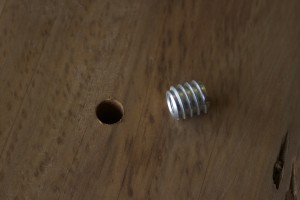
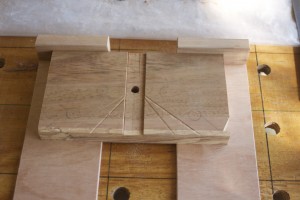
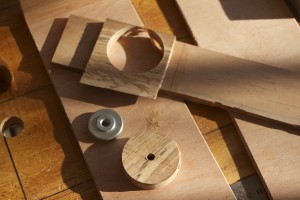
On Saturday morning I started on the fence. First task was to drill the hole for the insert nut.
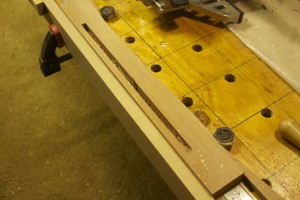
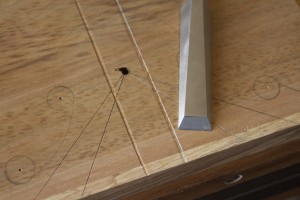
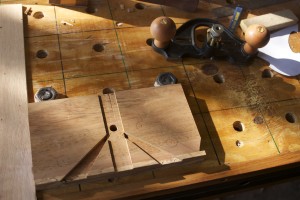
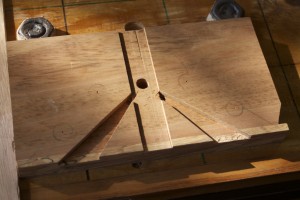
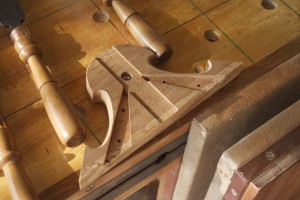
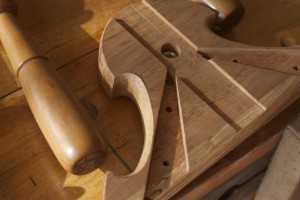
The shallow dado (3mm deep) that is meant to accept the stem was cut first. I used Robert Wearings trick to first created a groove using your chisel and using that to guide your saw for precision work. After using my carcass saw to cut the sides, I proceeded to remove the waste using a router plane. Once the dado was done it made it possible to saw the sides of the areas meant to accept the brass guides. Again the router plane and a chisel made short work of it.
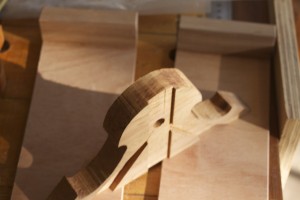
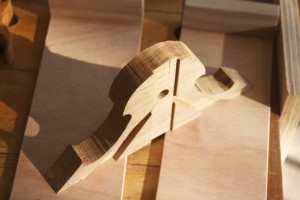
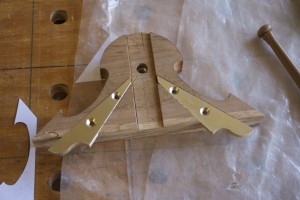
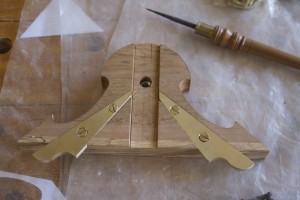
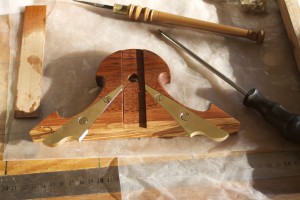
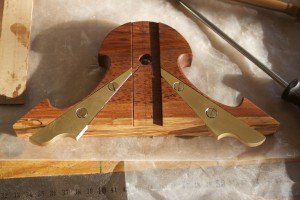
In order to liberated the actual fence from its mother, so to speak, I drilled out the areas pictured and cut the rest with the band saw.
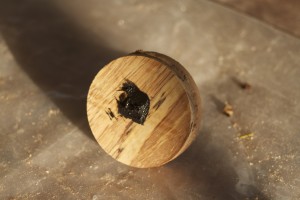
The knob received the following treatment. I used epoxy as adhesive and added black acrylic paint to it for the infill work.
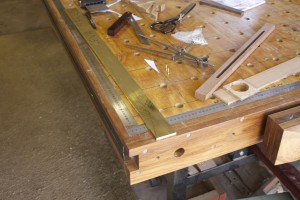
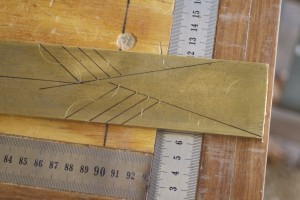
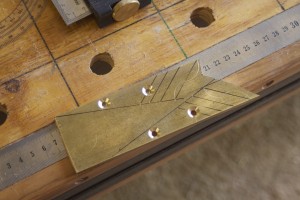
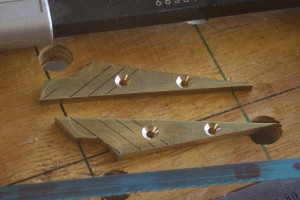
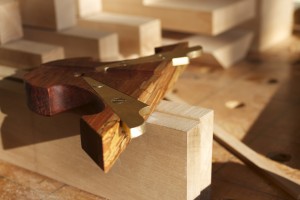
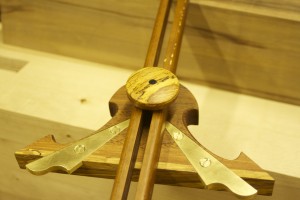
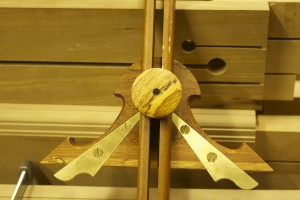
On Sunday I started shaping the brass guides.
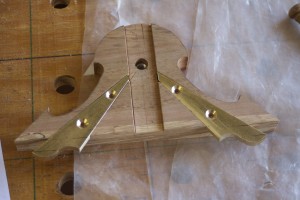
Then back to the fence for some file TLC, followed by fixing the guides into position and a coat of tung oil.
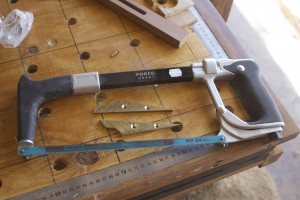
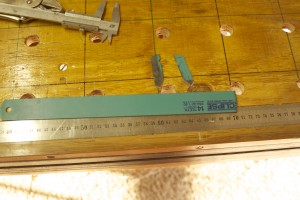
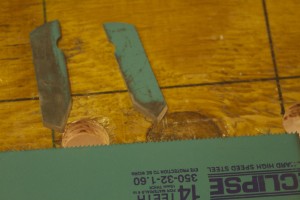
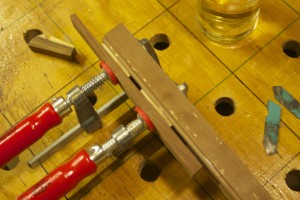
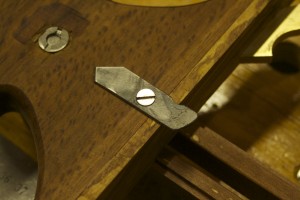
I fashioned the blades out of a piece of this heavy hack saw blade. It is surprisingly hard steel and about 2 mm thick. As you can see I shaped the cutting edge with two different angles and put the bevel on opposite sides, which means that between the two blades I have 4 different cutting options depending on which blade is selected and how it is mounted.
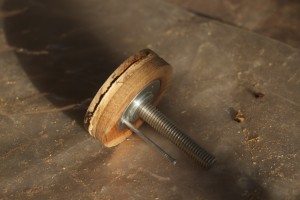
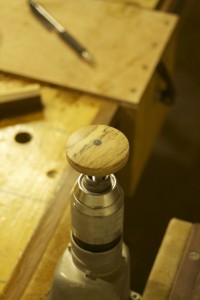
It is the first time that I thought of using this technique to tidy up and shape a knob. It worked like a charm.
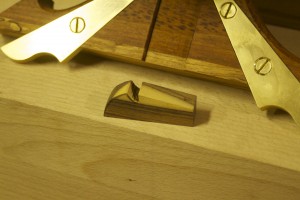
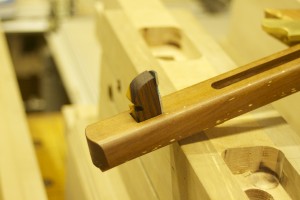
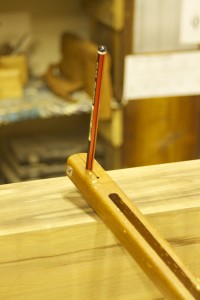
Here I added two thin Ysterhout spacers to align the bottom of the tem perfectly with the bottom of the brass guides. The ysterhout is also extremely resistant against wear. The wedge that keeps the blade in position is made of Tamboti.
Last night I quickly did the final shaping of the stem …
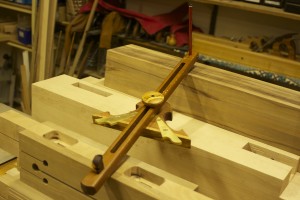
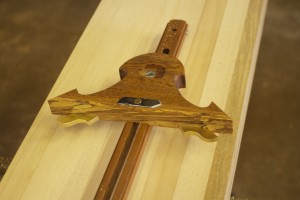
… and Bob’s your Uncle, Ted’s your Auntie … one ‘makeshift’ panel gauge with je ne sais quoi!
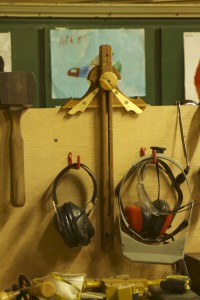
I decided to fix the spare blade to the back of the gauge and it ended up having a nifty function to act as a hook to keep the gauge from falling from it’s new little home on my tool rack.
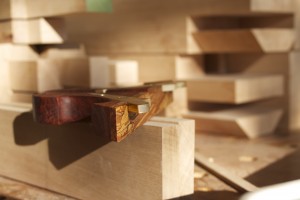
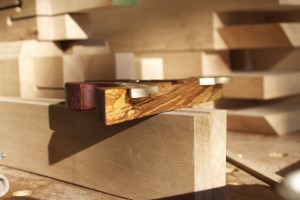
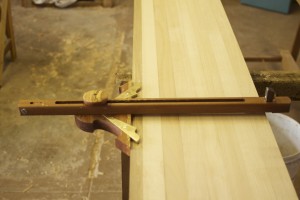
Panel gauge in action.
