2/11/2015
The toolbox is coming along quite nicely and I have to say that it is a pleasure to build something small after all that bench wrestling. You can read part one of this saga here. In the picture below I am digging the last shallow dado in the end pieces to accept the central partition.
Since starting to use the actual work to mark out the dimensions of related parts, the accuracy of my work has improved significantly. Here I am using the assembled parts to mark out the location of the shoulders of the handle.
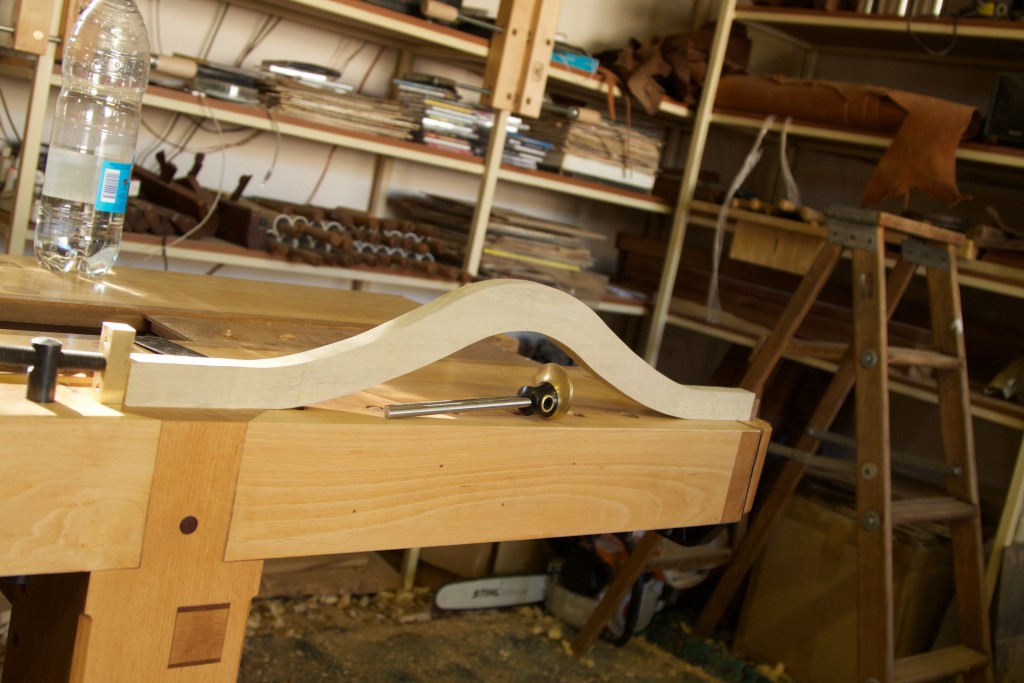
The curve of the Without handle echoes the Cape Dutch inspired lines of the rest of the toolbox. I specifically chose Without as it is also quite light in weight (similar to the Dolfhout) and picks up on the colour of the Dolfhout’s sapwood.
Marking out the through tenons of the handle.
Lie-Nielsen tenon saw in action.
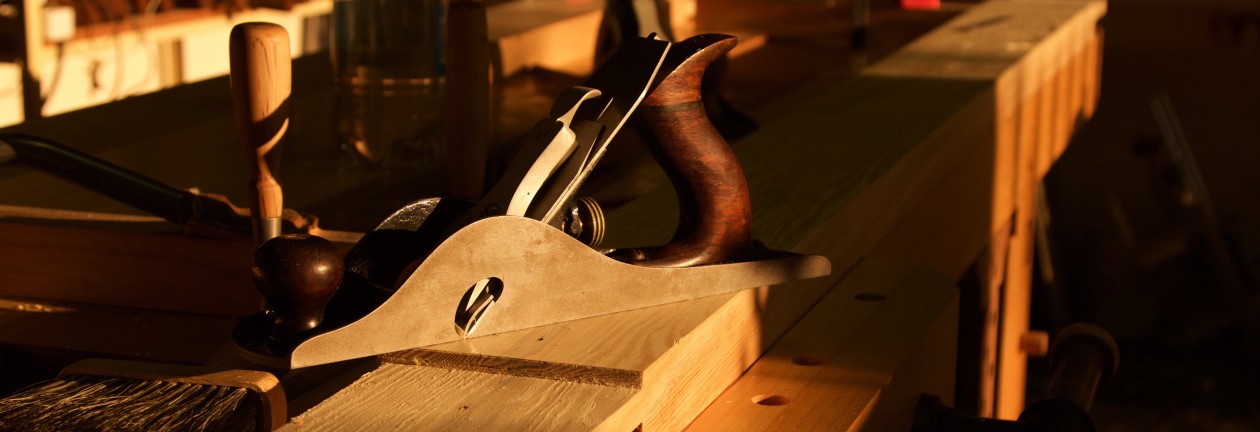
Tenon faces cleaned up with a Stanley no.10 rabbit plane. Once again the proliferation of dog/holdfast holes in this part of my bench allows for so many different work holding options, especially for irregularly shaped objects such as this.
I used my finger as a fence to roughly mark out guiding lines before doing the shaping of the handle.
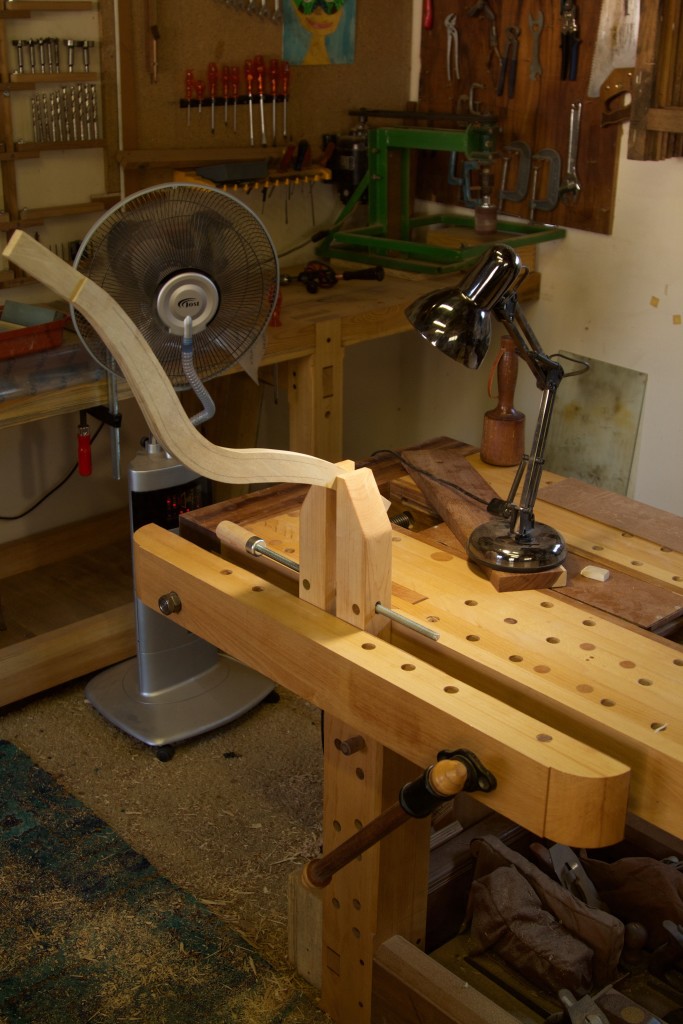
A hand screw clamp together with the twin-screw vise allowed me to work downhill (in terms of the grain direction) on the inside of these curves. The top end of the handle rested on my shoulder while I addressed the curve with a small Buck Brothers drawknife, followed by a Veritas round-bottom spokeshave and finally with a card scraper.
For the outside curves I used this work holding setup. Notice that the bottom end of the handle hooks on the dog in the leg. This allows for much less pressure needed from the twin-screw vise. While working with softer wood like this, it can be a real bonus.
So there you go, so far so good. Hopefully the final post on this project will look at finishing and assembly. I plan to use shellac for the first time. Any tips will be appreciated.


Nice work! I smiled when I read how using your actual pieces instead of measurements improved greatly your accuracy.
YES, that and using your actual tool sizes instead of measurements eliminate lots of small inaccuracies. Keep up the good work.
Bob playing fetch the twig with puppy. He hasn’t graduated to pieces of wood yet 🙂
Thanks Bob, I enjoyed your post on the puppy. If you do not shave his hair he might at least be able to sweep the shop floor where ever he goes?
Cheers
Gerhard