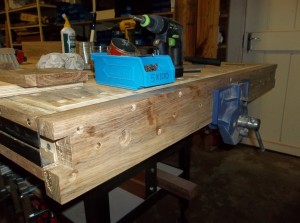
I am pleased to finally relieve your vehement anticipation for the next chapter in our fantastical journey in building a makeshift workbench that is ultimately destined to become a dedicated assembly table. In this chapter we will concentrate on the creation of the edges of the table. The edges (of the table) were designed to enhance the table’s ability to hold boards while one works it’s edges (of the boards). It is also designed to make it easy to attach various future jigs and modifications.
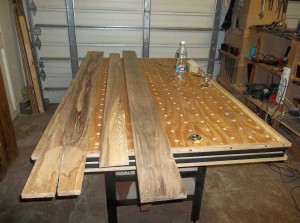
I decided to use Ysterhout (Olea capensis macrocarpa) for this purpose, due to it’s high specific gravity. Most sources have it at > 1.0 which means that it sinks in water, the way I understand the measurement. The Ysterhout I used certainly does sink. I actually tried it. This beautiful species of wood is extremely hardwearing (Janka side hardness 10,050–13,750 N and Janka end hardness 9780–14,200 N), which I thought would be ideal on the edges of a table that is going to slave away as a workbench for a few years. Check out the je ne sais quoi of these Ysterhout trees.
The problem with my Ysterhout is that it likes moving so much that I am always relieved to find it in the shop. I constantly worry that it might move to another neighborhood. This was the reasoning behind first building a fairly stable plywood apron to attach the Ysterhout edges to. The idea being that the former would keep the latter on the straight and narrow.
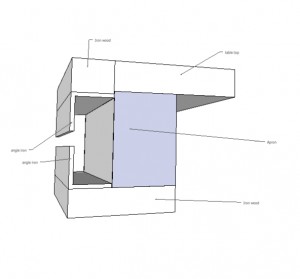
As a reminder of what I was aiming for in terms of these edges, see the Sketchup drawing below. I wanted to create a large sturdy T-channel for all the reasons above. As with most things, you can not readily buy something like this in Namibia so I came up with this plan.
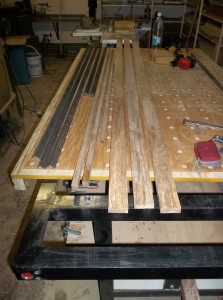
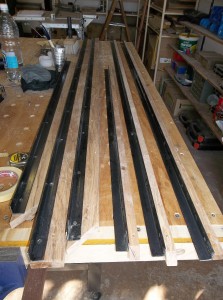
In the pictures below you can see were the process started. Two differently dimensioned Ysterhout strips for each of three sides of the table and their angle iron friends already cut to size.
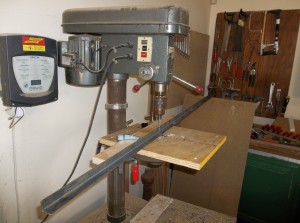
The preparation of the angle iron included drilling holes, countersinking them (in order to screw it to the Ysterhout) and treatment with a rust converter.
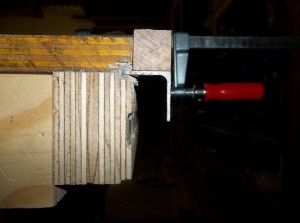
The next step was to screw them into place with steel wood screws. In the first picture you can see how I clamped the two parts in order to keep the Ysterhout straight for the screwing activity to follow. No don’t worry we are not about to leap into porn, this is a family website.
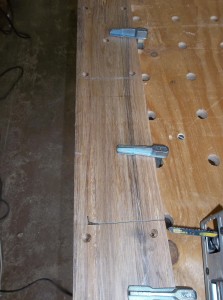
The Ysterhout-angle-iron-constituents were then screwed to the aprons and tabletop. The profusion of f-style clamps were needed to coax the ysterhout into position.
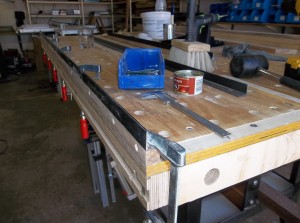
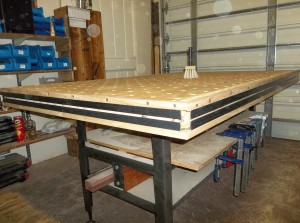
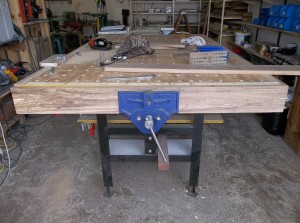
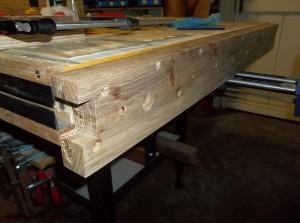
Here you can see the table with the edges/T-channels in place on three sides. The side without a T-channel is the one on the opposite end where we installed the metal self-release-vise earlier in this epoch. I apologise for the poor quality of these pictures. It looks like I had some sawdust on the lens.
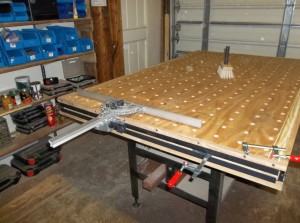
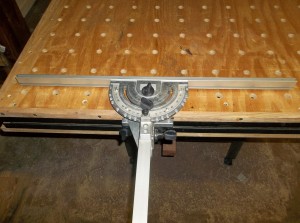
Below you can see a quick test of the T-channel system, accepting a Festool mitre gage and a Bessey F-style clamp with considerable ease.
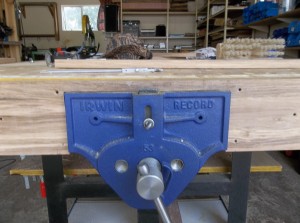
Then I started with the really scary part of the edge attachment on the side of the table were the quick-release-vise live. What made this nerve-racking was the idea of having to use wider ysterhout boards and on top of that laminating two together in order to create the added thickness to encapsulate the inside face of the quick-release-vise. I wanted to enclose the inside face to create one flat surface on the entire edge of that end of the table.
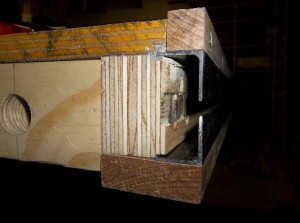
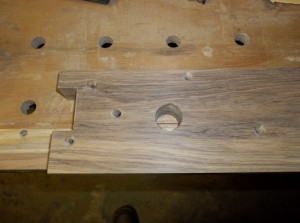
In the pictures I chose you can follow the steps in preparing the edge. I removed a rectangular section from the inside board corresponding to the inside face of the vise before laminating it to the outside board. This was much easier than trying to chisel out the area after lamination. One would destroy several chisels (and probably limbs too) attempting to do that.
All those screws were needed in conjunction with heaps of clamps to get the two pieces of ysterhout (each with it’s own ideas) to adhere to my intended configuration. You will not believe me if I tell you how much effort it took to do this, so I will not even try.
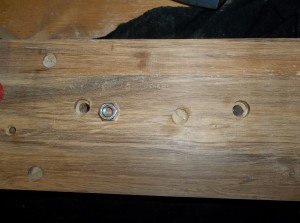
Prior to attaching the edge I first inserted six 8mm nuts on the inside of the ysterhout communicating with 9 mm holes through to the outside. The idea with this was to created six points were one could easily attach various gadgets in future without having to first modify the table at all. You simply bolt the contraption of what ever nature to the edge with an 8 mm bolt or two.
The only way I could flatten this monster was with a belt sander. Yes I know that is not the best way, but nothing else that I had available to me at the time made any impression on the wood. Therefore careful belt sander use and some serious sanding by hand enabled me to get it pretty damn flat. In the pictures below you can also see the cutout meant to open up the T-channel at each end of this ysterhout edge.
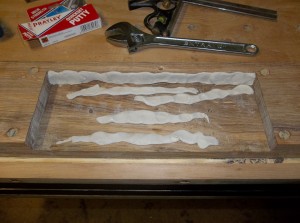
Installing this edge was a mission in itself. First I rubbed grease on the inside face of the quick-release-vise. Then I mixed epoxy putty to fill in the 2-3 mm gap between the inside face of the vise and the recessed area of the ysterhout edge. The grease was meant to ensure that the putty does not stick to the inside face in case I ever need to remove the edge for some or other reason.
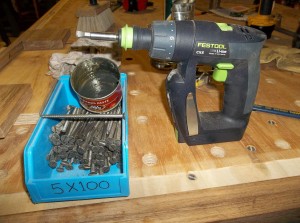
The edge was then screwed to the table with 15 of the steel screws pictured. They are 5 x 100 mm each and again I had to use clamps as well to persuade the ysterhout to comply.
That then concludes this chapter. Next time we will look at how I made the chop (at least I think that is what you call the wood that is meant to cover the moving jaw of the vise) and finished off the table. Hurrah!!!
