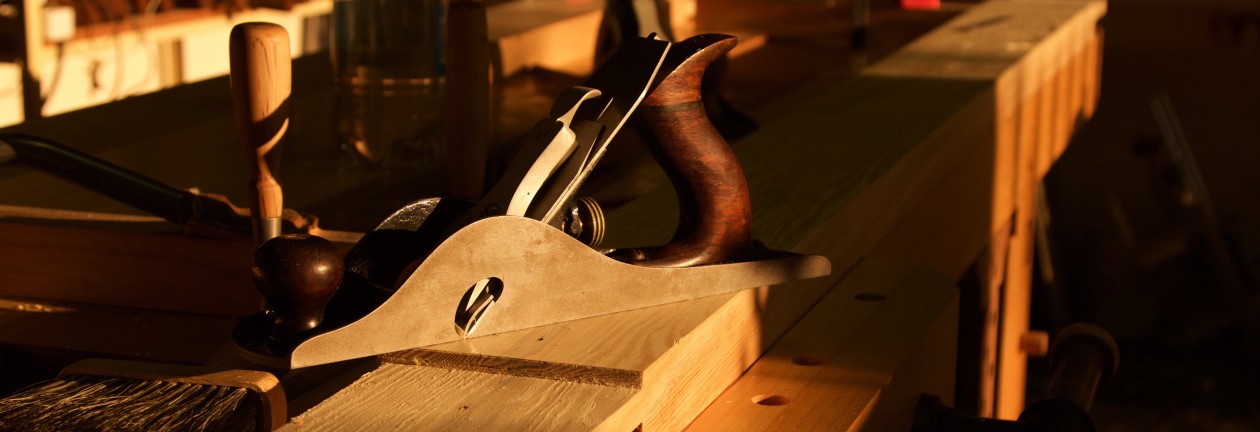
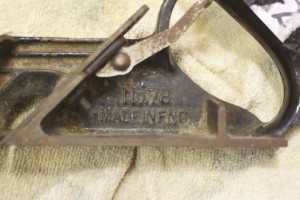
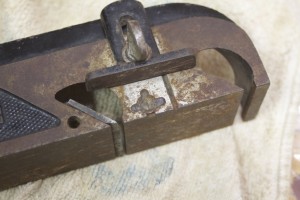
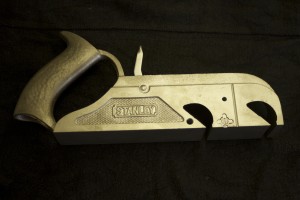
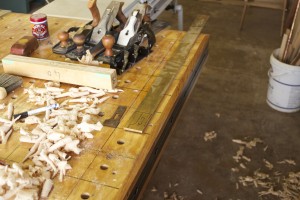
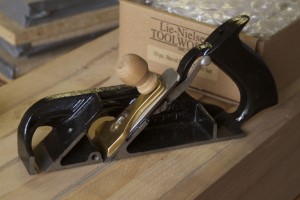
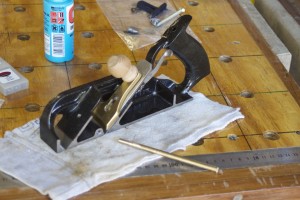
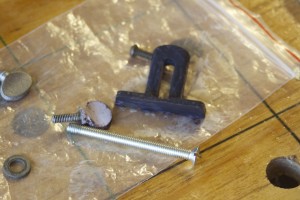
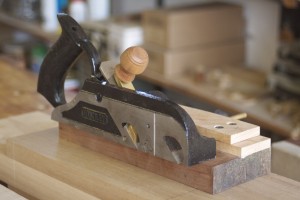
4/2/2014 – I bought this old Stanley #78 rabbet plane at an antiques auctions during the December holidays in Groot Brak Rivier. As you can see it was in a pretty bad state. The parallel guide and the lever cap were missing, but the depth stop and the nicker survived.
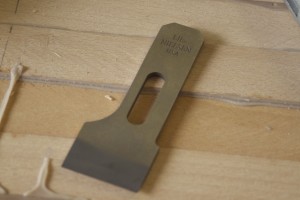
It had one bade that was held in place by a washer as you can see.
Here you can see the depth stop and nicker.
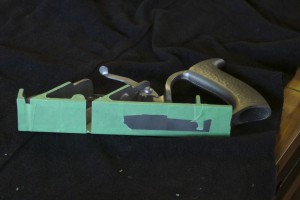
Since I struggled for a day with paint remover and wire brushes on a handheld drill to remove the japanning from the 2 cast iron fore planes I restored recently, a friend told me of a engineering shop that does bead blasting. The idea seems to be that these beads only removes paint and rust but no metal. So I rang Kenney at the Prop Shop who quickly explained what they do. Within 3 days I received a #78 looking like this ….
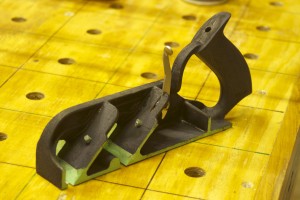
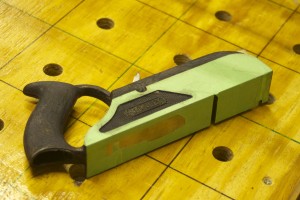
I could not believe my eyes and thought they decided to plate it with something or other, so I rang Kenney. He assured me that it was only bead blasted and on closer inspection I realised that he was correct. As soon as I arrived home I proceeded to stick masking tape on all the areas that needs to stay paint free.
Then I applied a coat of rust converter.
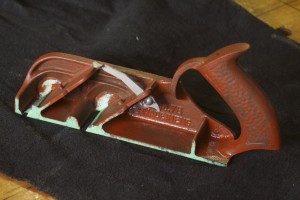
10/2/2014 – Next came a coat of a rust resistant undercoat …
… and three layers of high gloss truck enamel paint.
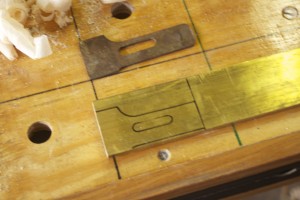
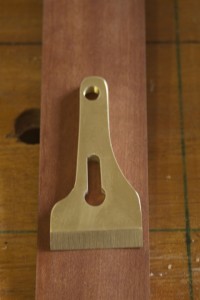
24/2/2014 – Seeing that the plane lost it’s lever cap, I fashioned one out of brass to give it that Lie-Nielsen look.
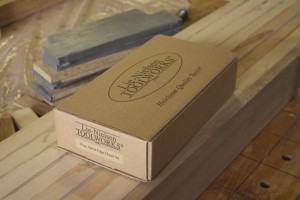
17/3/2014 – Speaking of the devil, at about this time the Lie-Nielsen replacement blade arrived with a set of bevel-egde chisels.
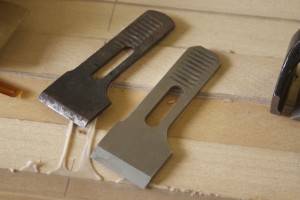
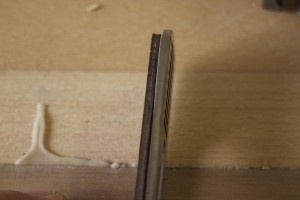
As you can see the news blade is almost an exact replica of the original except that it is quite a bit thicker. This has the added benefit that it closes up the throat.
New blade and lever cap in position.
31/3/2014
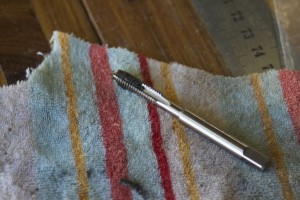
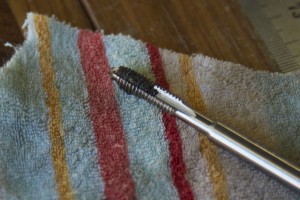
I started cleaning up the thread were the MIA fence guide should screw in.
I then fashioned a new guide out of brass.
The depth guide received the same treatment as the plane …
22/4/2014
… and fitted to the plane.
19/5/2014
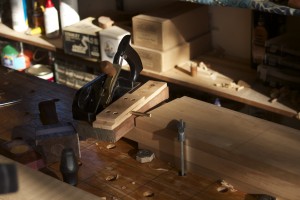
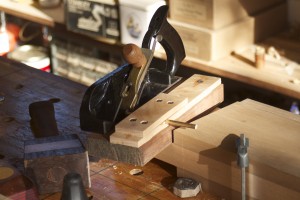
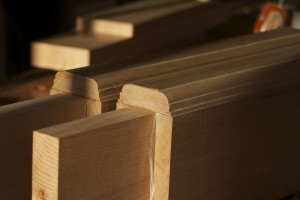
During the past weekend I finally fashioned this Dolce&Gabbana-esque fence as I needed it to do some hand-cut mouldings. I might work on it’s appearance a bit more in future and possibly add a knob to the side that screws onto the end of the guide. Watch this space.
A few examples of the mouldings.
