26/5/2015
Finally the next chapter in this fascinating series arrive to ease the eager anticipation of the woodworking proletariat. If you missed part one, simply click the link. Since part one of this story I’ve realised that it is a lot more work than the previous two saws I’ve built.
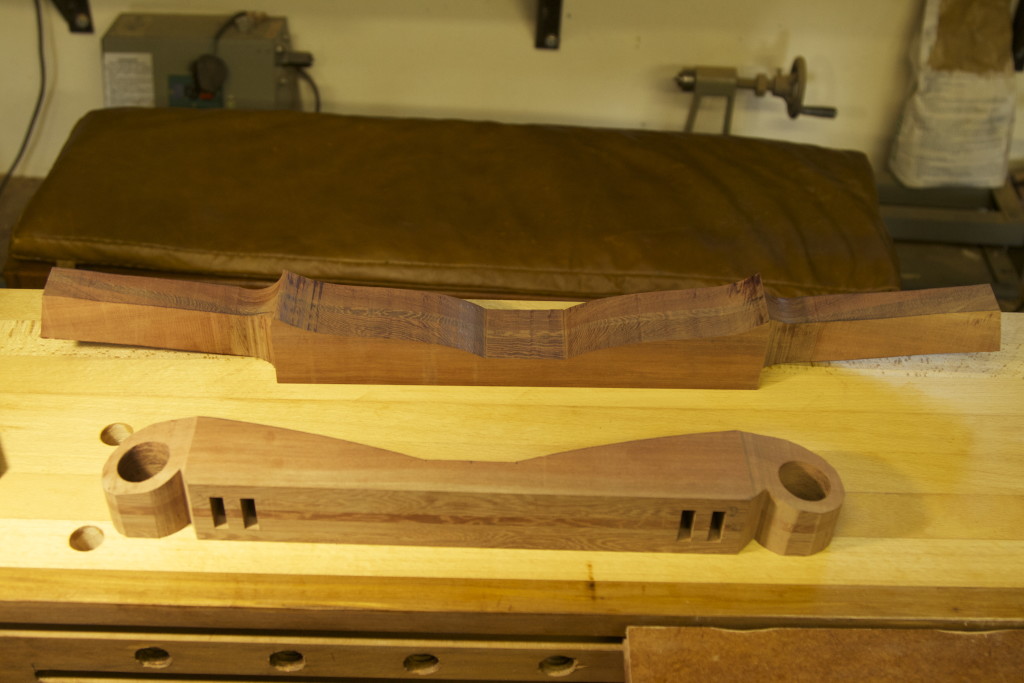
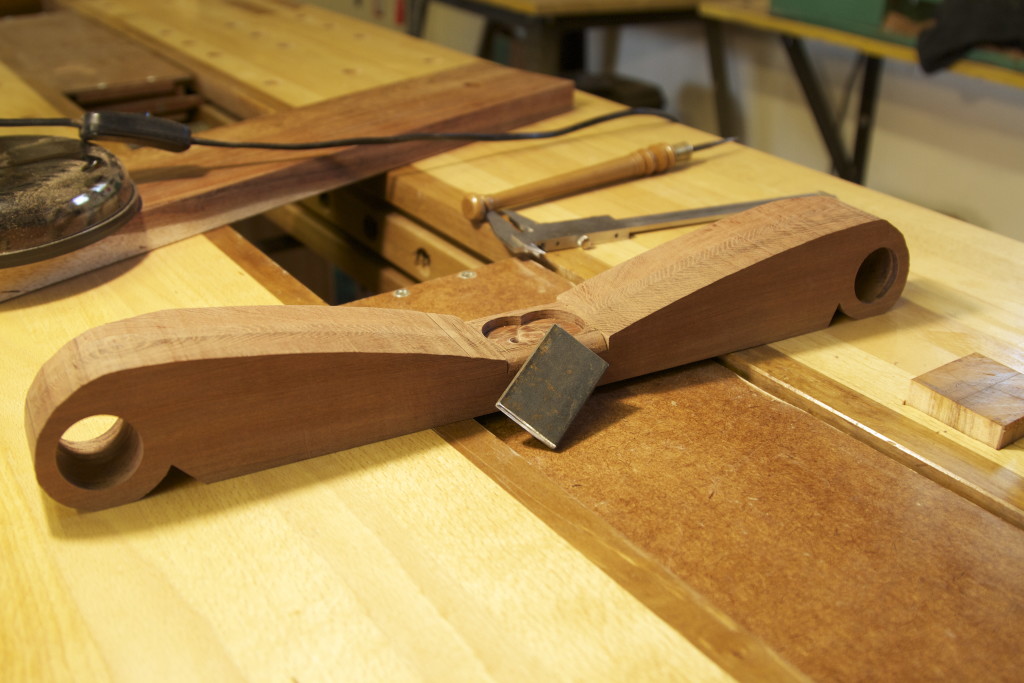
In the pictures below you can see how I started to shape some of the parts. The Kershout is so freaking dense and heavy that I really had to remove as much timber as possible to reduce the weight.
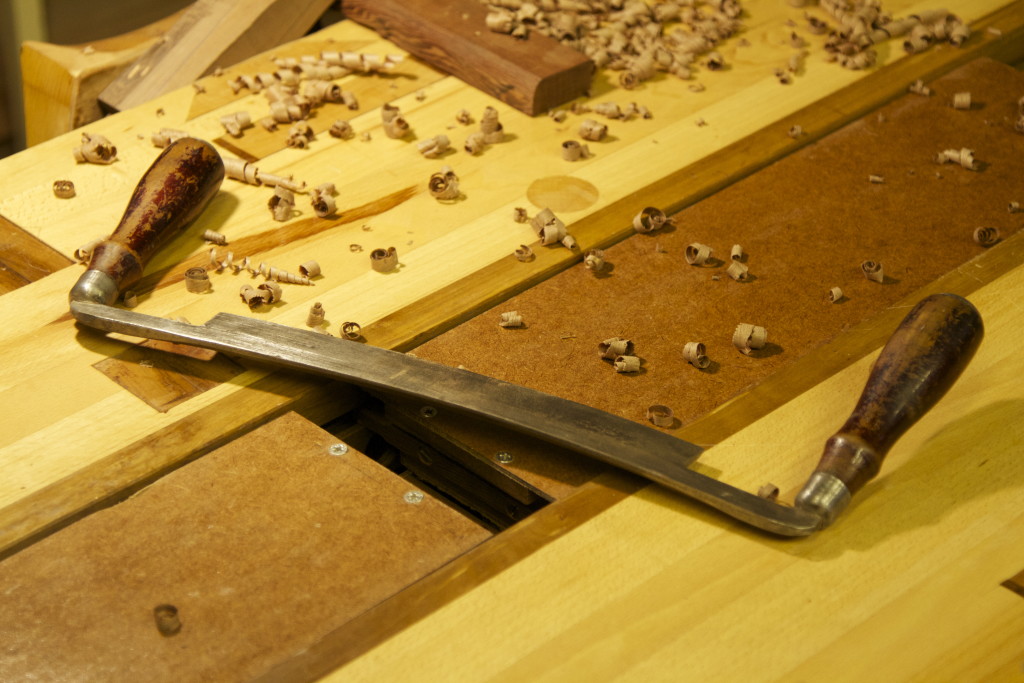
I first tried to use my vintage Witherby drawknife to remove material from these long sections (not sure what the correct term is for these parts), but the wood is simply too hard. Then I tried the bow saw I built recently, followed by a Veritas spoke shave and it worked much better.
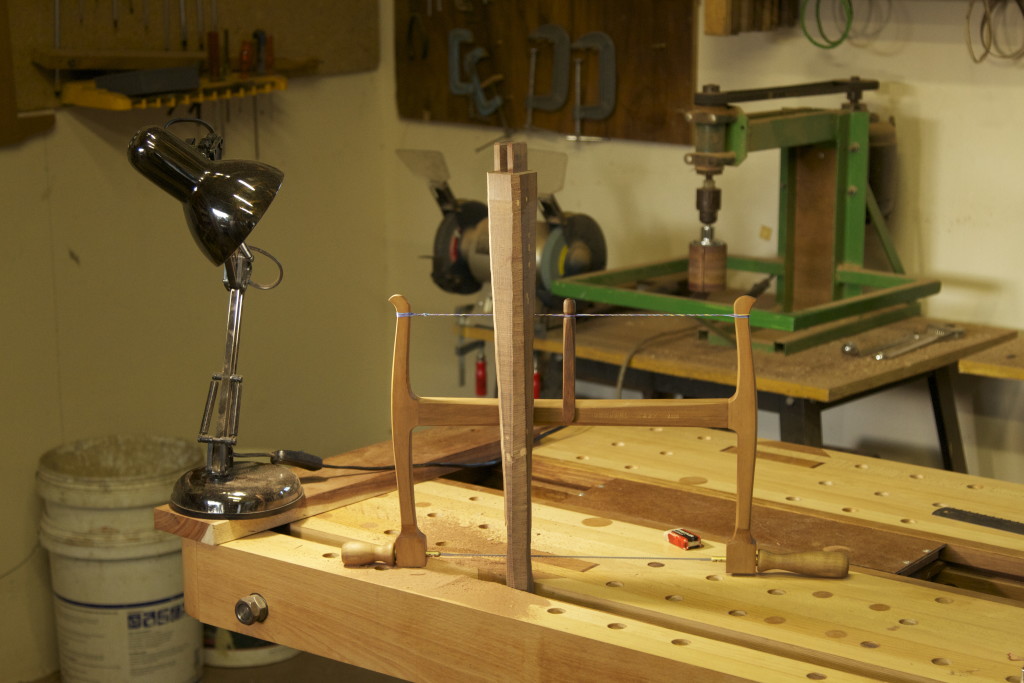
I reassembled the saw to check that the chosen shapes work aesthetically.
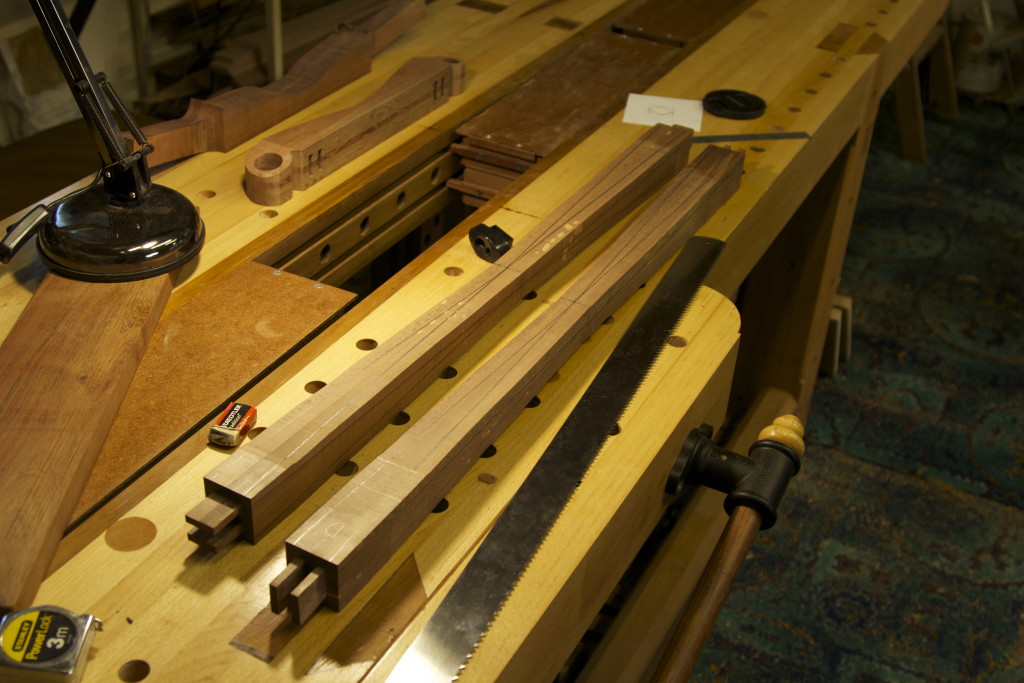
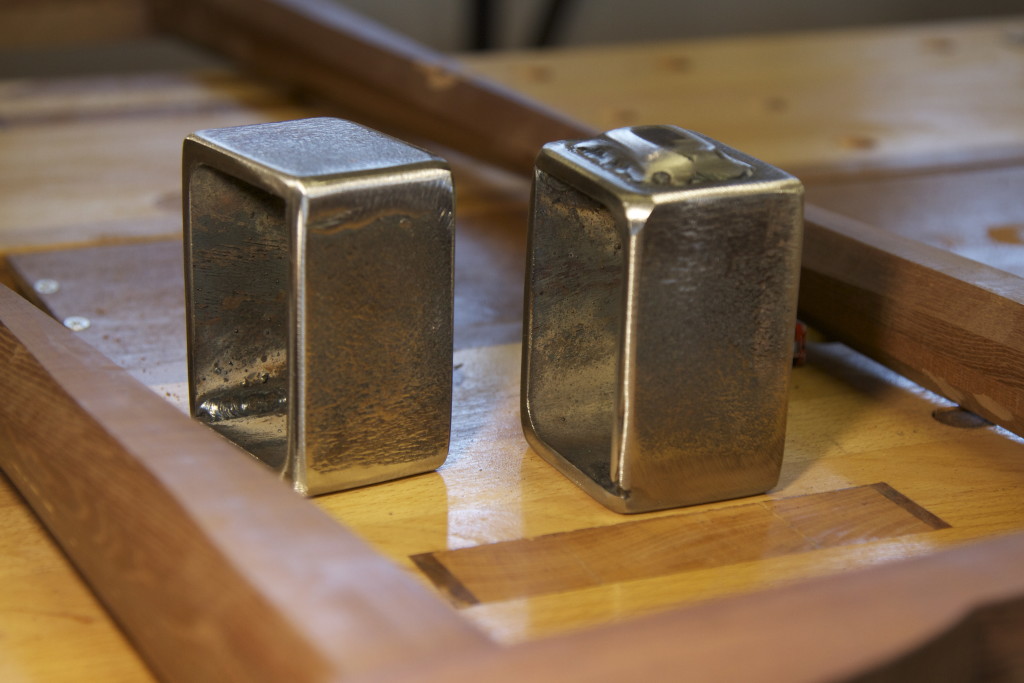
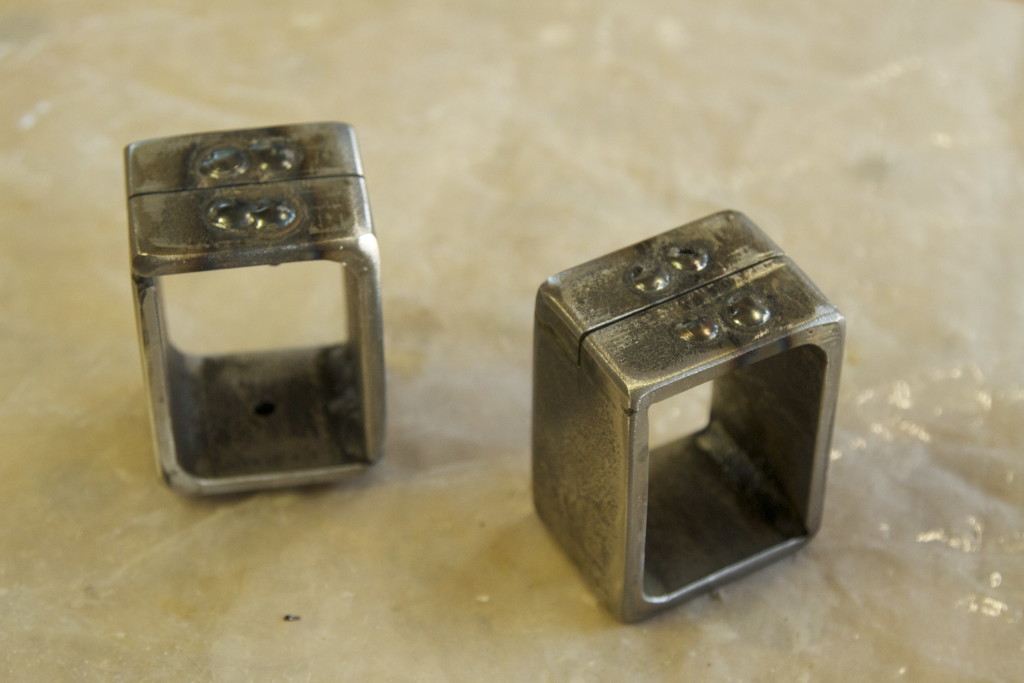
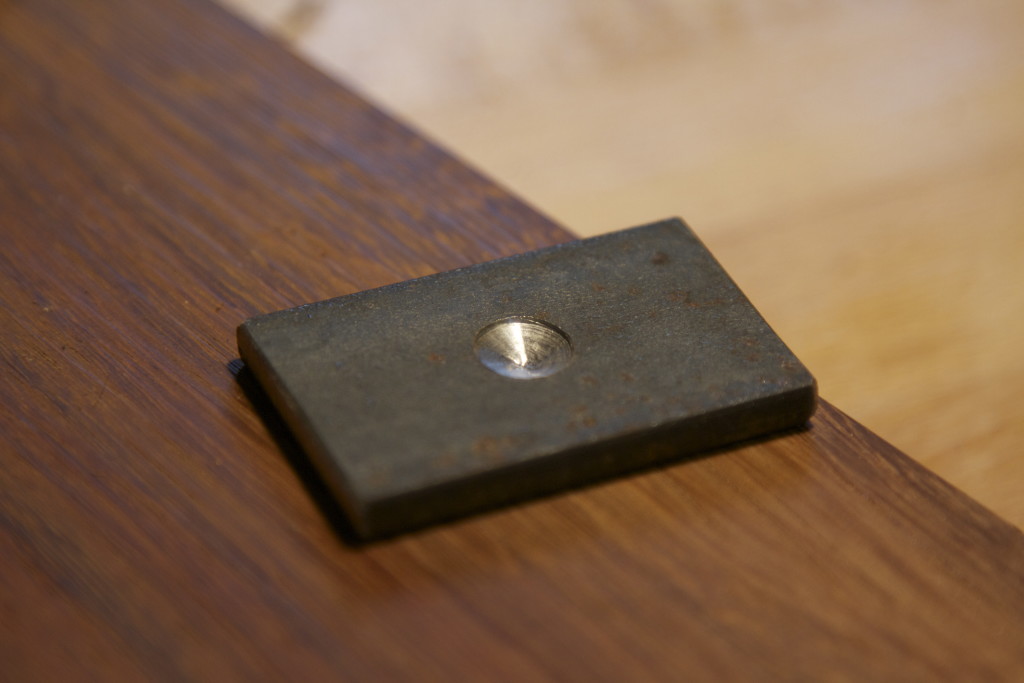
As you can see, I did not do myself any favours in terms of reducing weight with the dimensions of the steel I chose for the hardware. That is because I usually use the bits of scrap (that I collect religiously) lying around the shop rather than to go and buy stuff.
This piece of steel is meant to protect the wood from potential damage by the tensioning bolt.
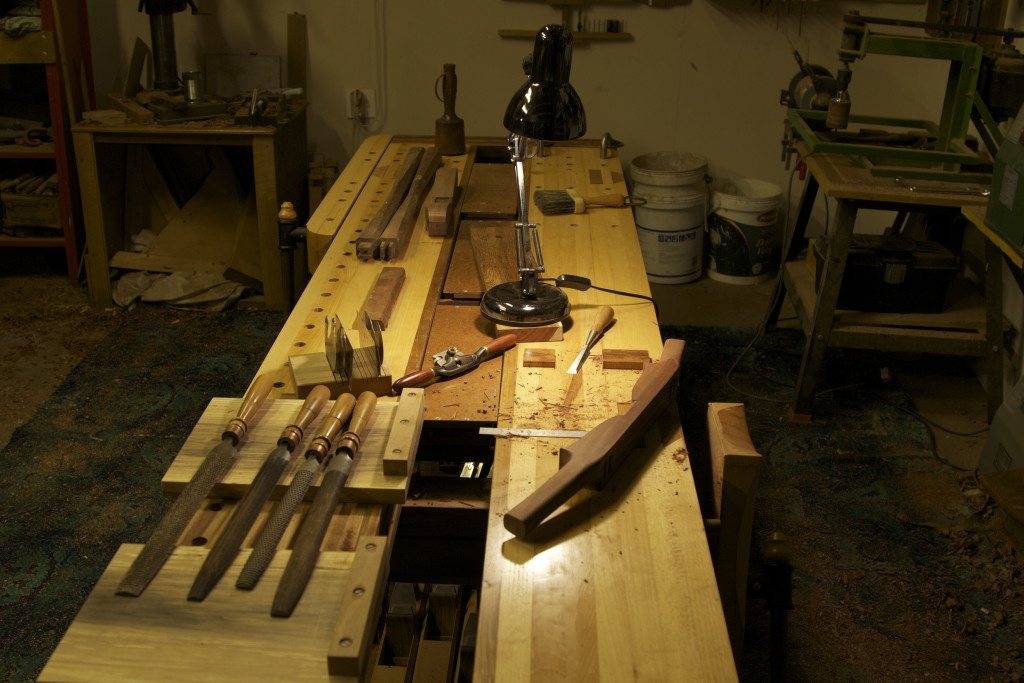
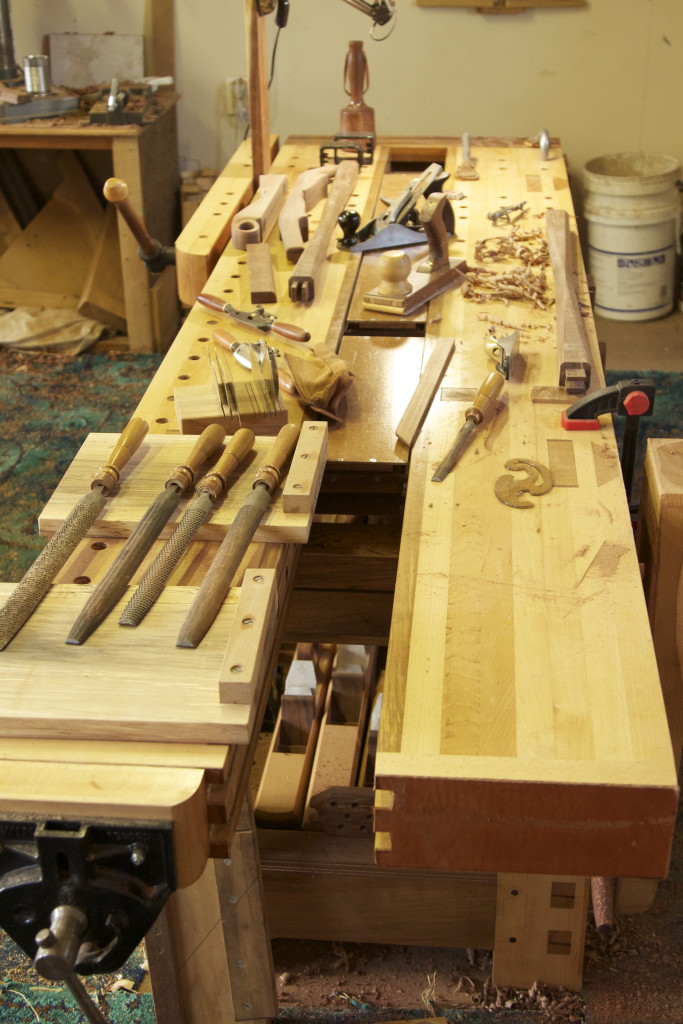
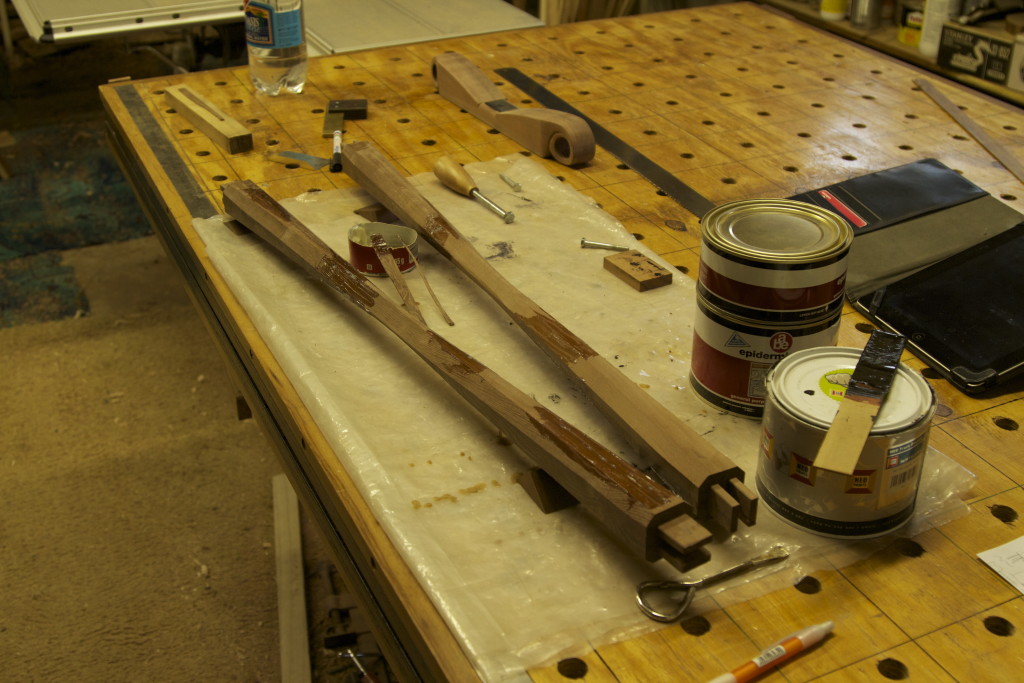
Then followed the careful shaping and smoothing phase. You will notice the range of tools used sitting on my bench.
This is a picture I was reluctant to share, but decided that it would be silly not to. What I needed to do here was to fill quite a few wood borer holes with epoxy. It must be borer that did it’s damage while the tree was still alive or at the very least still green, as the wood is simply too hard for borer now. Looking at the stuff I had to dig out of the holes they had severe constipation even at that stage. I knew about these imperfections from the start. It is a fairly frequent obstacle I face while working with the feral woods of the Knysna Forest.
It simply serves as a reminder to all of you out there who can walk into a lumberyard and choose from board after board of perfect wood that you are very lucky. So remember that.
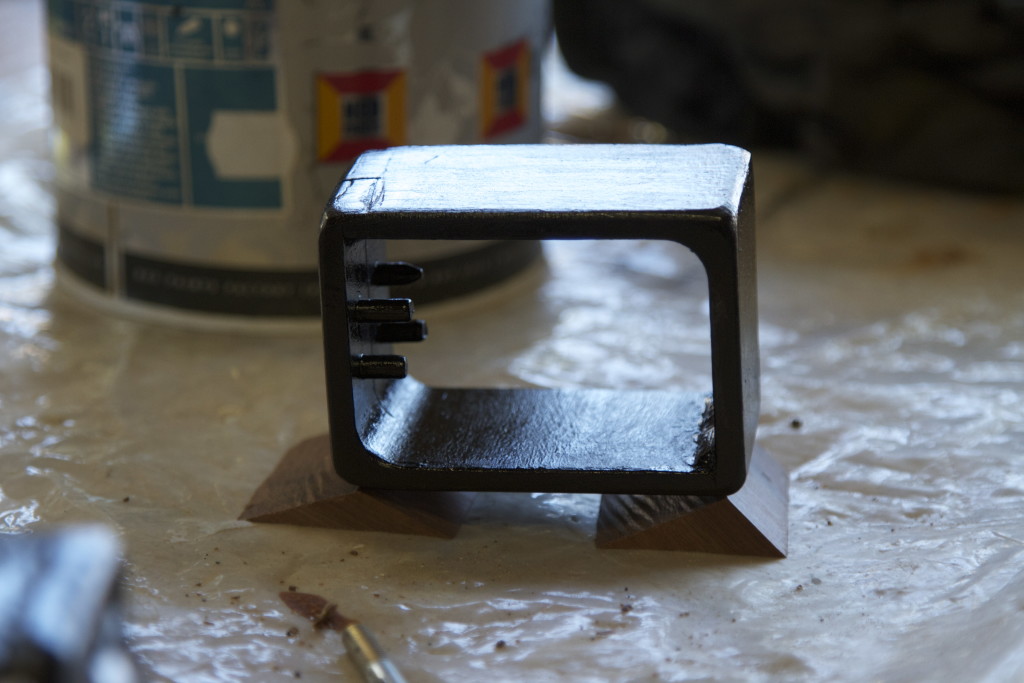
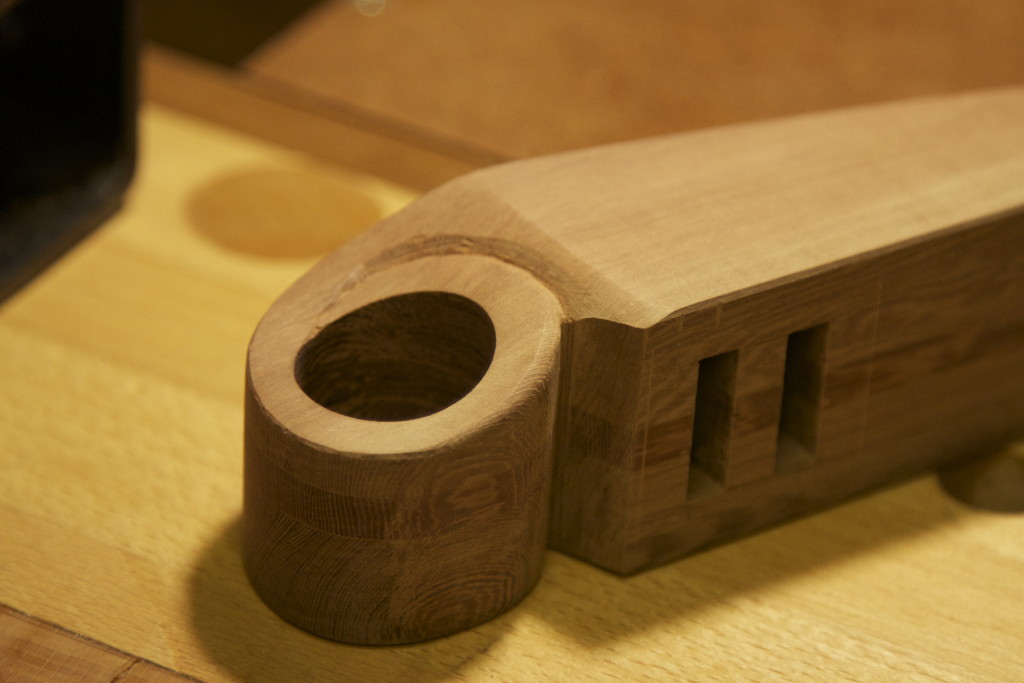
… and finally a brief preview of what’s to follow in part 3.



















Hey Gerhard,
This is looking great! I’m really curious to see what this thing weighs in at when it’s done.
Jonathan
Thanks Jonathan
The weight is in a much more manageable range currently, but the proof will be in the pudding. Hopefully I will be able to test it out this weekend. I will weigh it then and let you know. As you mentioned, at least I will not have to worry about downward pressure.
Have a wonderful weekend.
Gerhard
Wow! Beautiful! Tom will be jealous i think… 😉
Thanks Aymeric
That is probably the best complement anyone has ever given me. You are a legend of note. Thank you!! I think you will enjoy the end product, I did some of the finishing work this afternoon, which means part three should be on the www by next week.
Thanks again for the very generous complement and have a wonderful weekend.
Gerhard