A Treatise on lamination and planing elbows
2/2/2014
I started building my dream workbench this weekend. The beech has been sitting in the garage since December 2013, patiently waiting and settling into the rainy season. The average humidity in the shop has risen from 20-30% to anywhere between 50-75%. Before we left for holiday in South Africa I stacked the boards in the wood store with a 100 mm thick x 300 mm x 2500 mm slab of Ysterhout (which weighs a freaking lot) on top of it and quite a few other hefty items on top of that. When I removed these constraints on Saturday, it seemed as if it did the necessary to prevent unwanted movement.
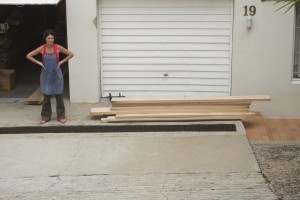
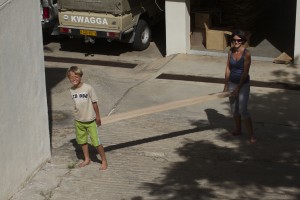
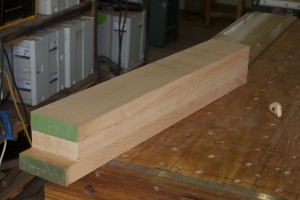
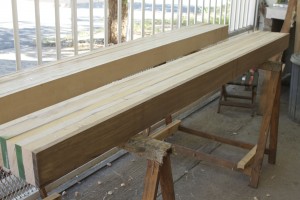
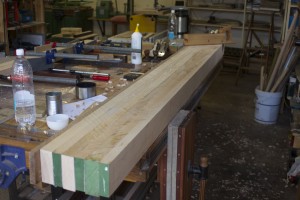
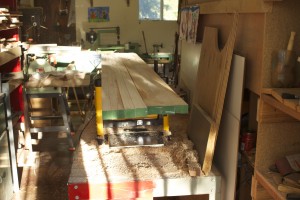
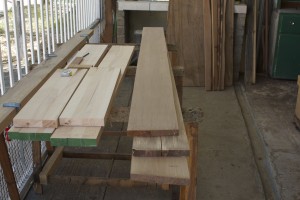
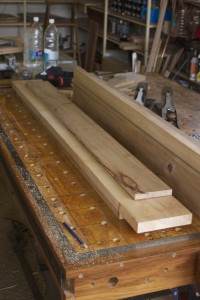
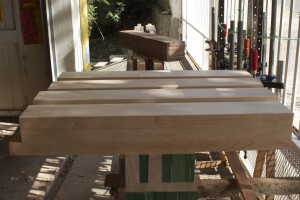
Here you can see my beautiful wife with the beech that is destined to become the top of the workbench. At present the pile is made up predominantly of boards of 37 mm-ish x 110-150 x 2400 mm. There are also two 45 mm-ish x 2700 mm boards.
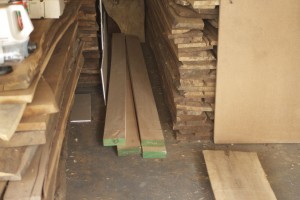
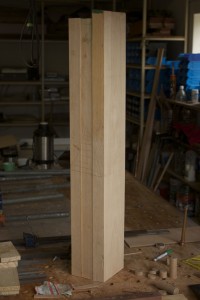
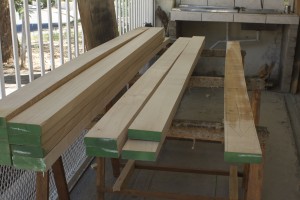
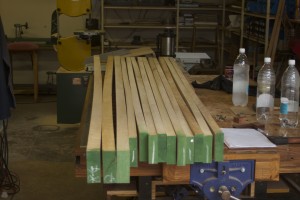
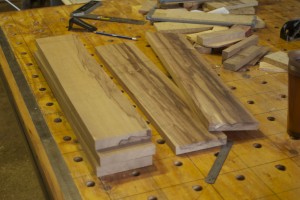
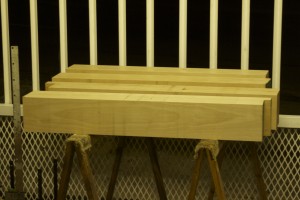
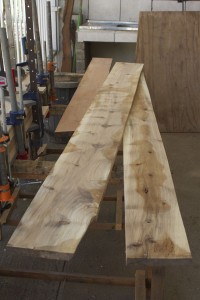
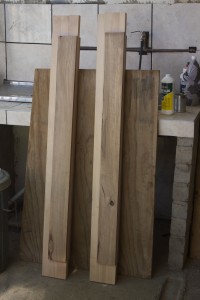
In the picture below you can see the 4 boards destined to become the legs. They were in the order of 45 mm-ish x 130-150 mm x 2700 mm.
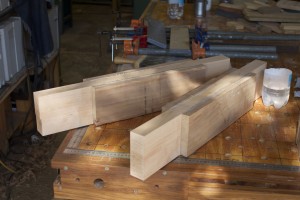
I chopped each up into three 900mm long sections.
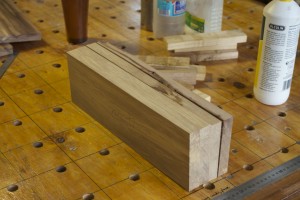
The plan being, to laminate each triplet into one leg.
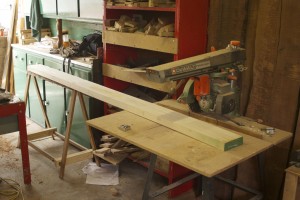
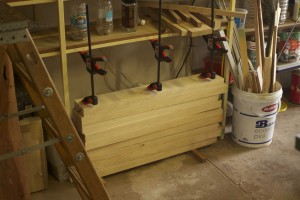
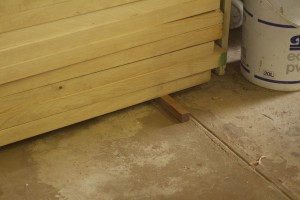
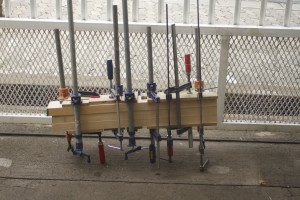
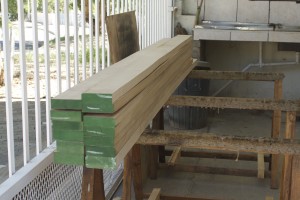
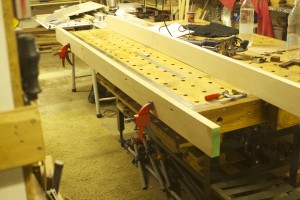
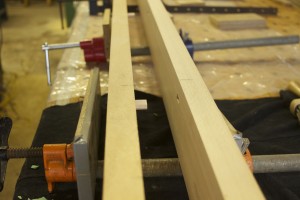
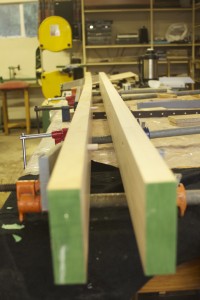
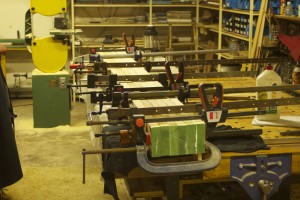
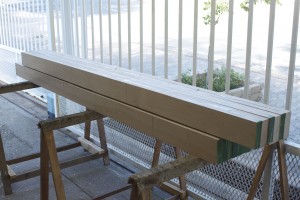
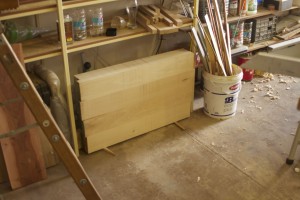
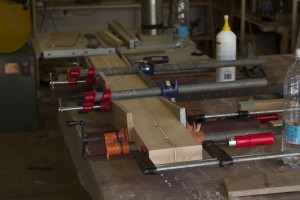
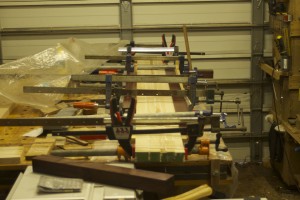
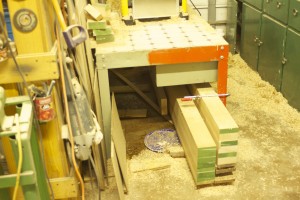
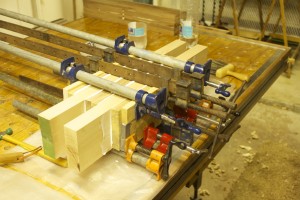
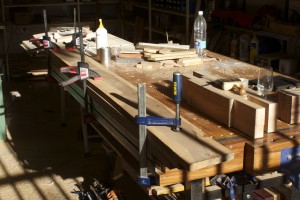
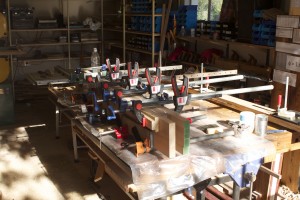
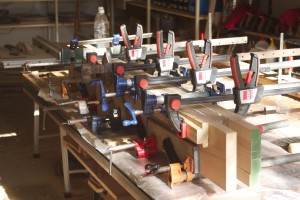
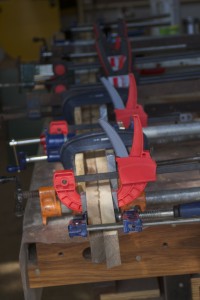
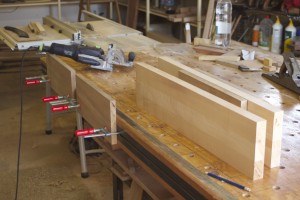
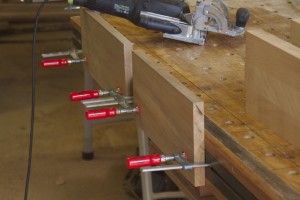
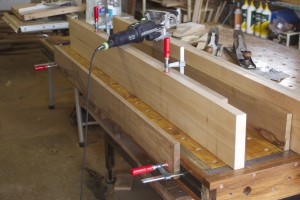
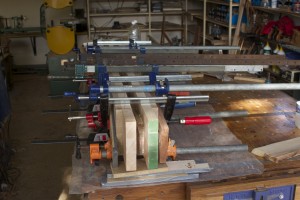
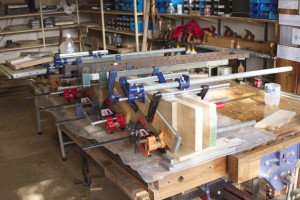
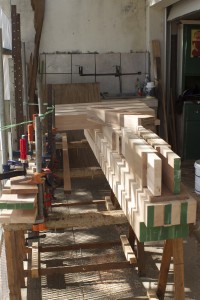
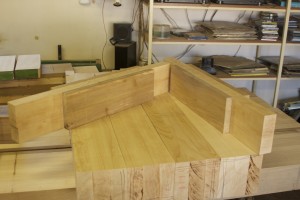
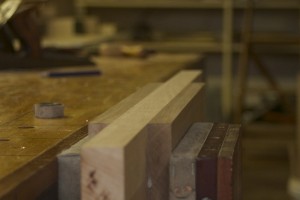
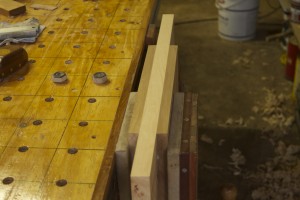
I devised the following plan to keep the boards waiting to be laminated straight. You can see how I used my Bessey clamps in reverse to put pressure on the stack.
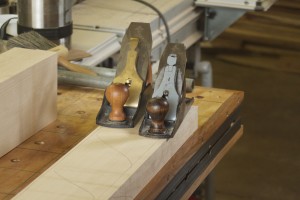
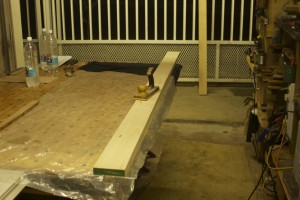
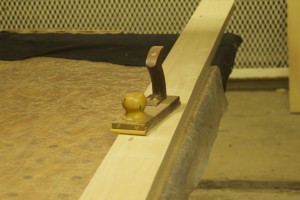
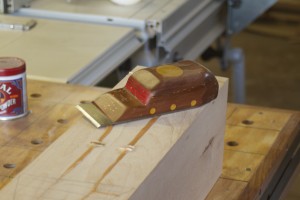
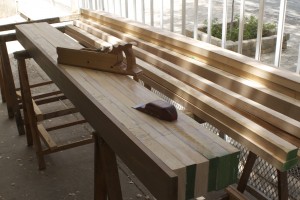
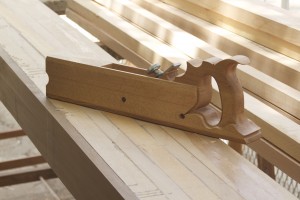
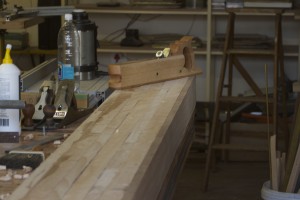
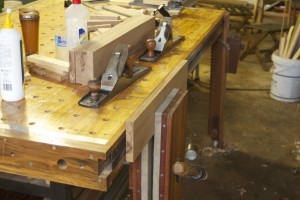
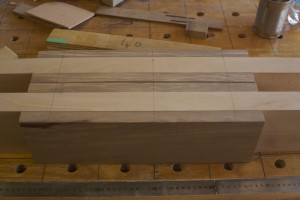
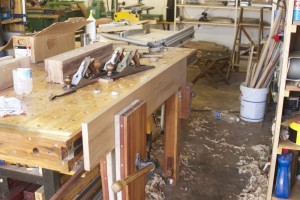
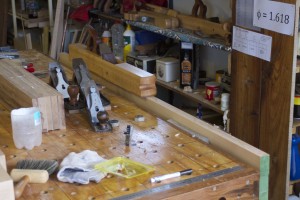
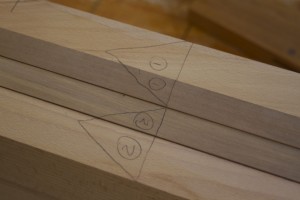
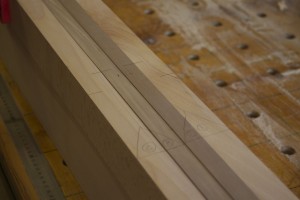
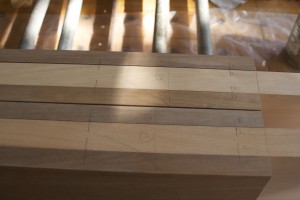
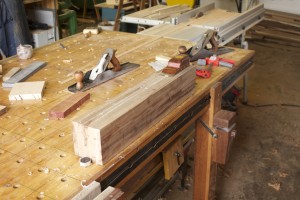
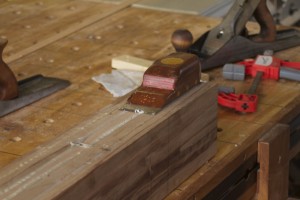
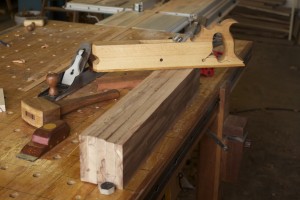
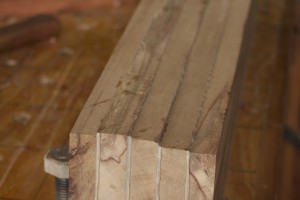
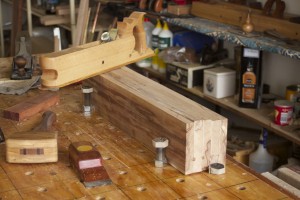
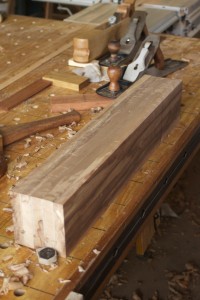
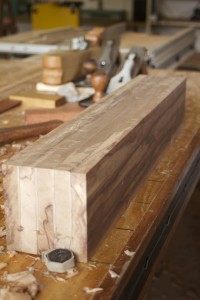
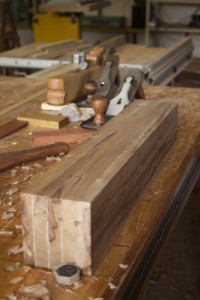
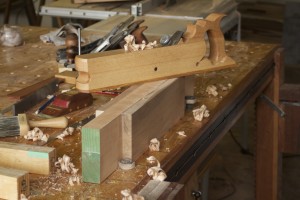
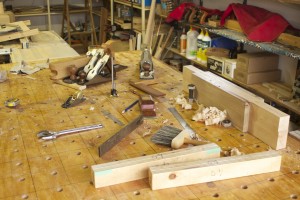
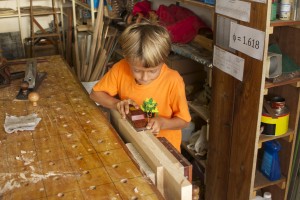
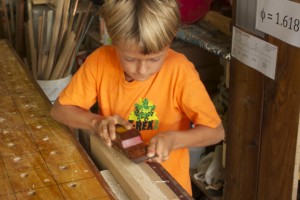
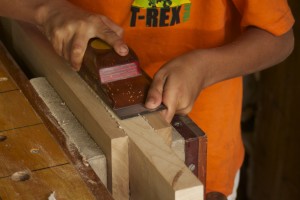
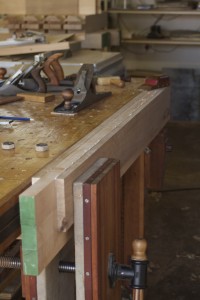
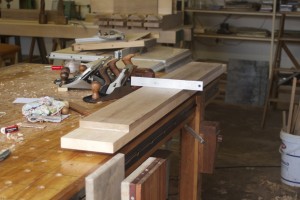
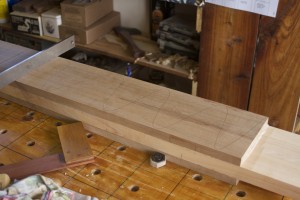
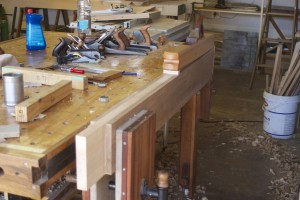
I ran each board thought the planer and removed the machine marks with the two smoothing planes pictured to created an ideal glue surface. The pictures show how I scribble on the faces to make sure everything gets planed.
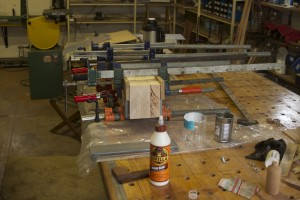
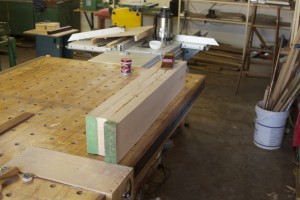
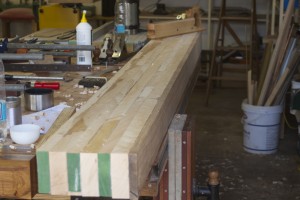
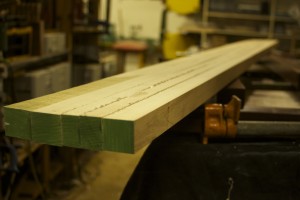
The first leg were glued on Saturday and were left in the clamps for 24 hours before the second leg got it’s turn on Sunday.
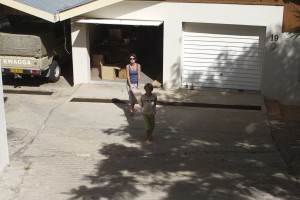
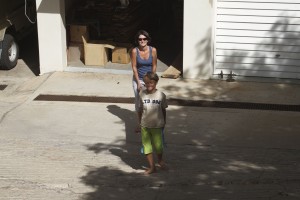
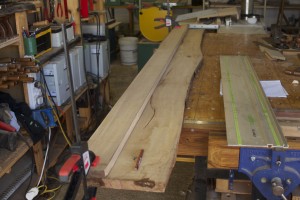
10/2/2014 – If you are smart you can get your wife and son to carry the lumber around for you. Here you can see how my assistants carried the boards destined to become the top and the stretchers up to the workshop.
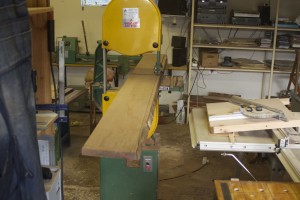
My apprentice (also known as the wife) agreed to help with the task of ripping the boards to width on the bandsaw, a task that is impossible to accomplish all by myself.
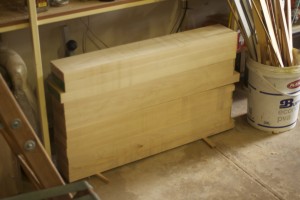
I then stacked and clamped them to prevent major movement while they await the arduous and slow lamination process.
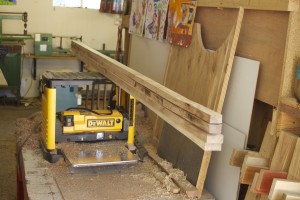
The next step was to feed them to the planer who happily took care of the rough faces which would become the glue surfaces during the lamination process.
24/2/2014
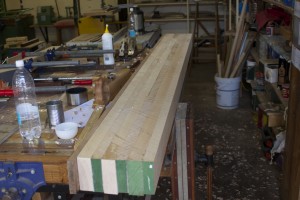
Here I played around with the different boards to identify the outside boards and best order for the lamination of the two parts of the top.
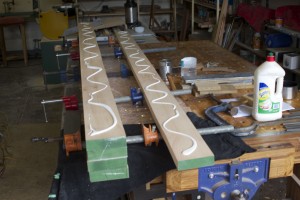
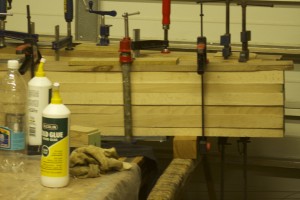
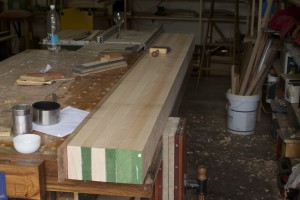
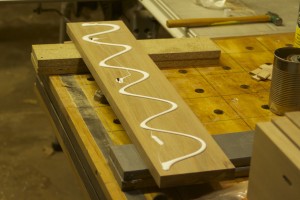
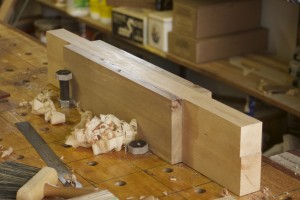
The first of 15 separate glue-ups. As you can see, I used my Festool Domino in order to get the edges of the boards more or less flush during this lamination process. I only added one board each time and would then leave it in the clamps for a minimum of 24 hours before adding the next. The preparation and glue-up took around two hours for each step. As you can see I prepared the machine planed faces further by removing the machine marks with my shop made proletarian sanding contrivances (also known as sanding planes). One cleanup with 120 grid followed by 150 grid to get a really good glue surface. My shop made glue roller is also in action, showing off how useful it can be during major glue-ups like this.
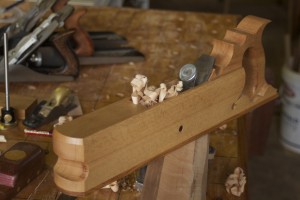
Here you can see how I removed the excess hardened glue with my shop made flush plane and then proceeded to flatten and square up two reference surfaces before once again feeding the legs to the planer. I first removed the bulk of material with my shop made idiosyncratic scrub plane and then followed up with the two cast iron fore planes I resurrected earlier this year. One (the Stanley Bedrock) of the fore mentioned is set up with an aggressive cambered blade (centre in the picture showing the various shapes of cutting edges) and the other (the Record) more similar to a smoothing plane with an ear-clipped flat blade (left in the picture showing the various shapes of cutting edges) and a tight throat. The last picture shows my makeshift winding sticks.
Leg after the planer had it’s say.
The first halve of the twin-top progressing slowly with the passing of many days.
10/3/2014
By this time I worked out that the two parts of my twin-top would end up about 40mm (in total thus 20mm each) narrower in width than intended. This of course due to the unpredictability of width after planing the boards flat and ultimately not buying quite enough wood. Therefore I decided to add 20mm to each by means of yet another lamination of Witpeer to the inside of each. My plan was in any case to make up for the slight shortage of beech by adding Witpeer. This would make the bench quite unique and add some African je ne sais quoi (of course).
Here you can see how I liberated the strips of Witpeer I needed for the insides of the tops from a feral plank straight out of the Knysna forest. The last three pics show the liberation of the strips of Witpeer meant for the lamination of the breadboard end that will stabilize the twin-top at one end.
The two parts of the twin-top before the Witpeer strip were laminated on.
Adding the Witpeer strips.
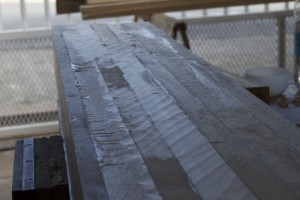
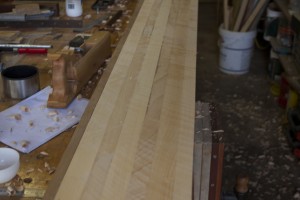
Here I started flattening a face of the top in order to create a perfect reference surface to flatten the opposite side parallel to it in the planer. I cleaned off the hardened excess glue with my shop made flush plane and then started the arduous process of removing the bulk of the waste with my shop made scrub plane. As you can see it was quite a mission, but the scrub plane performed admirably and although it was tiring, I actually enjoyed it’s aggressive attitude.
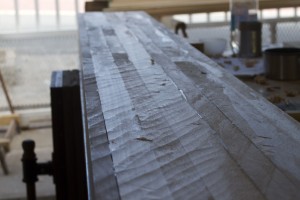
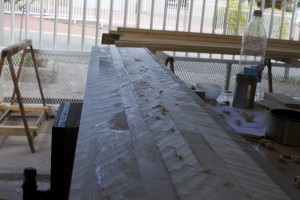
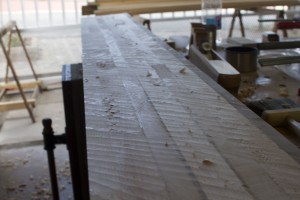
In the pictures below you will see how I worked diagonally across the top, first in one direction and then the other. I took a photo after each pass to show the progression. Towards the end of this process I made sure I took care of most of the very slight wind, even before moving on to the fore planes.
Then I took to it with the two cast iron fore planes. First the aggressive bastard, followed by the gentle giant.
As you can see, it worked very well as it came out of the planer looking pretty tidy.
At this stage I managed to slowly work my way through the same process (as above) with all the legs. They were now all square and flat on four sides but in slightly different dimensions. Therefore I needed to pass them through the planer until they were exactly the same dimensions. You will see how I first marked the reference surfaces on the ends because the marks indicating them on the faces would disappear soon. In the end I ended up with legs of 132mm x 134mm.
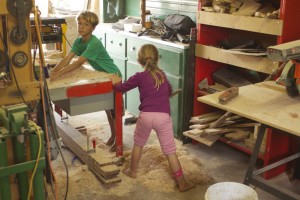
Didi and Aoife helped to clean up the shavings and used it as mulch around the trees outside the shop.
As if I haven’t done enough lamination by this time, I had to start laminating the relatively thin strips that fell off while ripping the boards for the top to make up the four stretchers and two aprons.
This is supposed to become the two aprons, but will receive some Witpeer reinforcement as well.
17/3/2014
This is the first of two laminations destined to become the stretchers.
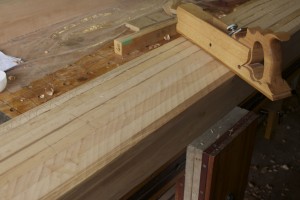
Next I attacked the second of the two beams being moulded into a twin-top with the blood-thrist trio of hand planes. I really like the scalloped appearance of the face being left by the scrub plane.
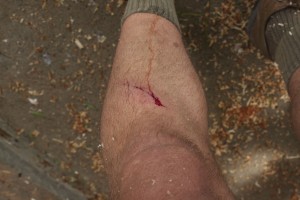
I managed to inflict this cut on my shin by bumping into the first top’s edge while planing the second. These tops are so heavy that it really is a major exercise to pass it through the planer a few times. Luckily, my beautiful assistant (who likes to be referred to as my wife) helped me as it would be utterly impossible otherwise.
Here are (literally) the products of blood sweat and tears, quietly resting until I manage to gather strength and time for the next assault on their configuration.
Another, challenge I face over the past several years is dealing with the fact that water tends to invade on my privacy in the shop. Despite paying so-called roofers NA$5000 dollars last year to fix the problem before the next rainy season, I am still swimming on a fairly regular basis.
31/3/2014
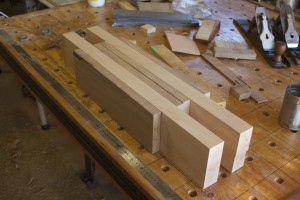
The two boards laminated from all the offcuts destined to become the four stretchers before receiving some attention from the planer.
In the pictures below you can see how I prepared and laminated Witpeer to from a very solid hunk of African hardwood destined to become the so called breadboard end of the bench’s twin-top.
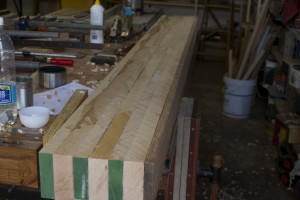
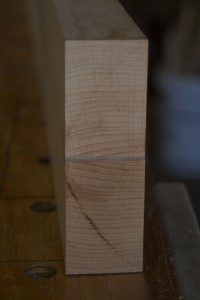
Next I laminated the two short aprons. The table will only have these two aprons as the top is thick enough to get away without the long aprons. The two short aprons is needed to keep the table together as it will have a top consisting of two separate beams with a breadboard end at at one end only. In the second picture you can appreciate the grain orientation of the beech that will form the centre of the apron. I spent quite a bit of time to find the right piece of wood in order to make up a board that is essentially quarter sawn. The reason for this is that as you probably (seeing that you are reading a woodworking article) know, quarter sawn boards do not move much in it’s width (as compared to plain or rift sawn) as other boards. I wanted this particular characteristic for the two short aprons as my two-piece top will shadow any movement in the width of the aprons, possibly leading to unwanted changes in it’s alignment. You will notice that I continue to use Dominos to ensure that at least one edge of the boards being laminated stay flush with all the others.
In the pictures below you can see how I attacked the legs with the awesome foursome (first picture). I found that after planing them down to the same dimensions with the electron dependent planer and resting a while they went ever so slightly out of square. I managed to sort out two of them in this session.
At this stage I had to go and find a bit more Witpeer to strengthen the beech laminations destined to become the stretchers. In the first picture you can see the feral planks liberated from the Knysna forest more than 10 years ago. I then used the bandsaw to rip them into a more respectable shape. After that I plane them a bit, but as you can see not completely flat. I decided to let the boards settle for a few days before doing the final planing. You can see how I clamped the boards to my assembly table to keep them honest while resting.
The boards after the next planing and the usual preparation for lamination of the side (long) stretchers.
I then went looking for Swarthout (Tasmanian Blackwood) to mill down and use where no one can see it such as cleats for the shelve between the stretchers. Even though this particular piece of Swarthout originates from Africa, I would feel very embarrassed to use Ozzy wood in any other location. This is also (for obvious reasons) not the best Swarthout boards one can find.
During a short break I drew a picture on the Swarthout to work out what size of the strips should be that I need for the cleats. My father used to draw on the wood like this, but he did not draw on the wood he was about to rip as I did. I realised this a bit too late, but hopefully will remember for future reference.
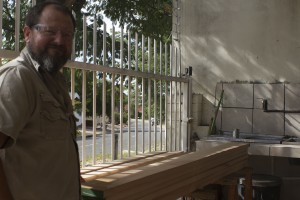
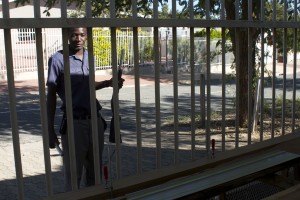
This is my friend Paulus, he guards our street. Yes, that is a shot gun he is hold in his left hand. This is Africa (or simply TIA if you are a local) as they say. Paulus likes having a chat every time he passes the garage and is a keen follower of the progress made on this workbench. I think he is probably wondering why someone would take so long to build a workbench.
Here you can see the, by now, overly familiar process of laminating the end (short) stretchers.
7/4/2014
This weekend I continued my diligent lamination/milling frenzy. I found these exquisite Kaapse Swarthout (Maytenus Penduncularis or Cape Blackwood) boards in my collection and decided to use it for the shelve between the stretchers of my bench. In the final picture you can see the attractive orange colour of the 120 mm strips I ripped for the shelve.
The pictures below show the last of the major laminations, where I added the inside strips of Witpeer to the side (long) stretchers. The routine must be very familiar by now. I had a quick look and realised that the first laminations was done on the 1st of February 2014, which means that it took exactly 9 weeks to complete the bulk of the lamination phase of this project. You must be exceedingly bored by now! You will therefore be delighted to hear that I am already working on the next riveting installment of this workbench-building series entitled “My Workbench 4 (joinery and armament)”. The so called “light at the end of the tunnel” has appeared at … well … the end of the tunnel.
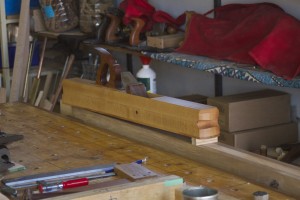
After the breadboard end had a week or so to settle after lamination, I took to it with the usual suspects (flush plane, scrub plane, #607 Bedrock fore plane and finally the electron imbibing planer) in order to square it up for the impending joinery phase.
During the latter part of Sunday afternoon I started to pile all of the gargantuan parts of the bench on top of each other to catch some autumn sun. I also managed (with the philanthropic help of the wife) to bring both parts of the twin-top-to-be down to the same thickness and did the same with the legs after they were found to be ever so slightly out of square after the previous attempt (and a week or two of resting/settling).
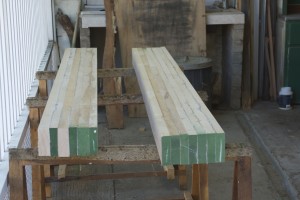
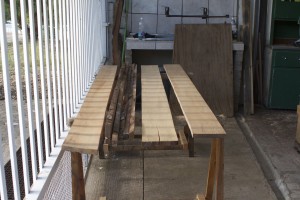
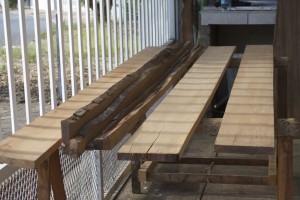
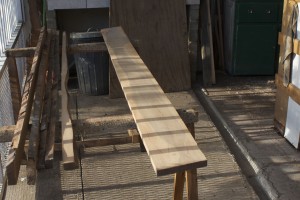
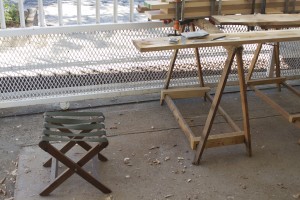
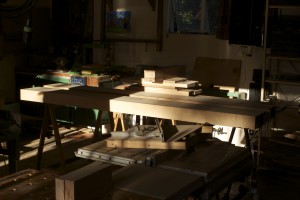
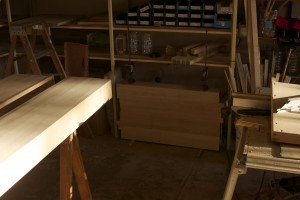
At the end of the weekend, I placed the two parts of the top on my shop made Darwinian saw horses in exactly the position it will assume on the bench. You can see the 100 mm gap between the two parts of the top that is intended to accept F-style clamps to improve one’s ability to clamp all sorts of objects to the bench. The top is also in the exact location (in the shop) it will occupy once finished. I apologise for the poor quality of the pictures due to the late afternoon sun.
22/4/2014
I remember learning about a “tennis elbow” at medical school, but all this hand planing seems to have given me a “planing elbow”. Has anyone else developed such an ailment? It is bloody sore and getting worse as there are lots of squaring-up to do after all the laminating. In the pictures below you can see how I attacked the two aprons with the usual suspects. After establishing two reference surfaces I used the marking gauge to get both aprons to the same width by hand as they are to wide to fit upright through my planer. In the process I discovered that I can use my shop made wooden scrub plane as a very aggressive fore plane to remove the bulk of the waste. It’s extra length also came in handy to get everything flat and parallel to the reference surface. Once I got close to the line I switched to my #606 Bedrock fore plane.
24/4/2014
I went as far as doing some web based research on my ailment which I aptly named “planing elbow”. I had delusions of grandeur envisioning the fame that would inevitably befall me if I become the first doctor to describe this new syndrome. I even considered calling it “Marx Elbow”. You know like Alzheimer’s Dementia or Wernicke’s Encephalopathy. While imagining all this like John Lennon, I was rudely brought back to earth when I found that there were heaps of woodworkers who already wrote about my new ailment. Damn! Now I still have an overuse syndrome, but no fame to dull the pain.
Anyway, it seems as if one of the fundamental reasons why I am building the bench might be the reason for my affliction. Most commentators seems to suggest that a too high work surface might exaggerate the problem. My assembly table is around 36″ high which is far too high for heaps of hand planing. It makes a lot of sense, come to think of it, as the higher the surface the more you have to use your arms (as apposed to your legs). Unfortunately, I have quite a bit more planing to do in order to finish the bench, which will become my lower planing surface. Maybe I should consider giving the wife some planing lessons??
28/4/2014
With me needing some help being injured, Didi jumped in to help “die Pappabeertjie” remove excess glue before I started planing the short stretchers.
I followed the same procedure as with the aprons.
Then moved on to the long stretchers.
