18/3/2014
Last year I had some e-mail contact with Mr. Workbench himself, Christopher Schwarz. I asked about the angles involved in the sliding dovetail mortise and tenon joints on Roubo benches. True to form, he answered promptly as if we know each other for yonks. We chatted a bit and I promised that I would send him some pictures once the bench is finished. A week ago I finally sent the pictures only to get the automatic reply that he has cancelled his public e-mail account. I clearly missed the post he wrote in January to inform us all.
That was a bit of a disappointment, but I can understand his position completely. So I thought of another way to get him to review my labour of the past 14 months. I found a post he wrote on his Popular Woodworking Blog entitled “The Mistakes of First-time Bench-builders” (March 3, 2014) and used it to critique my bench. Here goes:
In the post he highlights 10 common mistakes of novice bench-builders and they are:
1. Too many woodworking vises.
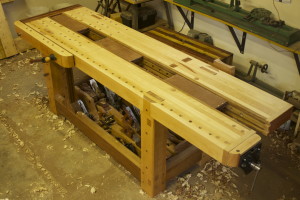
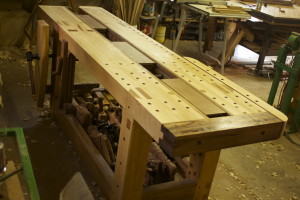
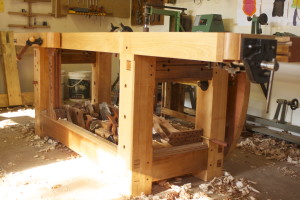
Yep, I tick this box. As you can see, my bench has a twin screw vise, quick-release vise (in the end vise position), a legvise and a sliding-leg-vise-cum-deadman. So definitely too many vises in Mr. Schwarz’s assessment. In my defense I would say that it is mainly because I decided to utilise all four sides of my bench by placing it in the middle of the floor area, rather than shoved up against a wall.
Score so far: 0/1
2. Too many dog/holdfast holes
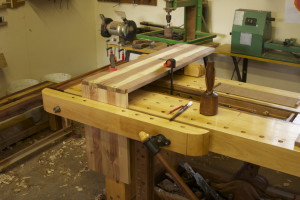
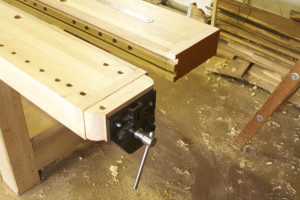
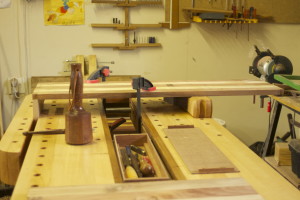
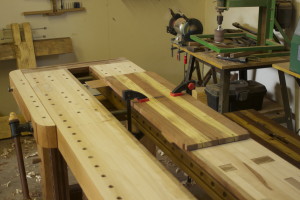
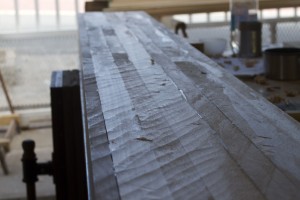
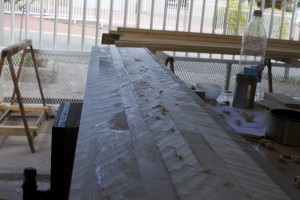
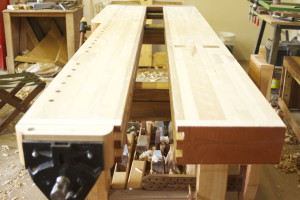
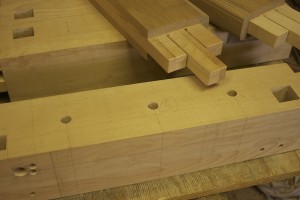
Oops!, yet another slip-up. The picture speaks for itself. I decided to go with too many holes for holdfasts around my chisel/chopping area (near leg in the picture) for obvious reasons.
Score so far: 0/2
3. Over-agonizing the wood types used
Here I was lucky as I would certainly be vulnerable to make this mistake if I had access to a plethora of different types of timber. My own supply of indigenous wood are dimensioned such that it would take 5 years of lamination to generate stock of appropriate size. Therefore the bench was built from European Beech, which I could access in slightly bigger dimensions. I added Witpeer for je ne sais quoi, but that does not count.
Score so far: 1/3
4. Over agonizing the standard workbench height
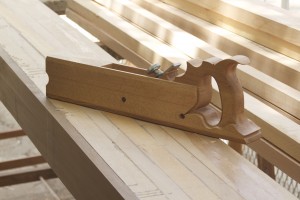
I did agonise about it a bit, but it took about a day. In the end I used the “pinky rule” (a Schwarzism which came to 34″ given my Vitruvianisms) and subtracted 2 ” as I want to use my shop built wooden planes quite a bit. I guess this would actually qualify as “over agonising”
Score so far: 1/4
5. Making the bench do crazy tricks or store an arsenal of tools
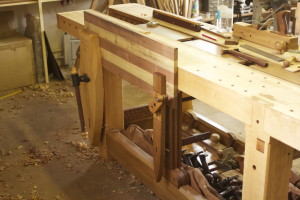
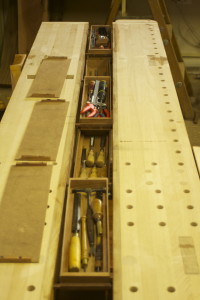
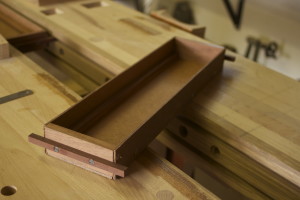
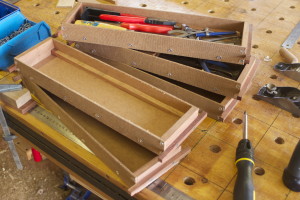
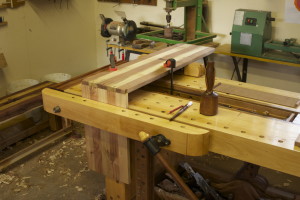
I stuck to the golden rule not to try and incorporate lots of storage cabinets underneath the bench. I did however utilise the space between my split top to accommodate 5 sliding tool trays. They slide up and down this space to open up gaps for F-style clamps when you need to use them through the gap (last three pictures). So far they work very well for me. Again, I guess that sliding tool trays would amount to “crazy tricks” in the mind of an Anarchist.
Score so far: 1/5
6. Building the DIY workbench too deep
My bench is a smidgen over 25″ (640 mm) deep. It is ever so slightly more than the recommended maximum of 24″. Again (in my defense) (not that I feel particularly defensive) this was a choice I made with consideration of the fact that I want to work from all sides of the bench which means that it does not have the added support/stability of a bench that is shoved against a wall.
Score so far: 1/6
7. Choosing the wrong tools to build a workbench you designed
Once again I am saved by the fact that I had no choice in this matter. I had to laminate all the stock. I had to create reference surfaces (that is perfectly flat and wind free) by means of hand planing before milling the laminated stock with my electrical planer (I do not have a electrical jointer). Chris calls this “masochistic”, but as I said, I had no choice. In fact, one of several reasons why I chose a split-top design was so that I could at least mill one side (the non-reference side) of the top using my electrical planer (300 mm wide). Therefore I will award myself this point.
Score so far: 2/7
8. Worrying too much about wood movement and benchtop flatness
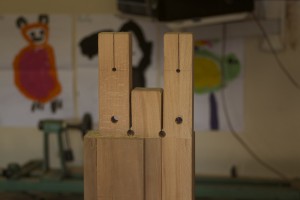
This one I got completely sucked into. I went to excessive lengths to negate wood-movement related issues. We have massive swings in ambient humidity between winter and the rainy season in Namibia. This is another reason why I went with the split-top design. The way my top is fixed to the leg/aprons allow it to move into the gap without any restriction or pressure on joints. Each of the gargantuan tenons in the rest of the bench were split into three fingers with kerfs between them to allow for wood movement.
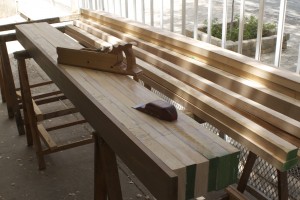
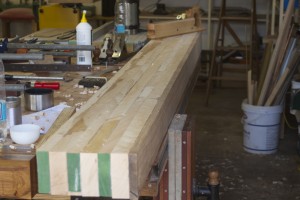
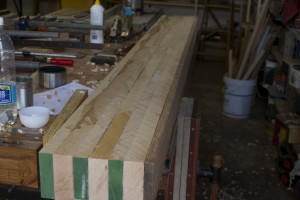
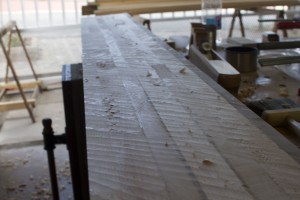
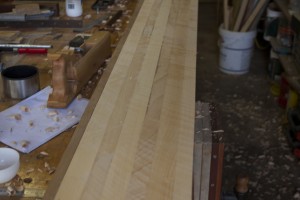
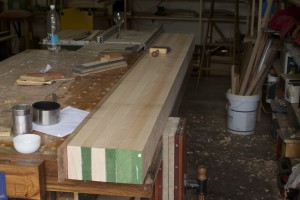
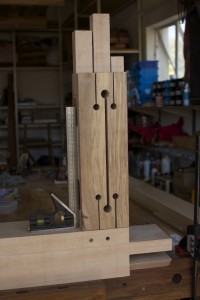
It was however with the design of the two aprons that I lost the plot completely. To start with, I went to great lengths to make sure that the stock that made up the aprons were all perfectly quarter sawn. The rest of the apron design I will leave up to the pictures to tell the story.
Score so far: 2/8
9. Trying to re-invent the wheel with new workbench designs
I would like to disagree respectfully with the great man on this one. Although I do agree that the basic form of a bench that is the result of 3000 years worth of experience should be fairly close to perfect, I also feel a perfect bench should reflect the type of work and way in which it’s owner work. Therefore I would argue that the ideal bench for me (stuck in the sticks in Africa in 2015) would quite obviously differ somewhat to that of Monsieur Roubo in 18th century France. For that reason I am not too worried about a bit of experimentation in design.
Having said that, this is after all a bench assessment by Monsieur Schwarz (granted that it is in absentia) so we should use his criteria and my guess is that my bench departs too much from the 18th century form.
Score so far: 2/9
10. They make it too nice
Need I say more.
Score so far: 2/10
Final score: 2/10
I therefore fail miserably, given these criteria. If it was possible (in terms of access and tools) I would have made mistake no. 3 and no. 7 too, but luck was on my side.
I have one last thought though. It might be a tad harsh to think about the above as “mistakes”. One would not generally consider someone who is learning to ride a bike to be making a mistake when they fall off. It is a necessary part of the process to learn the skill, isn’t it?
Monsieur Schwarz ends his article like this:
“If it’s worth something, I have made every one of the mistakes listed above”
I rest my case.






That’s a beautiful bench, and it looks like you use it, too! 10/10 in my book.
Thank you Brian, those are kind words, it is much appreciated.
Love the double-decker sliding trays: can understand your concerns re wood movement. Are they prone to sticking, jamming when humidity increases?
Hi Brandon,
Thank you for commenting. I left heaps of space (1/2″) to try and ensure that they do not get stuck. I will keep you up to date with how it works as the humidity has only shot up in the pasts few weeks, which is very late for us. To give you an idea, in 2014 the humidity was higher in early January than it is at present. It usually starts going down in May each year. So far the trays are sliding with a vengeance, but let’s see what happens.
Kind regards
Gerhard
Hello,
I like your post. Going your way is what counts.
It seems that you have thought about your bench details.
And if it is working for you, then it is great. Not every feature is working for everyone. I haven’t got a lot of shop space for example and need urgently the storage space below the bench.
Cheers,
Stefan
Hi Stefan, thanks for your comment, I agree with you, one needs to consider what the more experienced guys say, but also tailor the bench to your own needs. I wrote a post that you might find helpful, it is entitled “Hovering skeleton chest”, I made this contraption to hang above my bench to have all my go-to tools right at hand. Maybe it could work for you too. Thanks again.
Cheers
Gerhard
oh man! it must have been an adventure to build that bench! congrats! I particularly liked the bench party you threw!
Thanks Aymeric, it was a mission to say the least. It was a legendary party as you can see. I am actually starting to build another Roubo type bench with some really good quality Scott’s Pine. You can go and have a look, I will document the process in a series of posts entitled “Roubo sharpening bench”.
Have a wonderful day.
Gerhard