
22/6/2015
It feels a bit like deja vu doing the massive joinery for this bench, as it was exactly what I was doing this time last year. It is however excellent practice in preparation for building furniture. I realise that my skills have improved significantly since the previous round of doing this. Also, the bench I built last year, improves the quality and speed of my work this year by providing so many work holding options.
Here you can see the setup I used to tidy up the tenon faces. I used my Stanley no. 10 Rabbet plane and a Bedrock no. 606 for this purpose.


A before and after photo.


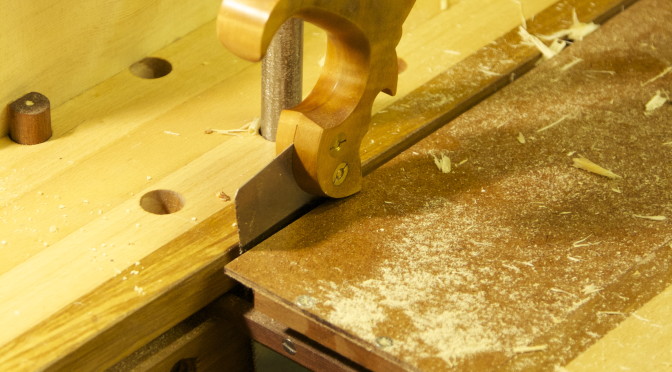
Next up was to saw away a part of the apron tenon to create a notch (I think this is the correct term). The reason for this design is to act as an anti-twisting device and not to weaken the leg tenons.


The short stretchers received the same treatment, but obviously with a different design.

I then tidied up the shoulders by means of horizontal pairing.


Again, it should be quite obvious how useful the array of holdfast holes around my chopping area are for all kinds of joinery related tasks. Here I am in the process of chopping away the wastes between the two massive through tenons at the top of the legs. The second picture show another handy (albeit unintended) feature of my bench design. My squares and 1″ chisel (as well as saw in an earlier picture) sit comfortably and handy in the slot between the bench top and the sliding tool trays.


Dual tenons done.

