9/2/2015
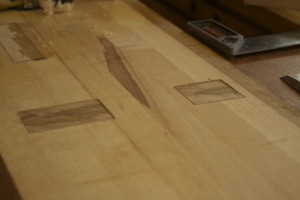
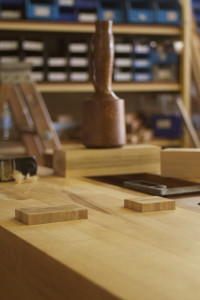
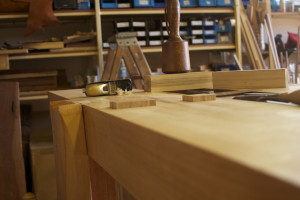
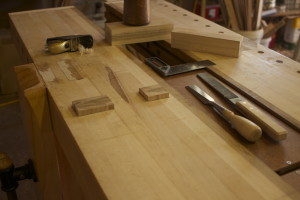
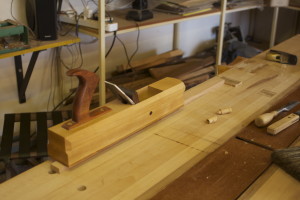
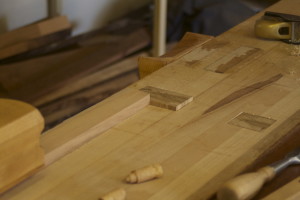
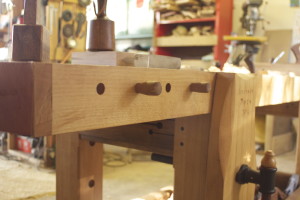
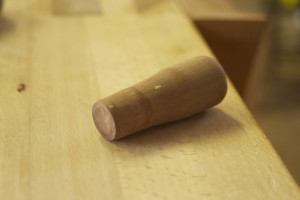
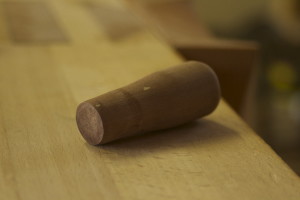
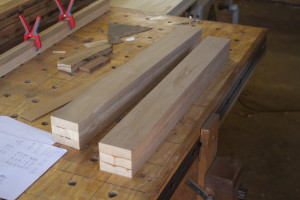
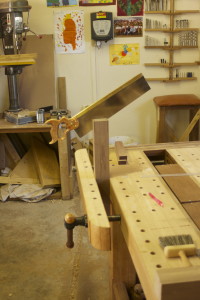
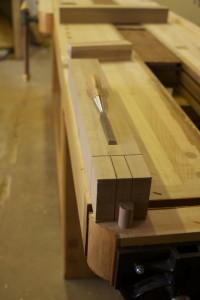
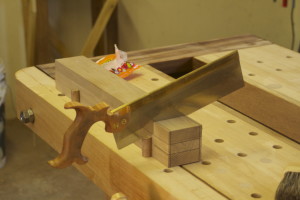
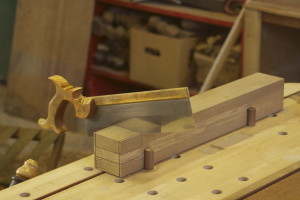
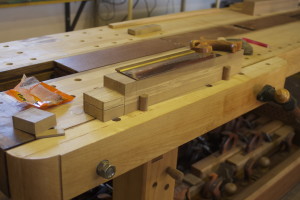
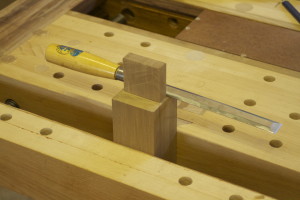
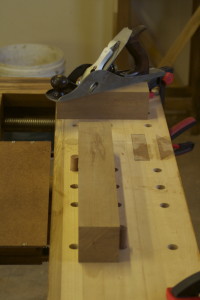
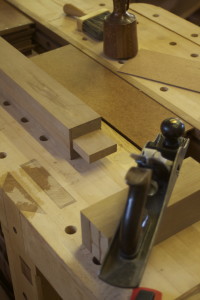
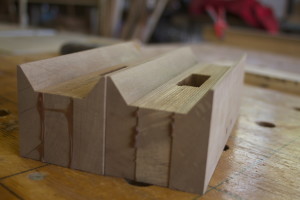
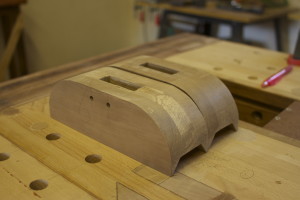
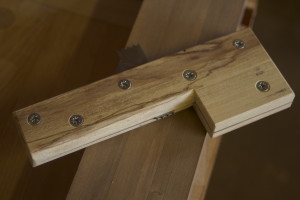
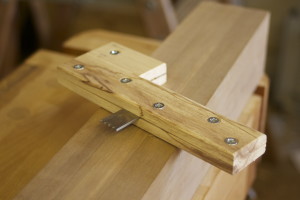
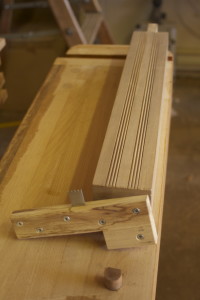
On Friday afternoon I finally fitted the planing stops. It must be at least 3 months since the Ysterhout scraps were laminated. During the coarse of these months, I had several different ideas as to how the planing stops should be kept in place. In the end I simply went with a very tight friction fit. In other words, you take a mallet and bliksem (colloquial Afrikaans meaning many things, depending on the context, in this particular case ‘clobber’ comes to mind) them in and out of their little nest. So far it works like a charm, but I will report on how it turns out in the long run.
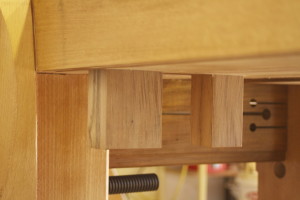
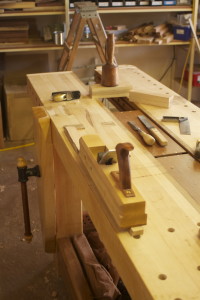
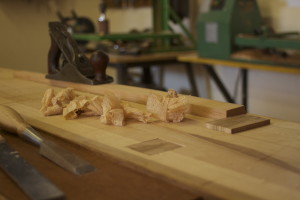
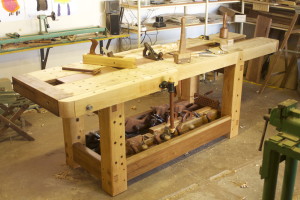
I decided to place the planing stops in front of the leg vise, rather than behind it as seen in most traditional benches. This shortens the bench surface available for planing, but also means that most of the planing can be done without having to lean over the leg vise. For longer boards I will eventually have a stop at the very end of the bench as well.
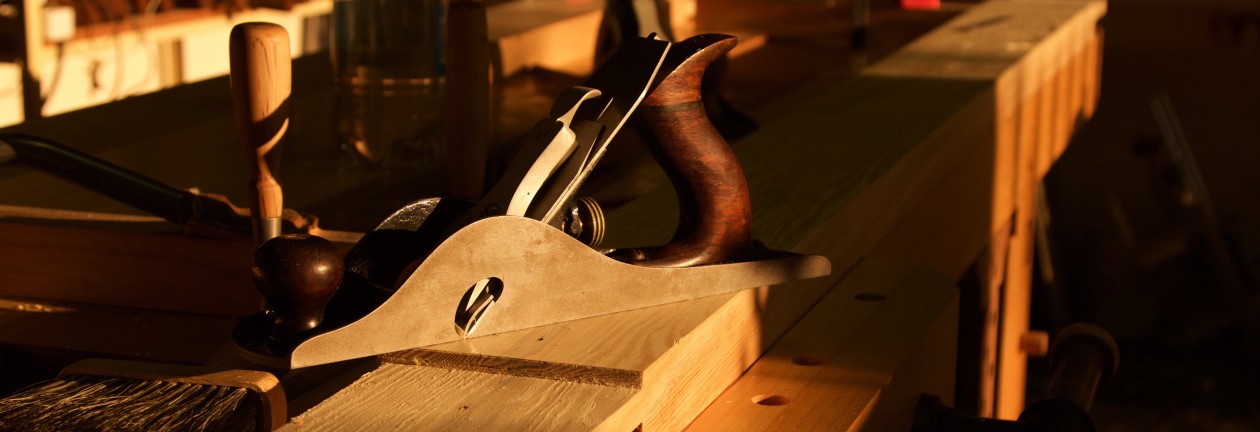
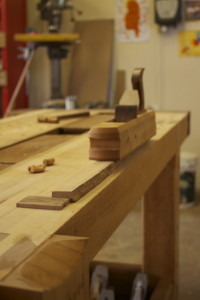
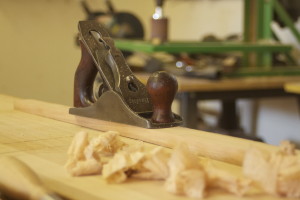
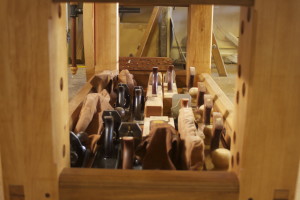
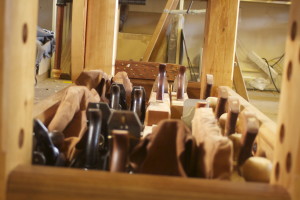
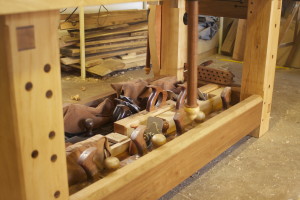
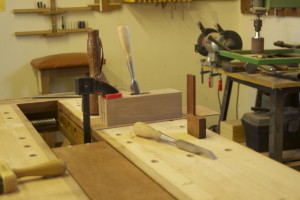
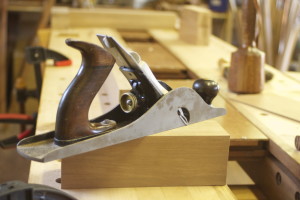
During the course of last week, I moved all my bench planes to their new address. You will notice that some of them have leather sleeping bags to stop them from collecting excessive woodworking debris. I am slowly stitching these by hand during weekends away from the shop.
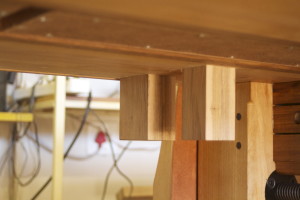
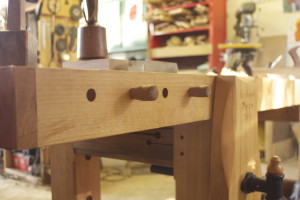
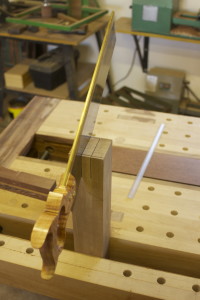
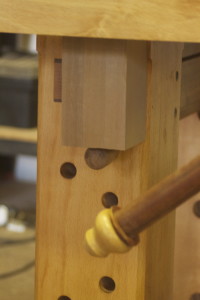
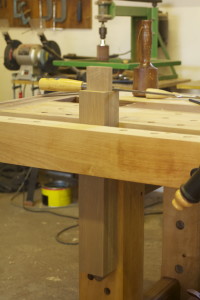
The idea all along was to fit a traditional crochet to operate in tandem with the leg vise, but last week I saw this idea on another blog (unfortunately I can not remember which). I simply drilled four x 3/4″ holes in the side of the top beyond the leg vise. A simple Assegaai dog can now be used in the appropriate hole as a stop.
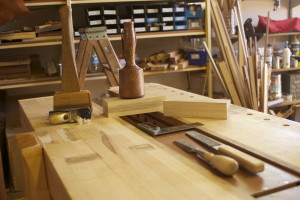
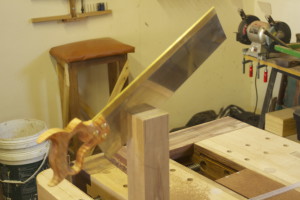
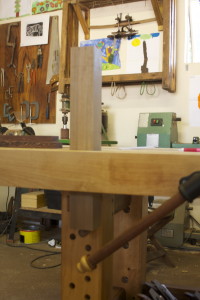
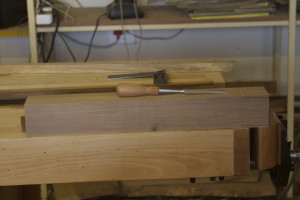
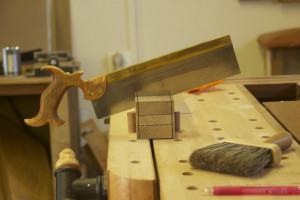
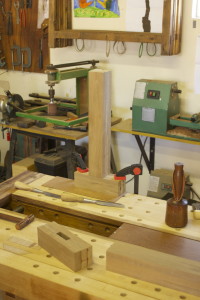
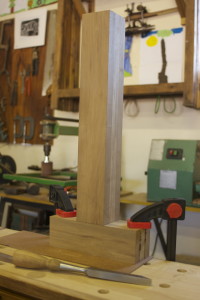
This weekend was actually the first opportunity to use my new bench properly. In the pictures below you can see how it assisted in an array of different ways to do bread-and-butter type operations. I am working on a sliding deadman for each side of the bench.
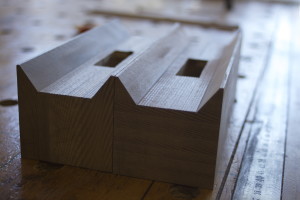
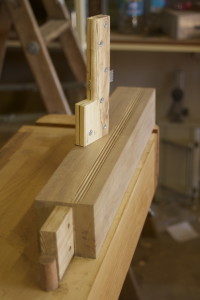
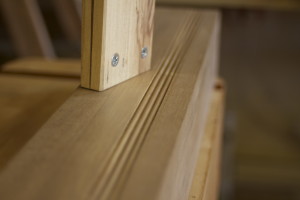
I wrote a separate post on this shop made beader, which you should find in the recent posts section. I added the beads to hide the laminated nature of the stock that makes up the deadman.
